Judy questions

I'm pretty sure they're air - they have a valve on top of one stanchion. But I'll try to post pics later and then no doubt you guys can tell me all about them :)
 
dyl":k3v6j739 said:
I'm pretty sure they're air - they have a valve on top of one stanchion. But I'll try to post pics later and then no doubt you guys can tell me all about them :)


What colour are they?
 
I may need new bushings (and someone who can remove and install them) are these the right ones. Where can I get the upper ones from though?
 
dyl":28c7be36 said:
I'm pretty sure they're air - they have a valve on top of one stanchion. But I'll try to post pics later and then no doubt you guys can tell me all about them :)
stick it in it own I.D. thread.
if they are Judy and air, they are not stock and have an England or similar cartridge in them.
or they are SID fork which look similar..
it something else ;-)
 
Sorry, still no pic. They say 5 things on them which are:

RockShox
Judy
SL
Air
100 mm

Thought I'd post it here in case they were any use to the original poster, but on the basis that they're interesting and may be fixable I shall start a new thread when I've taken a photo which will probably be when it's not dark and wet any more.
 
Though to be fair, the thread is called "Judy questions", and the original poster could always look at it as free bumping for his/her thread.

I'm new around here (hello people) - what's the etiquette in these situations?
 
Hi Dyl.
They sound like they're fairly new ones. The older judy forks are usually about 70mm. 100mm when judy forks first came out would have been classed as DH forks :-D
 
Relative to your Judy questions:

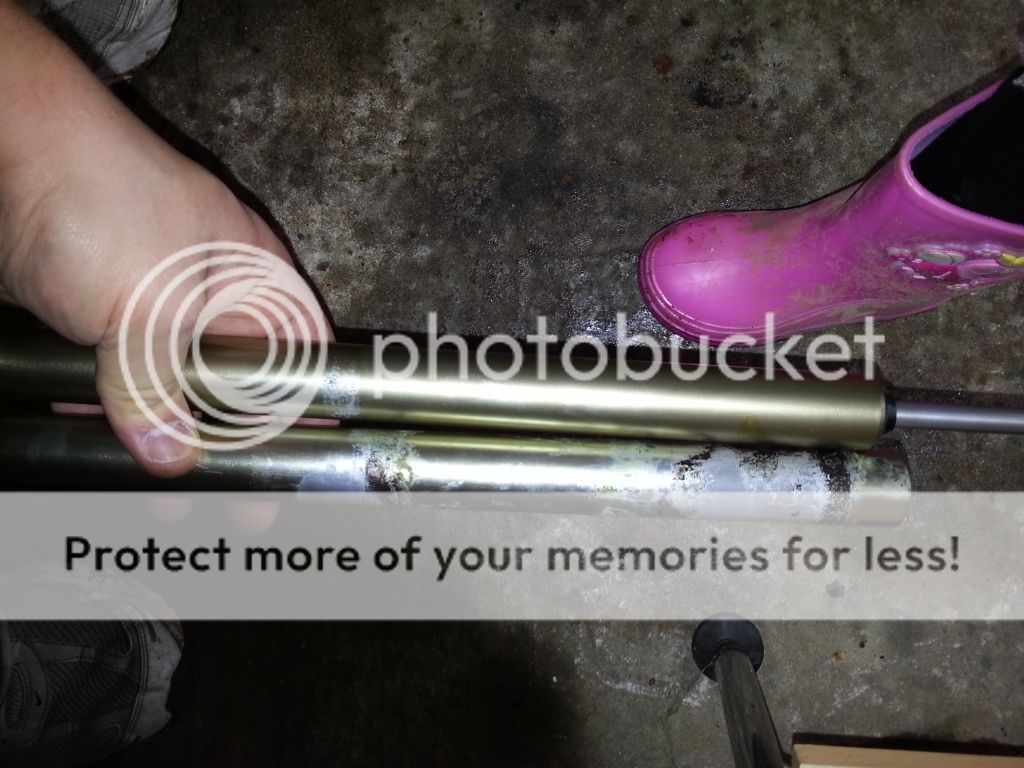
Stripping. Completely disassemble the fork. Then remove the decals from the lowers. These can be a bit of a challenge. I accidentally dicovered that it it quite easy to remove the decal (intact no less) from a very cold fork - about 25 - 35 degress Farenheit put it in the freezer for 15 - 20 minutes. Others have commented about using a hair dryer to warm the fork. I can't speak to the success with that technique.

Then use standard ZipStrip/methylene chloride to strip, using disposable brushes and rags. Take care to get the paint in the lower bolt holes, the brake mounting bosses, and the inner bushing contact surfaces. Now the fun starts. Magnesium is a porous metal and it oxidizes to a dull grey very quickly. Clean, and rub out with 0000 steel wool.

Pin the brake boss spring holes with short lengths of toothpicks or the plastic shafts from Q tips. This will keep the paint out.

Prime. Clean the lowers again, religously! Priming magnesium calls for NON ETCHING primer. Do your own research here. Did I mention NON ETCHING? Don't take my word for it. Howerver you will find that the recommended primer for magnesium is non etching. Your local automotive paint supply can fix you up with suitable rattle can primer. Dry thoroughly.

Paint. Clean again. Paint with the color of your choice.

Decals. Gil, a member here, might be able to fix you up.
 
Odd that, because virtually all the forums I looked at (automotive refinishers specializing in Italian exotica...) recommended etch-priming because ordinary paint will just fall off!

It is also VITALLY important that you thoroughly clean (gentle blast cleaning such as soda- or plastic bead- ) and dry the bare metal prior to coating, and also to warm it in order to evacuate any remaining moisture in what is a very porous material...
 
The yellow is ok in most places. I think rather than stripping right back I'll just rub down and try that way.
I've dismantled them today. I can see why they were cheap :)
The stanchion with the dummy cartridge is rather umm buggered would be a good word. Not sure if the inside of the leg is ok either.

Stanchions
20130214_101324_zps4f797baf.jpg


Inside right? leg - The one with the dummy cartridge
20130214_101410_zpse1064a3d.jpg


Inside other leg. The one with the damper.
20130214_101344_zps31bd4895.jpg
 

Latest posts

Back
Top