1996 Judy XC rebuild - FINISHED (page 7) 30/05/12

Totally missed the obvious Steve - ME THAT IS! Sorry Bud!...Try for a Cartridge on here? I did read when I was doing mine that somebody ran it dry in which case if the leg looks same as dummy leg, could you run like that if you had to & rely solely on the Springs for Travel?...

Bit of a Kop Out & dunno if I'd gone to all the trouble I did & you have that I'd want it to be Bang on...here's hoping you sort something out.
 
Make some franken fork with the SID's :LOL:

or i'll have a look in my spares, though I'm never quick at doing things like that.


I was looking at this picture of yours, notice the o-ring around the metal disc, which looks like the compression rod one (red cart) in my second picture)
http://i662.photobucket.com/albums/uu35 ... 366583.jpg

If you run without the damper, which you can do, you of course have no forced damping and they do work (ask chirsv40) but once I'd rebuild and fixed his damper, going over a rutty tree route downhill section near us was so much nicer and controllable.
 
Yes, I noticed the O'ring, should it be a blue one like yours?

It's not a super tight fit, but it does 'whistle' when you stroke the damper, and once it's all the way in, it's totally air tight (I blew through it and nearly passed-out at the pressure I was blowing at, only for no air to escape). I did try an ever-so-slightly thicker Oring on it, but it was impossible to get in the cartridge.
 
yes it should be blue or at least a plastic glide ring thing.

What happens is the allen screw you don't have pushes up the smaller metal plate, this compresses the spring a bit more and places more force against the mylar (assumed mylar) dis, meaning more force is needed to start the oil surge on rebound damping so slowing it all down. Not the most sophisticated setup. Similar to a MAG21's principle, but oddly not quite as sophisticated.
One of them going backwards in technology. Now it they had made the MAG air/oil setup and forgot about carts and MCU lightness they used in the judy to copy all the rage Answer/etc. fork they would have had a killer fork.

they sort of got there 5 years or so later. shame for them marzocchi did what RockShox should have done. they still outsold everyone though from what I've read.
 
So today I opened up my spare set.....

And this is what I found:

An almost perfect stanchion, with almost zero wear.. :cool:

a9e2d6cd.jpg


A cartridge (metal, this time, not plastic like the previous one.. :?

52fd56d3.jpg


And inside said cartridge....

ff72a2fd.jpg


All the bits I could possibly need.


Today is a good day... :LOL: :LOL:
 
so with the cartidge mananging to avoid any spoilers for me, the rebuild continues and I'm gonna copyNpaste this here, for my own ease of refenece:

spacehopper":12udozf6 said:
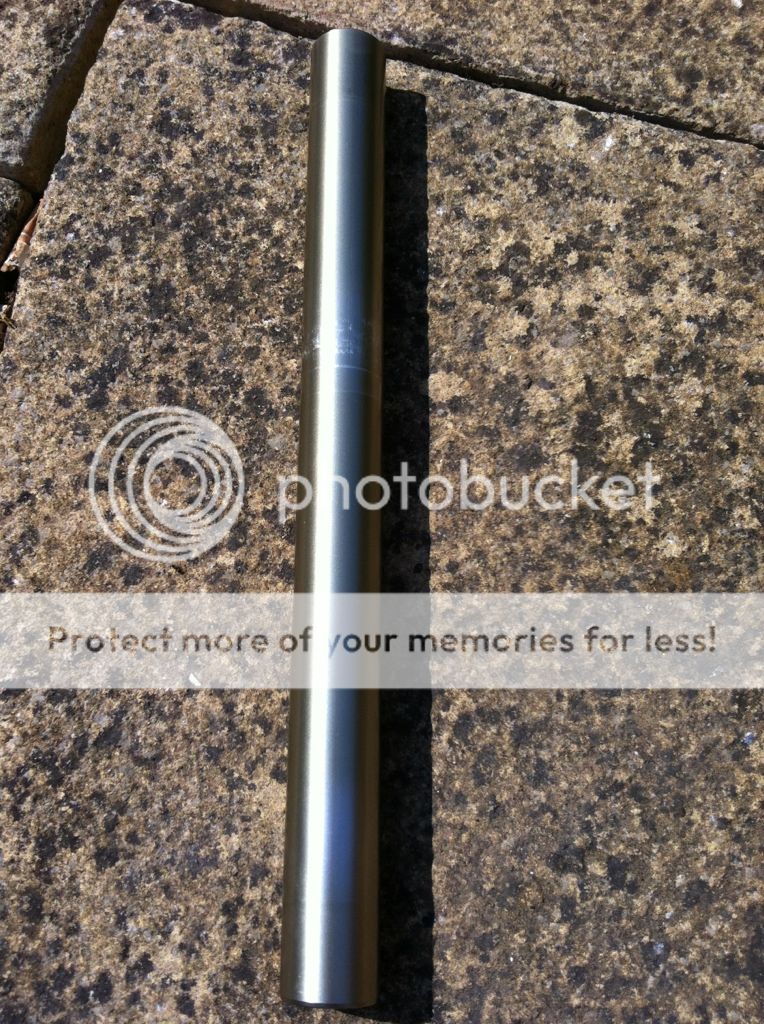
To change the oil in a damper cartridge you first need to remove the aluminium cap at the end, this should just slide off if you wiggle a fingernail in the gap between it and the damper cart.. (the end to work on here is NOT the one with the circlip on)

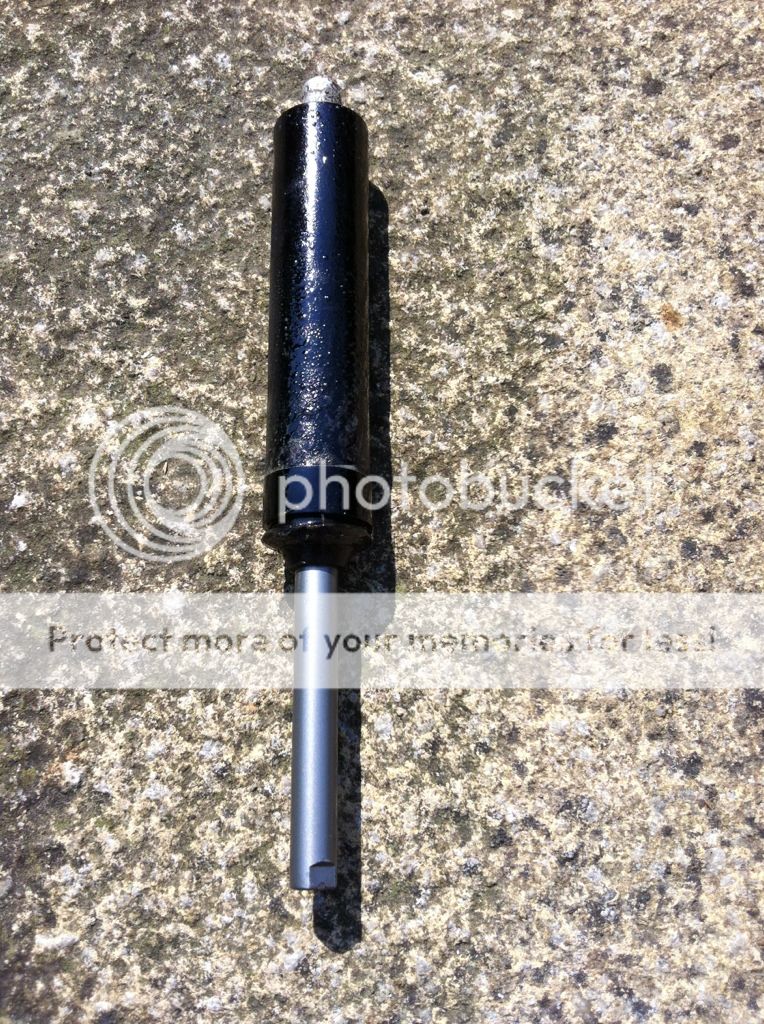
then push the damper rod through so that the shorter length of exposed shaft is at the end with the circlip on..

the next bit is the tricky bit.. you essentially use the damper rod to push the seal out.. you either need to use a press to push the damper rod onto the rubber seal at the end or it can be done by hitting the end of the damper rod (at the circlip end) with a hammer to push the seal out.
it can take quite a bit of force sometimes!

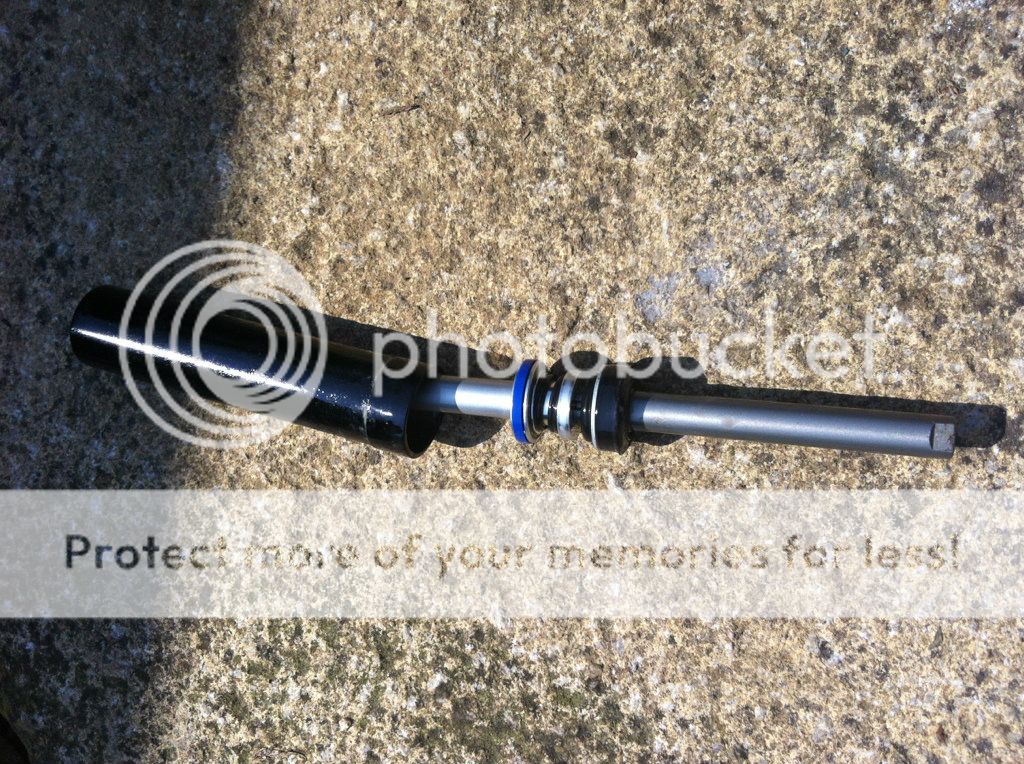
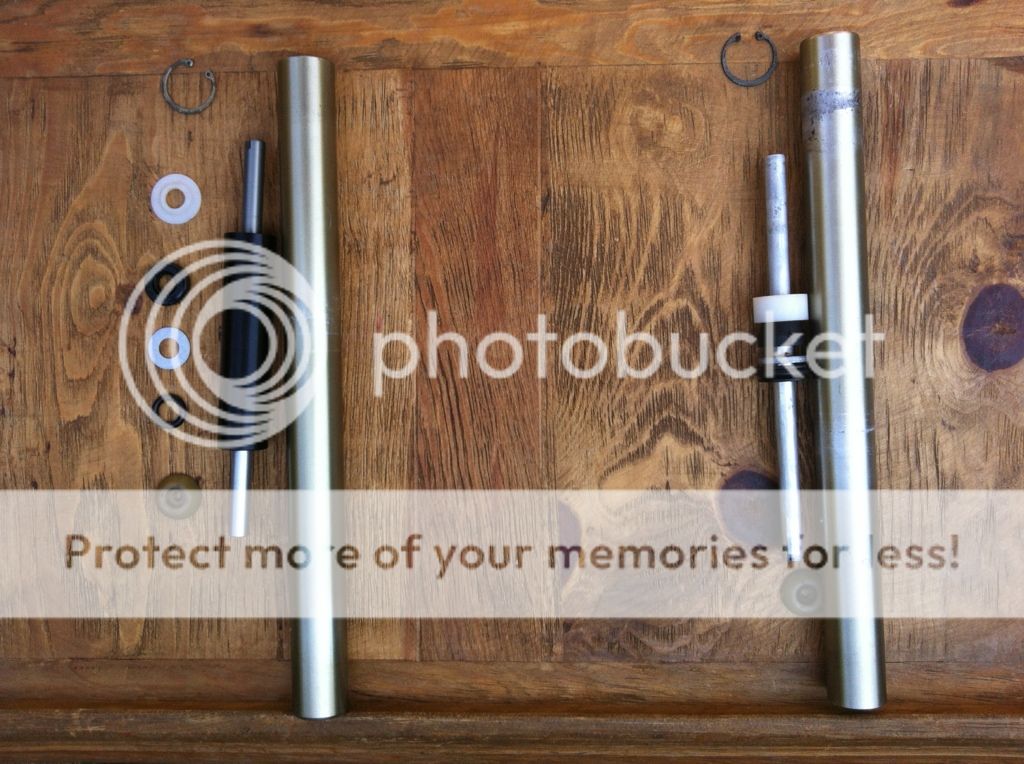
the seal will eventually work its way out and be followed by the contents of the damper cart.. so have a container ready to catch the oil! the damper assembly will now slide out of the cartridge.. make a note of what order bits come out, as there is usually a metal washer and rubber o ring loose from the shaft

wipe clean and inspect the damper internals.. and slide the damper back in, in the same order it all came out...

the carts are filled with 5wt oil.. but you can put either 2.5wt in for less damping or 7.5wt for more..

to refill.. carefully push the damper all the way back into the cart and then gradually fill with oil.. when it gets almost full cycle the damper a few times to remove any trapped air and then fill the cart to the brim..

the next step can get a bit messy..

you now need to slide the seal back on.. but as the cart is full you need to displace some of the oil to allow the seal to fit back in..

in order to allow some of the oil to escape i put a fairly thin but strongish (maybe 1mm) square shaped rubber band in between the seal and the silver damper shaft and then slide it down.. the rubber band creates a bit of a gap to allow the oil to seep out and create space for the seal as you push it back in and means there will be no air gap.

I generally work my way around the seal pushing down with a blunt ended object to work the seal back in..

once the end of the seal is flush with the end of the damper cartridge pull the rubber band out to reseal the cartridge.. slide the aluuminium cap back on and you are done!

disclaimer: the above is a guide only and i take no responsibility if you break your damper cart! :LOL:
 
Yep, and in a way I'm happy I stripped the 'wrong' ones first, I've learnt a lot more that way... :D
 
...After a two week wait (that felt like two years.. :) ) The Kronos springs finally arrived.. :D :cool:

So I set about cleaning up all the internal parts ready for the big rebuild.

19bfae0a.jpg
 
Once it was all clean, I lightly greased the internal faces of each inner stanchion. On the non cartridge side, I greased the face of the rod, the upper bung(with seal) the lower rubber and the white nylon cap.

Then I slotted the rod into the bottom of the stanchion, and slid the lower components onto the rod. I packed the void with more grease and slid the white nylon cap on. Then I refitted the circlip.

On the Driveside, I rebuilt the cartridge as per spacehopper's instructions a page or two back, on this thread, and it was a hell of a lot easier than I was expecting - the rubber band trick worked a treat. I slotted the nylon cap on the end, and replaced the circlip. A couple of strokes of the damper revealed no oil leaks, to a job well done..
 
Back
Top