Raleigh Equipe Malliard Freewheel

jamman1125

Retro Newbie
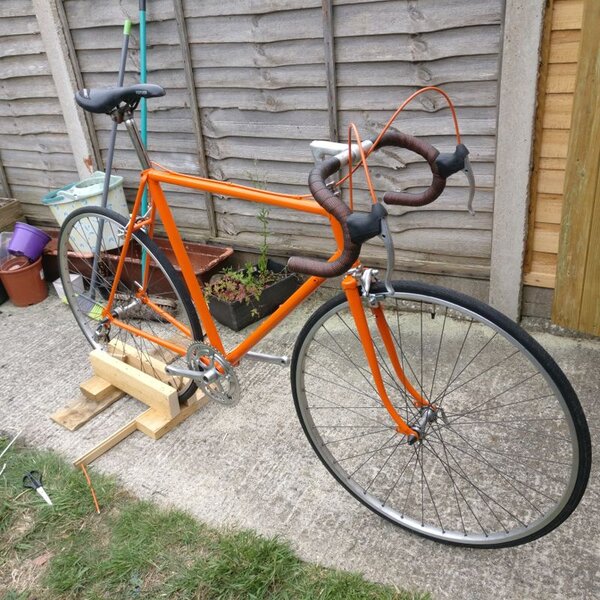
Hi all, thought I'd sign up and share a few posts about an 80s Raleigh Equipe I'm currently restoring. Not sure of the exact year yet!

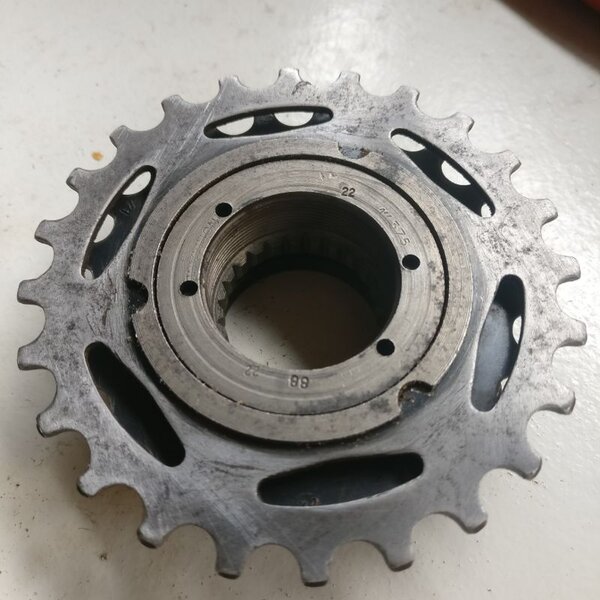
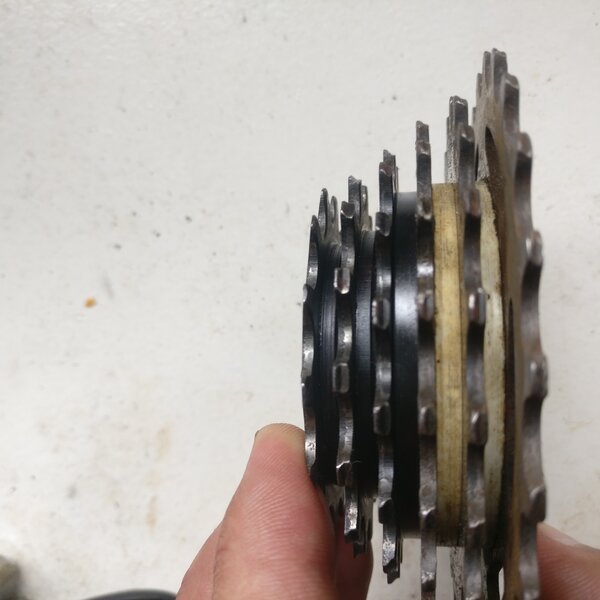
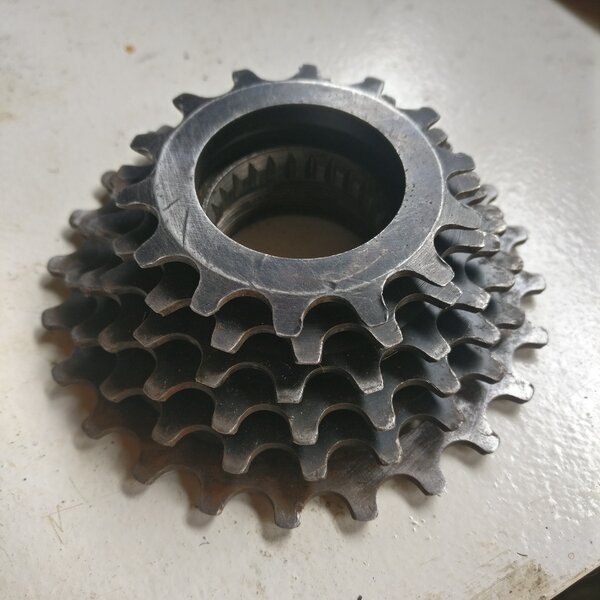
One thing I do new some light shed upon however is this 24 tooth malliard freewheel. I have no idea on how to remove the freewheel from the cassette. I've searched Google and various forms to no avail, one video showed the cassette being taken apart by unscrewing the first two cogs of the cassette, but I don't think mine is threaded as the cogs are not a different colour like they usually are on threaded cassettes. I've also tried tapping the outer back plate to unscrew to no avail. Any help on how these come apart would be very helpful, I'll post some pictures to assist.

Thanks in advance, I hope to have some pictures of the bike in due course.
 

Attachments

  • IMG_20200617_123711-02.jpeg
    IMG_20200617_123711-02.jpeg
    85 KB · Views: 2,139
  • IMG_20200617_123655.jpg
    IMG_20200617_123655.jpg
    565.3 KB · Views: 2,138
  • IMG_20200617_123645.jpg
    IMG_20200617_123645.jpg
    1 MB · Views: 2,140
Hi Jamman. Not sure what you mean by "remove the freewheel from the cassette" in this context. The whole assembly is generally known as a freewheel and consists of a body (which incorporates the bearings, pawls and their springs) and toothed sprockets which attach to the body in different ways depending on the make and model. In some cases the sprockets are threaded (often the case for the smallest ones, but may also be true of intermediate ones), splined or toothed, with varying internal diameters as the design sets out. You can unthread threaded ones with a chain whip though be advised that they can be threaded on very tightly after a few miles of hilly terrain and an enthusiastic rider have done their work. Bodies CAN be disassembled but if you need to do so, there's a reasonable chance that it is worn beyond sensible repair.
 
Any reason why you want to remove the freewheel mechanism?

You'll need two chainwhips and it'll be easier with the freewheel screwed onto a wheel with a tyre on. Put one round the third smallest gear and hold it tight. Second chainwhip goes round the smallest cog and it should unscrew (note: it'll be TIGHT). I'm not sure if the bottom two gears are one piece on that one or if they're separate, so they might come off as one or you might have to unscrew them individually. Then work your way up the block. Put the first chainwhip round the biggest gear and unscrew the remaining smallest one etc etc. You'll eventually be left with just the freewheel core. The top 2 might be splined, but I'm not sure.

Put a pin wrench in the holes in the back and you should be able to tap one of those bits open. Then all the pawls, springs and a million little balls ought to fall out all over the floor to be lost forever when you pull the centre out :D
 
Recently stripped down one very like this. First two sprockets screwed off as described by Jonny69 and the rest were splined and slid off. However, there is no good non-destructive reason for doing it. You're very unlikely to find any replacement sprockets these days -- as said it is a single-unit freewheel, not a cassette. Also as Jonny69 said, there are a lot of tiny ball bearings in there, and it is very difficult to put that mechanism back together if you choose to take it apart... I've done it, but I'd rather not have to try again.
 
Thanks for all your wisdom.. Ah it makes sense that it would be the type to unscrew from the cogs, although I gave up after giving an almighty tug at it last time, I guess it just wasn't enough pulling power! I shall have to give it another go with a proper pair or chain whips next time.

The meaning behind taking it apart was just to clean, service, & grease it, as it feels rather gritty in there, even after a soak in white spirit & flush with WD-40. When I shake it, it also has some loose bits in there, so thats rather disconcerting. Does rather sound like an almighty task though. Haha I loved the hard truth Jonny69 brought up of likely dropping ball bearings all over the shed.
 
Re:

Here's a photo of current progress on the Raleigh, only have a photo of the original paint job on the bench.
 

Attachments

  • IMG_20200617_183119-01.jpeg
    IMG_20200617_183119-01.jpeg
    163.3 KB · Views: 2,086
  • IMG_20200419_140315__02-01.jpeg
    IMG_20200419_140315__02-01.jpeg
    88.9 KB · Views: 2,086
Re:

Had one of these that was stiff and notchy, giving ghost pedalling.

I tried flushing it to no avail and took it to bits following the YouTube vid and it was pretty straight-forward. It was cleaned up and lubed but still not right. I took it to bits again and added a couple of coke can shims and it has been right as rain since. Don’t know if that could be the case with yours (mine didn’t have rattly bits in it) but something to be aware of.
 
Re:

Ahh thanks for the thoughts, I'll have to give getting it open another go once I get another chain whip. I got the Freewheel on the bike today and it's worse than I thought, makes an awful grinding racket. I might end up changing the whole set over to Shimano eventually. Will still try fixing it up, especially as you say it's not so difficult.
 

Latest posts

Back
Top