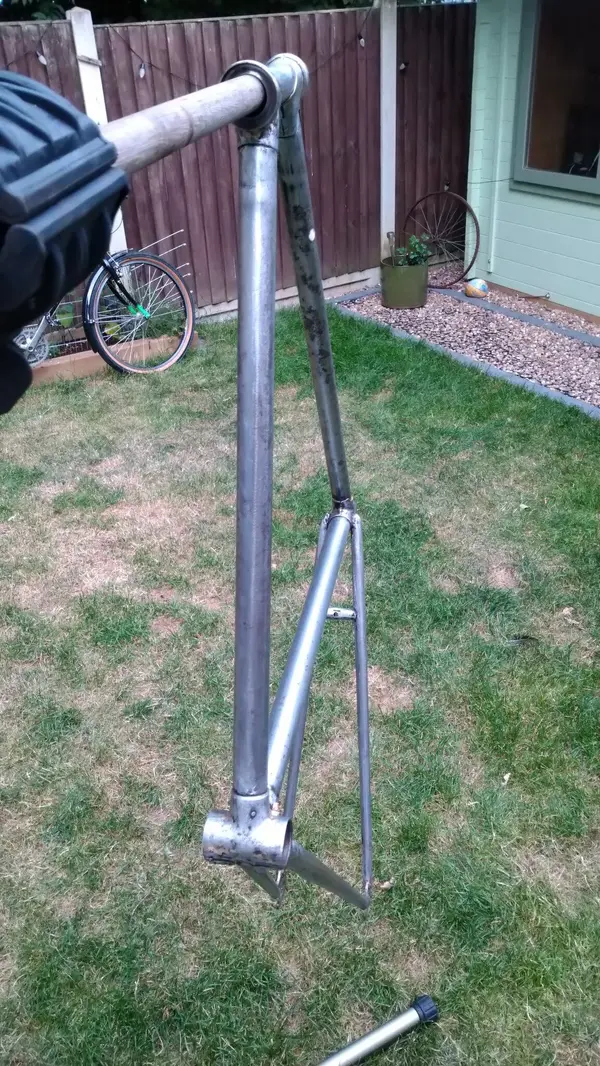
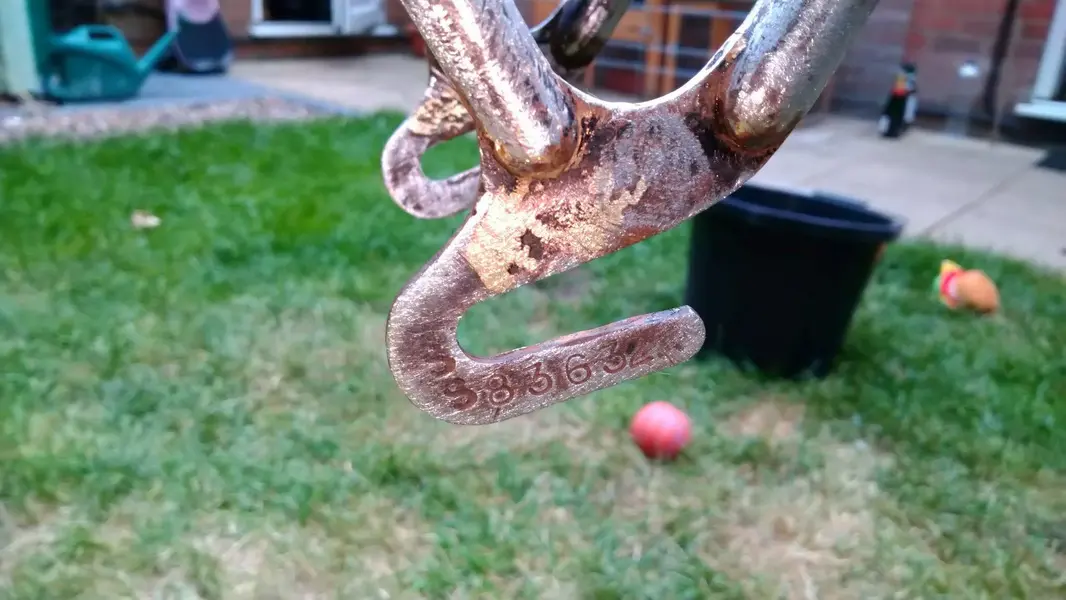
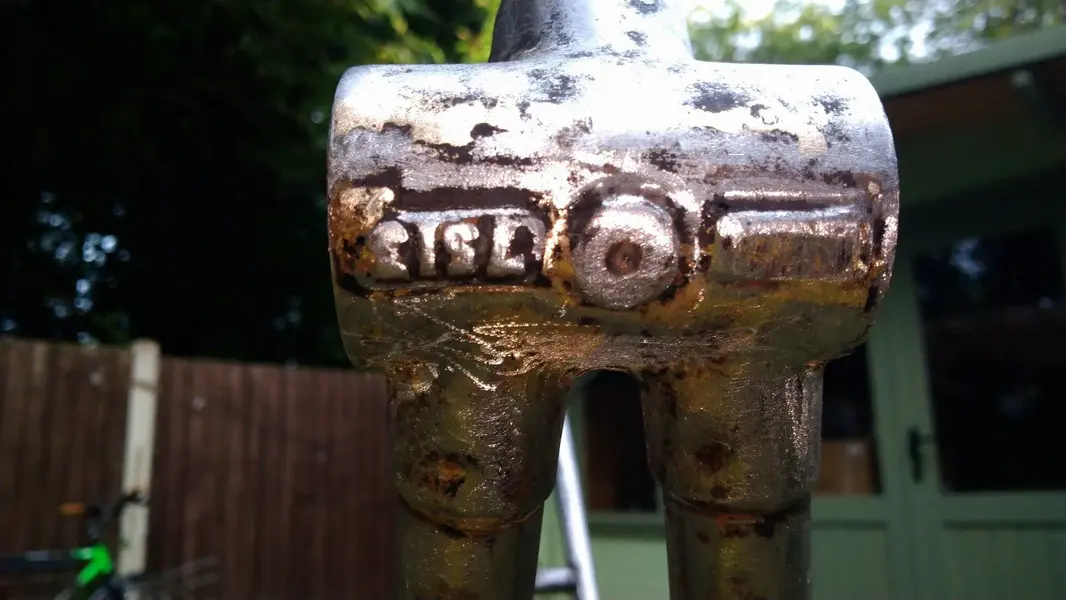
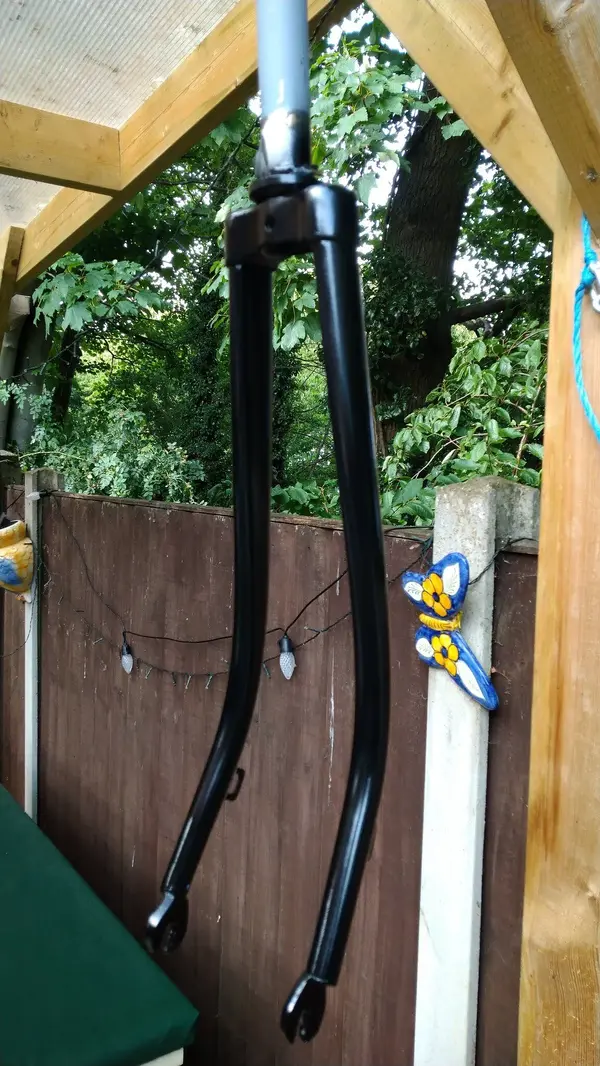
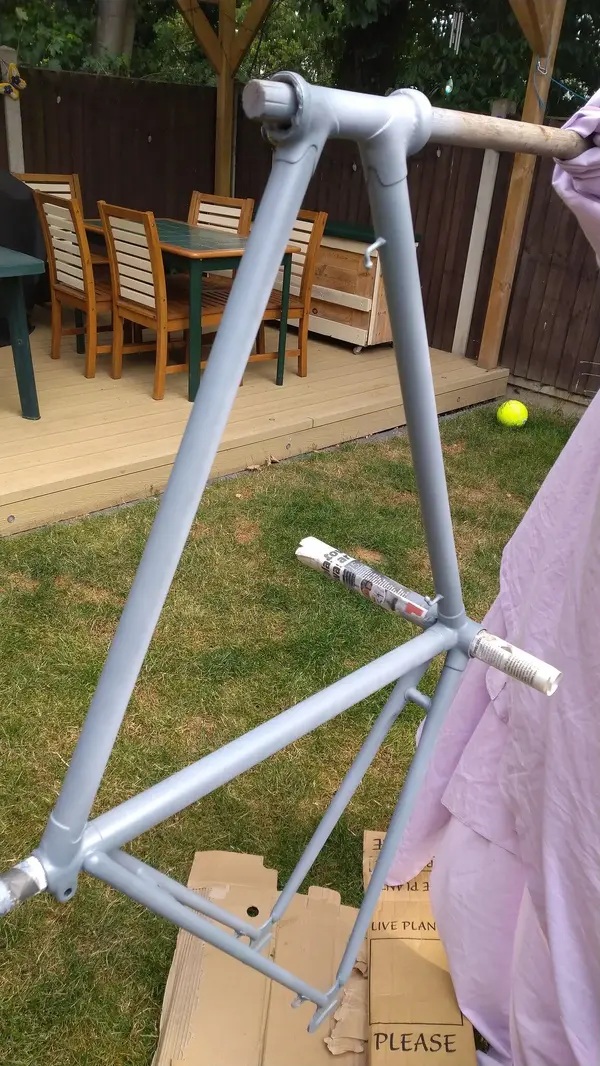
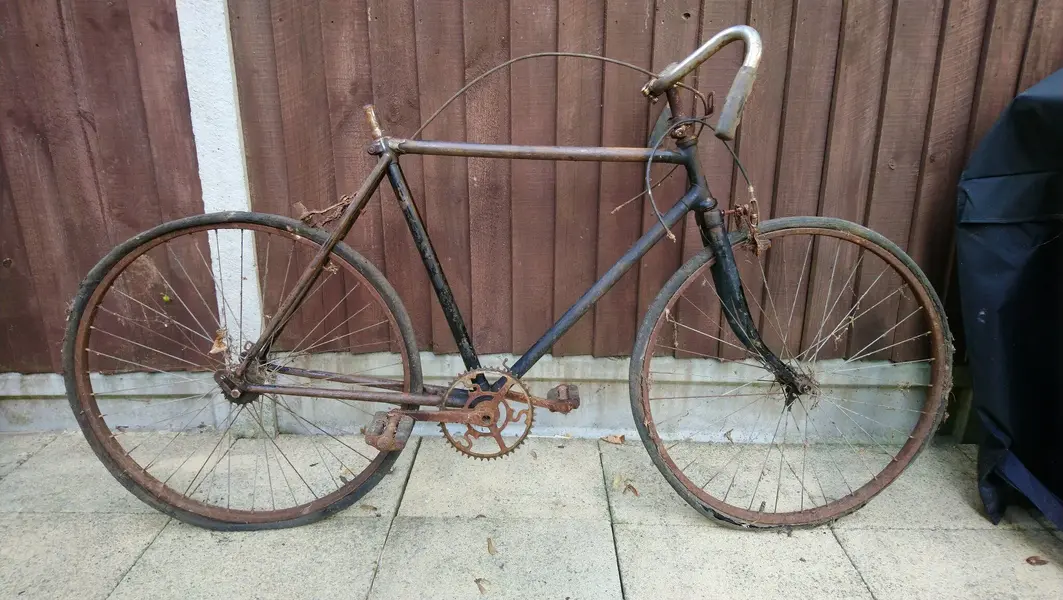
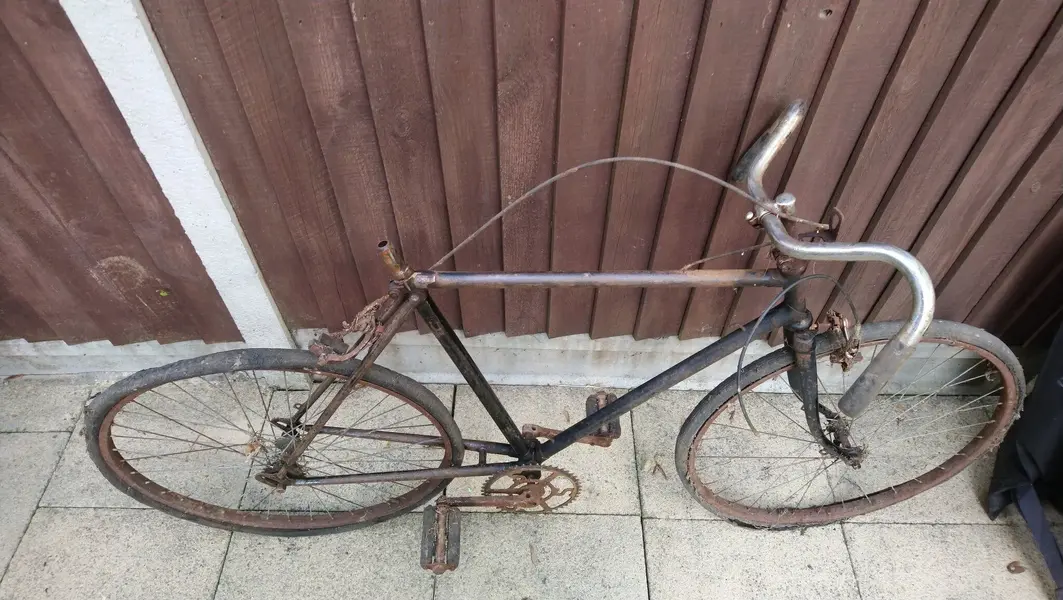
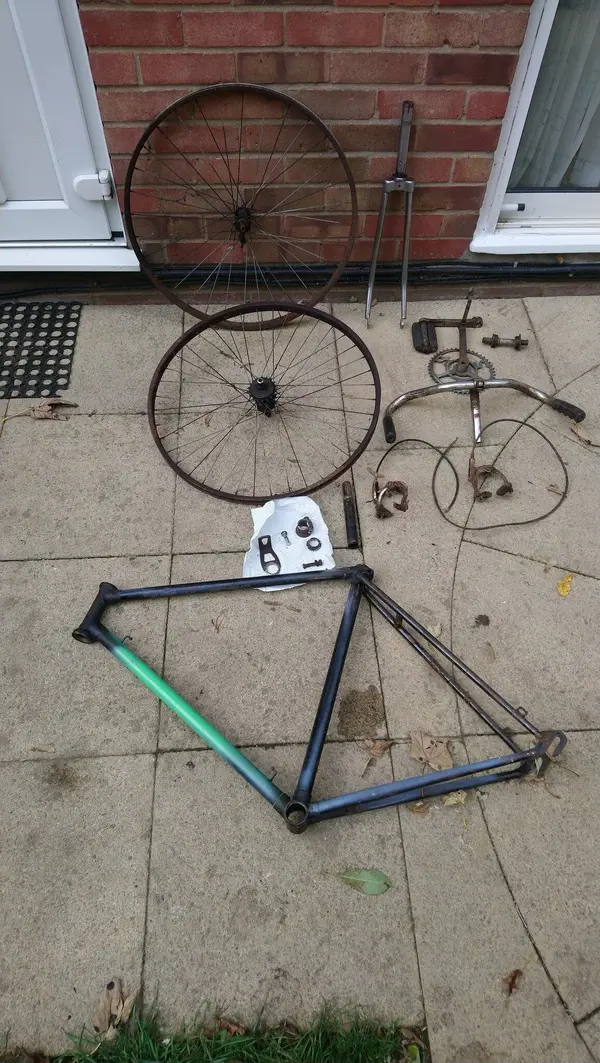
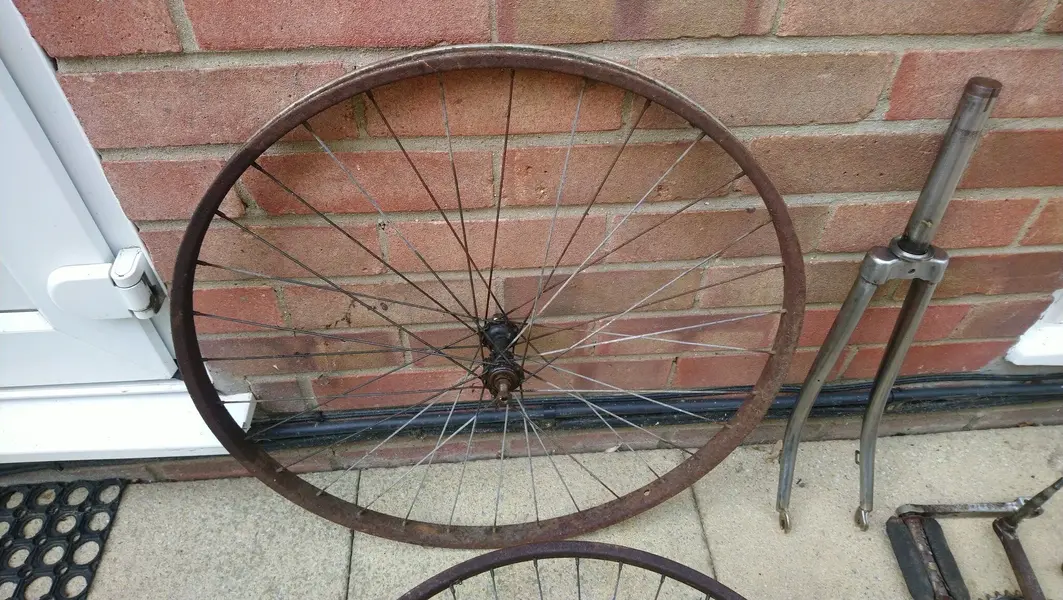
This is my father-in-law’s old bike that he bought when he was 13. I was given the bike by his son who had it for 20 years in his garden shed and he had planned to restore it to a working condition but recently concluded that he wasn’t going to do anything with it. I had reservations as it was in a bad way but if the post, stem and bb would come out, then it had potential. Interestingly enough it has a 110mm rear drop out, 90mm front drop out on the forks, and takes a 26 x 1 3/8 wheel. Frame and forks weigh in around 4kg. Plan is to strip off the paint and see what condition it is in and go from there. I will keep it single speed (flip/flop hub) but not sure whether to try out 700c or to stick with the 26 x 1 3/8 size wheels which I have found on eBay with the correct hub width for a reasonable price.
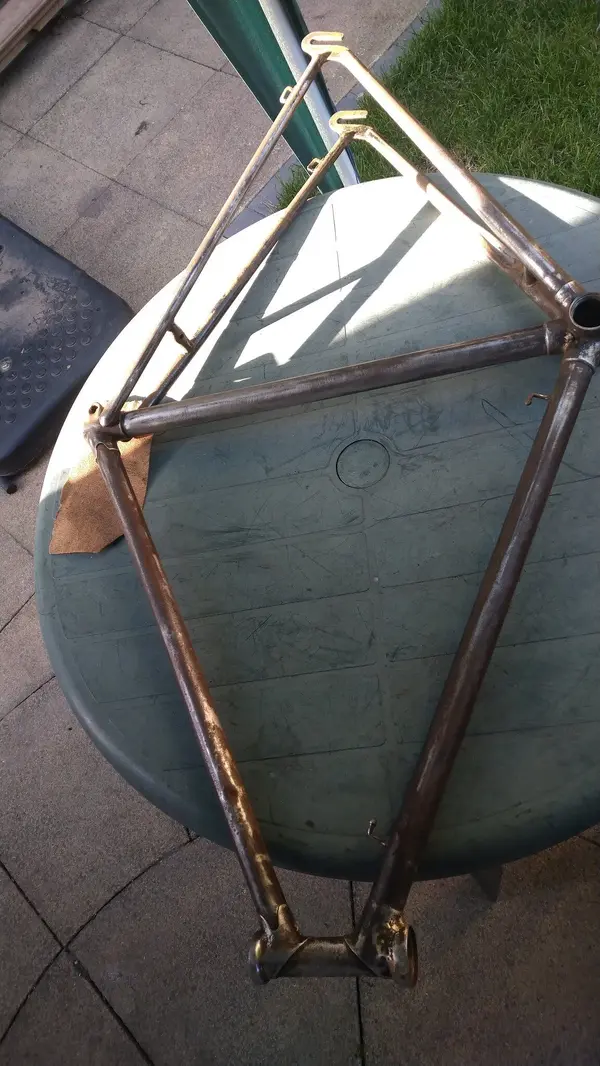
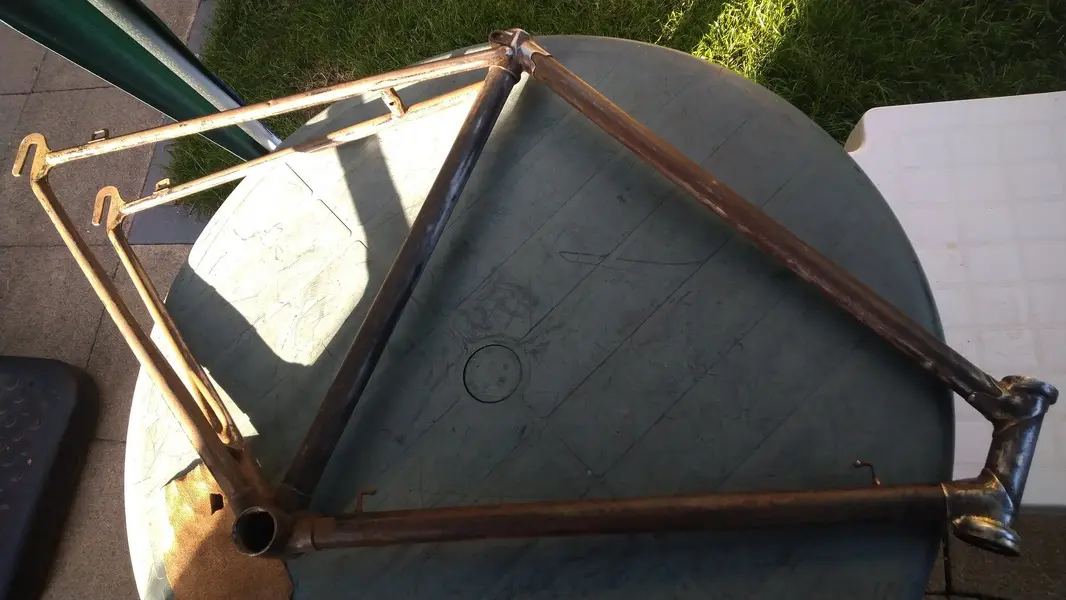
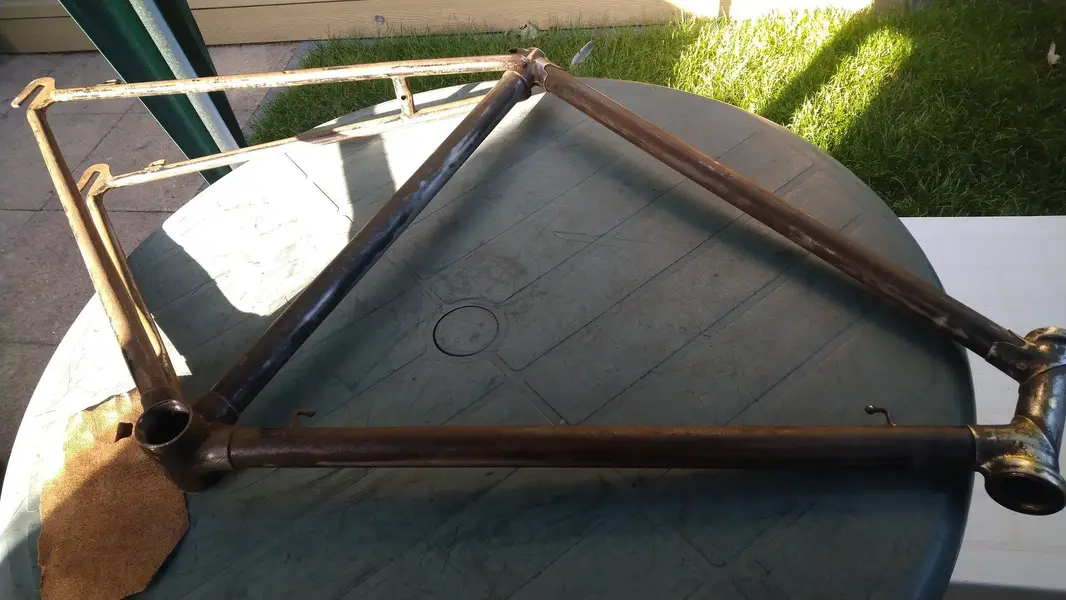
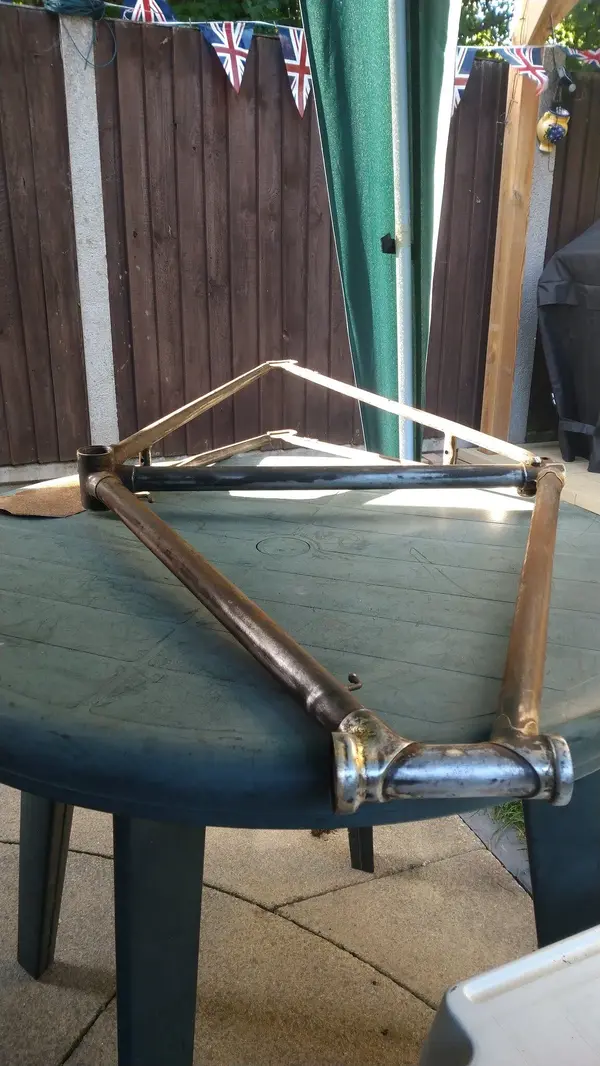
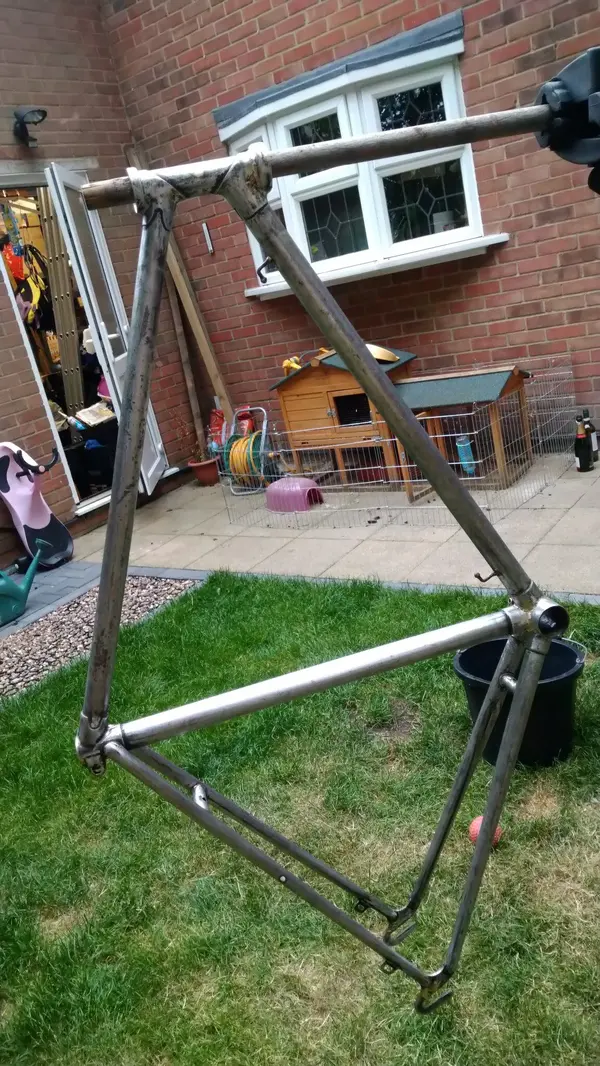
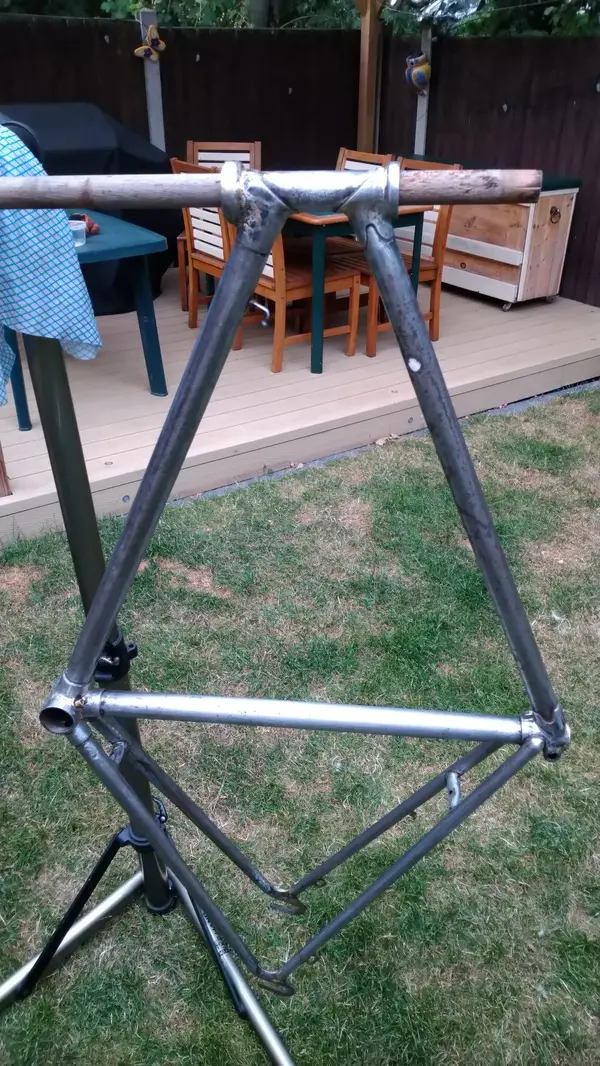
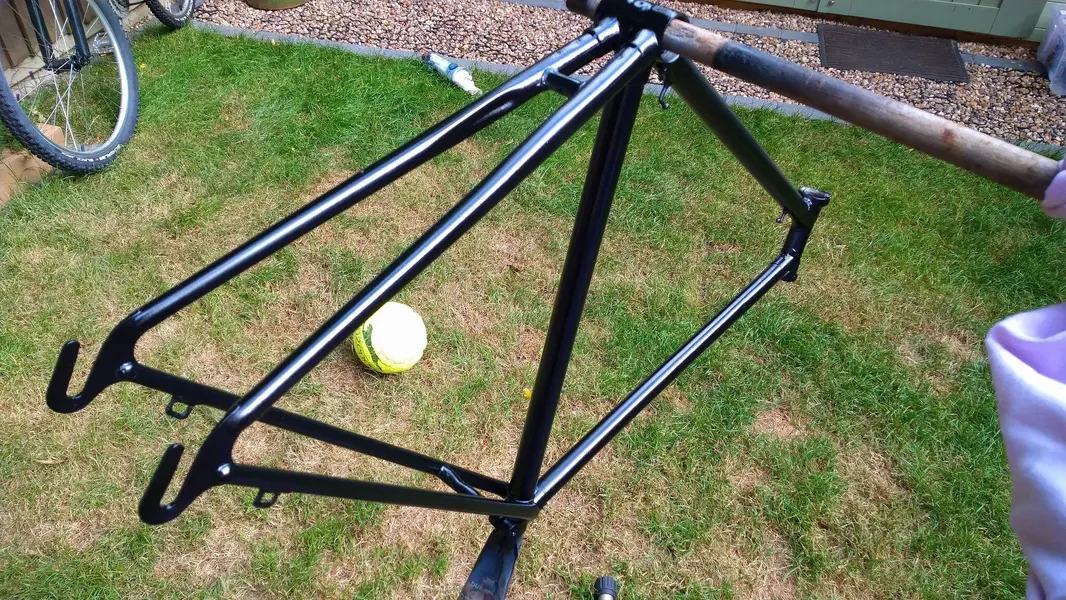
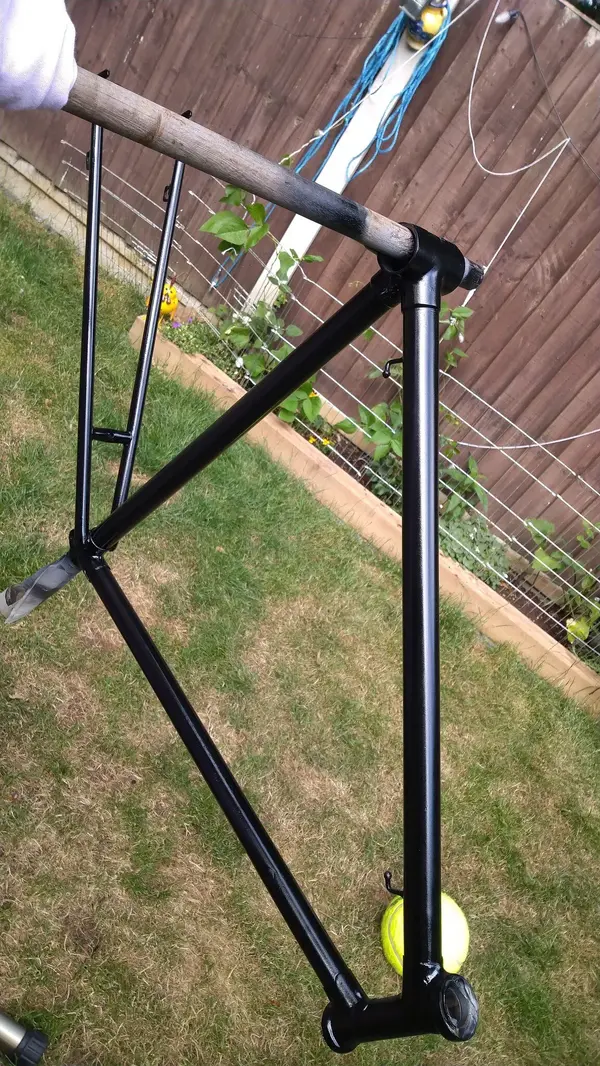
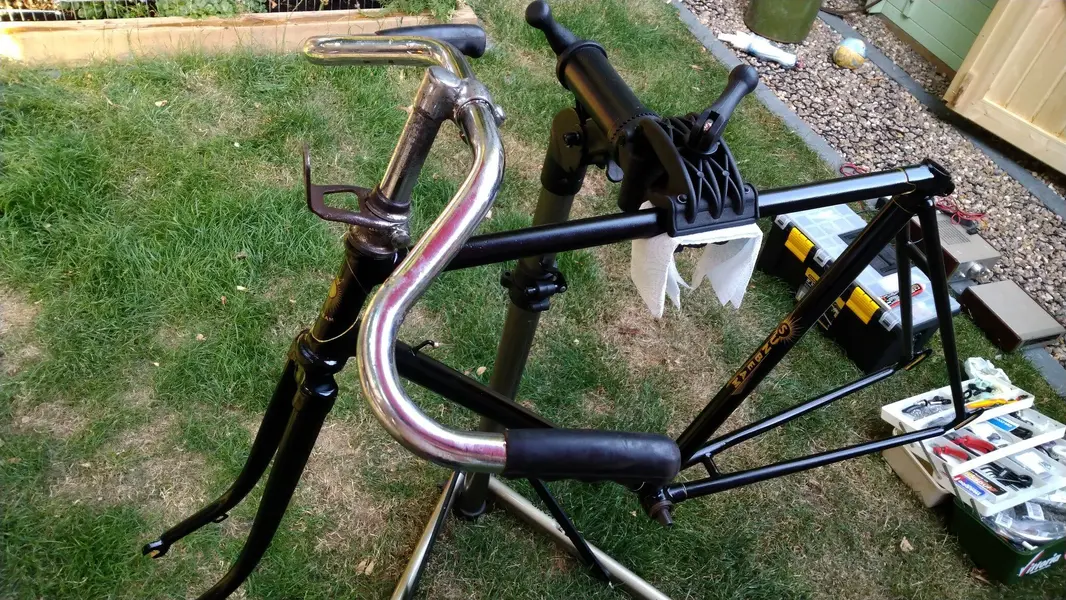
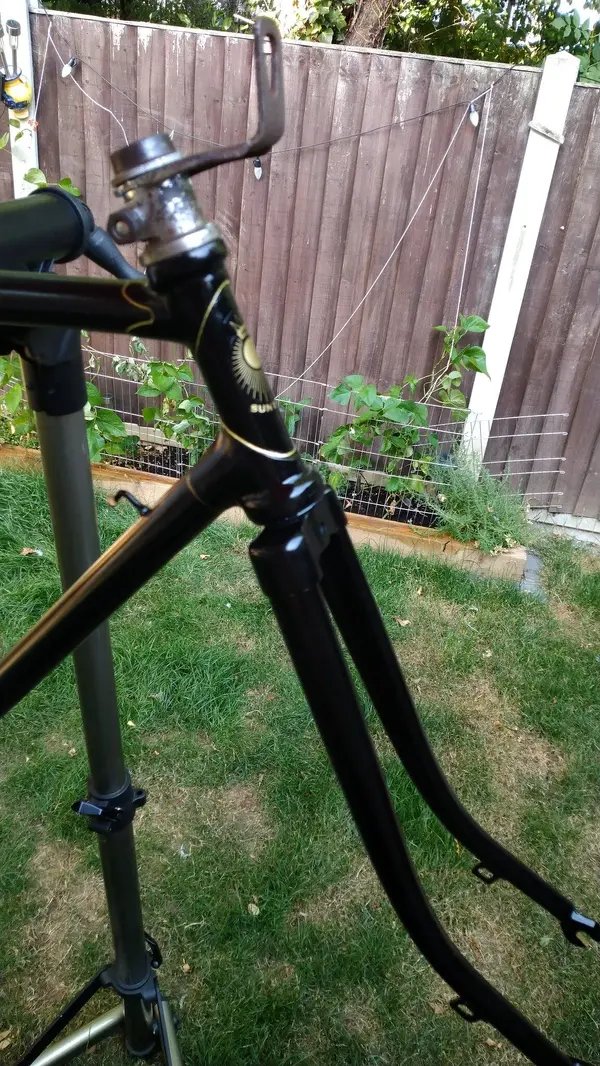
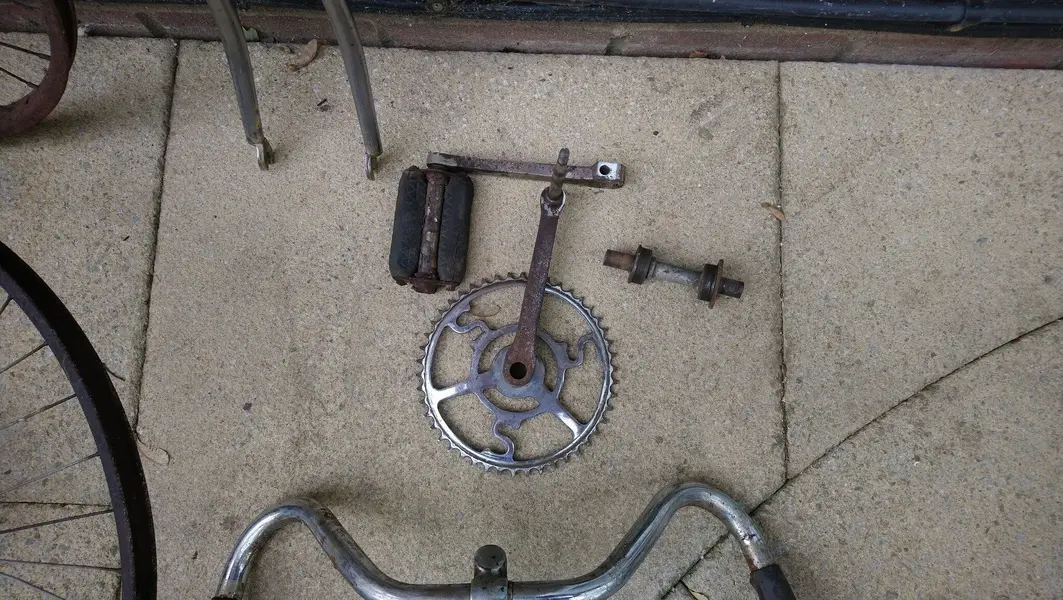
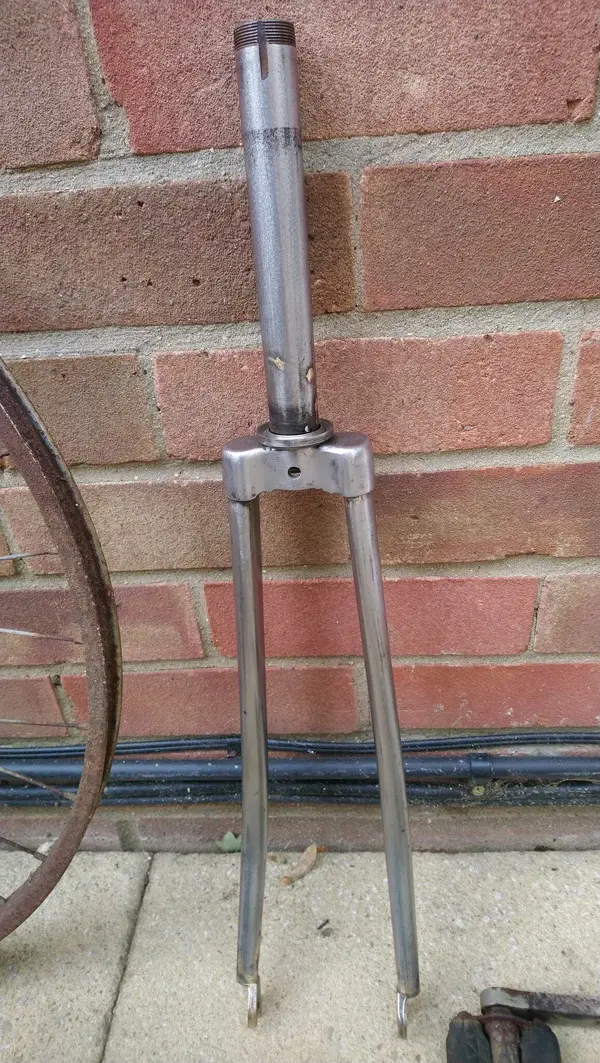
All the bits came off okay with help from penetrating oil. The pedals are stuck in the cranks and will need work but I will probably go for a cotterless crank and bb. So far the forks have come up well after sandpaper rub down. Next will be working on the frame.
All the bits came off okay with help from penetrating oil. The pedals are stuck in the cranks and will need work but I will probably go for a cotterless crank and bb. So far the forks have come up well after sandpaper rub down. Next will be working on the frame.
Attachments
-
 B98FE4B0-C7F6-47F9-A28F-F5508F824E69.webp430.2 KB · Views: 55
 -
 F88E744D-AE9B-400E-BC69-D57F34AC97BD.webp405.3 KB · Views: 51
 -
 99951DAA-50A4-4EA4-BC02-F2F1C4902A90.webp553.7 KB · Views: 48
 -
 92D65B7F-048D-457A-B013-3D9237DE7531.webp691.5 KB · Views: 44
 -
 80FFB2AE-EB72-4A2F-A6BB-A43F2639C3F1.webp713.3 KB · Views: 41
 -
 D152EB91-0436-4CBD-B518-5E9114B02CAD.webp648.1 KB · Views: 40
 -
 A951AB6C-4EE3-406B-A5A8-613C75CDC245.webp541.8 KB · Views: 39
 -
 965B795A-B4EE-48C8-8E8A-C5CCA24DB183.webp693.7 KB · Views: 52
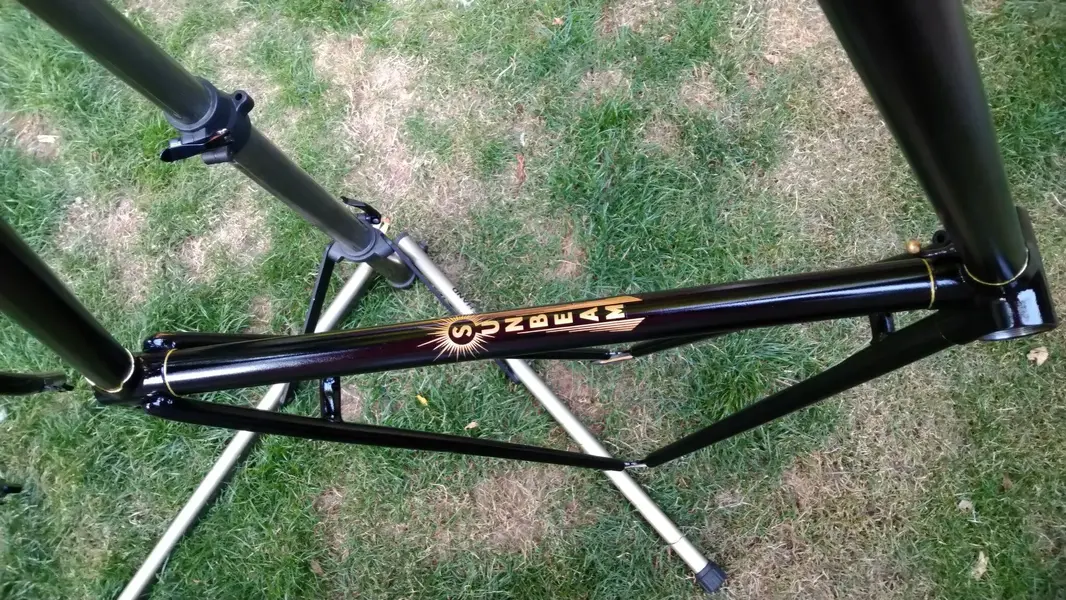
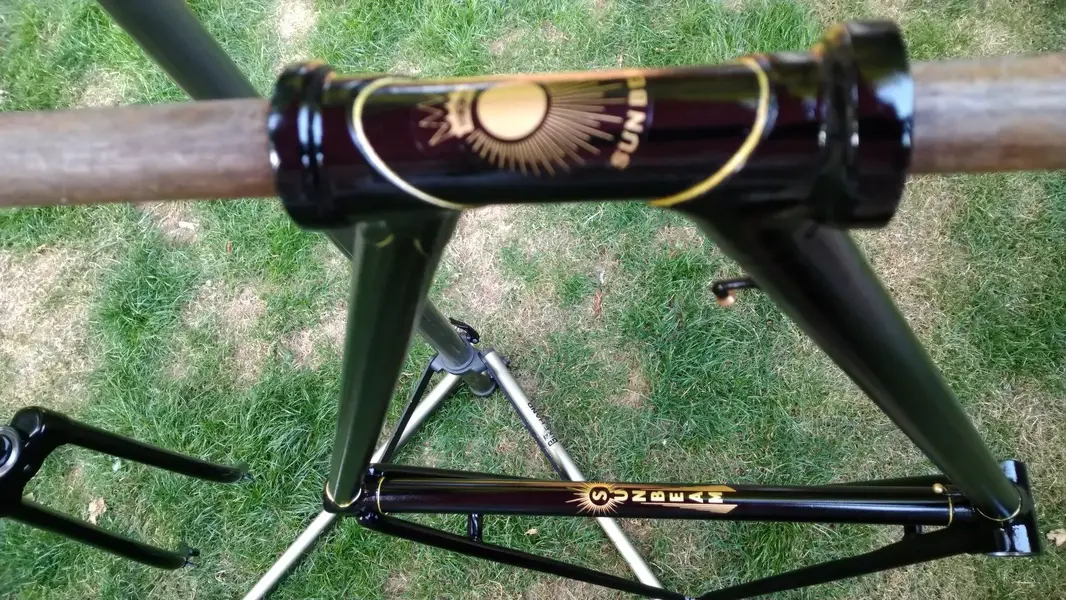
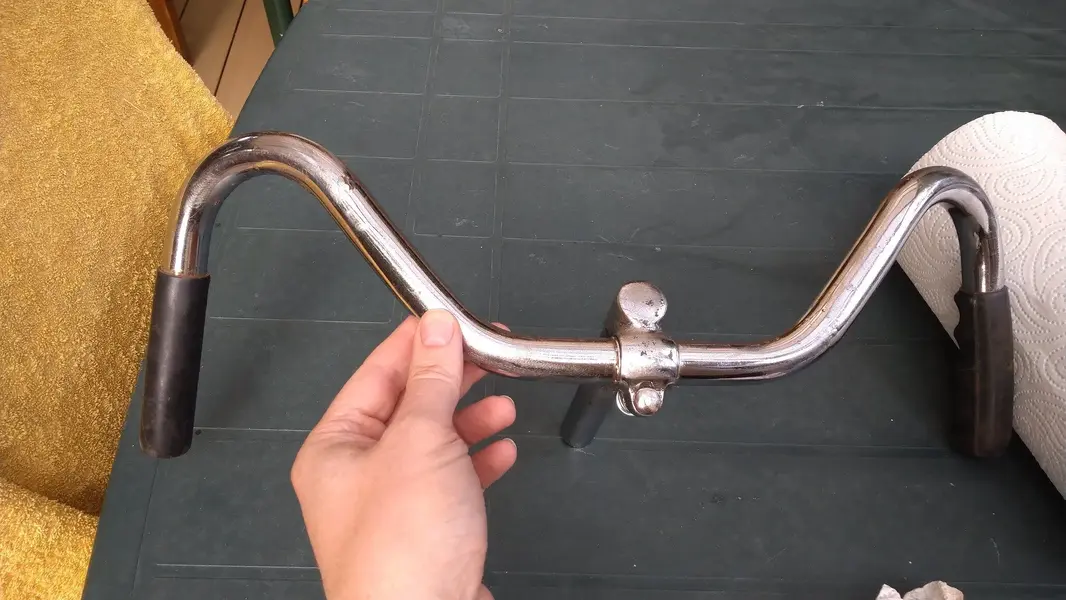
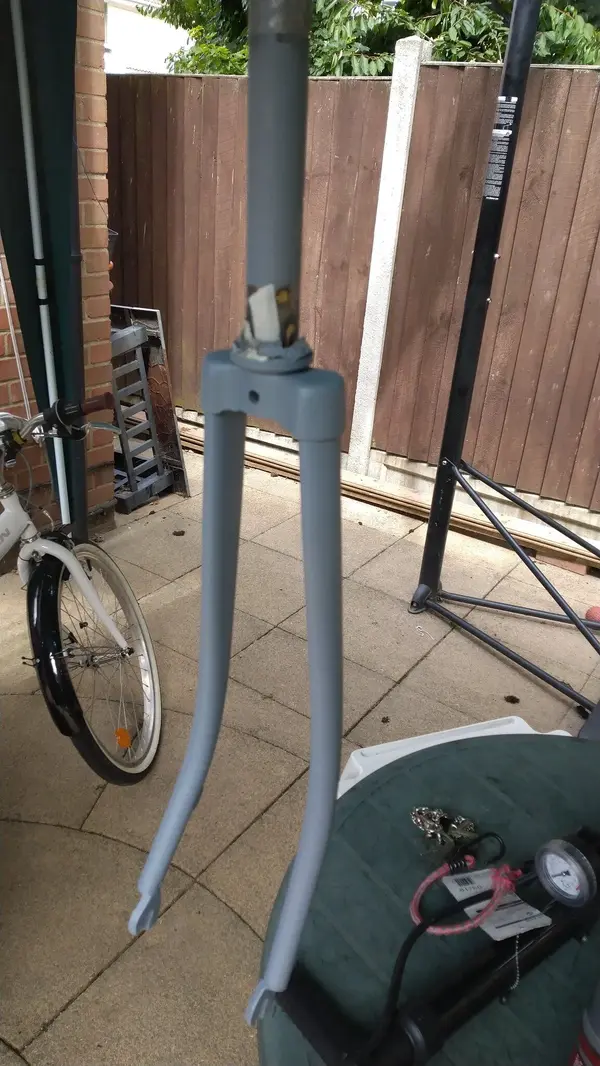
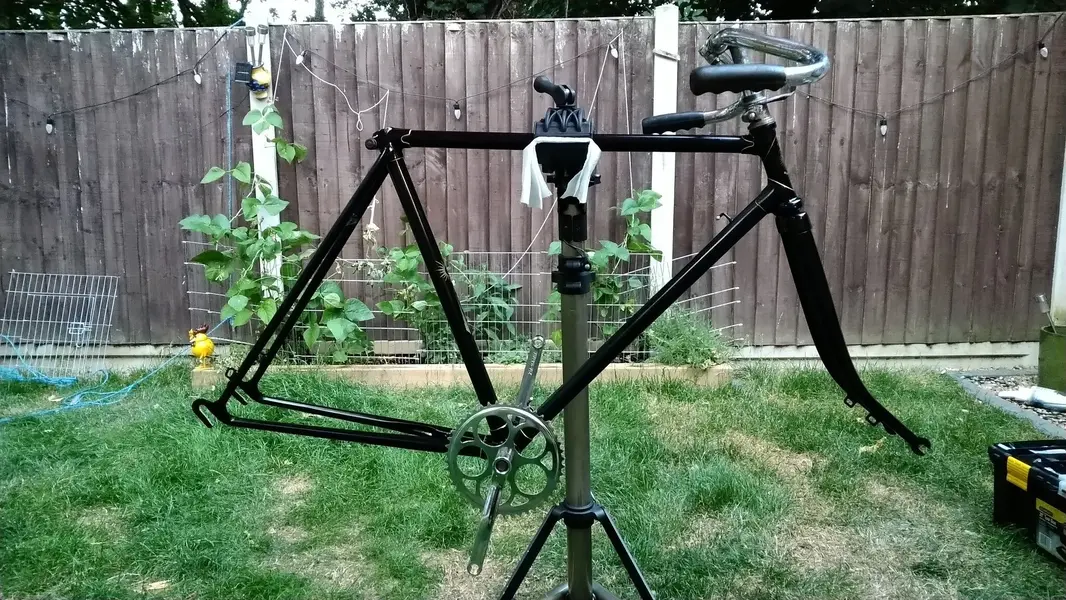
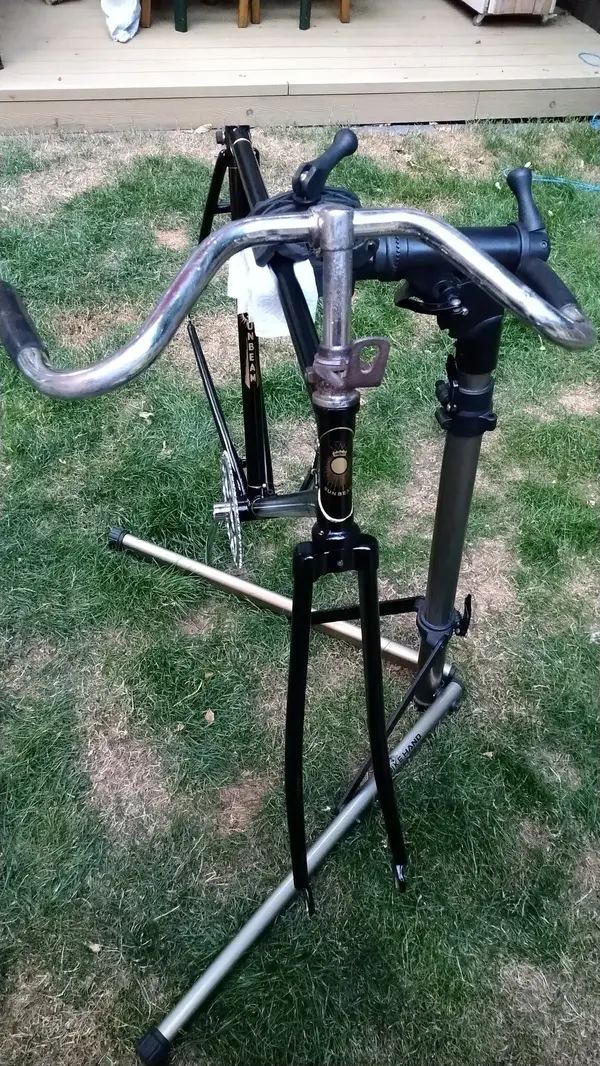
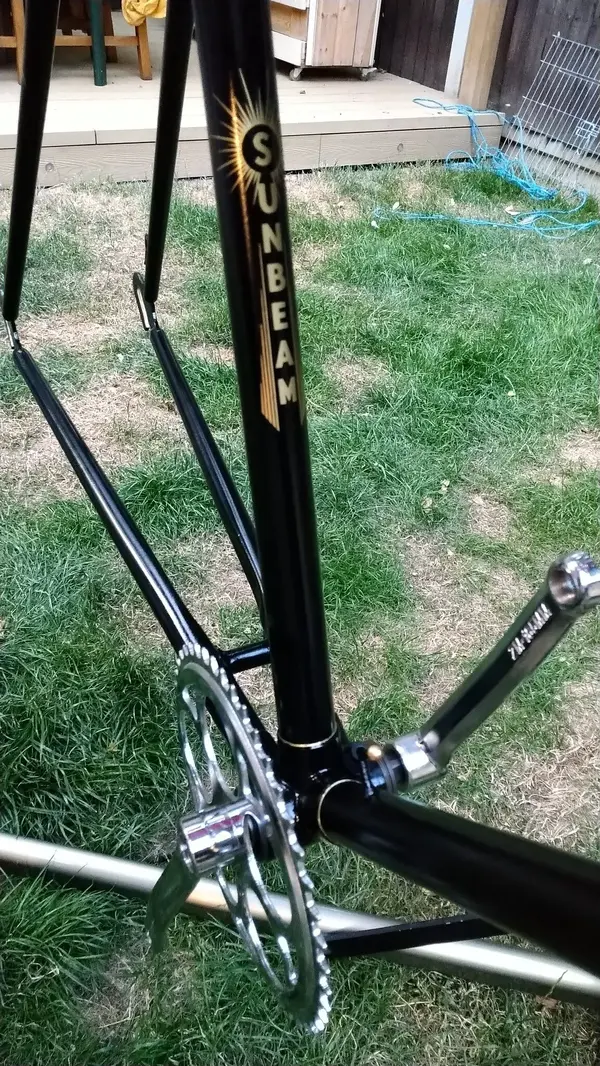
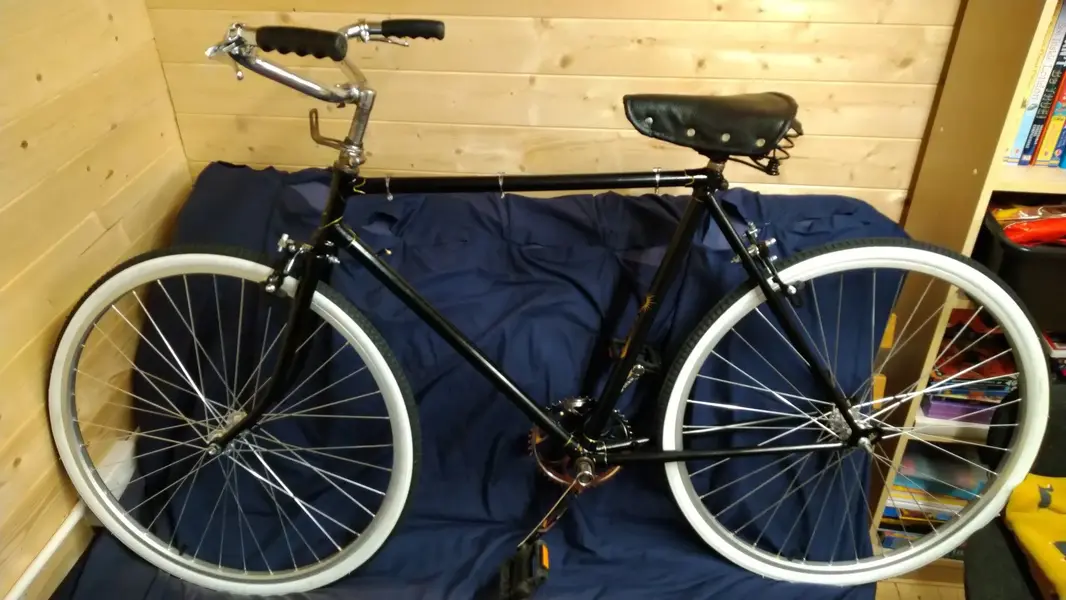
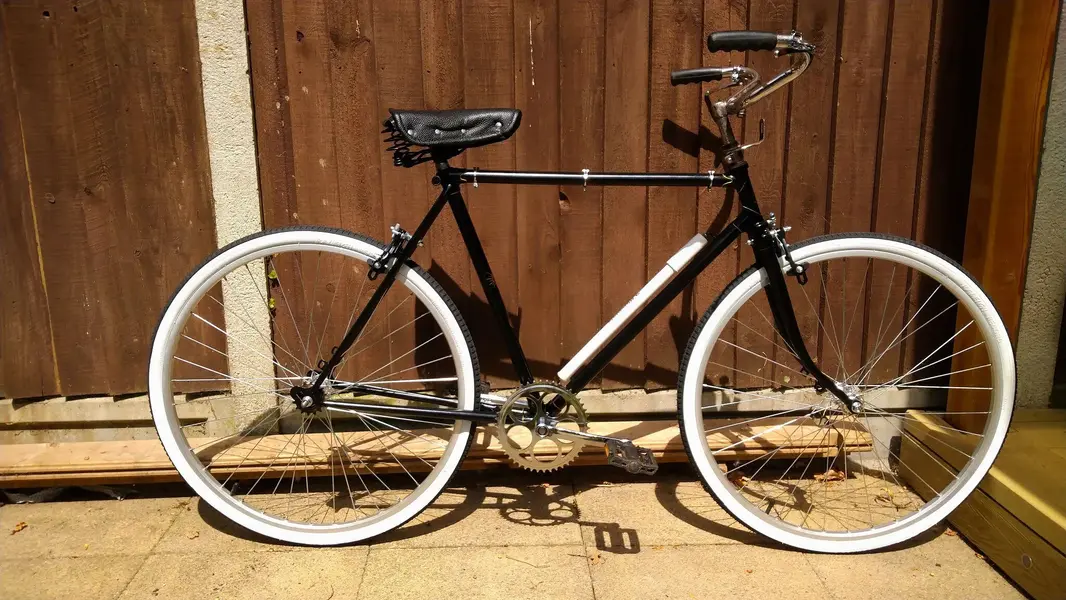
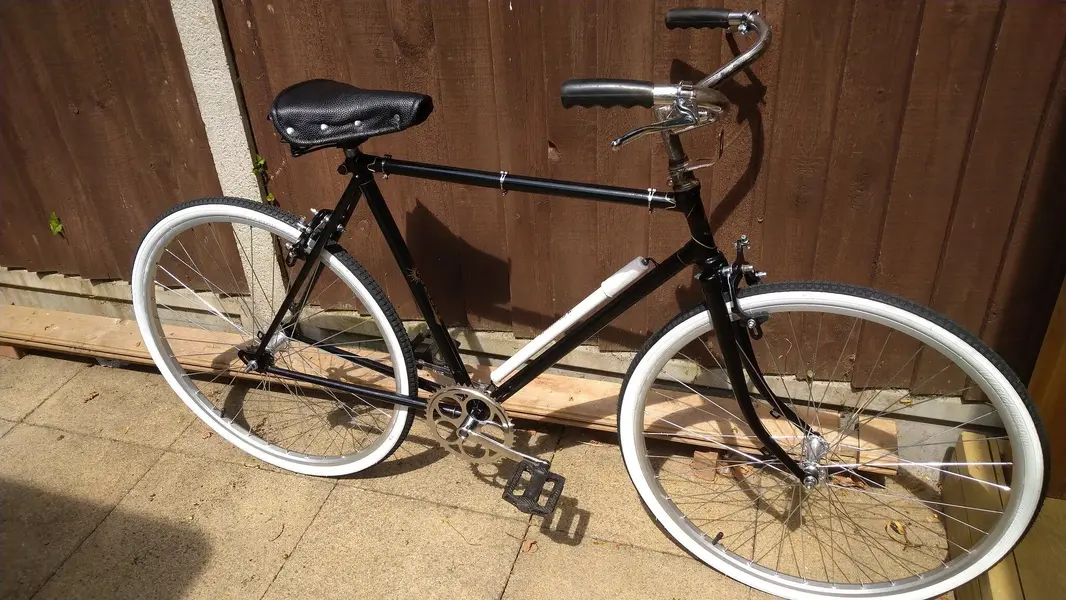
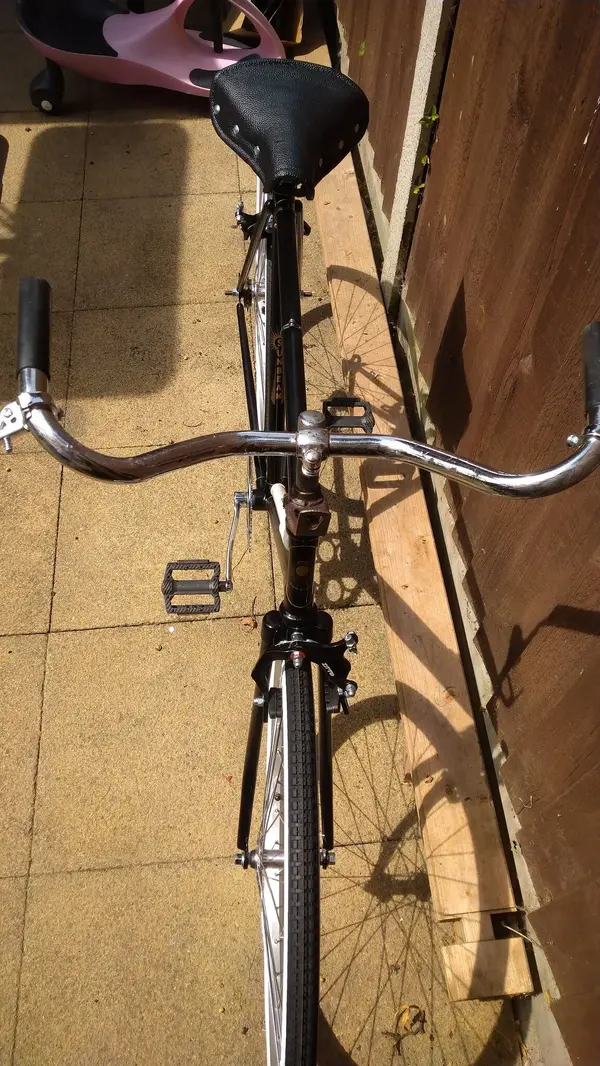
 . In the meantime, I got busy ordering the wheels - 26x1 3/8, rear 3/8 axle with 110mm and front was 5/16 axle and 90mm. Got a new pair off ebay with tyres from bankrupt cycles, with tubes and tyres for a reasonable price. Handle bars, stem, headset were cleaned up, firstly, left in cheap Morrisons coke for a week to remove and soften the rust. This did a decent job and it actually worked. I then used tin foil dipped in water to clean off the rust on the chrome. This helped keep the good chrome in tact and not damage it. I will leave it as is as it gives it some history and patina. The original side pull brakes were beyond a clean and repair and so I sort some off ebay. I would have like chrome or silver but could only source the correct drop cheaply in black. Got some period looking parts such as chrome levers, a chainset a springy saddle off ebay too. I got a gold metallic pen to line the lugs and I sourced some period decals off H Lloyd website, applied these when the paint had hardened sufficiently and applied a couple of coats of lacquer. Built it up and just need to add cables. May go with white to match the white walls.