Scratching That Polishing Itch..1992 Orange Aluminium Elite

Re:

That is a proper job, I've just started sanding mine so it's good to see what I'm working towards.
 
I'm way behind you guys. Currently working on a modern bike we're about to sell & have 2 full builds & 3 to finish off ahead of this. Will no doubt flit between them as the mood takes me.
 
Re:

Peachy!":3925fi0d said:
abr303":3925fi0d said:
Peachy!":3925fi0d said:
Very well done, proper job... what final polish are you using? MAAS?

White Diamond.... Have been meaning to try MAAS as my current bottle of WD has nearly run out but has lasted over 3 years... It's very popular in the motor trade and to be fair, I have always been happy with the end results so I've ordered another bottle for now :LOL:

MAAS has the bonus of smelling of lavender.... it means I can get away with polishing in the house!

I'll have to see if I can get away with that.... White Diamond smells of vanilla and the high shine finisher smells of cherry so happy days! Think I'm onto a winner on the house front :LOL:

prezza":3925fi0d said:
That’s an outstanding result!
You’re defo ahead of me on this Elite resto race! Haha

I normally use Autosol then polish with autoglym but am thinking of trying MAAS if you think it may seal even better?

Great work and as I’m sat having my first brew of the day it’s sparing me on to revisit mine again this aftey! :D

It’s nice to see that the hours you’ve put in have resulted in a finish that Captain Phasma would be proud of!

I find Autosol a tad on the abrasive side even when finishing off with another polish and wouldn't mind giving MAAS a go in the future.... Really happy with WD currently though and with it's built in sealants, the lustre does last ages. Granted I've never used my Zaskar and its a wall ornament but the finish is still sweet even though its been a few years since I did it and not applied anymore since. The sealant works and the finish has not faded at all bar a little dust so I can't complain really. :cool:

rwm1962":3925fi0d said:
I'm way behind you guys. Currently working on a modern bike we're about to sell & have 2 full builds & 3 to finish off ahead of this. Will no doubt flit between them as the mood takes me.

Wow busy busy mate.... I suppose one of the benefits of being furloughed is having the time now to get things done.... I'm flitting between this build, servicing and rebuilding my dads old Reynolds 501 Claud Butler and my big love and passion for my Mk2 Golf Gti that's having a bit of a makeover :cool:
 
Aye - I'm loving furlough - good practice for retirement! Glad I've got most things in for the pending builds though as our dept at work is downsizing by 40% at end of June so may be time rich & cash poor!
 
enc":28yh7ly8 said:
come up like new :cool: nice job !

Thanks :) Looks like I’ve set the bar for the rest of the bike now so really hoping it will all turn out good in the long run :)
 
Re: More polishing and now with decals.....

Just a little update to keep the thread alive..... Things are moving slowly and progress a little slow as waiting on a few bits and bobs to move things forward. There will probably be a few small updates in the meantime and hoping to get the Pace RC-35's finished as I have most of what I need now so I'll do a little break down on that as it happens.

So, it was decal time and to be honest, it's bit a love hate affair when it comes to this.... I love the end result but sometimes lining them up evenly and straight is more stressful than I sometimes care to mention :LOL: Preparation is the key so before I even started to strip the lacquer at the start of all this, I took some piccies, marked and measured the original decal positions and dually noted them down to try and ease the process along later on. Anyway, now with the frame ready or so I thought, I wasn't 100% happy with the finish and shine before fitting the decals so I decided to give a new 'high shine' finishing/detailing polish a go that I've wanted to try and voila.... much happier now though I don't think the images quite capture the increased lustre. Sorry again, post is a tad pic heavy :LOL:

ezIJwlal.jpg


vdzozVnl.jpg


nUP8buEl.jpg


JpXdKY1l.jpg


tf6nxwYl.jpg


XVI1GpNl.jpg


With that done and happy, I could now begin to get the decals on (thumbs up again to Gil@retrodecals for his usual high quality sticky items :cool: 
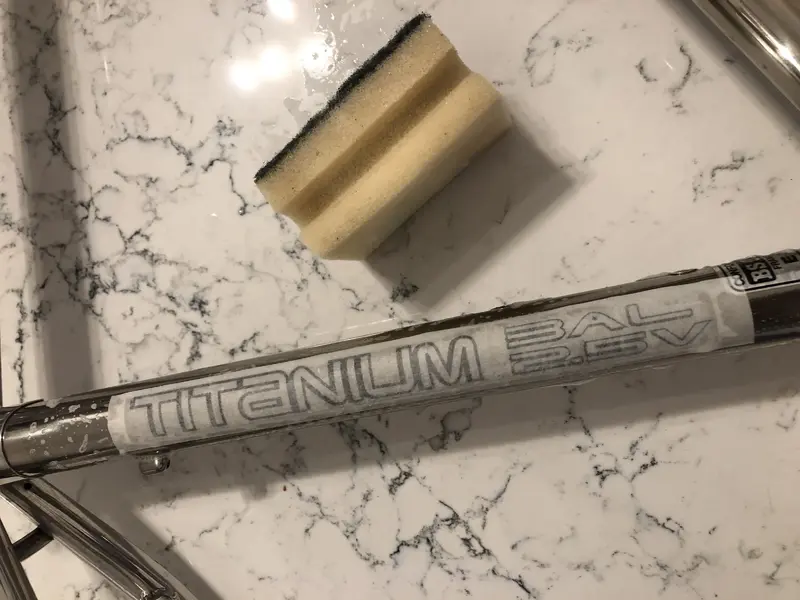
). It took me a couple of hours in the end (no point in rushing), measuring, marking, checking, checking again, prepping/degreasing the tube surfaces and warming up the decals and frame with a hair dryer aid adhesion so all good in the end. It's a point were I won't rush things especially as I've put a lot of hours into the frame already to balls it up with wonky graphics :LOL: It's now starting to come to life....

tlsQfvXl.jpg


GDugvQul.jpg


9qVgDRol.jpg


ClT4E5Ql.jpg


PMdehTul.jpg


ksZbwRfl.jpg


As mentioned, waiting on a few bits and bobs but an AliStalk stem has arrived with a spare set of RC-35's as I'm needing a 1 11/4" crown and steerer thanks to Ross (rwm1962). The headset is on route courtesy of Gianni (yanni71) with wheelset and seat post (big shout to Martin (Wadsy) on this one) shortly due but still needing to source a few other bits and bobs but I've more than enough to be getting on with in the meantime.... thats all folks :)
 
Top work, man after my own heart... btw (not that it matters now) but as Gil uses a quality permanent adhesive, his decals work very well with wet application. Gives you bags of time and the chance to move the graphics about... and I promise it’s a lot less scary than ‘going in dry’

viewtopic.php?f=6&t=405760&start=60
 

Attachments

  • 974CD06A-00FA-45BA-8C61-FDDEF0E043B0.jpeg
    974CD06A-00FA-45BA-8C61-FDDEF0E043B0.jpeg
    924.2 KB · Views: 213
Re:

Looking awesome mate!!!!!
I must crack on with mine soon as like you did, I’ve hit a bit of a lull at the eat ...sleep...polish... repeat phase!

What finishing polish did you use? Looks mint!!!!

Andy
 
Back
Top