Skynet
Senior Retro Guru
I fancy doing a Klein poster.
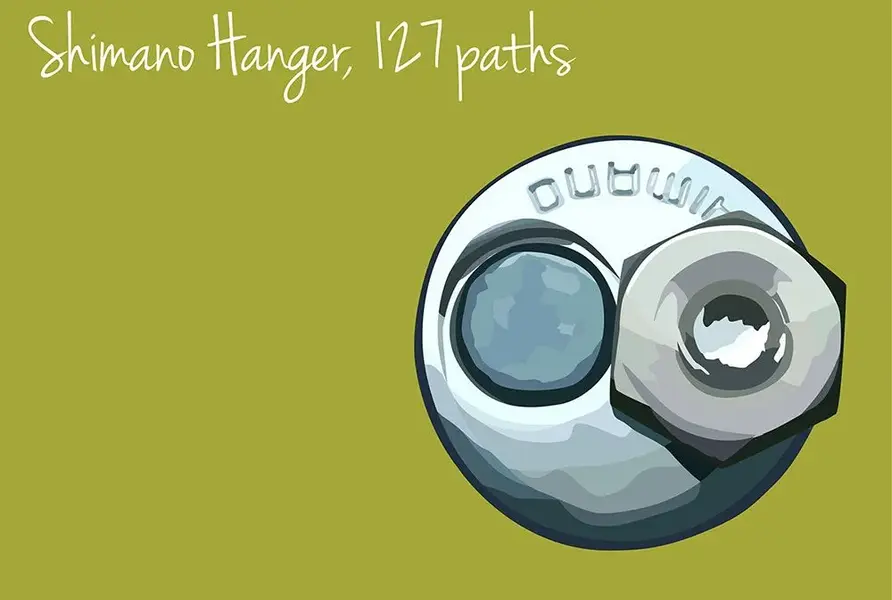
I'm going to do this one differently, I'm just going to use the pen tool and flat colours (not sure I can get away doing that for the frame fade yet). Makes sense for anyone who uses Illustrator or Photoshop, means nothing to anyone else.
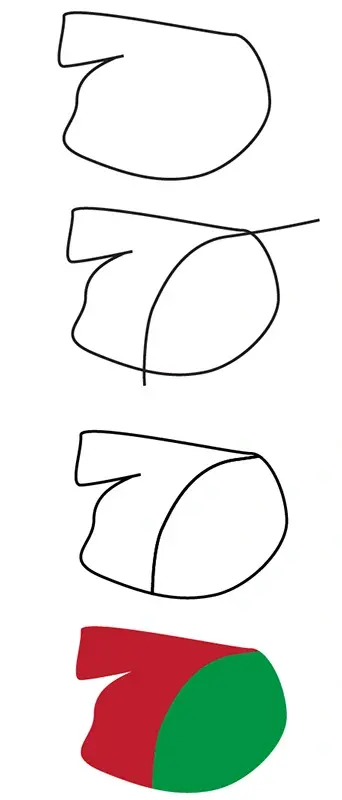
I'm using Illustrator. You start by drawing the basic basic shape, normally a number of them, then with the pen tool you break it down in to different areas of colour and dark & light. For each part you use Pathfinder Divide and then Ungroup to create new sub-shapes.
You keep doing that and you end up with a load of shapes that you then fill with a solid colour, no gradients etc. Each of the shapes you make is a called a path.
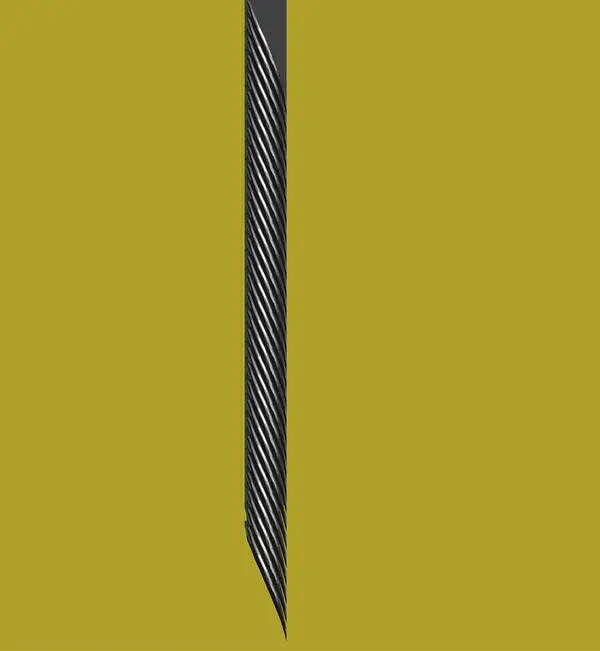
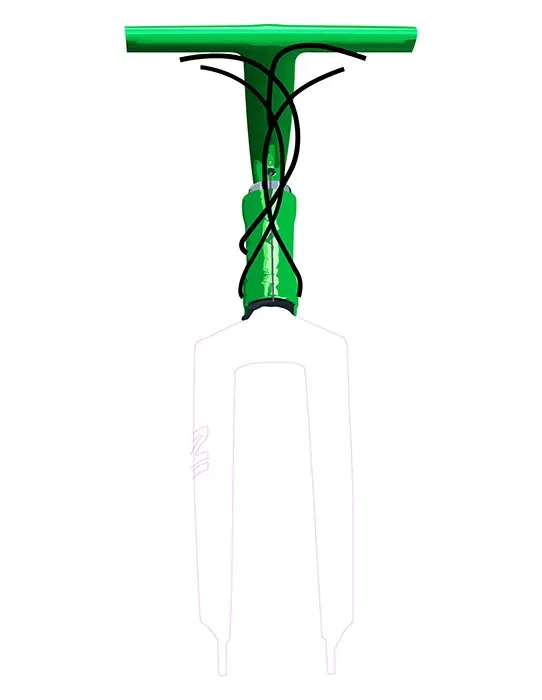
So the cable hanger took 127 paths. Shame I decided it's the wrong one so didn't completely finish it :facepalm: As with many paintings you need to stand back from it, or zoom out if on screen.
I could do the whole thing as one big picture but think I'll create all the main parts separately and put them together at the end. Don't really want to work with hundreds of layers.
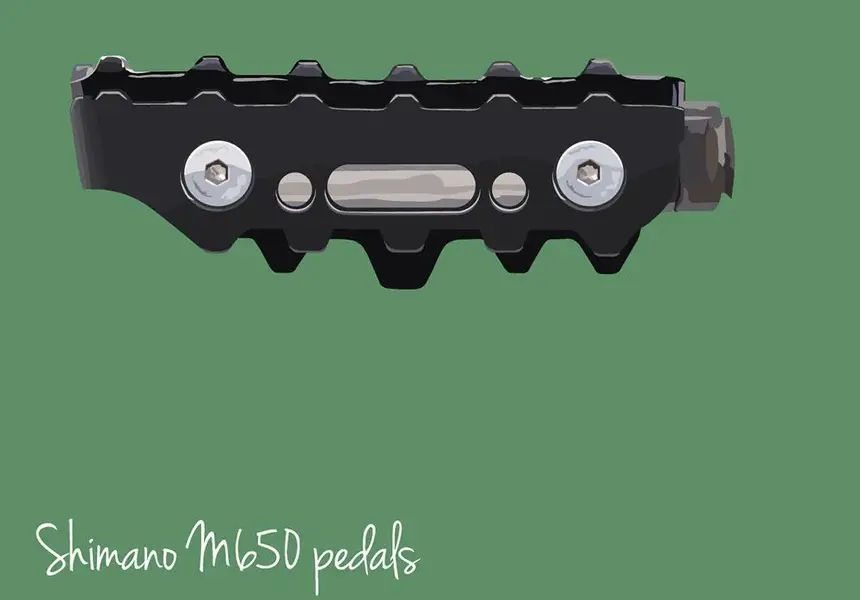
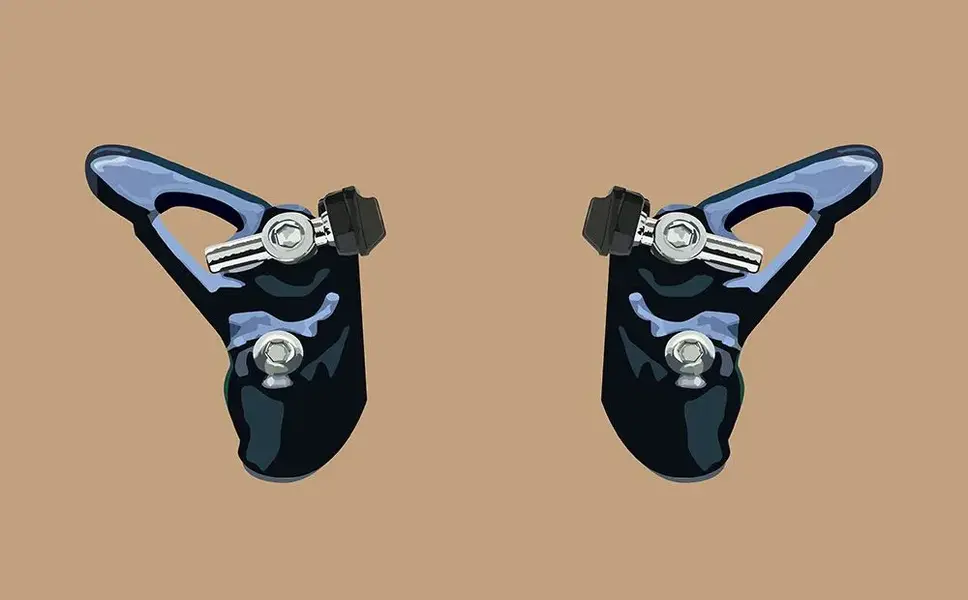
I'll add pics of the parts as I complete them in case anyone's interested.
I'm going to do this one differently, I'm just going to use the pen tool and flat colours (not sure I can get away doing that for the frame fade yet). Makes sense for anyone who uses Illustrator or Photoshop, means nothing to anyone else.
I'm using Illustrator. You start by drawing the basic basic shape, normally a number of them, then with the pen tool you break it down in to different areas of colour and dark & light. For each part you use Pathfinder Divide and then Ungroup to create new sub-shapes.
You keep doing that and you end up with a load of shapes that you then fill with a solid colour, no gradients etc. Each of the shapes you make is a called a path.
So the cable hanger took 127 paths. Shame I decided it's the wrong one so didn't completely finish it :facepalm: As with many paintings you need to stand back from it, or zoom out if on screen.
I could do the whole thing as one big picture but think I'll create all the main parts separately and put them together at the end. Don't really want to work with hundreds of layers.
I'll add pics of the parts as I complete them in case anyone's interested.