kjarrett
Retro Guru
Greetings all,
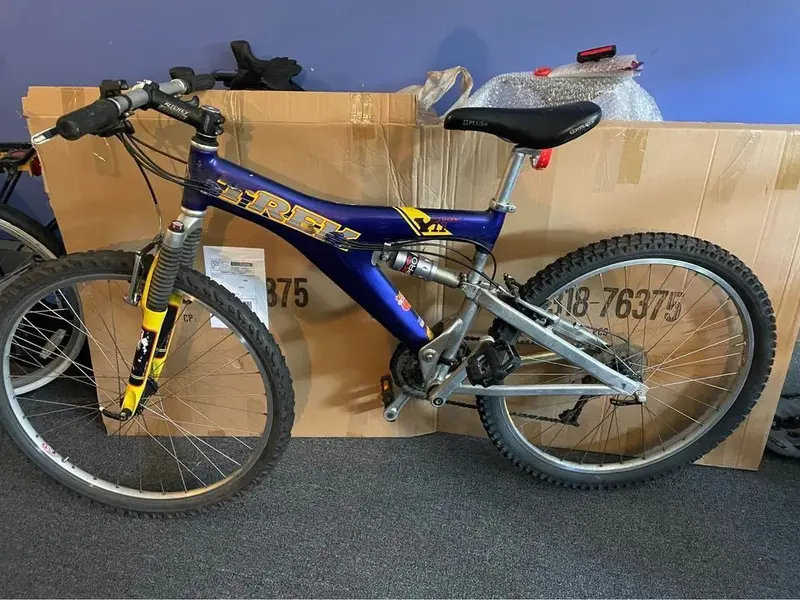
Popped over here after a Google search and found quite a few threads on Y-bikes so I thought I'd post about my current project. It's a '97 Y11 I got three months ago. Overpaid ($200 US!) but when I saw it I knew I had to have it. (This post is actually a recap much of which I've already posted on Instagram here: https://www.instagram.com/twozerodeltathree/)
Anyway, shock was blown when I got it, found a Fox Float RP2 on eBay and fitted that. Did a few other things (brake pads, longer stem, grips, other bits including some rare & correct carbon fiber Trek bar ends) and rode it happily (after disregarding so much hate from Internet folks who told me to burn in / throw it in the bin lol).
So now that it's winter it's time for a proper rebuild which began this week.
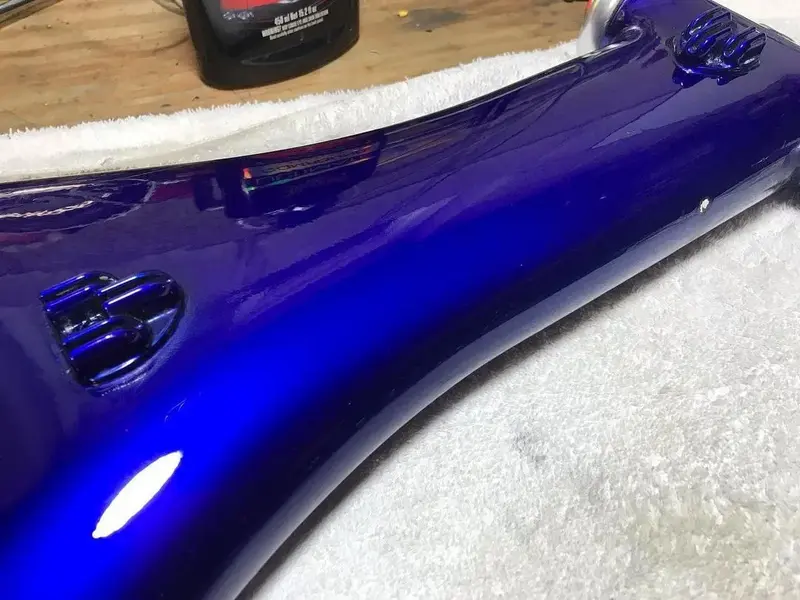
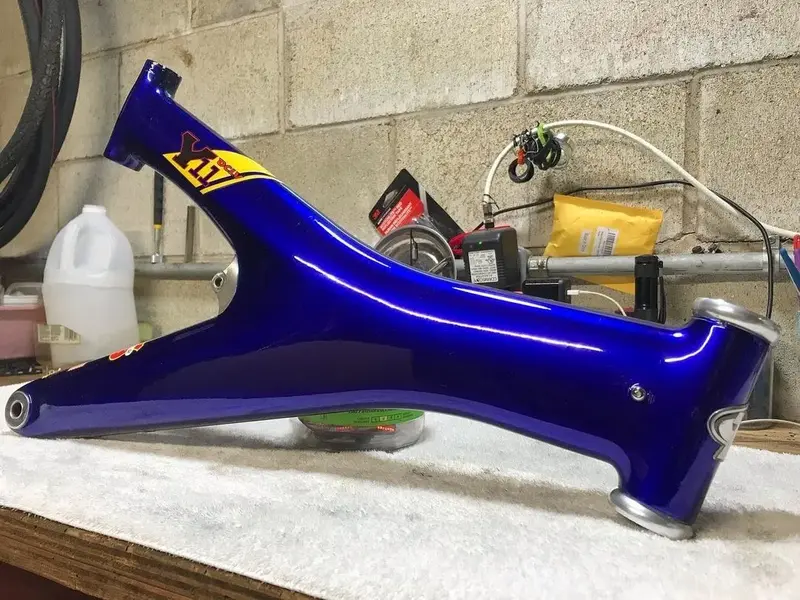
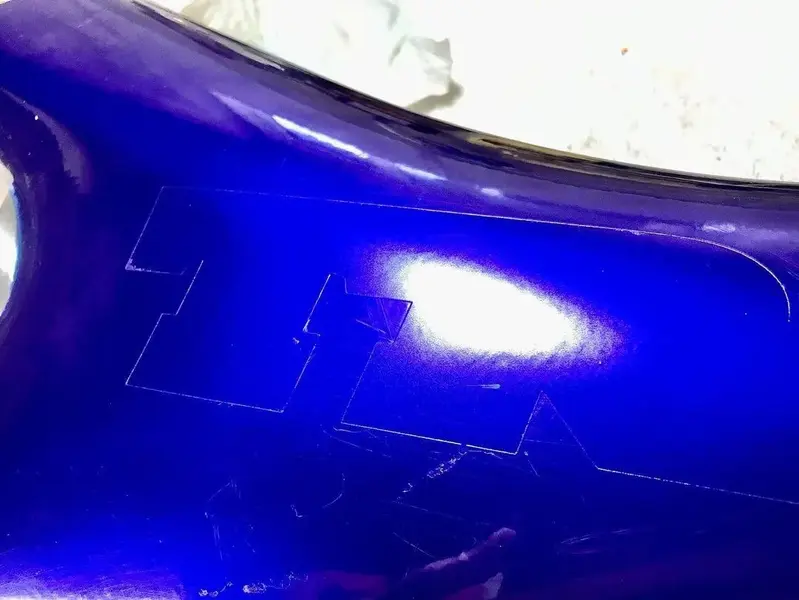
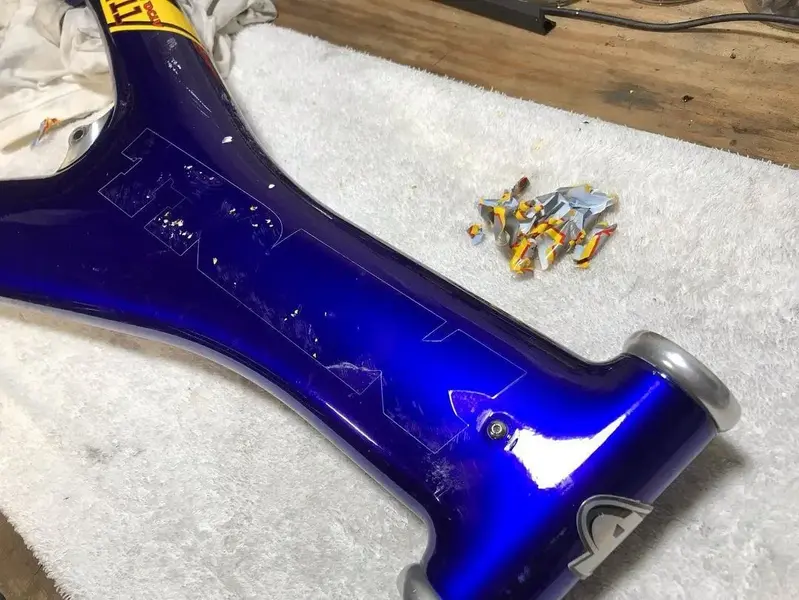
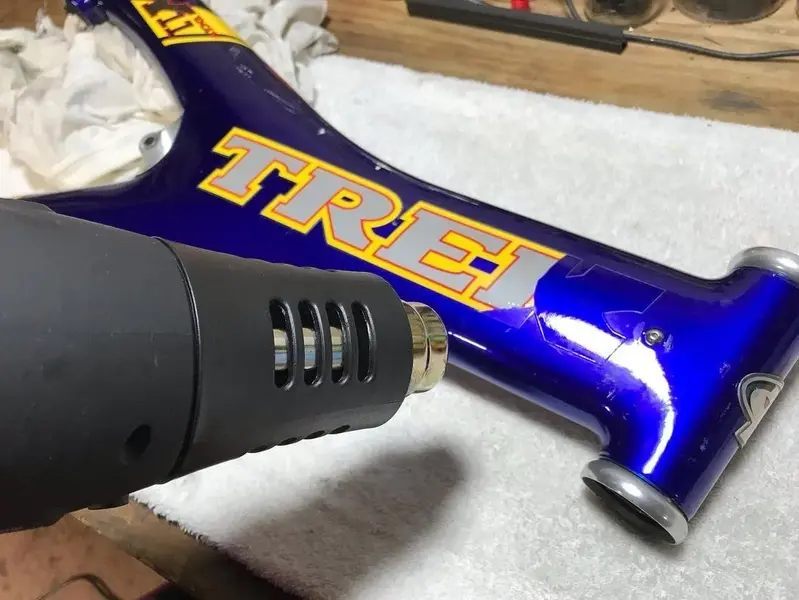
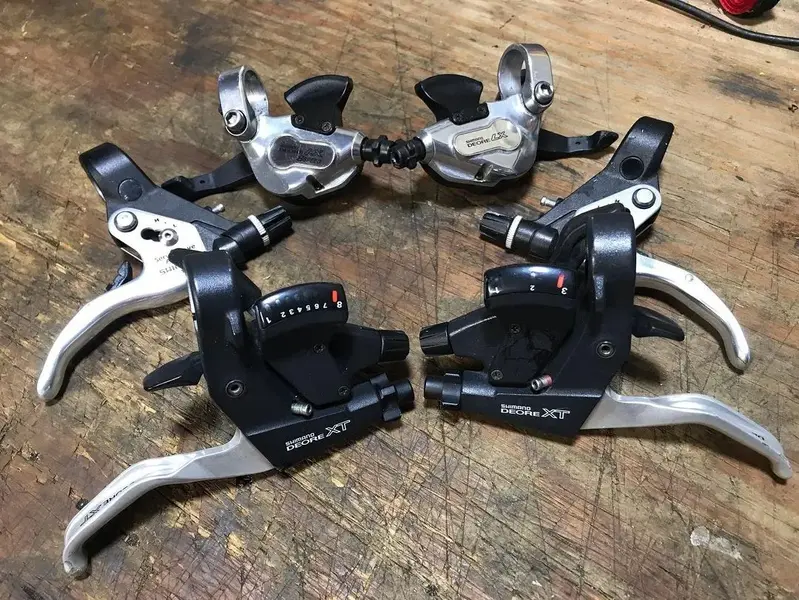
It's gone well so far; I've just rebuilt the Indy SL forks and replaced the elastomers, polished the URT and am now working on refinishing (polishing and decals) the carbon fiber monocoque frame. I usually get my decals from Gil at RetroDecals but this time I decided to give Velocals a go. Working through an issue with them now but suspect all will be right in the end (great customer service).
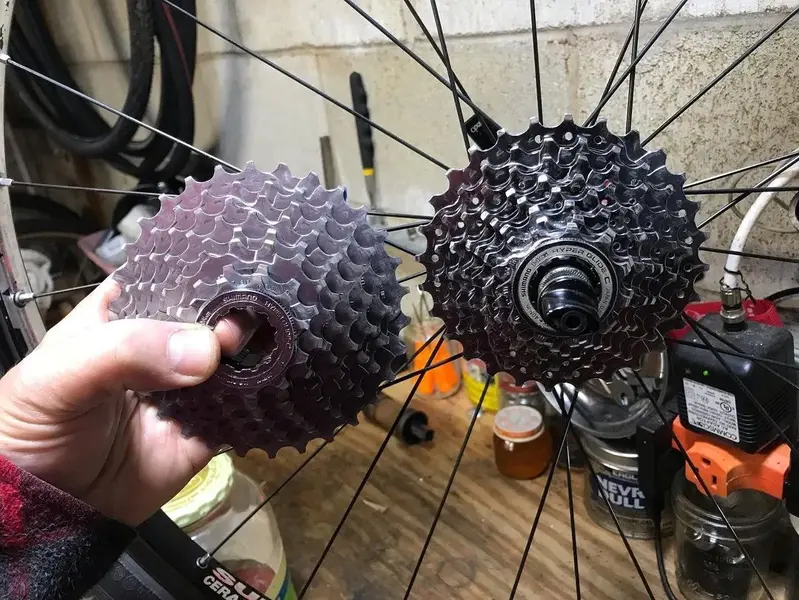
In the upgrade department I picked up (again, overpaid lol) a set of Mavic Crossmax MK1's in fairly good nick as you all say across the pond. Also found a System 4 saddle (that looks sweet but I will probably hate and end up going back to the heavy but very nice vintage Vetta Comfort I had in my parts bin.) My plan is to keep the bike basically stock as it's a rider and one of four I have so no real desire to go hog wild with upgrades. Just want to be able to ride and enjoy it for what it is. Would be nice to shave some weight but I'm not that concerned honestly.
Anyway I'll post more here but the Instagram above will get the more timely updates, if anyone's so inclined.
Cheers,
-kj-
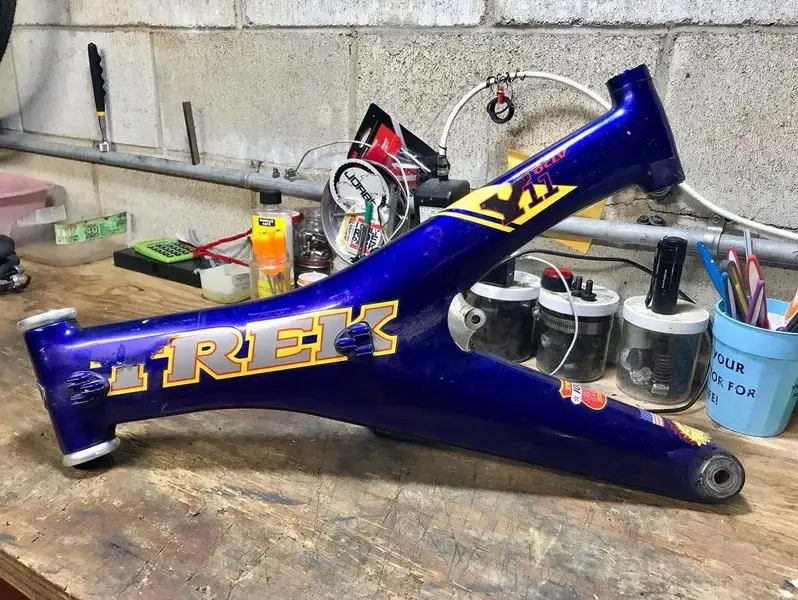
Pic 0: as I got it on Facebook Marketplace
Pic 1: on the trails before the winter upgrade project
Pic 2: apart
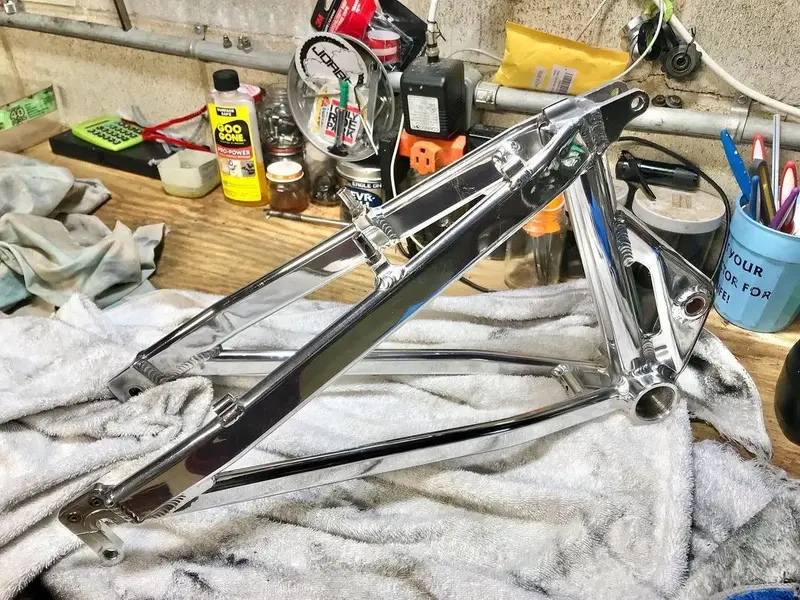
Pic 3: Polished URT
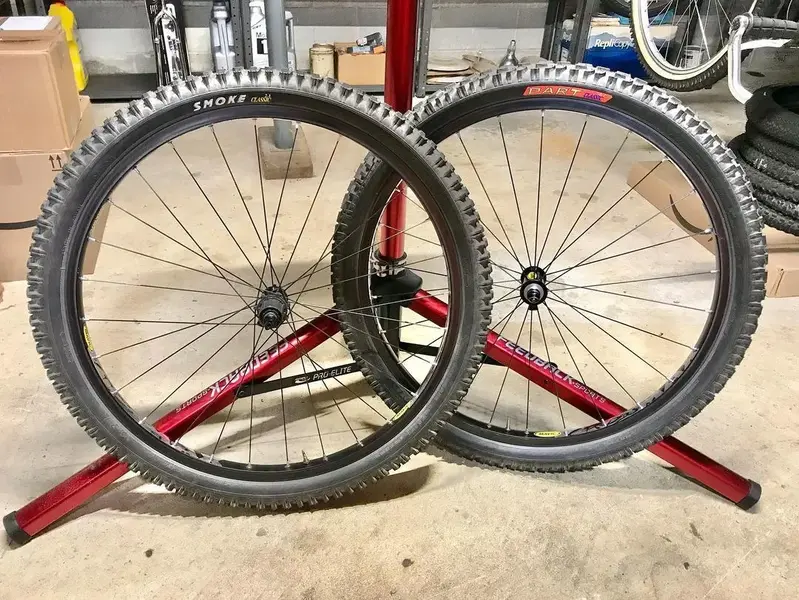
Pic 4: Mavic Crossmax's and Smoke/Dart combo ready to go
Popped over here after a Google search and found quite a few threads on Y-bikes so I thought I'd post about my current project. It's a '97 Y11 I got three months ago. Overpaid ($200 US!) but when I saw it I knew I had to have it. (This post is actually a recap much of which I've already posted on Instagram here: https://www.instagram.com/twozerodeltathree/)
Anyway, shock was blown when I got it, found a Fox Float RP2 on eBay and fitted that. Did a few other things (brake pads, longer stem, grips, other bits including some rare & correct carbon fiber Trek bar ends) and rode it happily (after disregarding so much hate from Internet folks who told me to burn in / throw it in the bin lol).
So now that it's winter it's time for a proper rebuild which began this week.
It's gone well so far; I've just rebuilt the Indy SL forks and replaced the elastomers, polished the URT and am now working on refinishing (polishing and decals) the carbon fiber monocoque frame. I usually get my decals from Gil at RetroDecals but this time I decided to give Velocals a go. Working through an issue with them now but suspect all will be right in the end (great customer service).
In the upgrade department I picked up (again, overpaid lol) a set of Mavic Crossmax MK1's in fairly good nick as you all say across the pond. Also found a System 4 saddle (that looks sweet but I will probably hate and end up going back to the heavy but very nice vintage Vetta Comfort I had in my parts bin.) My plan is to keep the bike basically stock as it's a rider and one of four I have so no real desire to go hog wild with upgrades. Just want to be able to ride and enjoy it for what it is. Would be nice to shave some weight but I'm not that concerned honestly.
Anyway I'll post more here but the Instagram above will get the more timely updates, if anyone's so inclined.
Cheers,
-kj-
Pic 0: as I got it on Facebook Marketplace
Pic 1: on the trails before the winter upgrade project
Pic 2: apart
Pic 3: Polished URT
Pic 4: Mavic Crossmax's and Smoke/Dart combo ready to go


") I just have no interest whatsoever in anything "new" or "better." It's like the old guy down the street still driving a well-preserved 1970s era car that he likes to tinker with. Are more modern cars better in every way? Of course. Does he care? No. It's all about the experience, and for him, that old car is perfect, and it puts a smile on his face too.
I just have no interest whatsoever in anything "new" or "better." It's like the old guy down the street still driving a well-preserved 1970s era car that he likes to tinker with. Are more modern cars better in every way? Of course. Does he care? No. It's all about the experience, and for him, that old car is perfect, and it puts a smile on his face too.