Buzzsaw
Retro Guru
Due to lots of idle time on my hands recently and a few used Marzocchi forks in the shed with leaky oil seals or other issues I decided to disassemble them and see how they tick and hopefully further on replace all the seals along with fresh oil and get them operational again. Not the best pics but here’s what I found....
Earliest pair was the air oil 1991 PF1 fork which to be the most difficult to take apart as the air valve plug stem broke whilst using the correct tool to remove them plus their idea of having a cir clip ring holding the oil seal on top of the slider was fine but they have another cir clip directly under the oil seal which secures the stanchions to the slider. It’s impossible to remove and the only way is to mangle the oil seal with a picker tool or a small screwdriver while trying to be very careful not to damage the sliders and stanchions! Think they didn’t think too much about aftermarket servicing back then.
Next was the 1998 Z5 Bombers which were by far the easiest to take apart with a more basic air/oil internals for damping compared to their higher end Z1/Z2 models.
The 2002 Super T Pro DH dual crown forks were most sophisticated of this lot with a spring damper assembly with rebound/ preload adjustment. It also had the removable M Arch setup that Marzocchi used on their forks around this period. It was also the reason why these got retired because fork oil had spewed out from join on the slider on ride years ago covering my foot and leg in oil plus rendering my brakes useless!
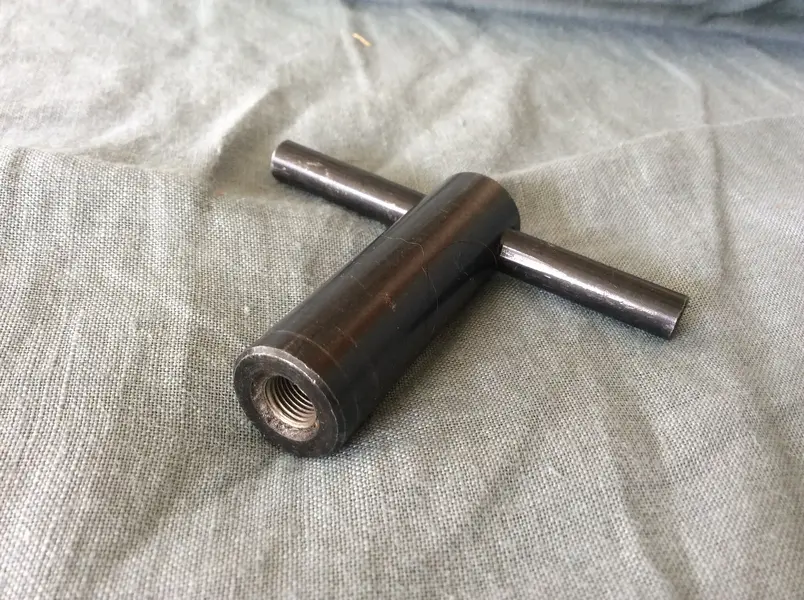
Finally the last fork was the more basic 2006 Dirt Jam Pro model with one side relying on an air/oil damping and the other side being a basic spring damper with lots of grease! Only bedbug on these is the inset bolt on bottom of the air/oil slider side requires a very thin wall long 12mm socket. There was a special sized Marzocchi tool available for this back in the day but of course impossible to get nowadays so resorted to getting a cheapie 12mm socket and filing and grinding the end until it fitted into the slider insert onto the bolt.
It’s been an interesting exercise learning how to get into these and learning how they work. Now all I need now is to source replacement oil/dust seals for all these and a few more tools and hopefully bring these back to life.

Earliest pair was the air oil 1991 PF1 fork which to be the most difficult to take apart as the air valve plug stem broke whilst using the correct tool to remove them plus their idea of having a cir clip ring holding the oil seal on top of the slider was fine but they have another cir clip directly under the oil seal which secures the stanchions to the slider. It’s impossible to remove and the only way is to mangle the oil seal with a picker tool or a small screwdriver while trying to be very careful not to damage the sliders and stanchions! Think they didn’t think too much about aftermarket servicing back then.
Next was the 1998 Z5 Bombers which were by far the easiest to take apart with a more basic air/oil internals for damping compared to their higher end Z1/Z2 models.
The 2002 Super T Pro DH dual crown forks were most sophisticated of this lot with a spring damper assembly with rebound/ preload adjustment. It also had the removable M Arch setup that Marzocchi used on their forks around this period. It was also the reason why these got retired because fork oil had spewed out from join on the slider on ride years ago covering my foot and leg in oil plus rendering my brakes useless!
Finally the last fork was the more basic 2006 Dirt Jam Pro model with one side relying on an air/oil damping and the other side being a basic spring damper with lots of grease! Only bedbug on these is the inset bolt on bottom of the air/oil slider side requires a very thin wall long 12mm socket. There was a special sized Marzocchi tool available for this back in the day but of course impossible to get nowadays so resorted to getting a cheapie 12mm socket and filing and grinding the end until it fitted into the slider insert onto the bolt.
It’s been an interesting exercise learning how to get into these and learning how they work. Now all I need now is to source replacement oil/dust seals for all these and a few more tools and hopefully bring these back to life.