Marin Lite Brake set up

LeeW

Dirt Disciple
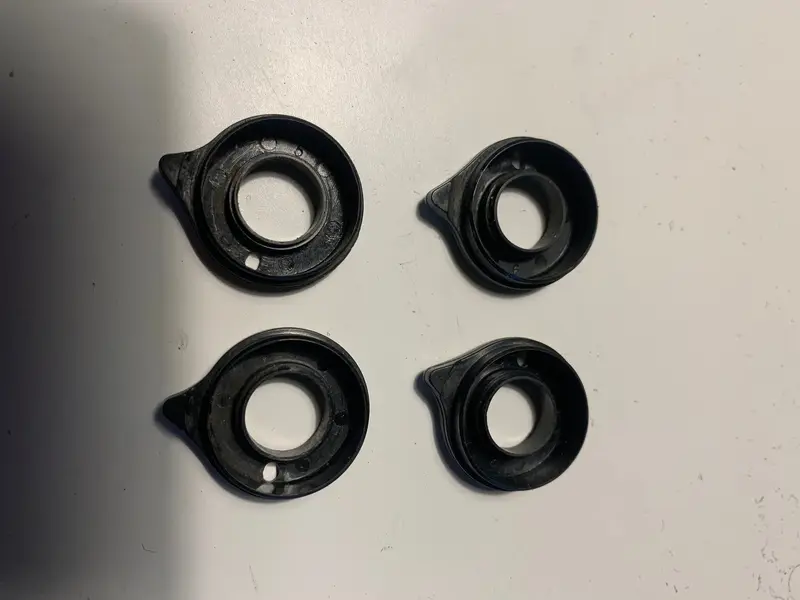
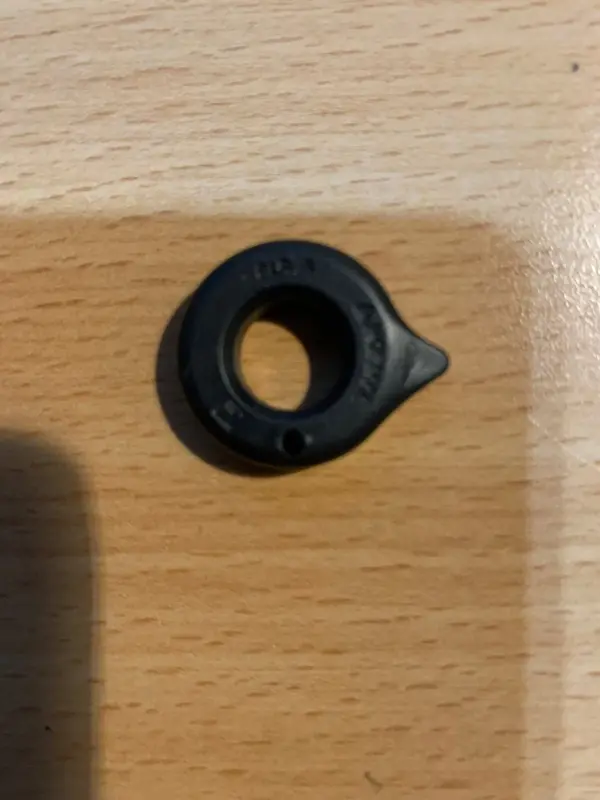
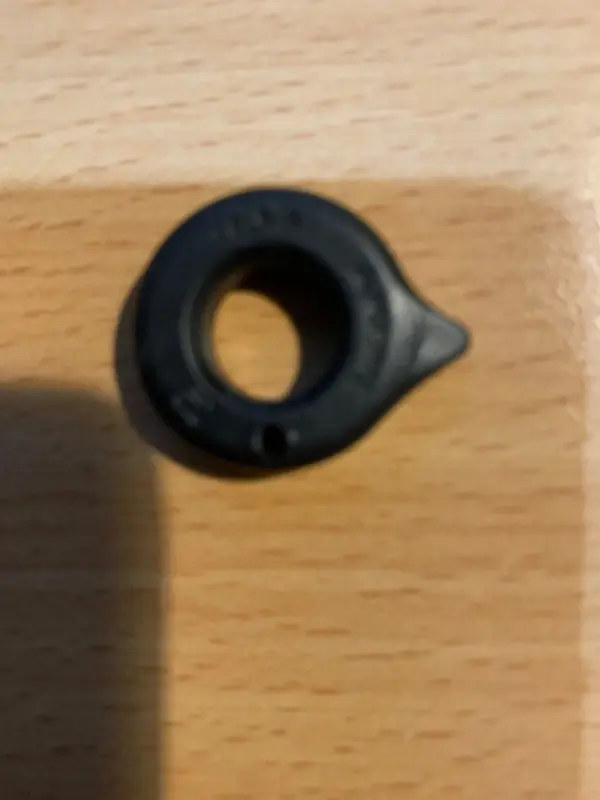
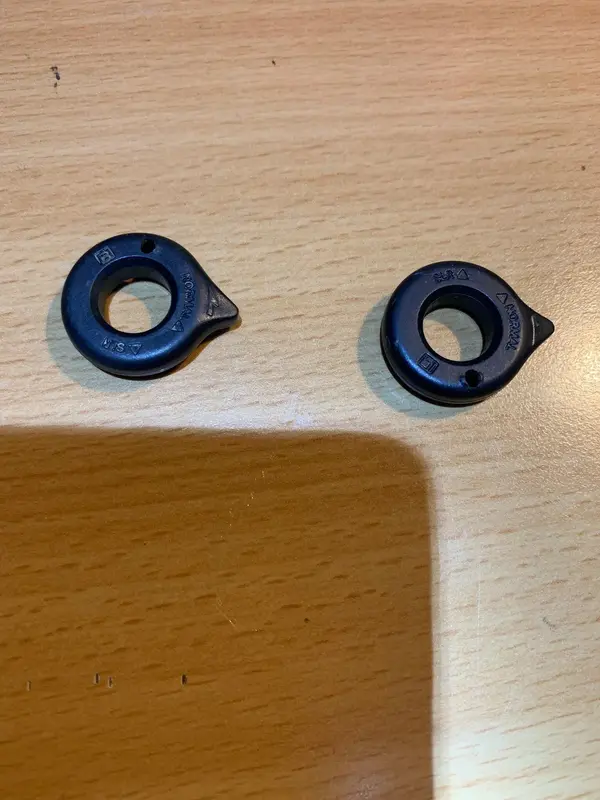
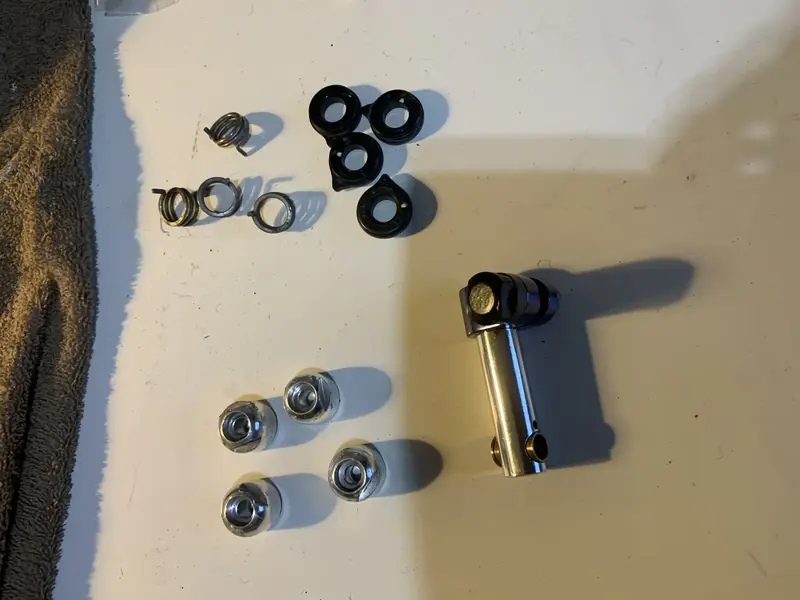
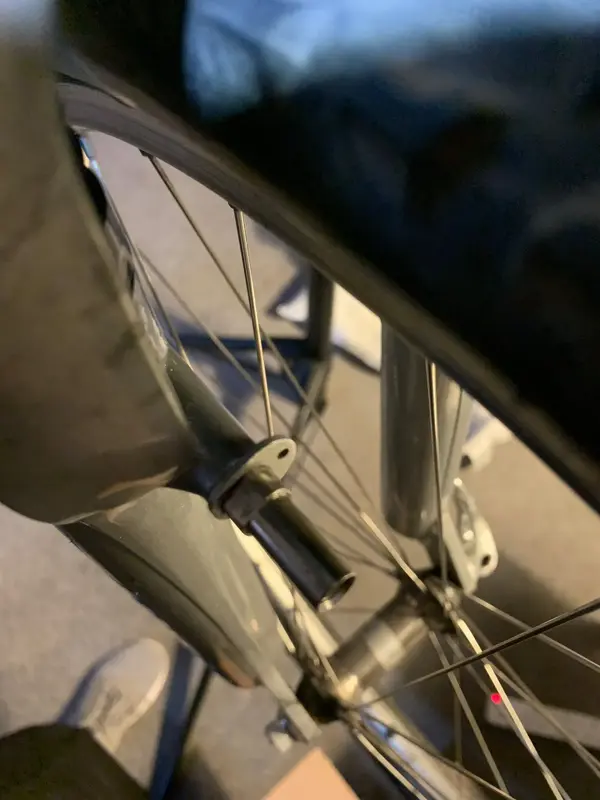
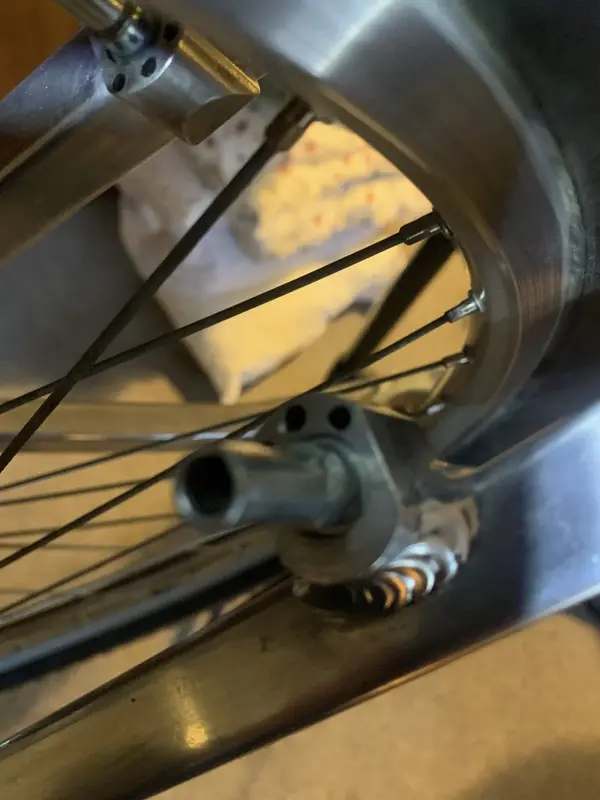
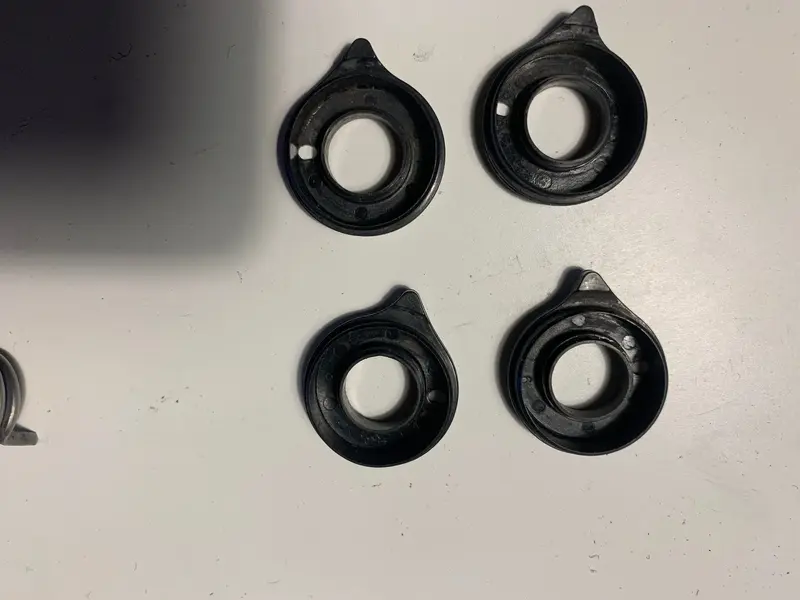
These Marin Lite brakes came in a packet. I can get most of how they work, but what has got me baffled are the plastic apparent adjusters and return / tensioner springs. The plastic adjusters have writing on of which the only decipherable part says normal. Does anyone have a set of these on either a 1997 Nail Trail or Nail FRS that they could give me some advice as to the correct set up?
 

Attachments

  • IMG_0194.jpg
    IMG_0194.jpg
    232.8 KB · Views: 5
  • IMG_0203.jpg
    IMG_0203.jpg
    445.5 KB · Views: 5
  • IMG_0202.jpg
    IMG_0202.jpg
    256.6 KB · Views: 6
  • IMG_0201.jpg
    IMG_0201.jpg
    199.6 KB · Views: 6
  • IMG_0200.jpg
    IMG_0200.jpg
    482.3 KB · Views: 7
  • IMG_0199.jpg
    IMG_0199.jpg
    218.4 KB · Views: 8
  • IMG_0198.jpg
    IMG_0198.jpg
    314.7 KB · Views: 9
  • IMG_0197.jpg
    IMG_0197.jpg
    317.2 KB · Views: 7
  • IMG_0196.jpg
    IMG_0196.jpg
    285.3 KB · Views: 7
  • IMG_0195.jpg
    IMG_0195.jpg
    269.4 KB · Views: 3
Hello,

The plastic bits are not part of the system.
Grease up the brake studs and slide on the the arm with the brass insert without a hole, to butt up against stud flange with your 3 holes. Holes not to be used.
Next, follow the image. Its that easy.
There is only one hole available for the spring each side.
The bolts you need are often longer than standard canti bolts, but what you have in stock may be long enough.
A smidgen of grease on the canti bolts too, helps set-up the brakes later on.
Set the brake blocks now, once the canti bolts are nipped up, but not final'd.

Allen key and a 13mm open end spanner with some patience is all you need now.
One side of the bike requires you to oppose the tighten of the canti bolt, other side is the opposite. A counter rotation of the silver spring housing, you will see. As you faff and swear/adjectives, you just use your guts to see if pad/rim distance is ok and equally tensioned. Just play.

Owt else, just reply here. And....dont over tighten the cable clamp bolt, it'll strip.

20240113_142456.jpg 20240113_142445.jpg
 
Hello,

The plastic bits are not part of the system.
Grease up the brake studs and slide on the the arm with the brass insert without a hole, to butt up against stud flange with your 3 holes. Holes not to be used.
Next, follow the image. Its that easy.
There is only one hole available for the spring each side.
The bolts you need are often longer than standard canti bolts, but what you have in stock may be long enough.
A smidgen of grease on the canti bolts too, helps set-up the brakes later on.
Set the brake blocks now, once the canti bolts are nipped up, but not final'd.

Allen key and a 13mm open end spanner with some patience is all you need now.
One side of the bike requires you to oppose the tighten of the canti bolt, other side is the opposite. A counter rotation of the silver spring housing, you will see. As you faff and swear/adjectives, you just use your guts to see if pad/rim distance is ok and equally tensioned. Just play.

Owt else, just reply here. And....dont over tighten the cable clamp bolt, it'll strip.

View attachment 811293View attachment 811294
 
Perfect, that makes sense now. The 1990 Shimano Canti parts were confusing me. I'll fit them tomorrow. Thanks fellas
 
Back
Top