Marin 1990 Bear Valley Rebuild - FINISHED !!! PAGE 38 !!!

Awesome skills keep it up this is ace :-) I wish i could drill and polish stuff instead of just rounding bolts and breaking everything
 
The frame has been returned ...

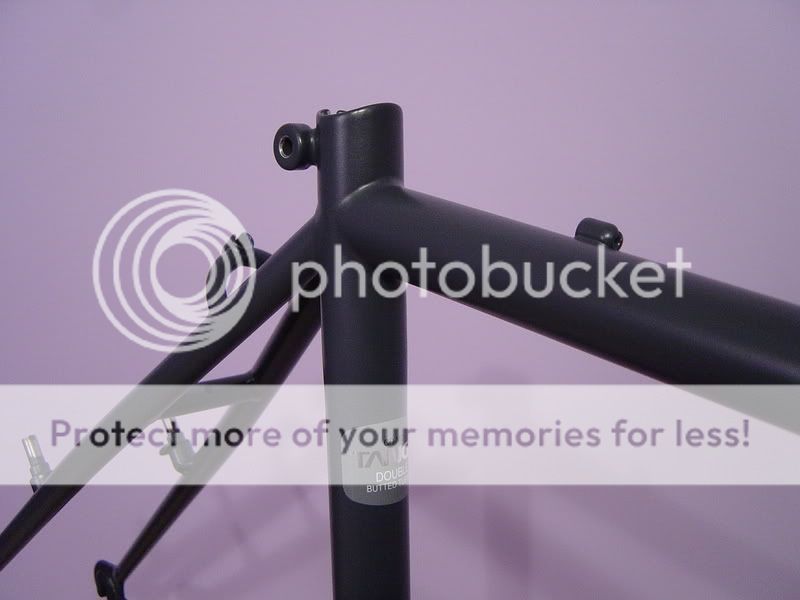
What more can I say other than I am over the moon with the finish and the service provided by Windridge coatings :D 8) 
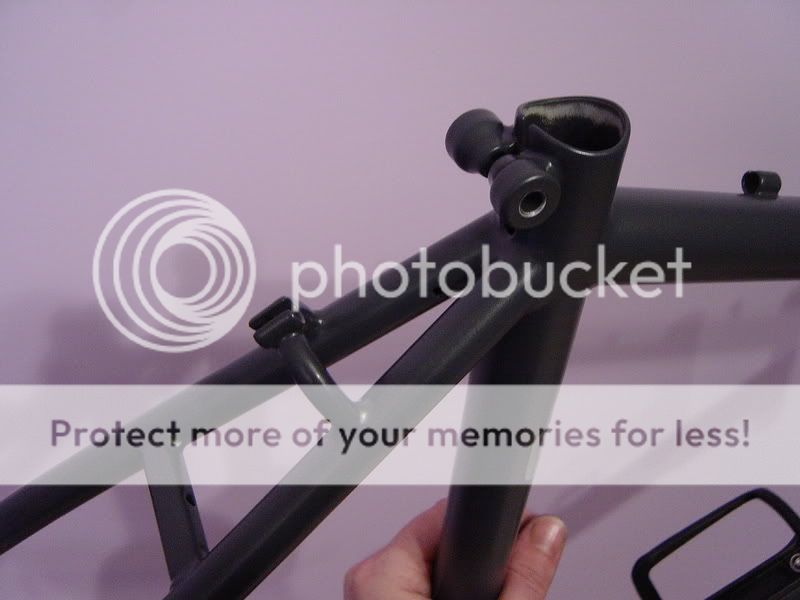
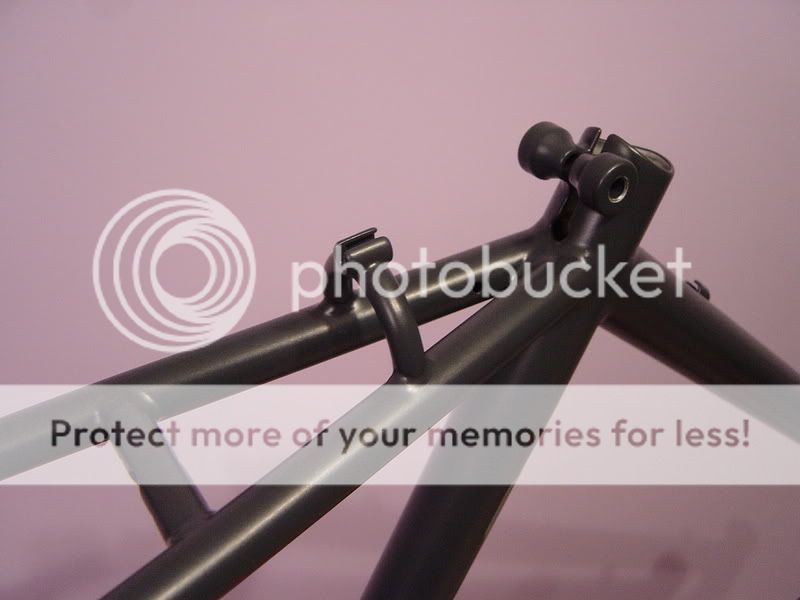
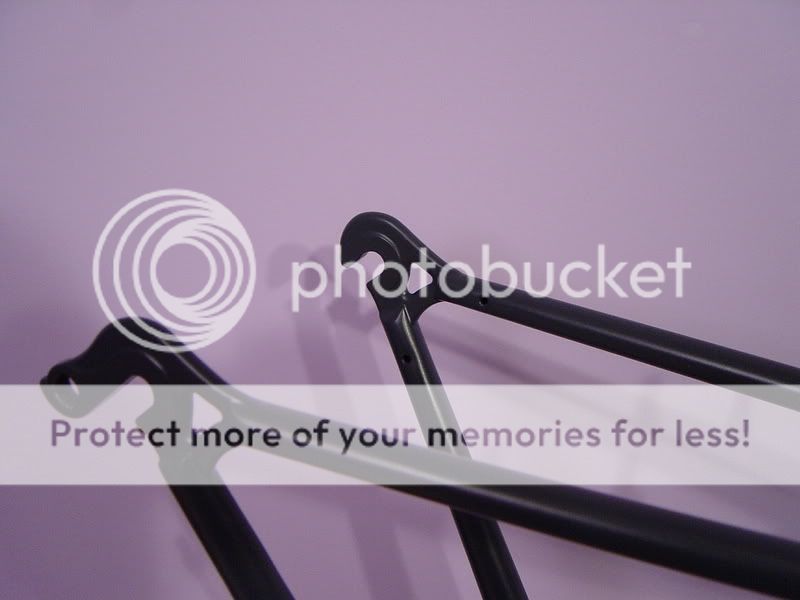
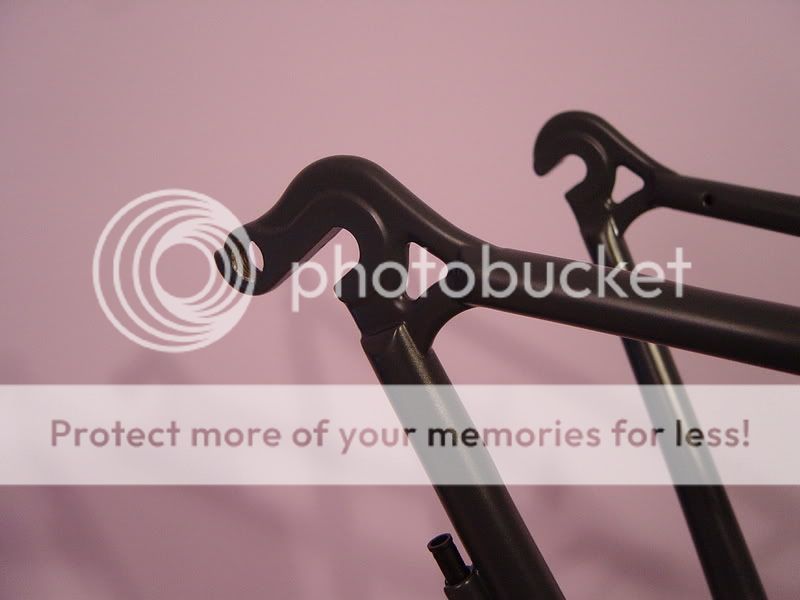
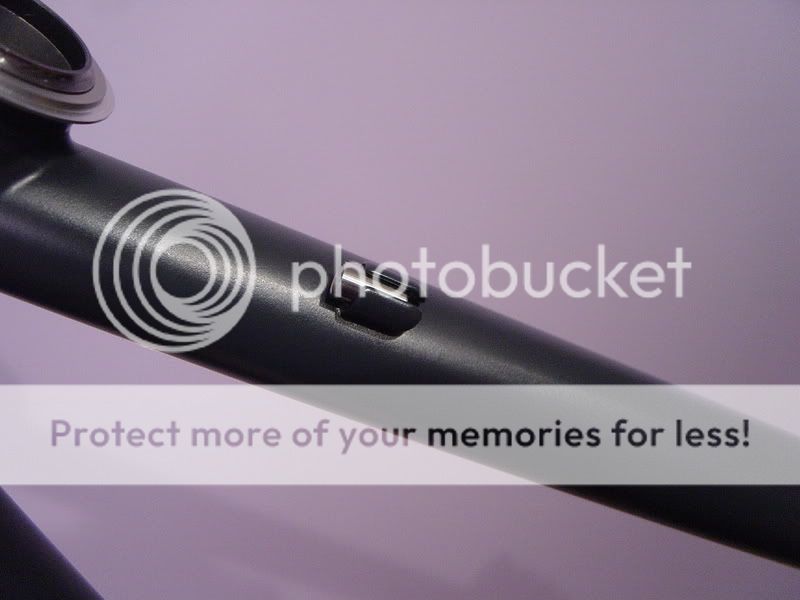
The finish is very smooth and the tig welds (which were very good anyway) almost look like they have been brazed 8)

They did forget to coat the inside with the wax treatment :( but as I suspect I will be sending another frame there soon I am sure I can come to some arrangement with them – will give Dale a bell tomorrow :D

So yesterday my friend accompanied me to the bike shop he works at, a big chain which I am not going to name as I don’t want to get anyone in trouble – They showed me where the (brand new park) tools were and let me use them FOC on the understanding that if I broke them I had bought them ... :shock:

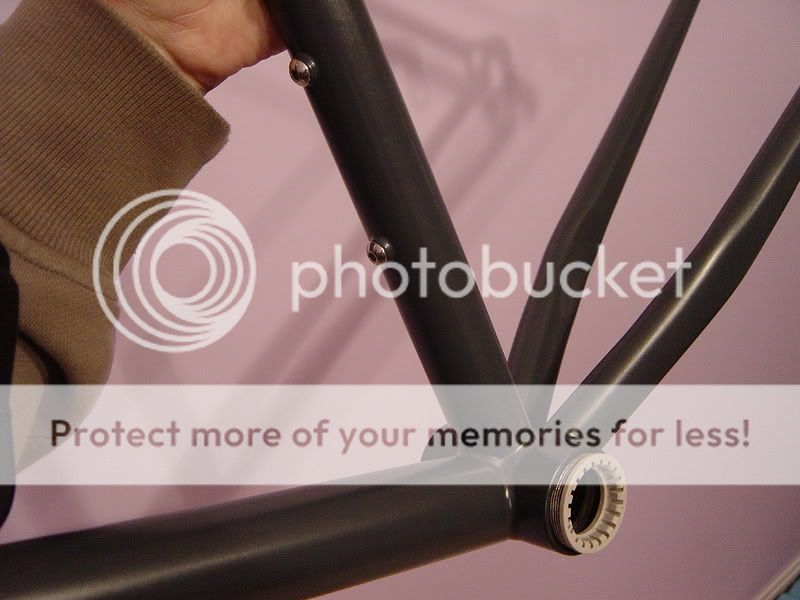
So I managed to re-face the head tube, reface the crown race seat, press the headset in and re-cut the BB threads – and then treated my mate to a burger and a pint as a thank you 8)

Once home I emptied half a can of ‘Supertrol’ rust preventative into the frame to swill it around and then for most of it to come out again on the kitchen floor :lol: It still dripping out this morning ... :shock: Seems like great stuff as I didn’t even treat the head tube as the stuff coming out of the top & down tube vents crept along the dry metal surface and has completely wetted the inside of the tube all over.

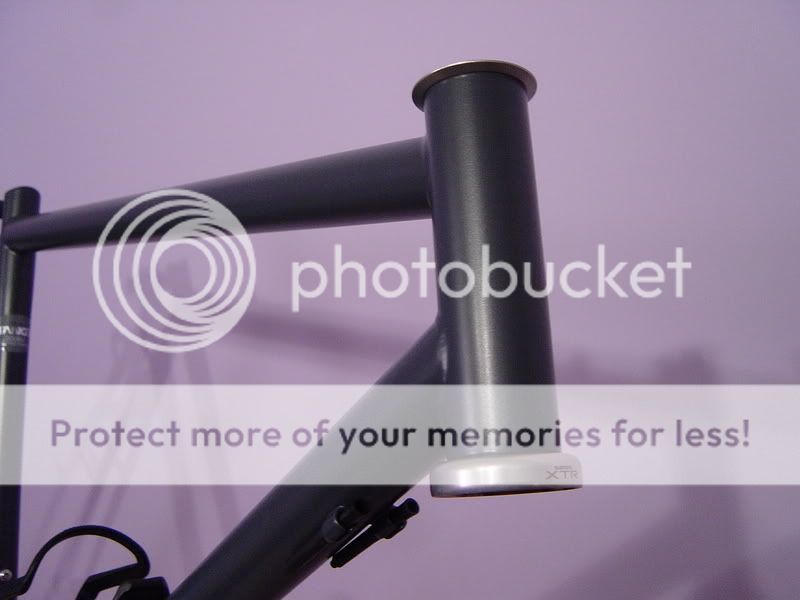
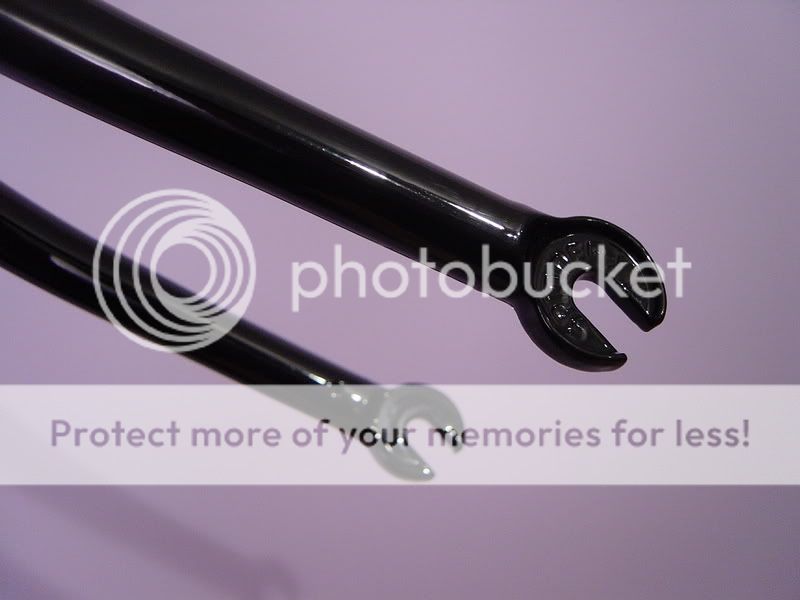
Interestingly I seem to have a small problem with the forks – I didn’t know there are two sizes of 1” crown races and my fork are the small size and the XTR race is the bigger ... (There is very little in it – It doesn’t rattle but it isn’t a press fit) :?

It looks like the spinner forks have a shim shrunk onto them so if all else fails I will remove this and make one of the correct size. Before I do this though what are your thoughts about putting a thin smear of chemical metal on it before assembly ? We have some posh Ti chemical metal at work I could borrow so I was thinking of trying it on a dry assembly (while it cured) and then seeing what it was like before final assembly – Would you try it and do you think it will work ? :?

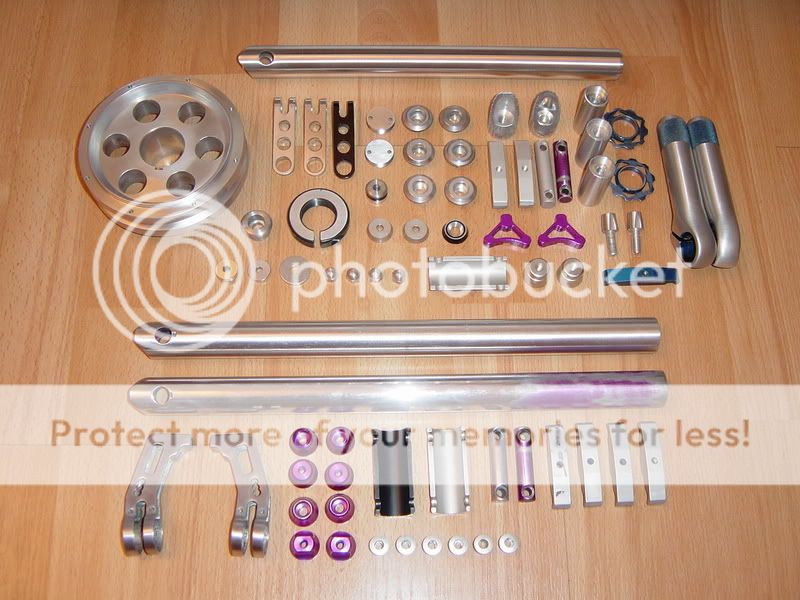
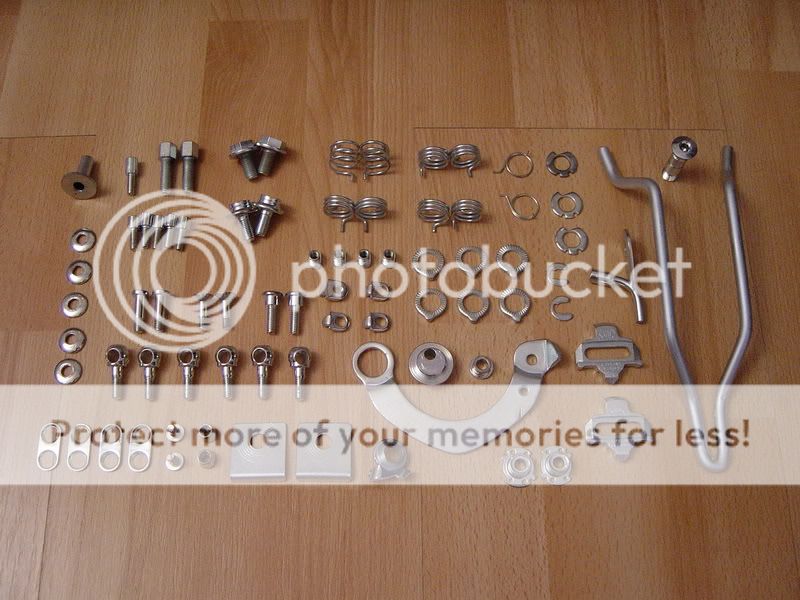
The steel stuff has now gone to the platers and the ally stuff will be going to the anodisers tomorrow – pending me leaving work at a sensible time ...

I will try and post some frame pictures tomorrow :D

WD :D
 
Just been reading this, sounds awesome, will be great to see the finished project!

As for the chainstay bridge - Ive been riding Oranges P7's for 11 years, they dont have one, so I wouldnt worry!!!
 
Pictures as promised :

DSC03607.jpg


DSC03610.jpg


DSC03615.jpg


DSC03611.jpg


DSC03634.jpg


DSC03629.jpg


DSC03632.jpg


DSC03631.jpg


DSC03623.jpg


DSC03621.jpg


DSC03626.jpg


And the pile of anodizing has grown a bit … it’s getting dropped off tonight :

DSC03602.jpg
 
as peter would say (possibly), that is freakin' awesome 8)

i'm enjoying the picture updates, try not to finish it too soon 'cos then i'll have nothing to do. :lol:
 
Get in! Thats coming on a treat. Great thread really enjoying your little updates and attention to detail.
 
Thanks for the comments :D

Just a few quick updates :

The replacement 26.4 M900 crown race has arrived so hopefully the headset will be assembled soon - which means I can get moving on the rest of the build :D

The plating came back and all looks good, well far better than it did before it went :lol: :

DSC03647.jpg


The eagle eyed amongst you will notice that not all these items are for this bike – I am sure you will see the others though some time in the future though … :wink:

When I started to fiddle with the cables I had forgotten that the XT outers were thicker than normal and ferrules were awkward to get hold of that would fit both frame and cable outer well. I still had the old ones but they were looking a bit worse for wear and a quick look around the bike shops revealed nothing that suitably fitted both the frame and cable. Some stainless bar and the lathe came to the rescue :

DSC03685.jpg


The two shorter (and smaller diameter) ones are to fit the brake levers, the others were made to be a push fit in the frame bosses. Hopefully these should now last the life of the bike :

DSC03688.jpg


DSC03693.jpg


The hard anodizing should also be finished today so all going to plan I should have that back on Monday :D

From a conversation I had with them yesterday, I believe that it is looking well other then the headset lock which ‘dissolved’ during the process :shock: Note to oneself – must check that parts aren’t actually made from magnesium next time :oops: :lol:

WD :D
 
Incredible attention to detail.

You are meticulous. Think its amazing.

I must add though ----> its only a "Bear Valley"....is it worth it for all the time spent on every nut and bolt?

...but I do know what its like to rebuild for nostalgic reasons rather than value etc.. :)
 
i think that because it's a bear valley that makes it even better. no-one else in the world will have a bear valley with the unique touches of this one, and yes you could have spent the time/money on a more expensive bike but i don't think that would have given the same satisfaction as giving a standard bike a way-better-than-standard finish.

i don't think that made much sense, but anyhoo. i like it! :D
 
Back
Top