captainsully
Kona Fan
Hi I'm a new member and recently picked up a lovely Kona Kula from Dom (@d8mok - thank you!)
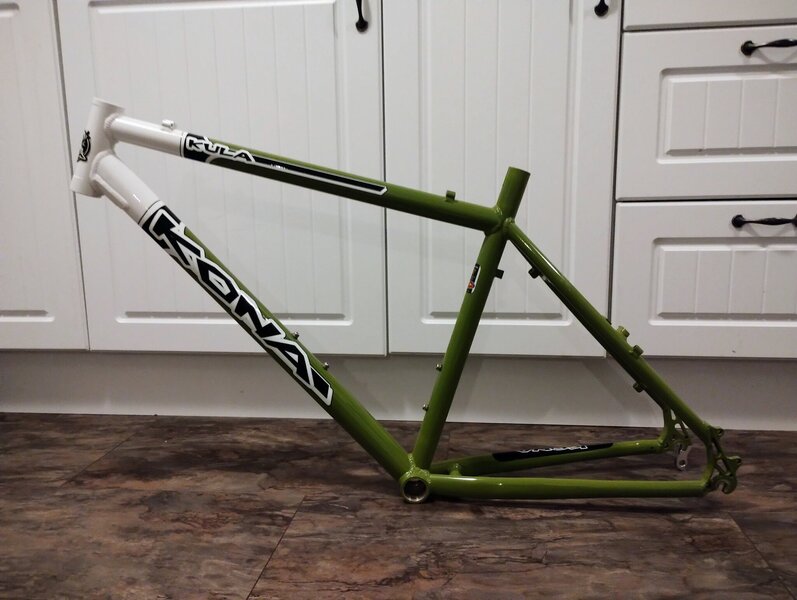
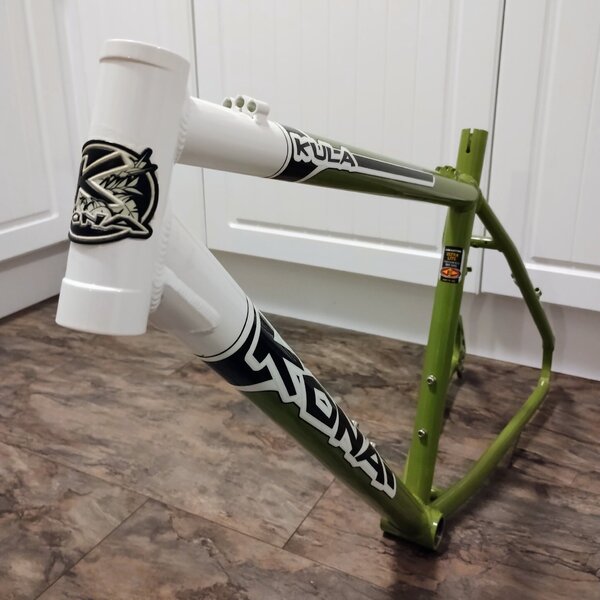
It arrived in great condition and didn't need much of a clean, though I did give it a nice polish and wax - for those interested in the detailing details there's info below.
I'm going to put this together as a bit of a dream build - all the best parts I've collected recently, and some influence from what I wished my first Kona would be a couple of decades ago - which has to include Marzocchi Bombers.
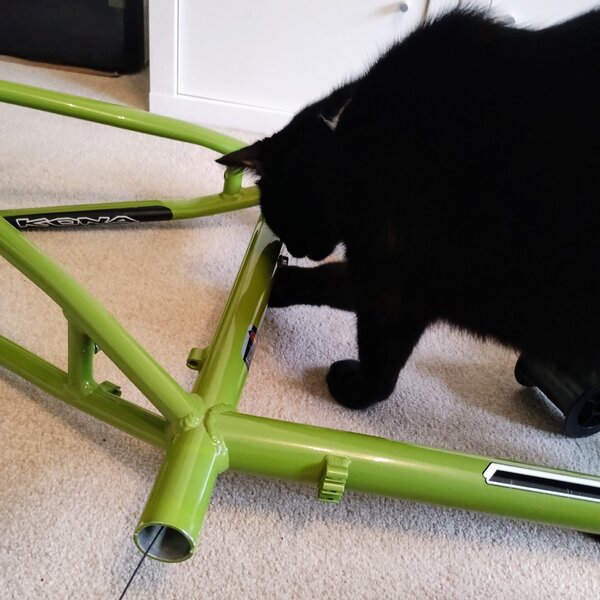
Trigger warning - this build will include a 1x drivetrain. And a dropper (more on that in my next update). But also a cat, so that should keep everyone happy.
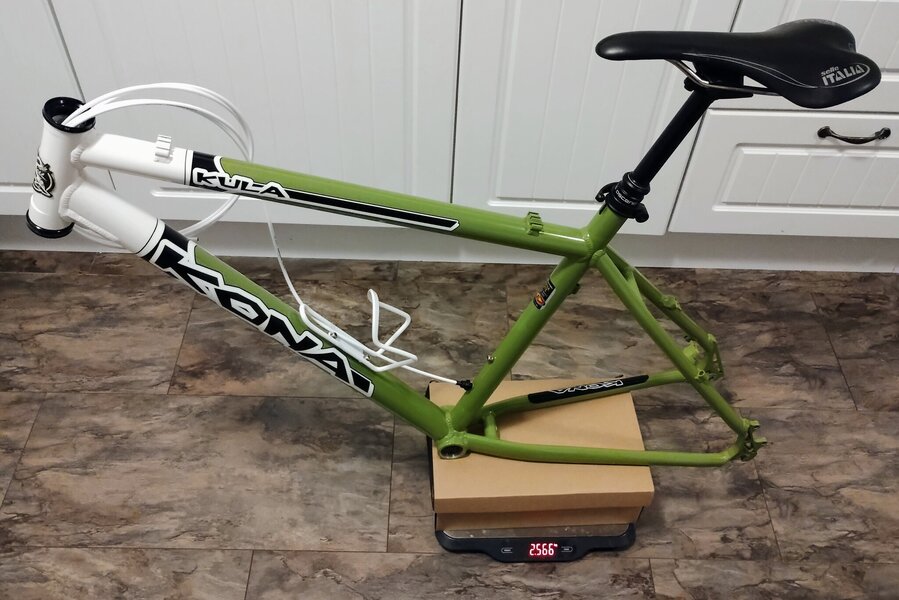
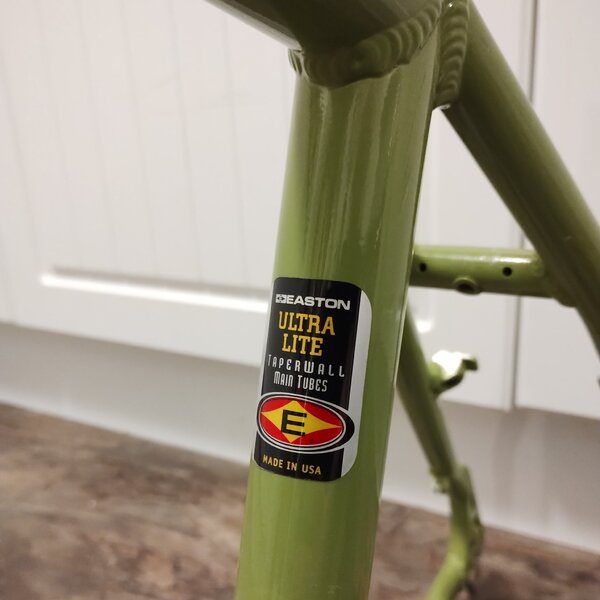
As for parts, I'm trying to keep weight down without compromising on it being able to handle a decent trail. Easton Ultra Lite tubing helps there! I'll be weighing the parts and can give numbers if anyone is interested, and currently estimate around 11.5kg if all goes to plan.
Some bits may change along the way - the plan so far is:
Frame: Kona Kula 2000 (glow in the dark decals)
Forks: Marzocchi Bomber MXC 100mm
Wheels: Mavic XC717 on Hope hubs
Crankset: Shimano SLX M7100 (if the chain line is alright)
Cassette: Shimano HG500 11-42t 10sp
Derailleur & shifter: Shimano M6000
Tyres: Either a pair of Maxxis Aspen or Continental Speed King in 2.1 width
Headset: Cane creek 10
Seatpost: Dropper - details coming soon
Brakes: Shimano M665 calipers with M6100 levers (once I put them together)
Stem and handlebars with be picked when I get the rest of the bike put together
The first stage of the build was prep and clean. This turned out really well and I was thinking it's to nice to ride, but then came to my senses.
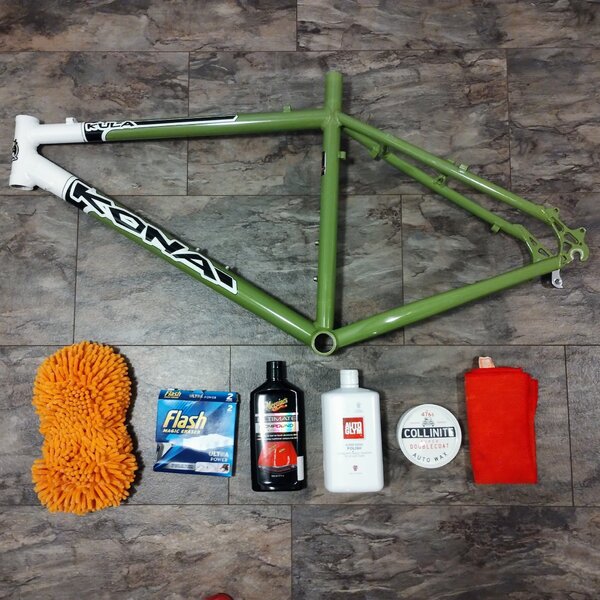
First removed the stickers with a hair dryer, and cleaned off almost all the marks with a magic eraser. Then a going over with two polishing compounds - Meguiare's ultimate (to restore the lacquer and colour), then Autoglym super resin (protect / fill), then Collinite wax. The photos don't do it justice - I'll make sure to take some outdoors when the weather's good.
What a lovely frame!
Thanks for taking a look.
- Darren

It arrived in great condition and didn't need much of a clean, though I did give it a nice polish and wax - for those interested in the detailing details there's info below.
I'm going to put this together as a bit of a dream build - all the best parts I've collected recently, and some influence from what I wished my first Kona would be a couple of decades ago - which has to include Marzocchi Bombers.
Trigger warning - this build will include a 1x drivetrain. And a dropper (more on that in my next update). But also a cat, so that should keep everyone happy.
As for parts, I'm trying to keep weight down without compromising on it being able to handle a decent trail. Easton Ultra Lite tubing helps there! I'll be weighing the parts and can give numbers if anyone is interested, and currently estimate around 11.5kg if all goes to plan.

Some bits may change along the way - the plan so far is:
Frame: Kona Kula 2000 (glow in the dark decals)
Forks: Marzocchi Bomber MXC 100mm
Wheels: Mavic XC717 on Hope hubs
Crankset: Shimano SLX M7100 (if the chain line is alright)
Cassette: Shimano HG500 11-42t 10sp
Derailleur & shifter: Shimano M6000
Tyres: Either a pair of Maxxis Aspen or Continental Speed King in 2.1 width
Headset: Cane creek 10
Seatpost: Dropper - details coming soon
Brakes: Shimano M665 calipers with M6100 levers (once I put them together)
Stem and handlebars with be picked when I get the rest of the bike put together
The first stage of the build was prep and clean. This turned out really well and I was thinking it's to nice to ride, but then came to my senses.

First removed the stickers with a hair dryer, and cleaned off almost all the marks with a magic eraser. Then a going over with two polishing compounds - Meguiare's ultimate (to restore the lacquer and colour), then Autoglym super resin (protect / fill), then Collinite wax. The photos don't do it justice - I'll make sure to take some outdoors when the weather's good.
What a lovely frame!

Thanks for taking a look.
- Darren
