Hmmmm, that didnt turn out too good

02gf74

Old School Grand Master
Feedback
View
Start with this.

Fill in the revessed logo.
 

Attachments

  • CAM00324-1.webp
    CAM00324-1.webp
    44.7 KB · Views: 955
  • CAM00325-1.webp
    CAM00325-1.webp
    48.4 KB · Views: 955
Re:

After sanding second coat of filler

Print decals after resizing
 

Attachments

  • CAM00555-1.webp
    CAM00555-1.webp
    13.7 KB · Views: 946
  • CAM00554-1.webp
    CAM00554-1.webp
    46.4 KB · Views: 946
Re:

:xmas-big-grin: Stick on decals ready for paint


And this is where it went wrong. Paint from can did not come out as fine mist so after removing mask and going over with solvent to remove. glue residue, ends up like this. Didnt help that the rag used for cleaning was not clean hence black oil stain.

Bollocks, some lessons learnt. About to fit it and go out for a ride, may give it another go next weekend.

Very disappointed. :(
 

Attachments

  • CAM00556-1.webp
    CAM00556-1.webp
    31 KB · Views: 938
  • CAM00557-1.webp
    CAM00557-1.webp
    40.8 KB · Views: 938
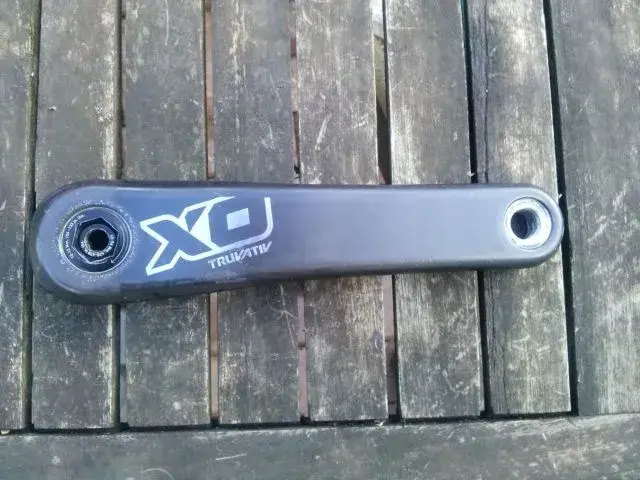
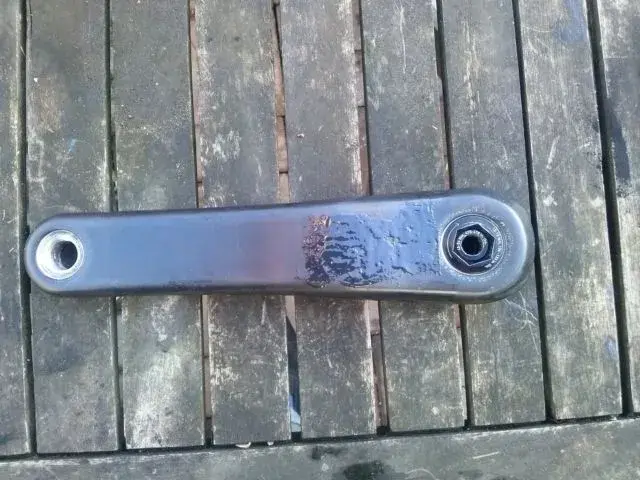
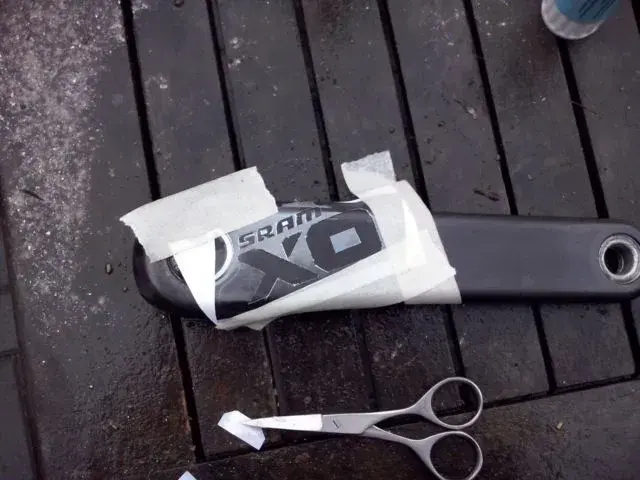
And you should be! That looks pretty terrible.

Sorry it didn't work out better but I think we've all been relatively displeased once or twice ourselves on various bike related projects.

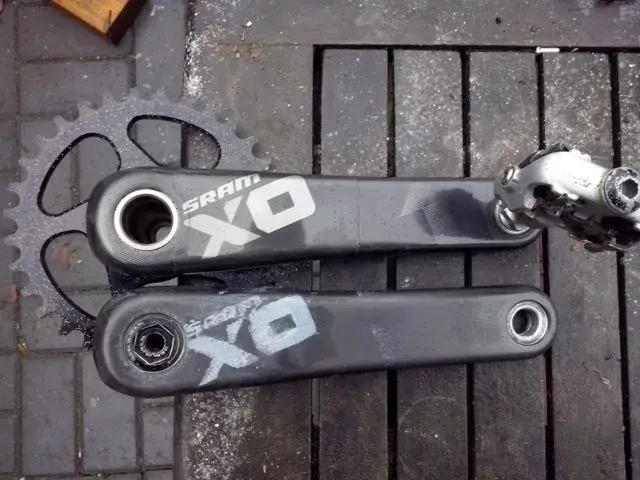
The one benefit you've got there is now you can rattle can both cranks or plasti dip them any color you want!

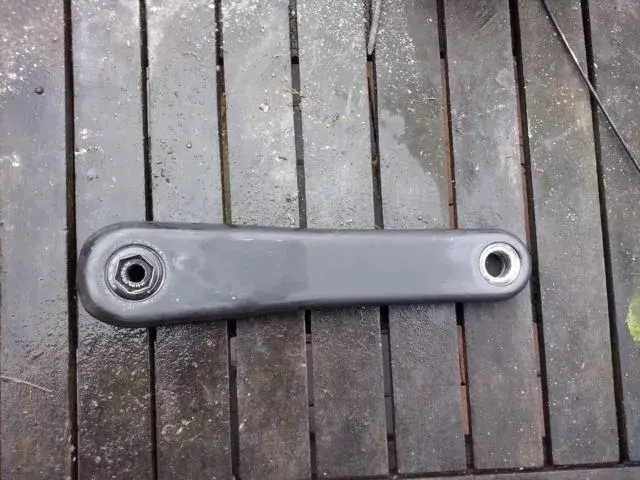
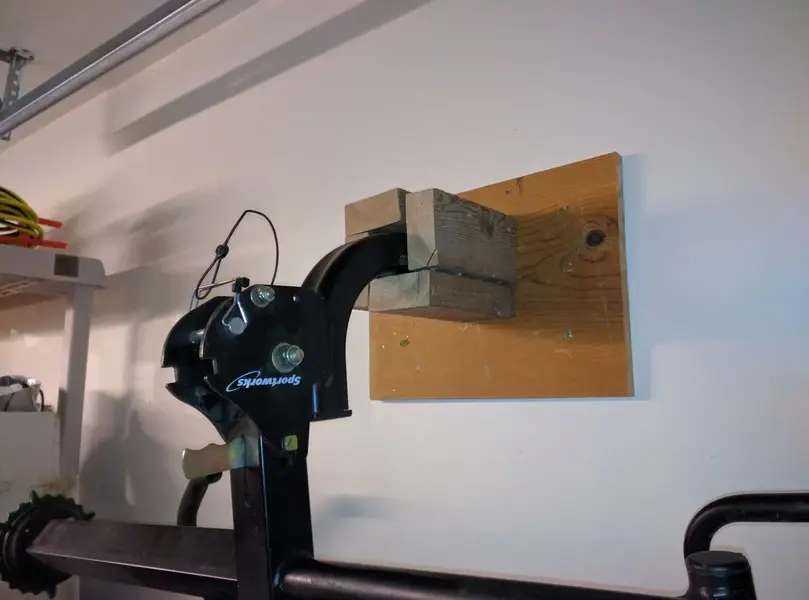
Here is a shining example of my fantastic carpentry skills. Looked much better on paper.
 

Attachments

  • Bike rack wall mount2.webp
    Bike rack wall mount2.webp
    46.8 KB · Views: 877
Back
Top