Geoffrey Butler

Kman

Dirt Disciple
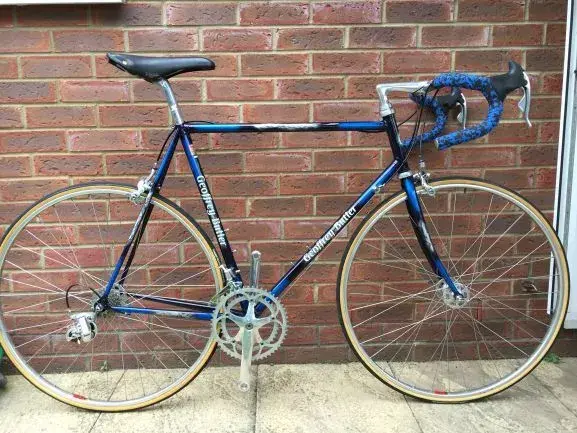
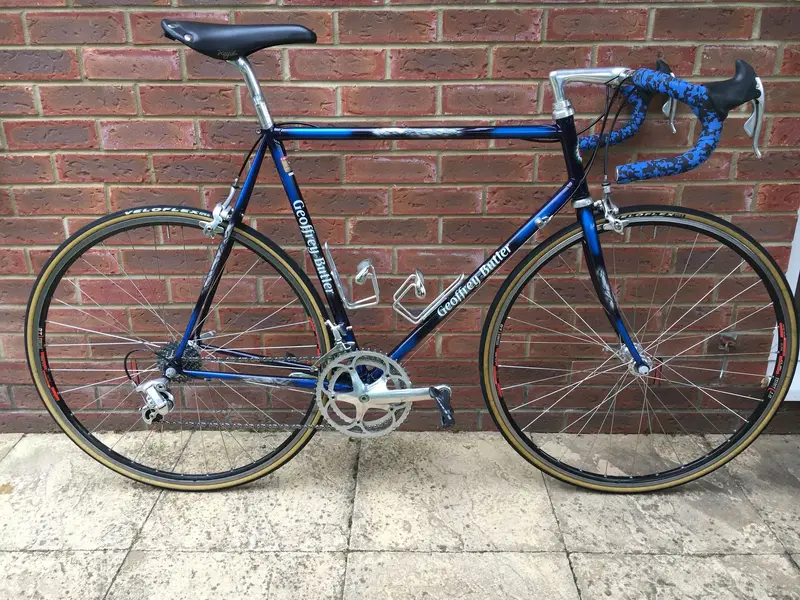
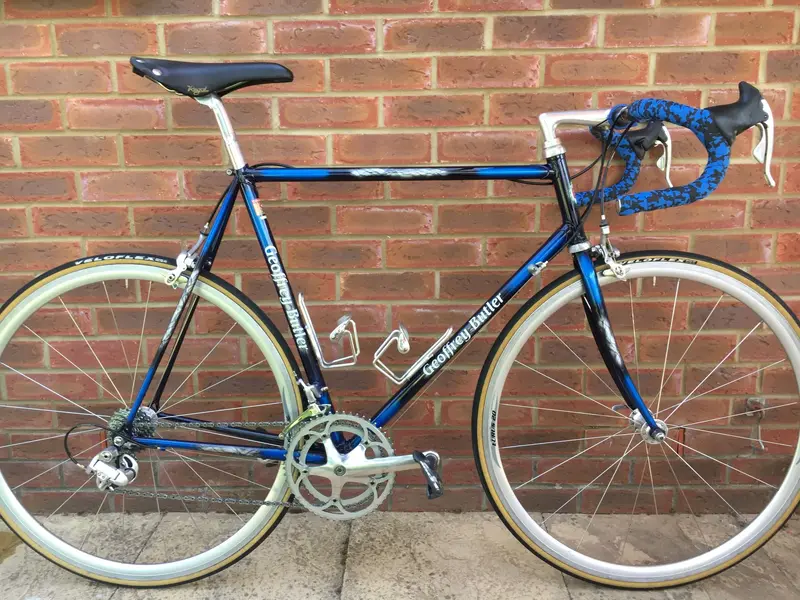
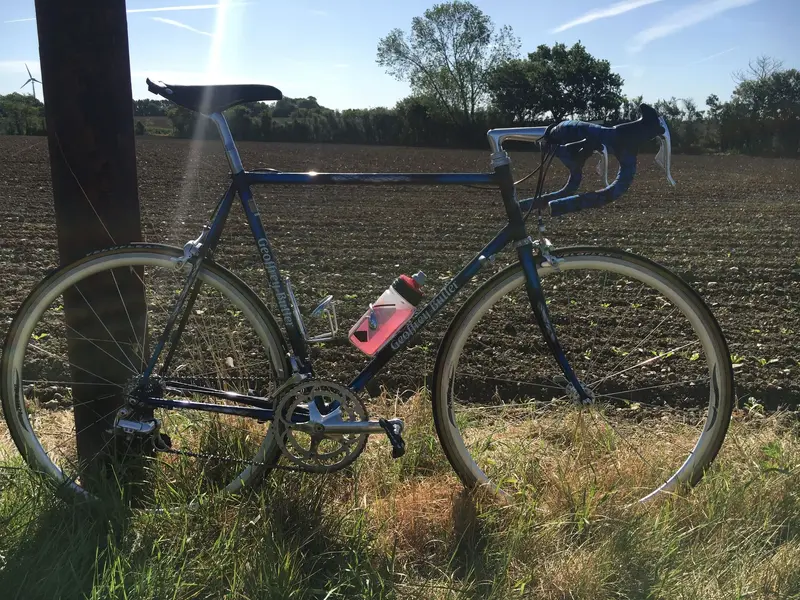
New Thread on the build of my Geoffrey Butler from the early 90's.

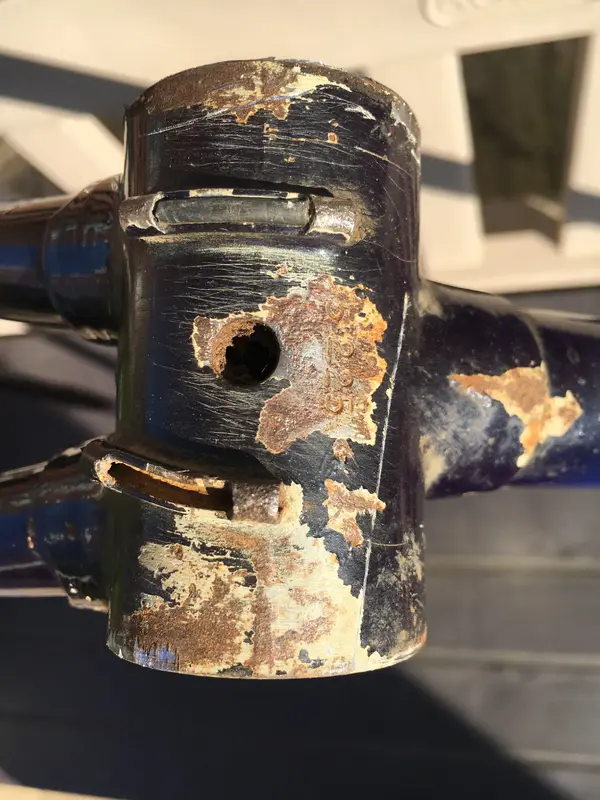
Its was my late father's and since he passed away a few years ago I've been going through his collection of bikes and adding them to mine.

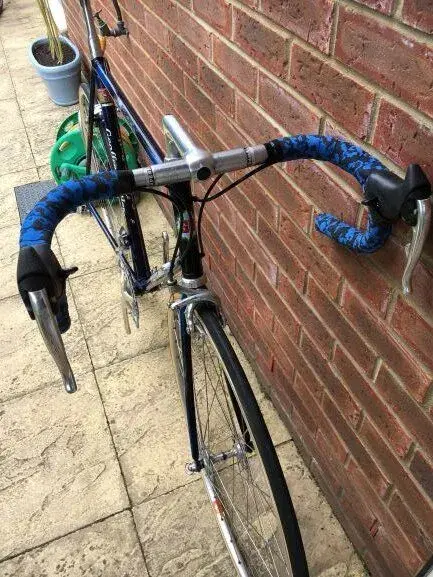
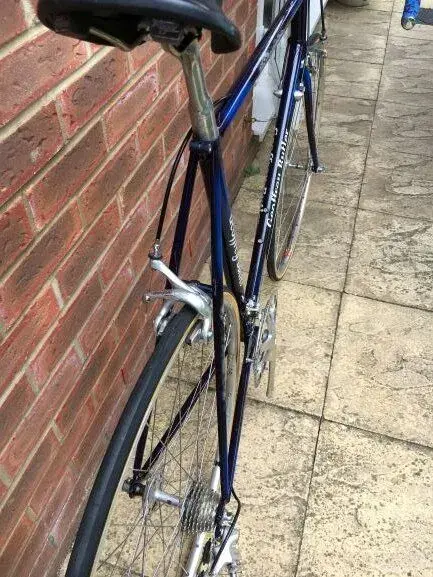
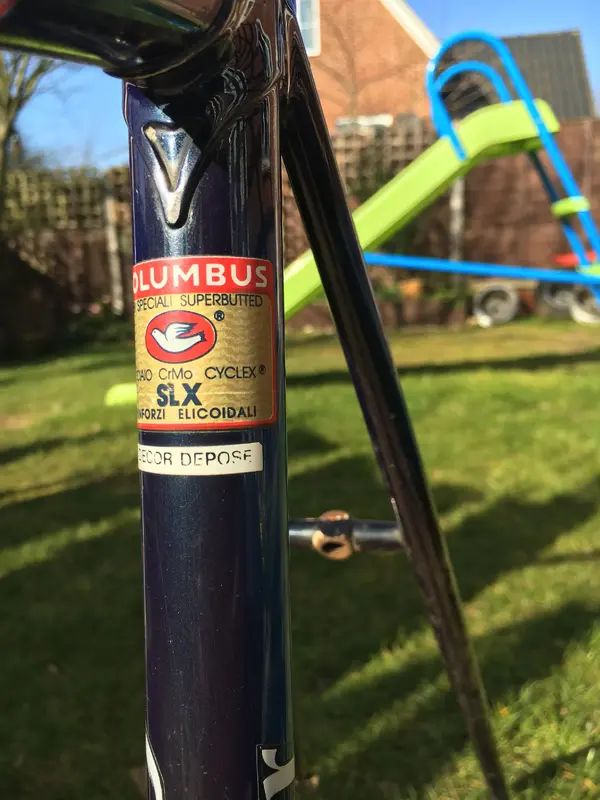
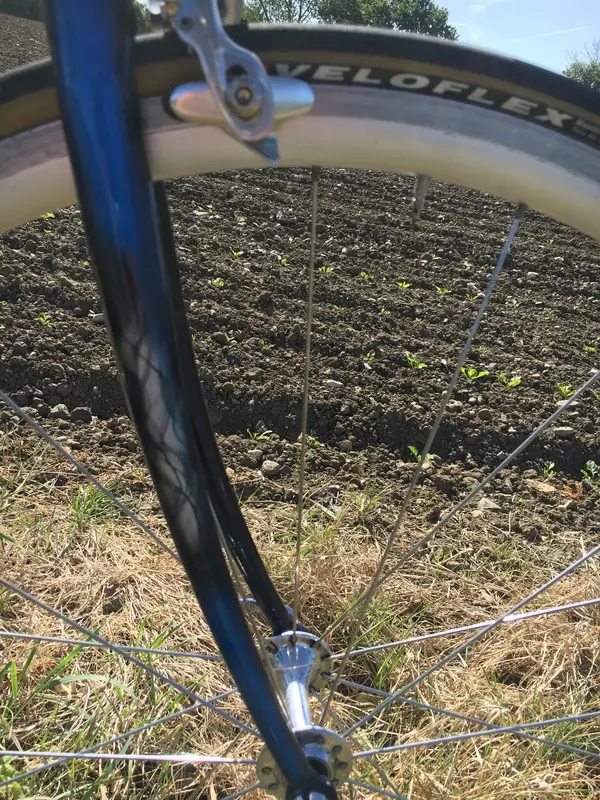
It's being rebuild as close to the original build as I can get it, which is 8 speed campagnolo and a suitable Italian finishing kit. It is nearly complete, only needs a pair of wheels built. The ones in the photo's are an early pair used to check the assemble.

As funds allow, the thread will be updated to show it completed and the next chapter in its use.


Kristian
 

Attachments

  • IMG_2756.JPG
    IMG_2756.JPG
    71.7 KB · Views: 842
  • IMG_2757.JPG
    IMG_2757.JPG
    72.5 KB · Views: 840
  • IMG_2759.JPG
    IMG_2759.JPG
    78.3 KB · Views: 841
  • IMG_2758.JPG
    IMG_2758.JPG
    76.5 KB · Views: 842
Re:

Been a little while since I updated on this.

The photos were part way through the rebuild, but I thought it would be good to show the condition of the frame when it was stripped down.


As you can see, I was left with trying to either carefully treat the rust and touch in the areas, or a complete re paint. Given the quality and layering of the original paint, I thought I would treat it and tidy it up as best I can.

I found the results of this are pretty good, with most of the damaged areas only being visible from underneath. I think it now wears it patina well.

I also had similar issues with some of the allow parts. Salt corrosion had eaten the Headset cups, brakes and even some of the derailleur parts. Again, carefully cleaned and polished what I could, but the headset cups and brakes were too far gone, so were replaced.
 

Attachments

  • IMG_2472.JPG
    IMG_2472.JPG
    1.8 MB · Views: 363
  • IMG_2470.JPG
    IMG_2470.JPG
    1.3 MB · Views: 363
Re:

I also had some issue with indexing the rear derailleur. I could get it to index, but it was very good, in either reliably reaching across the range of sprockets and took forever to shift. Now, I hadn't ridden this bike since the late 90's, but I was pretty sure it was quite slick, even if you needed a bit of practice to change smoothly.

So, I took the derailleur apart to see if there was anything obviously wrong with it.


The culprit was the top pulley tensioner, where the adjuster would sit against the frame. The bushing shouldn't be able to rotate, as that's how the spring maintains the tension! Took a few goes to work out what was actually wrong, but glad I found it. Looking into this, Campagnolo did keep the tension adjuster in the same place into the 9 speed era. Where the adjust was then moved to the lower pulley, along with the other changes made to cable pull rates.

I could source the replacement part itself, so I had to source a replacement derailleur.


Not NOS but really good condition with very few marks and little wear.
 

Attachments

  • IMG_3424.JPG
    IMG_3424.JPG
    1.1 MB · Views: 358
  • IMG_3470.JPG
    IMG_3470.JPG
    1.5 MB · Views: 358
  • IMG_3471.JPG
    IMG_3471.JPG
    1.4 MB · Views: 358
Re:

Next up was the wheels. I had given it a few test runs, using an 8 speed cassette on some 10 speed campagnolo freewheel wheel, with a spacer to get it line.


These run fine, but they are only a stop gap until I can get some Mavic Reflex SUP in blue built up into some record 36h hubs.

Although, I then found these for sale locally, so could resist!


A pair of Eurus 20 wheels with a cassette, for less than the cost of building the other wheels up. Couldn't resist! Best of all, Cassette is brand new, and the wheels were only used a couple of times and have no wear on the rims and only a couple of marks. Took the hubs apart to service them, but wasn't really needed. Absolutely mint!

So, went out for a test ride this morning, 40 miles, 19.5 average and smiling all the way! Couple of tweaks, but nothing major.
 

Attachments

  • IMG_3469.JPG
    IMG_3469.JPG
    859.6 KB · Views: 356
  • IMG_3469.JPG
    IMG_3469.JPG
    859.6 KB · Views: 356
  • IMG_3509.JPG
    IMG_3509.JPG
    665.7 KB · Views: 356
  • IMG_3512.JPG
    IMG_3512.JPG
    999 KB · Views: 356
  • IMG_3513.JPG
    IMG_3513.JPG
    568.6 KB · Views: 356
  • IMG_3514.JPG
    IMG_3514.JPG
    1.2 MB · Views: 356
Back
Top