Custom 94 Diamond Back Build

Been collecting parts for 3 year so here is a sneek peak....
 

Attachments

  • 1.8.webp
    1.8.webp
    56.7 KB · Views: 512
  • 1.9.webp
    1.9.webp
    85.9 KB · Views: 512
  • 2.0.webp
    2.0.webp
    116.8 KB · Views: 513
  • 2.1.webp
    2.1.webp
    84.4 KB · Views: 512
Ok so here is were the CUSTOMISING starts....
 

Attachments

  • 2.2.webp
    2.2.webp
    67.6 KB · Views: 509
  • 2.3.webp
    2.3.webp
    69.2 KB · Views: 509
  • 2.4.webp
    2.4.webp
    73.7 KB · Views: 509
So I purchased some CrMo tubing and set up the new braces on the rear triangles. I also put an additional brace between the seat tube and the rear brake cable hanger. I then had a workshop the build and repairs race cars to tig weld all the braces and the realigned brake studs. Then it was off to sandblasting.
 

Attachments

  • 2.9.webp
    2.9.webp
    100.9 KB · Views: 478
  • 2.8.webp
    2.8.webp
    175.4 KB · Views: 478
  • 2.7.webp
    2.7.webp
    76.9 KB · Views: 477
  • 2.6.webp
    2.6.webp
    68 KB · Views: 478
Yea at this point I wondered if I had taken the right path of customising something that held sentimental value to me...

Back from sandblasting and the paint work begins.
 

Attachments

  • 3.4.webp
    3.4.webp
    145.1 KB · Views: 477
  • 3.3.webp
    3.3.webp
    137.7 KB · Views: 477
  • 3.2.webp
    3.2.webp
    124.8 KB · Views: 477
  • 3.1.webp
    3.1.webp
    174.4 KB · Views: 477
  • 3.0.webp
    3.0.webp
    79.9 KB · Views: 477
Thanks Graham_hkr yea custom work with strong old school theme is my thing.

V8s, well let not go down that path of no return.... well mabe just some pic as lite intermission :lol:

Yea V8 is one of my other additions... when this bike is finished I am back onto my 64 Dodge 440 nascar build. Here are some pics of my engine parts I managed to find:
426 CID based, race hemi tapet covers, magnesium intake, 3bbl 9050cfm Holley carb with lemans bowls, Nascar oval spun aliminium air cleaner... all as per 1964 Dayatona race spec.
 

Attachments

  • 3.8.webp
    3.8.webp
    80.1 KB · Views: 440
  • 001.webp
    001.webp
    33 KB · Views: 440
  • 3.6.webp
    3.6.webp
    101.5 KB · Views: 440
  • 3.7.webp
    3.7.webp
    105.7 KB · Views: 440
Now back to the build.

You may be thinking why black for the frame? Well here was my thinking....

The Manitou forks were a work of art not to mention engineering masterpiece (simple and effective) by my account.

I wanted to tie the colour scheme of the Manitou 4 fork the rest of the bike.
I managed to pick up a M4 in mint cosmetic condition but it had a 1" stearer. Luckly the 1 1/8" from my Manitou comp was interchangable with the lower assembly of the M4.

So the M4 was disassembled cleaned and polished. It was rebuit with a Suspention Fork Parts master rebuild kit and travel extention (reduce rebound and increased compression lengths) kit.
 

Attachments

  • 4.1.webp
    4.1.webp
    75.8 KB · Views: 439
  • 4.0.webp
    4.0.webp
    63.7 KB · Views: 439
  • 3.9.webp
    3.9.webp
    94.6 KB · Views: 439
Re:

Great work, looking good! Are you going to stay with the all black frame, or will you try to replicate the blueish splash effect of the original frame paint? Probably not the easiest paint job to replicate :)
 
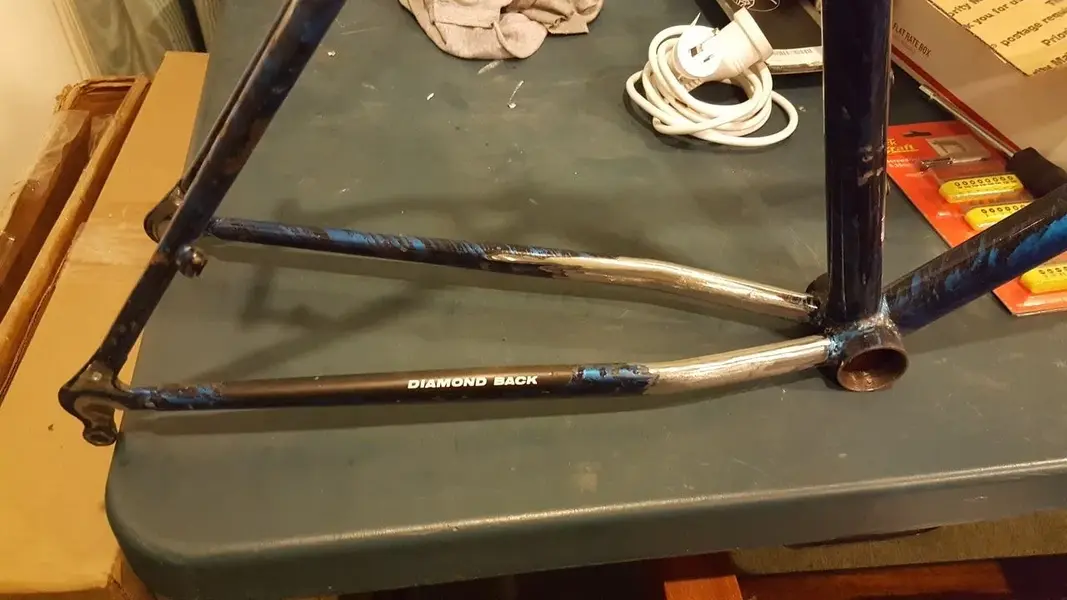
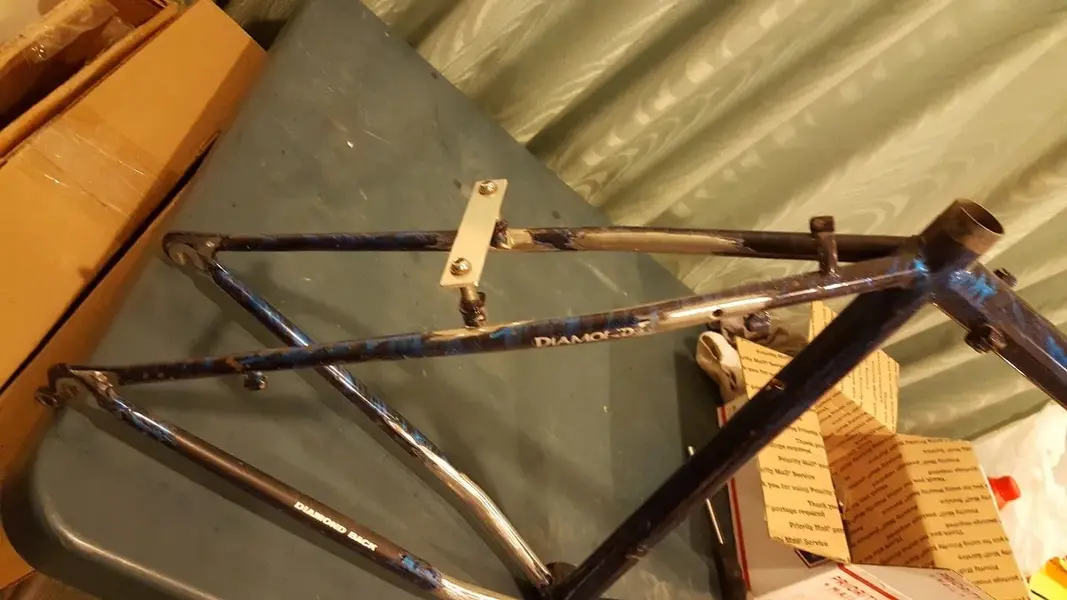
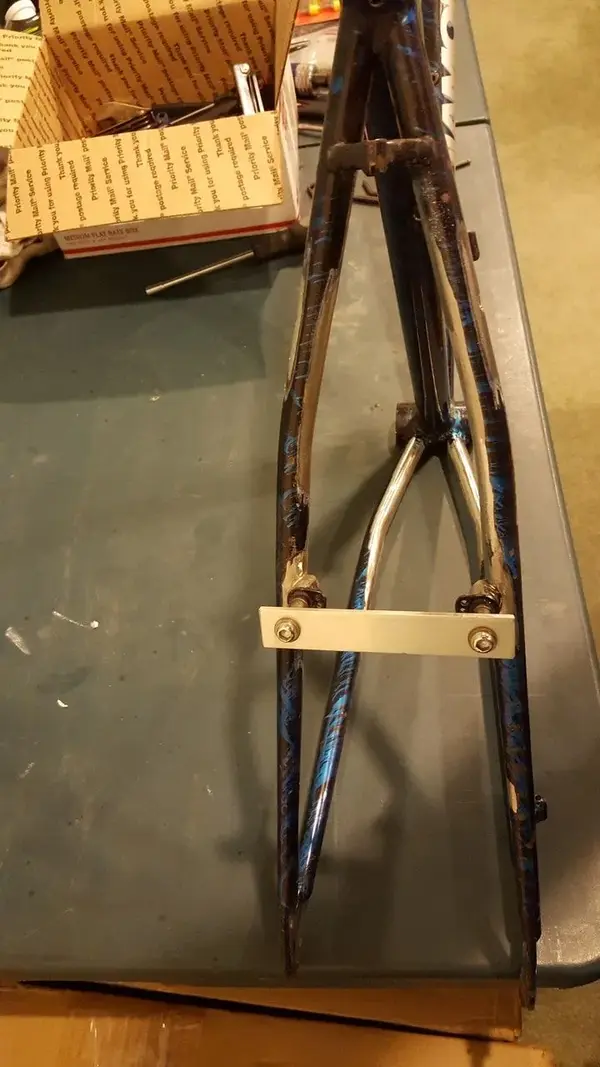
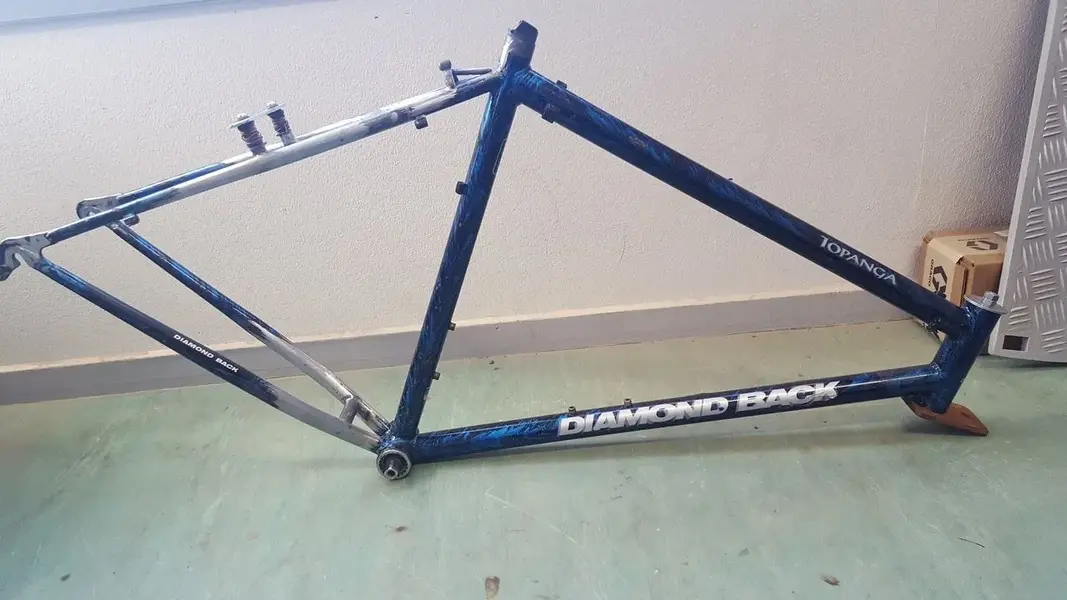
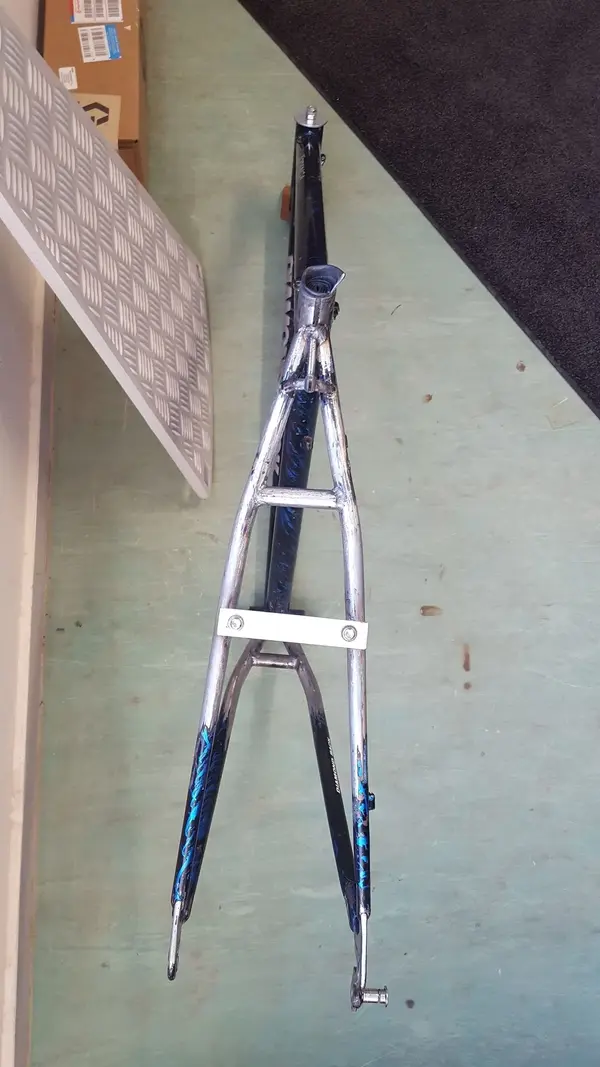
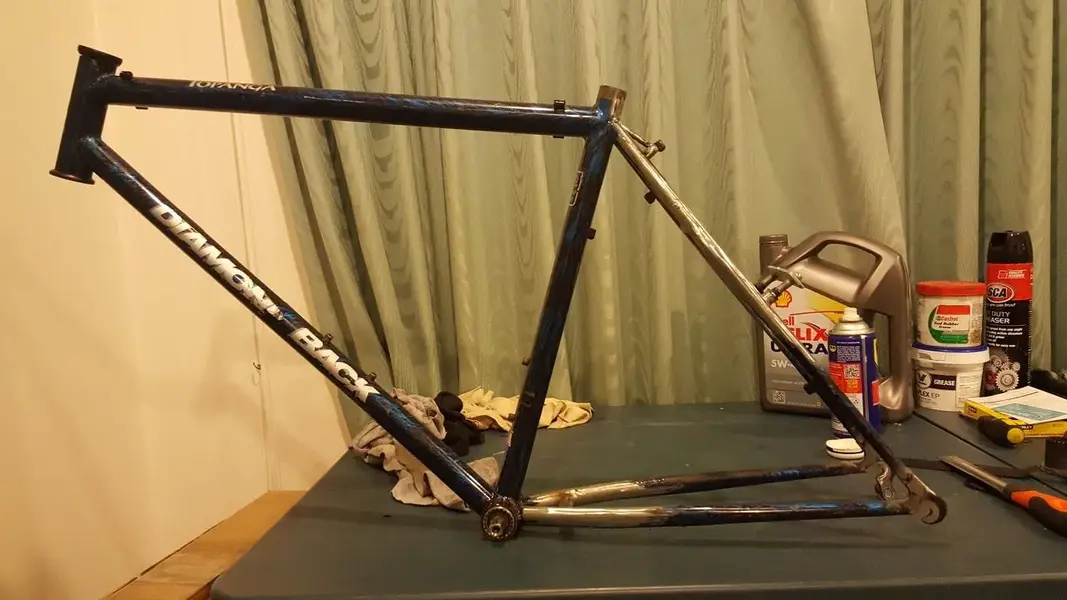
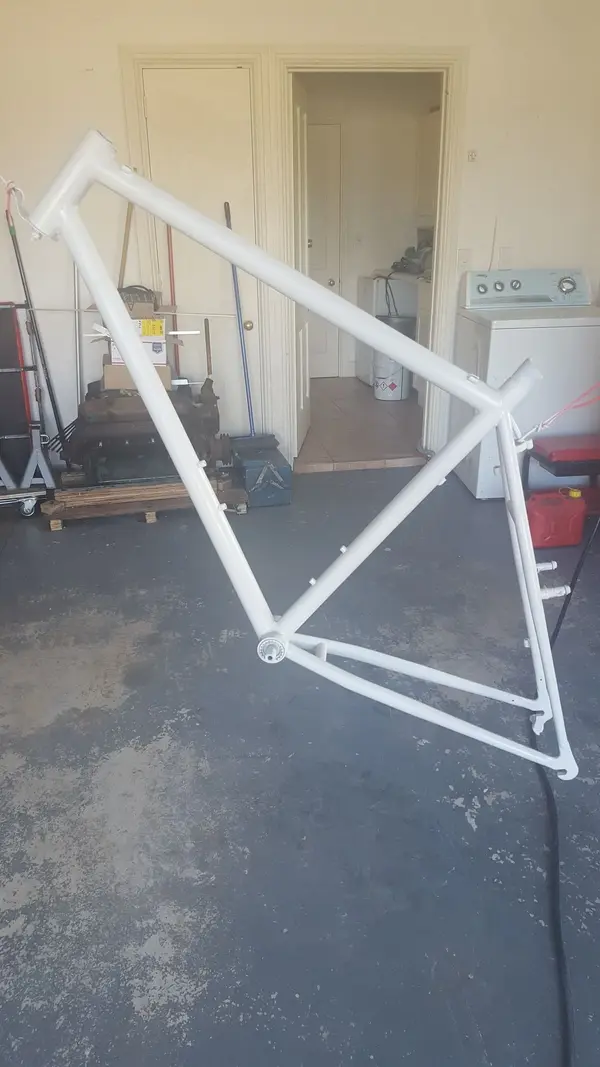
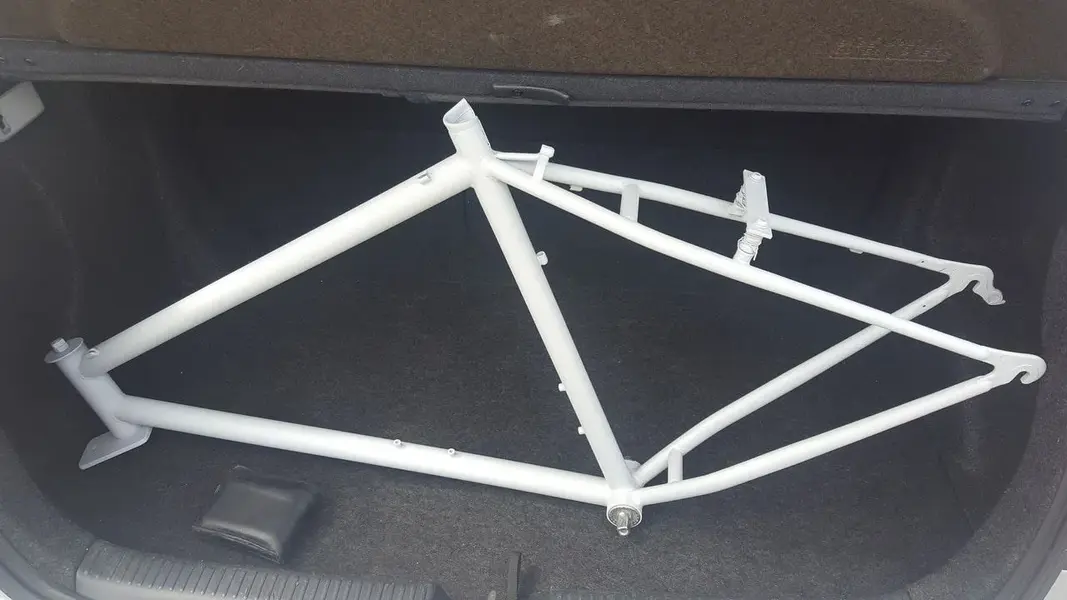
Dami, it was tough decision on whether to touch up the original paint scheme or go for broke and put together a custom scheme. In the end I decided to go custom because I want to correct the misalignment on the brake stud and there was a lot of paint missing along the chain stays/ rear triangle. With that I did not want to take away from fact that DB bikes of that era had some pretty wild paint job for a massed produced product. So I decided to do some experimenting with my spray and air gun to create a unique scheme that paid homage to the original. Seeing as I was going the custom paint route a custom set of decals was a must.

But who would be up to the task of design that.... I mean Gil only does repro decals right?
 
Back
Top