1992 Specialized S Works M2

Pobb74

Dirt Disciple
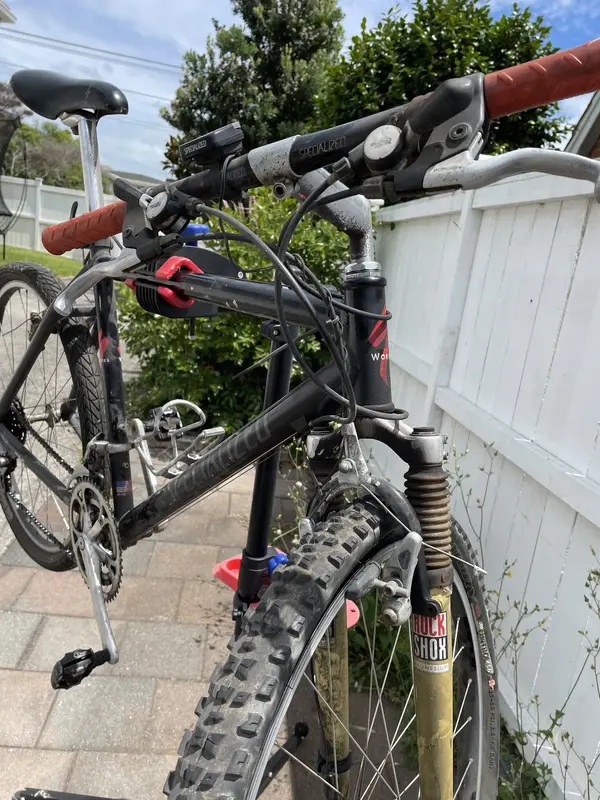
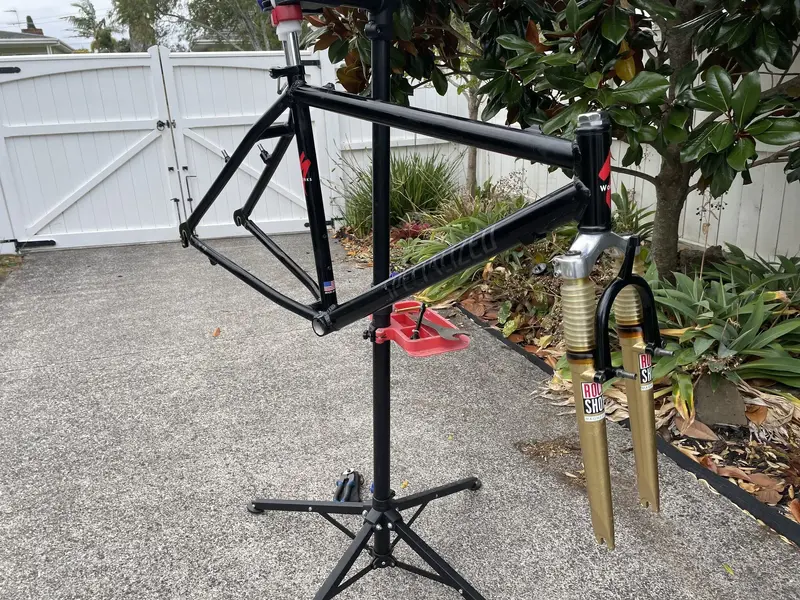
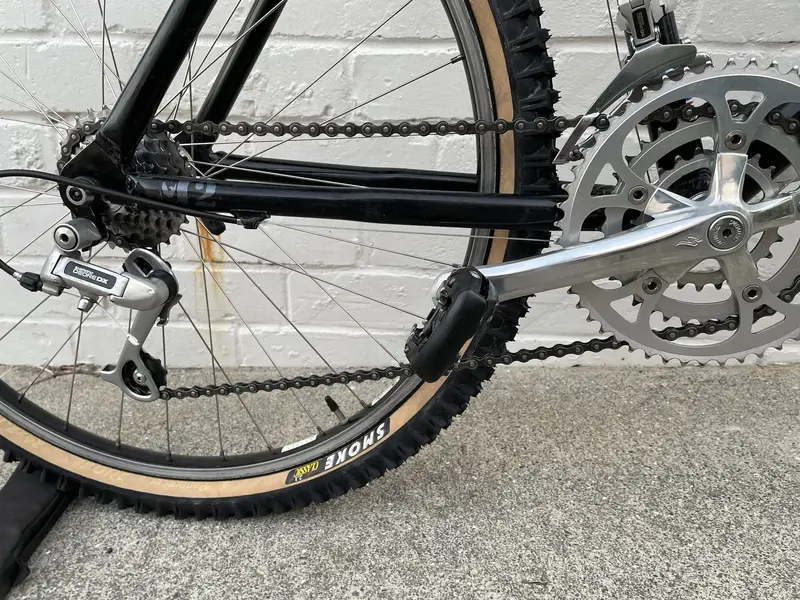
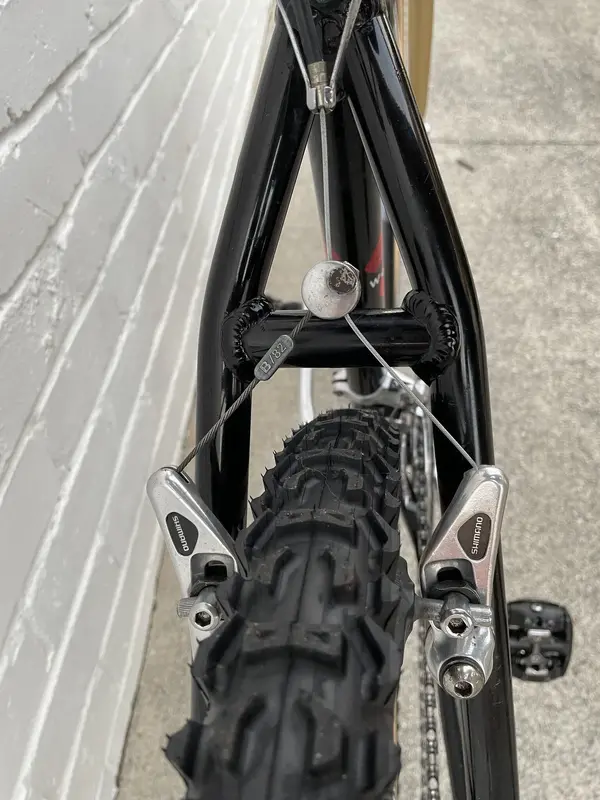
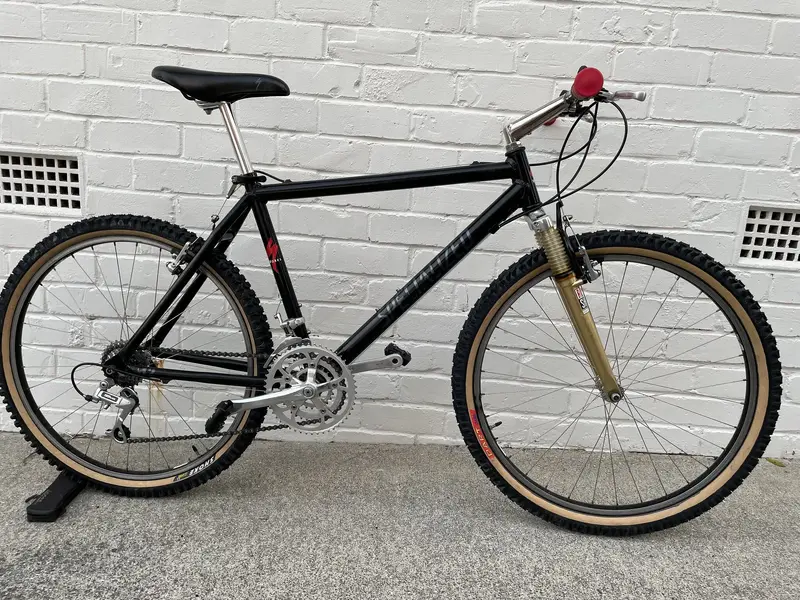
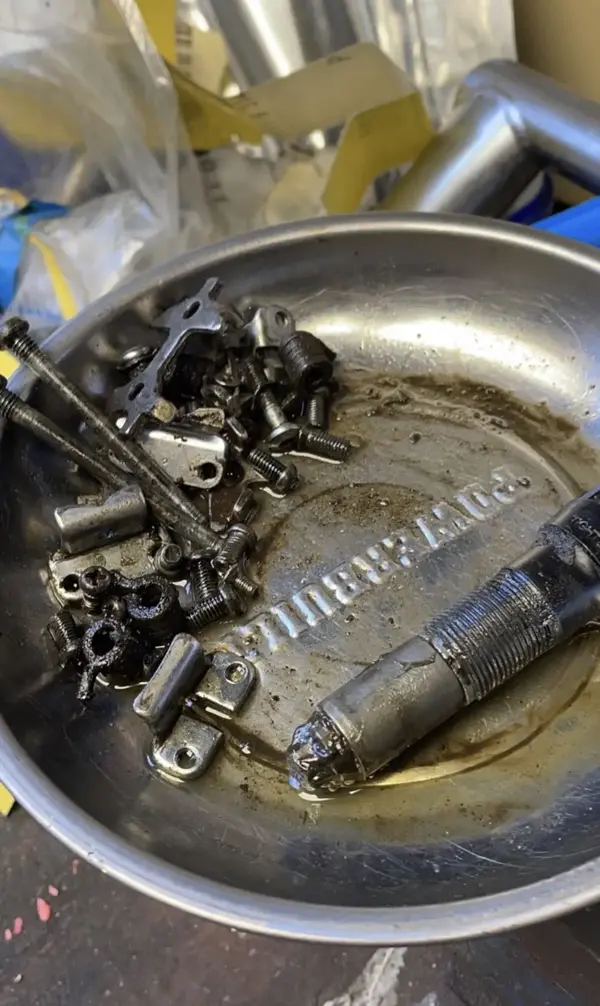
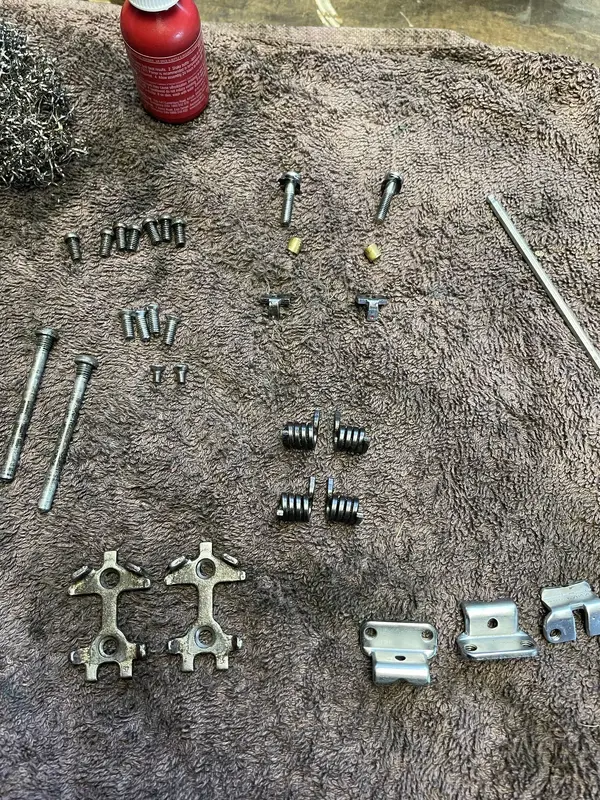
I bought this at the beginning of the year from the original owner. He’d used it primarily for fitness training on the road and had swapped in a larger chainring. Asides from that, and the M737 spds, everything was as per catalogue spec. This tends to be type of project I look for; disassemble, clean, polish and reassemble with as few replacement parts as I can get away with. After the parts were all off and the frame checked for cracks I started the job of touching up the paintwork. The paint was flaking away in places and the issues which I’ve seen described on this site that Specialized had with paint adhesion into the M2 alloy were evident. My first attempt to fix the paint chips with selective masking and a spray can failed. Too much coverage over the original paint, and the finish wasn’t glossy enough. I removed that and tried again with hand touch ups using modellers enamel and then polishing back. This was better, less intrusive but very slow. I mixed a wax and T cut polish to get the amount of abrasion I needed. After a couple of weeks off and on I’d got the frame to passable at a distance. I could get away with this on the black frame because it’s an easy colour match. The forks not so easy. I had hoped for light spray would heal up the chips and scratches. I realised that without a perfect colour match this wouldn’t work so I went with masking the decals and spraying the forks completely then finishing with clear coats. Here’s a couple of pics showing the bike as bought and it’s current state with frame and fork paint repaired as best as I can. The rest of the components are cleaned up and ready to go on this week.
 

Attachments

  • 97B5AC8C-CE4A-4D70-B795-A627FDC968B9.jpeg
    97B5AC8C-CE4A-4D70-B795-A627FDC968B9.jpeg
    557.2 KB · Views: 107
  • 878C7CBB-4068-4508-B97B-CCAB1508C0C8.jpeg
    878C7CBB-4068-4508-B97B-CCAB1508C0C8.jpeg
    912 KB · Views: 111
Thank you! I’ve fitted the silverware. Thanks to the clear instructions on this site I was able to disassemble clean and reassemble the thumbies. I was really excited about the thumbies, all my other bikes are sti or gripshift, so Swiss watch complex or toilet roll tube simplicity to rebuild. It was nice to have something in between.

As mentioned I like to keep things if I can, however the original autopilot rubber grips had turned into a brittle ceramic like material, fragments capable of piercing skin. They were picked off bit by bit and on go new Ourys. Now something I didn’t expect to be a question; which way round to put the grips. So I get a choice, OURY word read by rider or person facing bike. I go with rider.

The 50 tooth chain ring is really close to the frame so I may swap that. The chain is an Izumi which surprised me, it also bamboozles my chain wear tool. I guess I’ll figure out that when I get to the gear tuning part.

The wheels are nice, XT hubs with fancy butted wheel smith spokes. I splashed out on repro retro tyres because I’d run out of nobblies but also I really wanted the gumwall and black rim combo. And they were on sale. The XT hubs have a neat little trick where you can rotate the dust cap to reveal a hole to squirt in fresh grease. I like the black and red contrast. KITT, the A team van; black and red can’t be beat.

Pedals and cables next, then tune ups and off we go. 99E0803F-64D7-4B07-BD8C-6FB04E4F27E1.jpeg 690EEEA9-E58B-48A8-B7D3-7FA699770C02.jpeg 1BBDF8CF-E7DE-4242-8A81-00B8022FFFE1.jpeg F7434121-BD7F-40D2-B1A6-FD95243B4319.jpeg 3A4F0B9A-6B80-4CA6-A5DA-5EB25121E009.jpeg
 
Rebuilding the pedals was a bit of a treat. I remember my mate having these on his mtb bitd and I loved the cyclops eye Allen key cleat adjustment and the little red dot on the steel slider to show the setting. Anyway as usual I can’t resist undoing screws and prying springs to find my way down to dirt and grease and these pedals are no different. I take pics and find plenty of ‘how tos’ to get them back together. But I shouldn’t worry; they look complicated but it’s the same cleat mechanism repeated. Once apart I sand out most of the scratches, fill the deep ones and give a bit of a respray. They go back together no problem with none of the tricky moves sometimes required with spring loaded mechanisms. I didn’t have the tool to undo the axle, I really try to not skip using the right tool if I can but in this instance a vice with wood padding and judicious tension and turning worked out.

Rest of the bits are now back on the bike, brakes and gears tuned up and it’s ride ready. It’s been raining for last few days so time to get it muddy.

Thanks for reading, happy riding!
 

Attachments

  • 80D82805-A89F-46BA-A031-E936088EEBA4.jpeg
    80D82805-A89F-46BA-A031-E936088EEBA4.jpeg
    696.8 KB · Views: 32
  • 55E2939A-602B-43DF-973A-13DD32267CF1.jpeg
    55E2939A-602B-43DF-973A-13DD32267CF1.jpeg
    439.5 KB · Views: 29
  • 04FE297F-A434-4D45-AEBB-F2D381EECE35.jpeg
    04FE297F-A434-4D45-AEBB-F2D381EECE35.jpeg
    391.4 KB · Views: 27
  • 183AE914-A00B-4245-955B-E38F31B4AC4A.jpeg
    183AE914-A00B-4245-955B-E38F31B4AC4A.jpeg
    370.7 KB · Views: 26
  • CC51BCD2-F1B3-475F-A338-B2F4A15B8E3D.jpeg
    CC51BCD2-F1B3-475F-A338-B2F4A15B8E3D.jpeg
    676.1 KB · Views: 39
  • BCE46AE9-BCF4-405D-94B9-00EC4165AC3A.jpeg
    BCE46AE9-BCF4-405D-94B9-00EC4165AC3A.jpeg
    862.5 KB · Views: 39
  • 3858DECB-E871-4898-ADF3-D7DD9B5EB82D.jpeg
    3858DECB-E871-4898-ADF3-D7DD9B5EB82D.jpeg
    589.3 KB · Views: 35
  • 1FDCBEC1-E2A2-4704-8F22-144104FA2533.jpeg
    1FDCBEC1-E2A2-4704-8F22-144104FA2533.jpeg
    205 KB · Views: 39
  • 00D0775D-071E-4D06-8AA7-387C5A9A41E2.jpeg
    00D0775D-071E-4D06-8AA7-387C5A9A41E2.jpeg
    1.2 MB · Views: 35
Has anyone ever found a replacement for the "clear" boots on the rockshox? I've been searching for a solution to the yellowed and cloudy ones on my FutureShock. IMG_20191125_131639061.jpg
 
Has anyone ever found a replacement for the "clear" boots on the rockshox? I've been searching for a solution to the yellowed and cloudy ones on my FutureShock.View attachment 613583
Interesting question; I just used washing up liquid and went round and round the creases with various brushes and cloths on wires to rub off the grime. When I thought I’d done I’d look closely and saw more so kept going. At the bottom the rubber had sucked in the grease over the years and it was ingrained and permanent. Even good old WD didn’t shift it. I’ve added a pic of the before and after boots side by side. Asides from the grease most of the grot was water soluable and they came up pretty clear and had suffered minimal sun yellowing.

Since you asked the question you got me thinking whether there is a method to get rid of the sun yellowing. I know there’s a home remedy the retro gaming crew use to get rid of yellowing on the ABS plastic of Nintendo consoles and the like. Called ‘retr0bright’ there’s a few recipes online with descriptions of the method. I’ve not tried this and don’t know whether this will work on the rubber used for the boots or whether it would damage them. The article says ABS yellowing is from bromide in the plastic, the yellowing in clear boots may be a totally different mechanism. I’m now kinda curious whether this will get crystal clear boots - if I give it a go I’ll post the results.
 

Attachments

  • 36C0117B-6544-422F-9CC5-912C358DDC81.jpeg
    36C0117B-6544-422F-9CC5-912C358DDC81.jpeg
    454.2 KB · Views: 6
So a bit more googling and yellowing rubber is also a problem faced by retro sneaker collectors. There’s some methods/products they use which seems similar to retr0brite to restore rubber soles. Interestingly it works for ‘icy’ i.e. translucent, rubber.
 
It has been in pieces for a long while. I was hoping to ride it again someday. I used it for some pretty rough riding over the years. I feel it belongs to the bike it has been with for most of its life.
 
So a bit more googling and yellowing rubber is also a problem faced by retro sneaker collectors. There’s some methods/products they use which seems similar to retr0brite to restore rubber soles. Interestingly it works for ‘icy’ i.e. translucent, rubber.
'retrobright' could definitely be worth a try.
not sure if it is available abroad, but 'salon care 40' is the stuff. available at any beauty store. any cream based peroxide developer at 40% volume will work. use a paint brush or tooth brush and coat the pieces, wrap in plastic wrap and stick them in the sun.
 

Latest posts

Back
Top