1992 Marin Rocky Ridge - £25 eBay Find

Any more progress? am following with interest, I really like the Marin aluminium framed bikes in this period.
 
I am looking forward to seeing what you do with it. Do you have more than one project at the go at any one time?
 
Where was I with this…

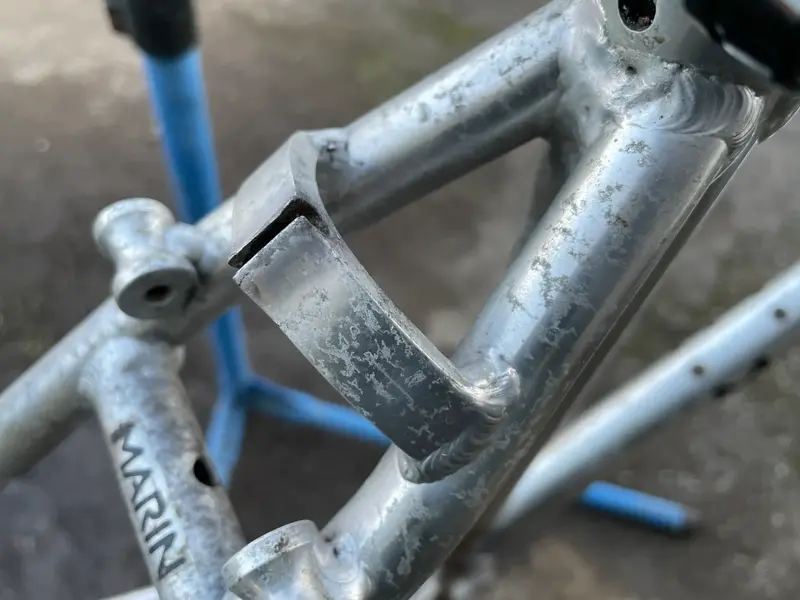
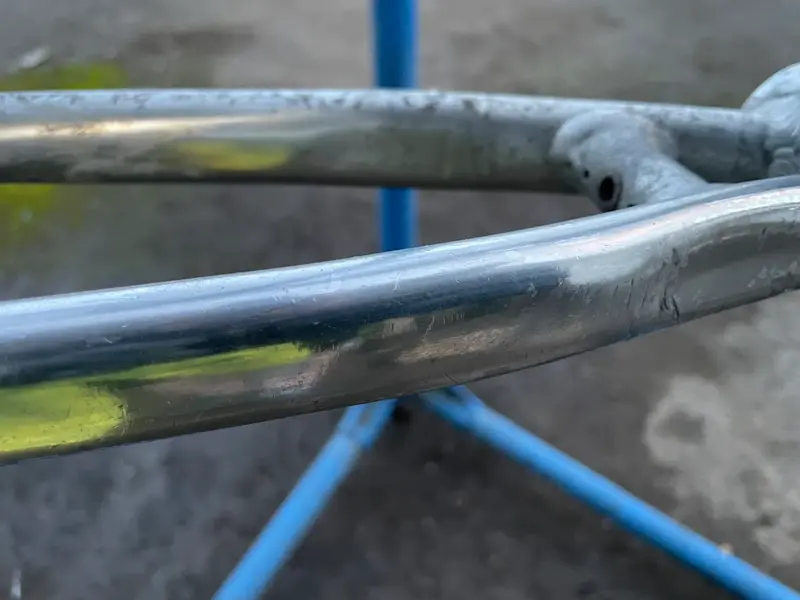
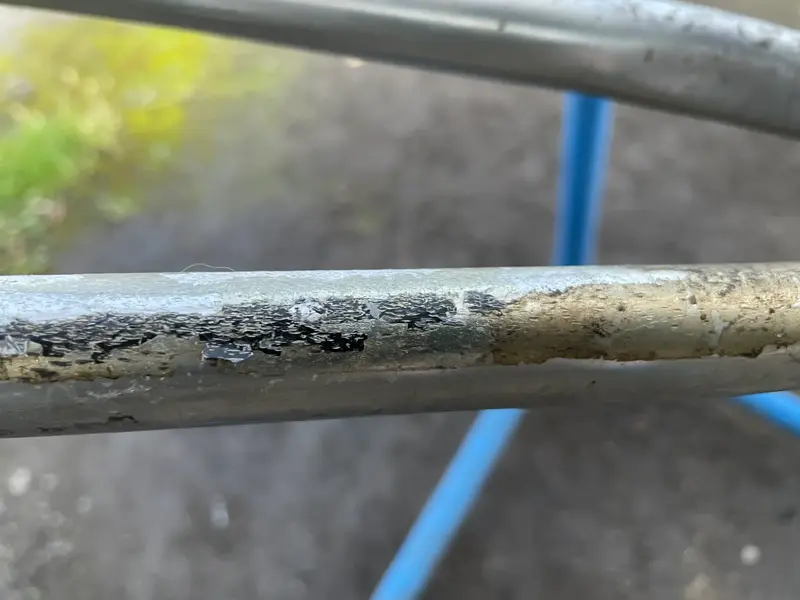
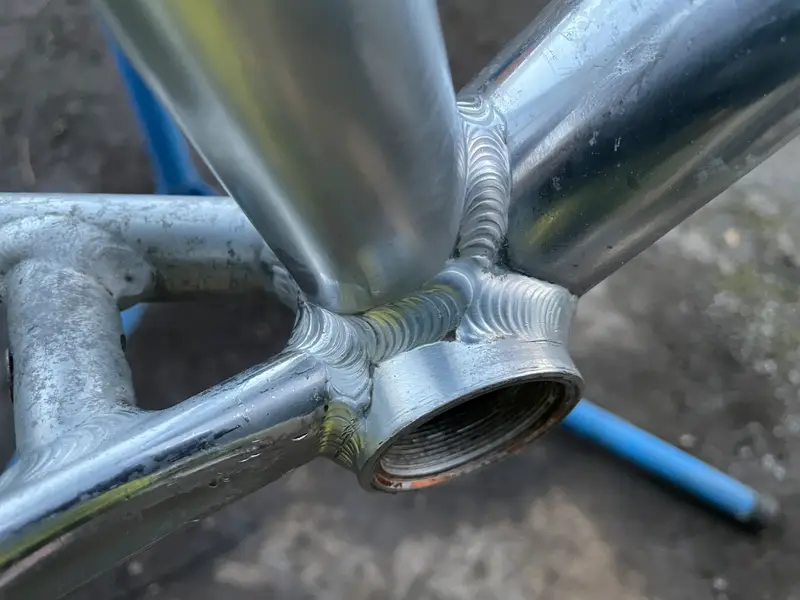
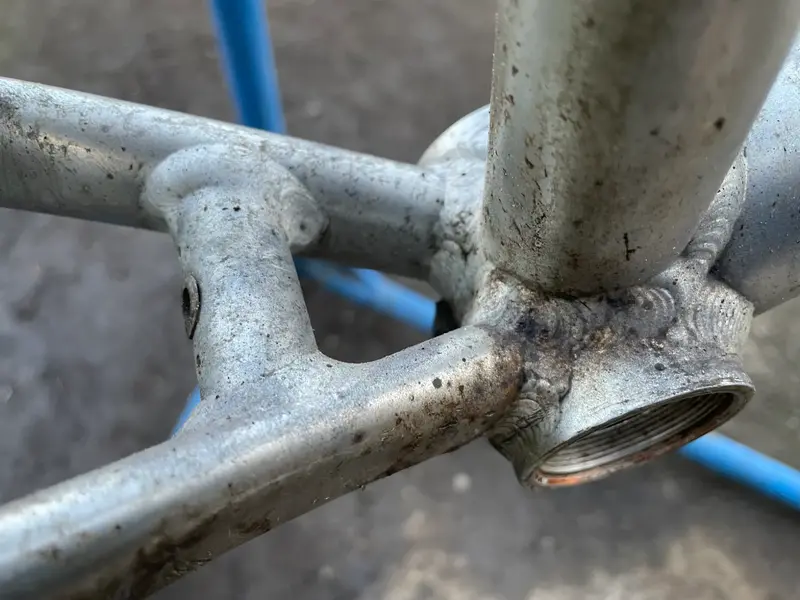
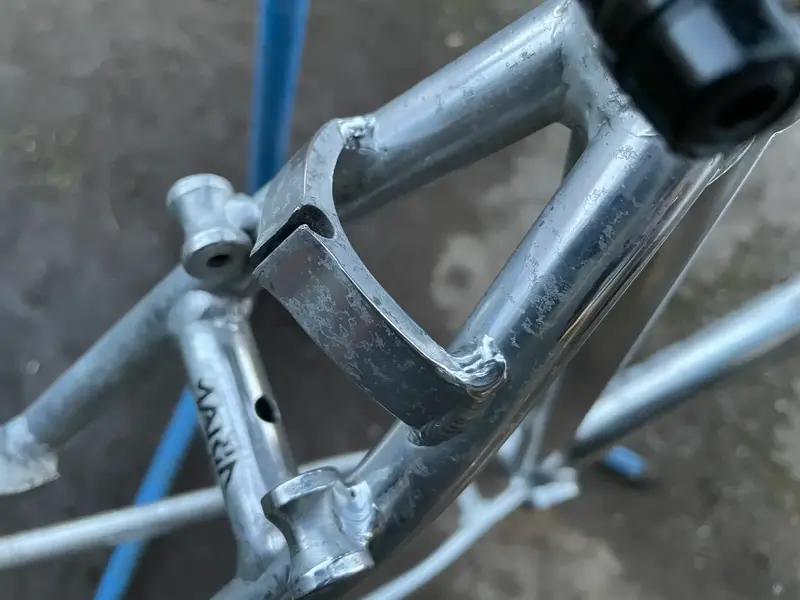
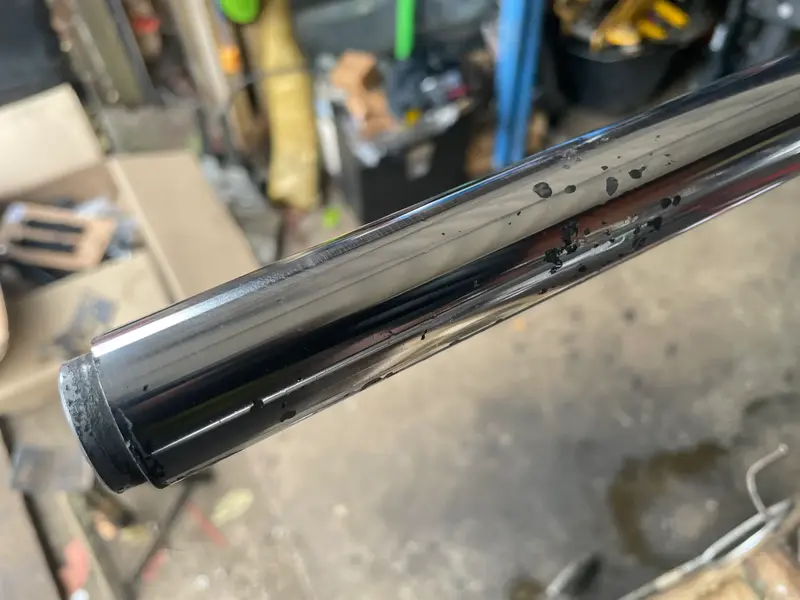
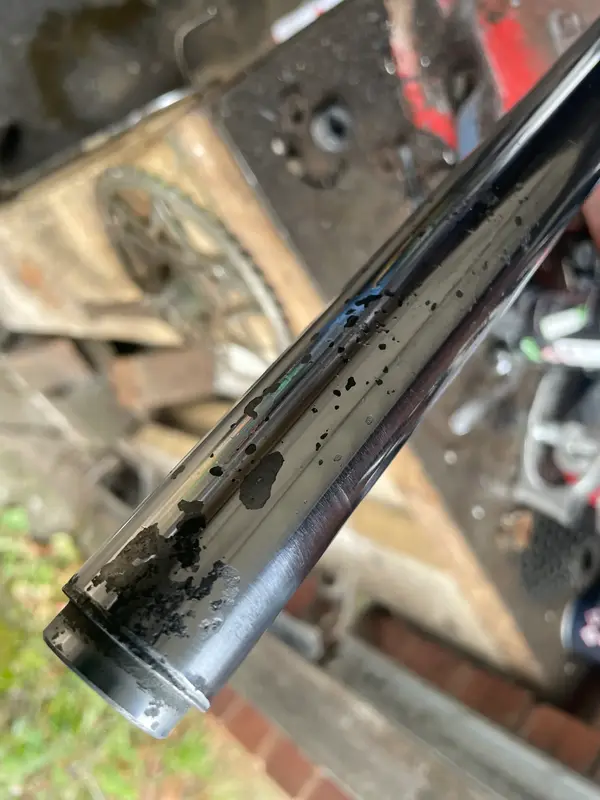
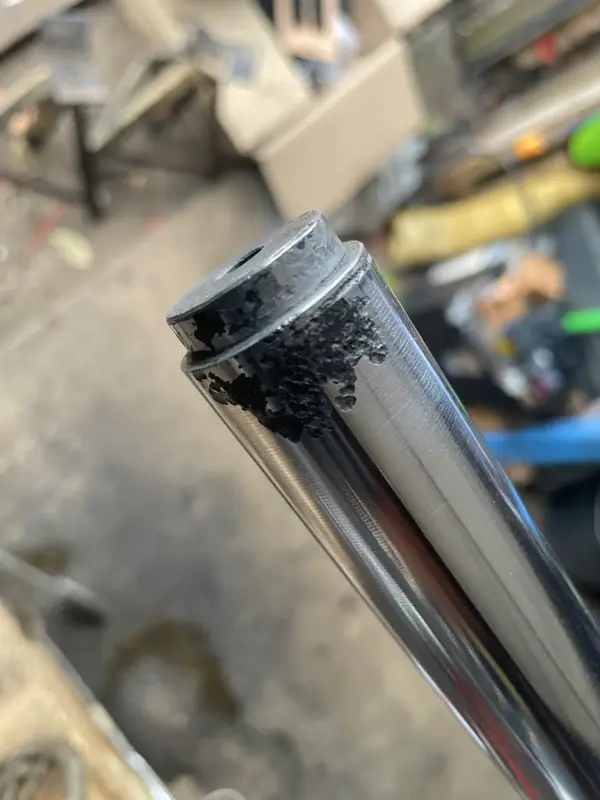
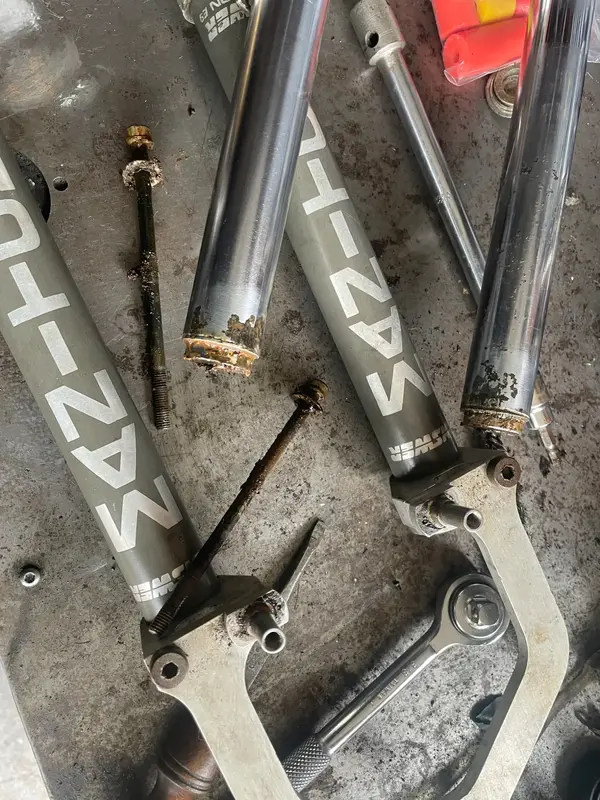
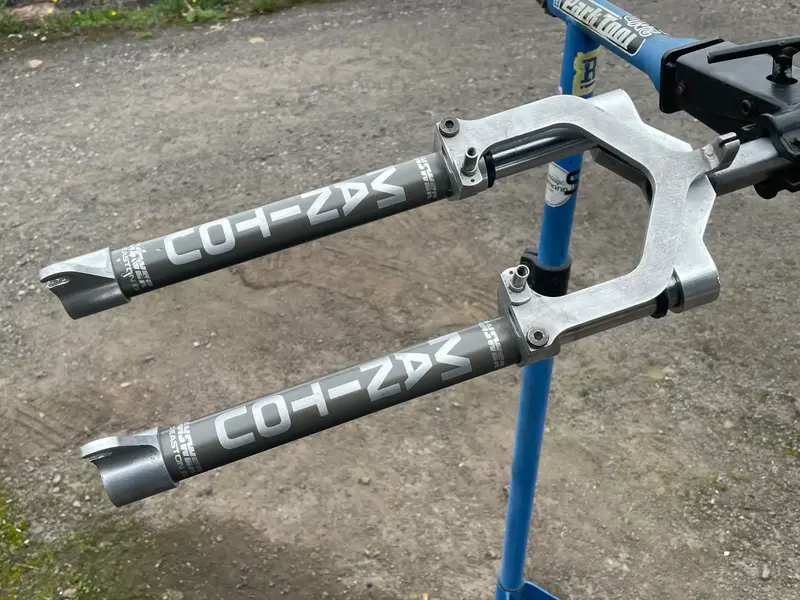
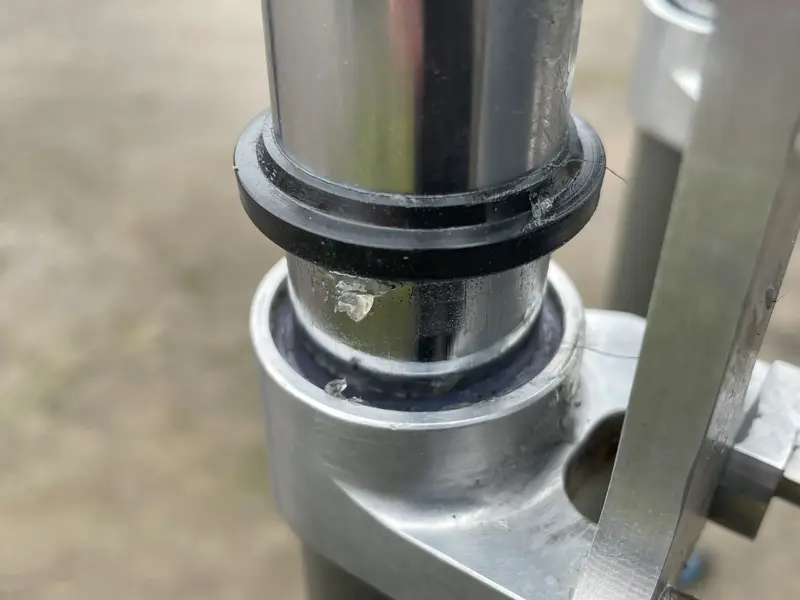
Ok so I thought I’d get started again. I forgot how scarred the frame is with general wear and corrosion. Thought I might be able to polish away some of it with some 0000 wire wool and autosol but unfortunately it’s a bit deeper than that combo can manage.

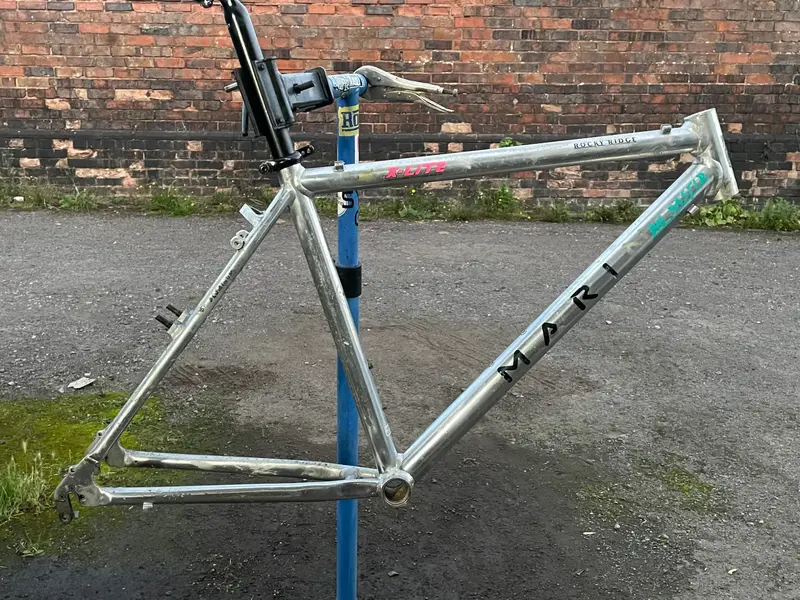
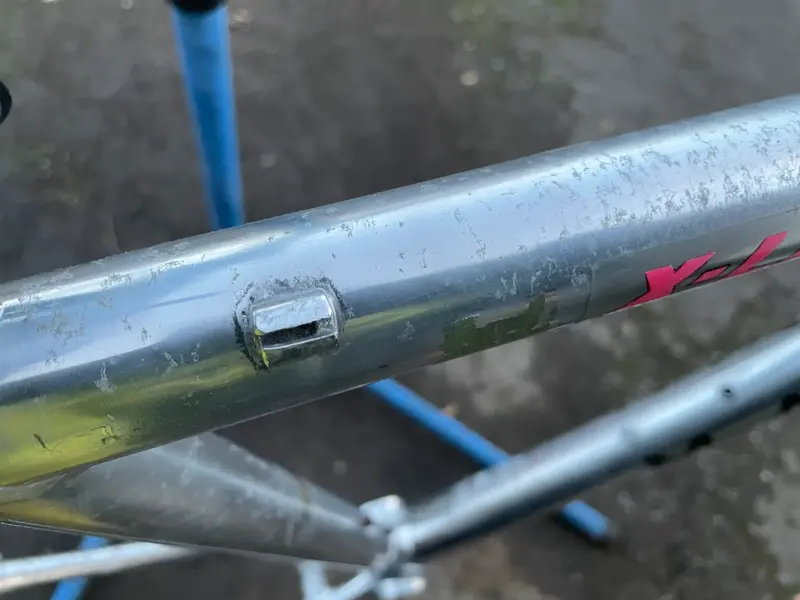
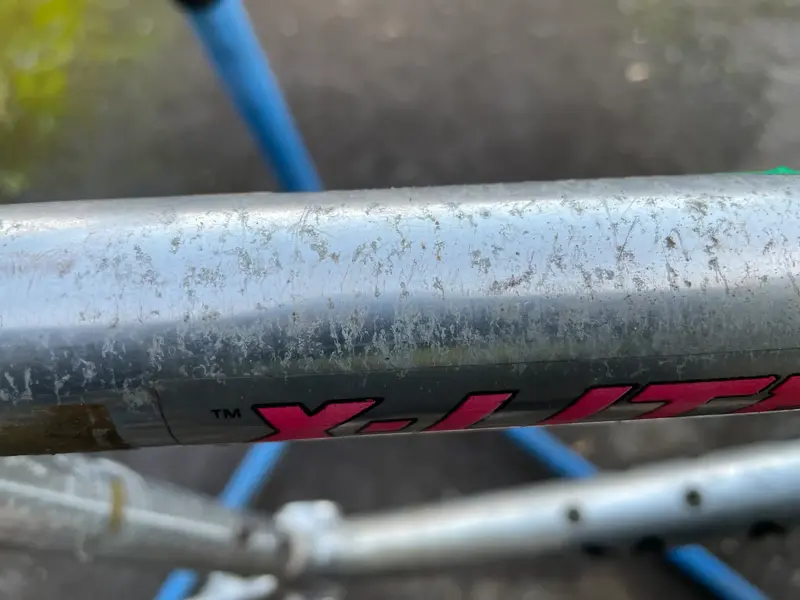
as much as I’d love to get it looking perfect - I don’t think it’s worth it for me currently so I’ll just get to cleaning up the rest of the frame as best as I can and rebuild it, scars, old decals and all.
 

Attachments

  • IMG_5374.webp
    IMG_5374.webp
    101.7 KB · Views: 4
  • IMG_5382.webp
    IMG_5382.webp
    402 KB · Views: 4
  • IMG_5380.webp
    IMG_5380.webp
    82.3 KB · Views: 2
  • IMG_5377.webp
    IMG_5377.webp
    98.6 KB · Views: 2
  • IMG_5379.webp
    IMG_5379.webp
    127.8 KB · Views: 2
  • IMG_5376.webp
    IMG_5376.webp
    157.2 KB · Views: 2
  • IMG_5378.webp
    IMG_5378.webp
    97.8 KB · Views: 2
  • IMG_5375.webp
    IMG_5375.webp
    110.7 KB · Views: 2
  • IMG_5381.webp
    IMG_5381.webp
    97.2 KB · Views: 3
Cleaned up the rest of the bits though… although I forgot to order cantis.

While taking apart the crankset one of the bolts rounded so I had to get a flat head hammed in there to wind it out. Also had to reposition and reorient the middle ring. The Onza Buzzsaw should have the IN on the inside right…?

Mmm and the shifters got a good clean. Right side was fine but absolutely filthy inside. Left side only got one click but now both are clicking away. At least I didn’t have to fully take them apart!
 

Attachments

  • IMG_5408.webp
    IMG_5408.webp
    155.9 KB · Views: 1
  • IMG_5407.webp
    IMG_5407.webp
    111.7 KB · Views: 2
  • IMG_5418.webp
    IMG_5418.webp
    221.6 KB · Views: 3
  • IMG_5402.webp
    IMG_5402.webp
    125.6 KB · Views: 1
  • IMG_5396.webp
    IMG_5396.webp
    188.6 KB · Views: 2
  • IMG_5395.webp
    IMG_5395.webp
    222.9 KB · Views: 1
  • IMG_5394.webp
    IMG_5394.webp
    165.4 KB · Views: 1
I have decided to try and reuse the campy headset though.

The one thing that worries me is the lower cup. It looked worn but doesn’t feel worn so we’ll see how it performs. Both bearing races have been replaced and I’ve also ordered new o-rings off eBay for the water seals and cut up some old inner tube for the rubber bands that should sit on the outside.
 

Attachments

  • IMG_5417.webp
    IMG_5417.webp
    106.3 KB · Views: 1
  • IMG_5413.webp
    IMG_5413.webp
    215.3 KB · Views: 1
  • IMG_5412.webp
    IMG_5412.webp
    122.5 KB · Views: 1
  • IMG_5411.webp
    IMG_5411.webp
    135.3 KB · Views: 1
  • IMG_5410.webp
    IMG_5410.webp
    59.9 KB · Views: 1
  • IMG_5409.webp
    IMG_5409.webp
    157.2 KB · Views: 1
As for the fork… well. It’s sort of done.

I’ve stripped it down today and cleaned everything out of it. Scrapped out a tonne of jelly like elastomer in little bits and then my pipe wire brush things went to work. Clean in no time.

The only thing is the coating on the stanchions is a bit beat up.

And now it’s together I can’t get the new dust seals in. They were an incredibly tight fit in the lowers so when I came to fit them over the carefully hung elastomer stacks and then the lower bushings that sit at the bottom of the stanchions it wouldn’t work.

Thought I might find it easier fitting the seals to the stanchions first before sliding everything on and pressing them in place after. It was much easier but now I’m struggling with the seals and the space to fit them 🙃

At least they’re clean and together and have maybe 20mm of bounce now.
 

Attachments

  • IMG_5441.webp
    IMG_5441.webp
    204 KB · Views: 3
  • IMG_5439.webp
    IMG_5439.webp
    421.8 KB · Views: 3
  • IMG_5438.webp
    IMG_5438.webp
    104.8 KB · Views: 3
  • IMG_5437.webp
    IMG_5437.webp
    103.6 KB · Views: 2
  • IMG_5436.webp
    IMG_5436.webp
    106.7 KB · Views: 2
  • IMG_5435.webp
    IMG_5435.webp
    84.5 KB · Views: 2
  • IMG_5434.webp
    IMG_5434.webp
    106.8 KB · Views: 2
  • IMG_5432.webp
    IMG_5432.webp
    367.6 KB · Views: 3
  • IMG_5444.webp
    IMG_5444.webp
    237.1 KB · Views: 3
  • IMG_5442.webp
    IMG_5442.webp
    76.2 KB · Views: 2

Latest posts

Back
Top