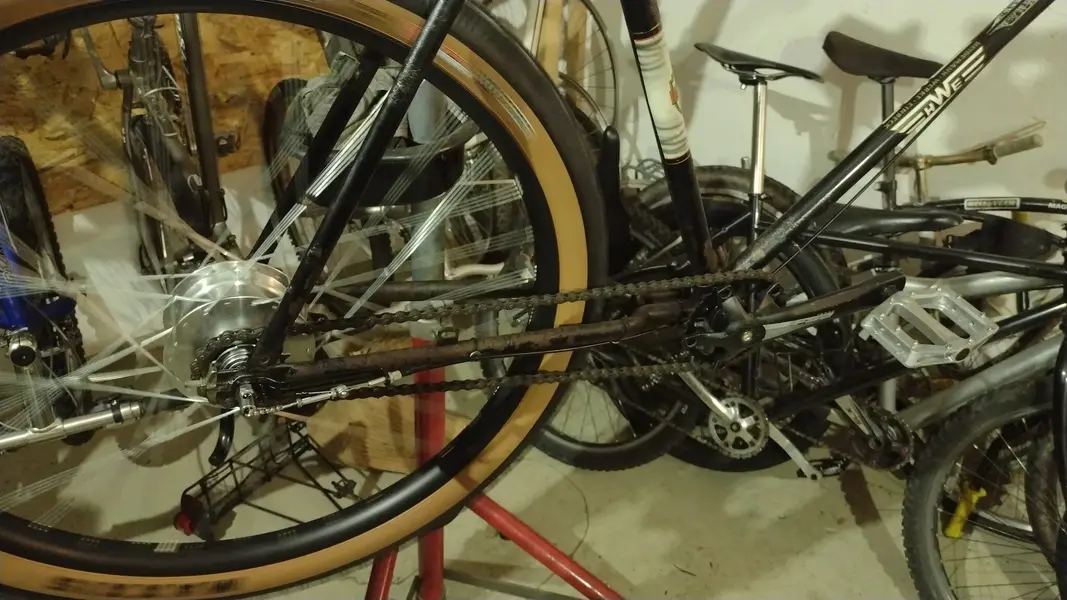
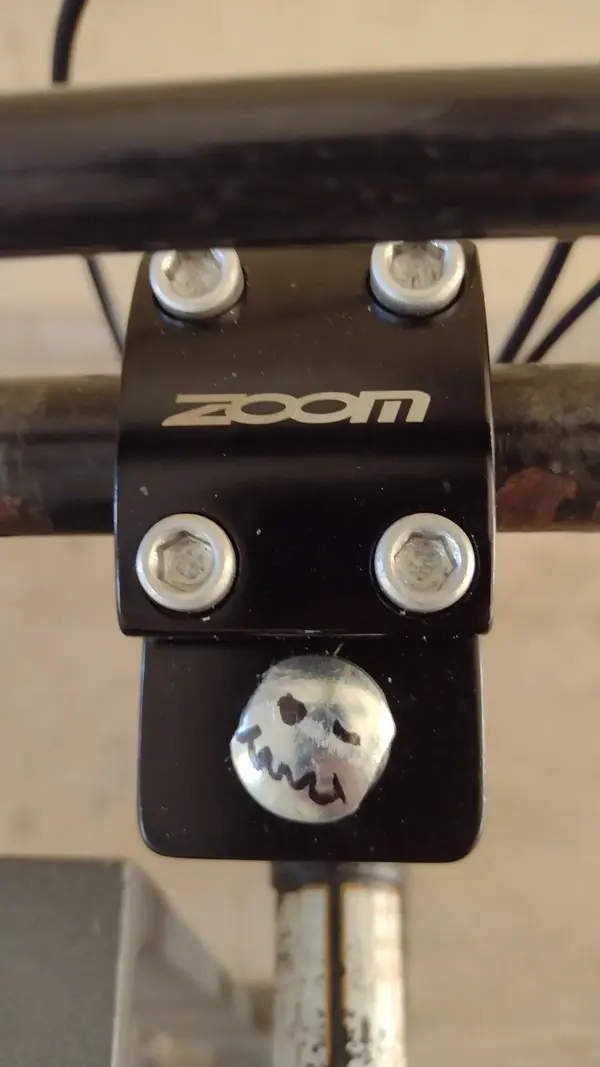
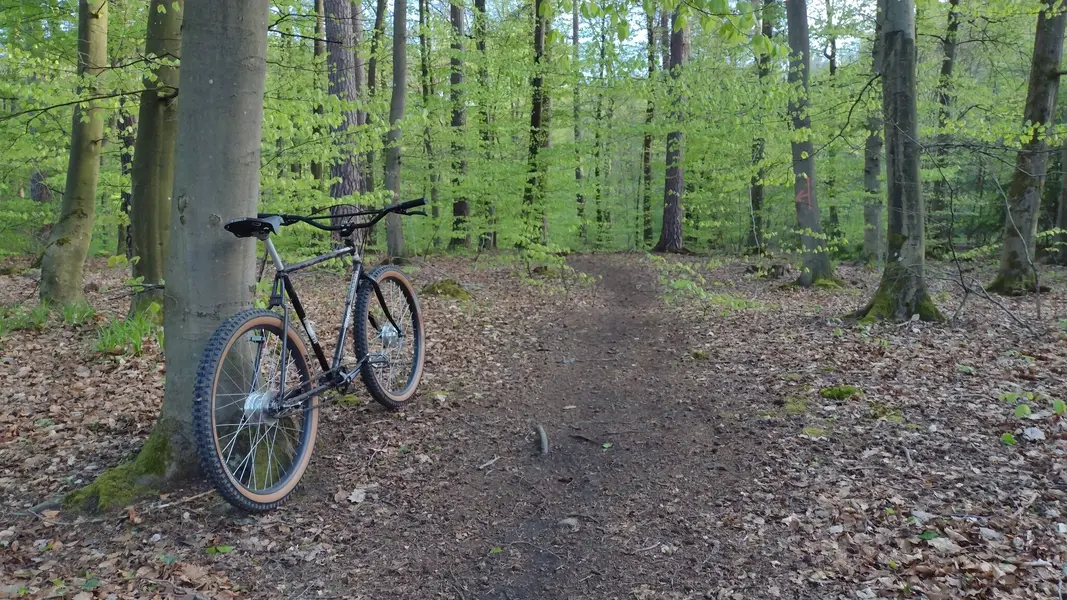
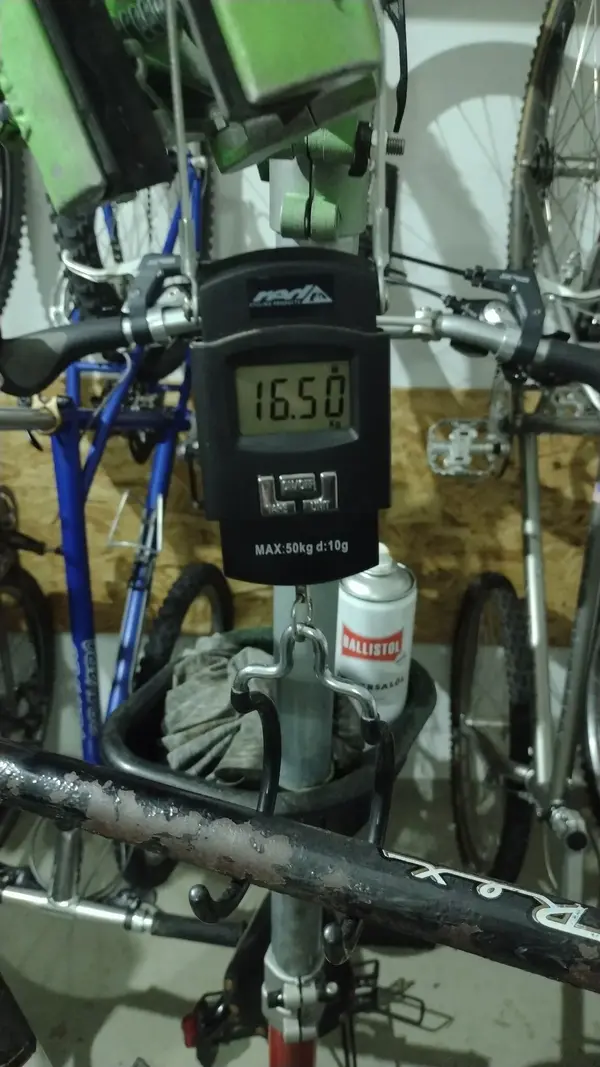
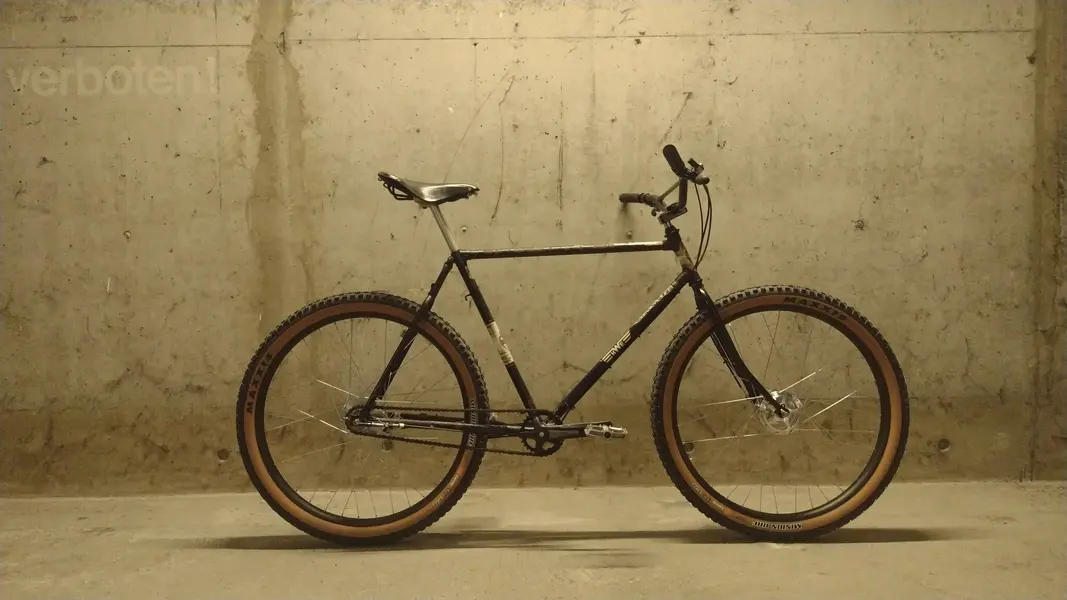
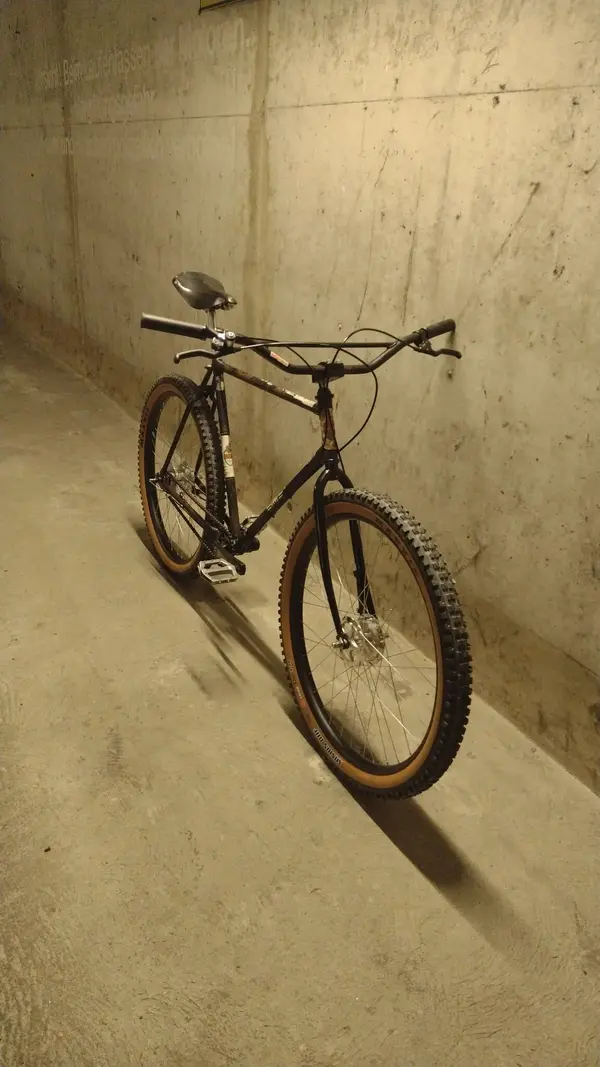
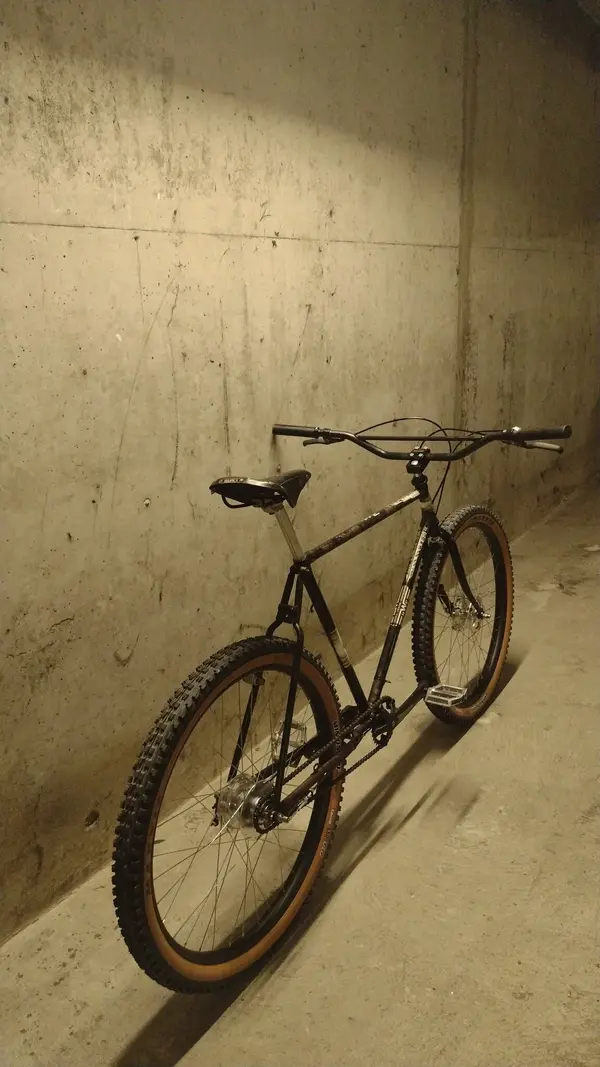
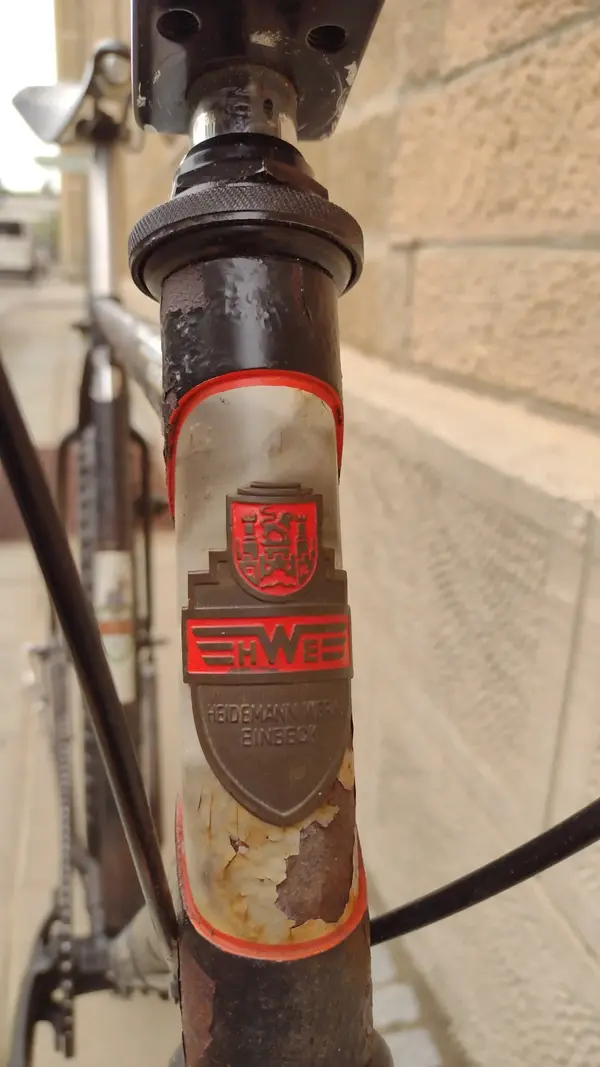
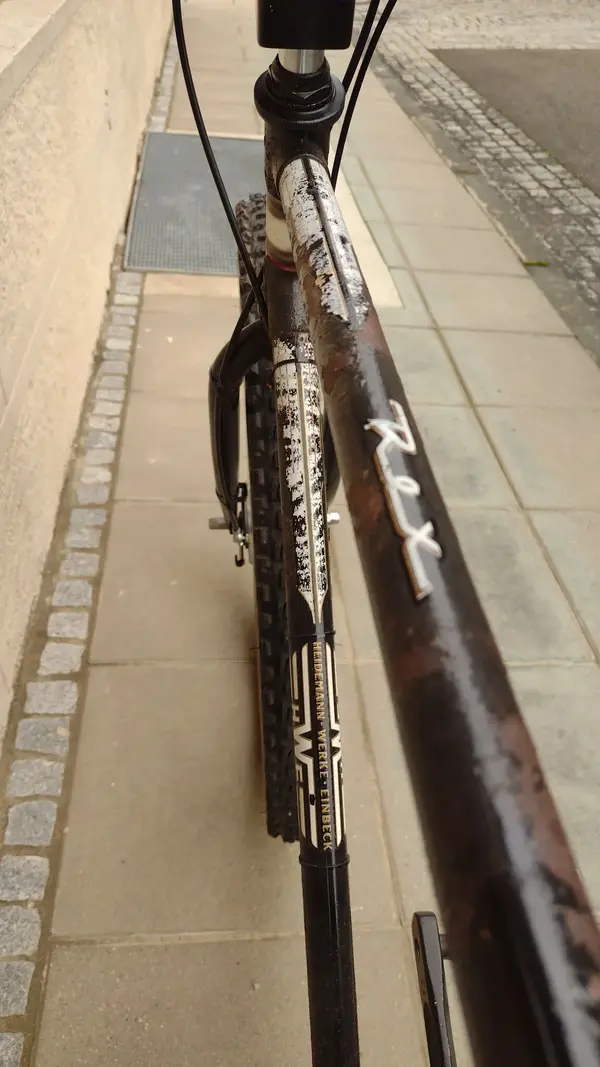
As requested, here is the build thread to my HWE Rex.
It all started about 20 years ago when I found a bike in a scrap container at my former company. It was old but it worked perfectly. I wanted to build it up as a Klunker or Tracker but unfortunately the frame didn't have room for fat tyres and 27.5" rims and tyres didn't exist yet. So it became a kind of commuter rat. But I still had fun with it.

When I discovered a 27.5 inch Klunker in the mtb news forum last autumn (credits to null2wo), the idea came back and I started looking around for a suitable bike.
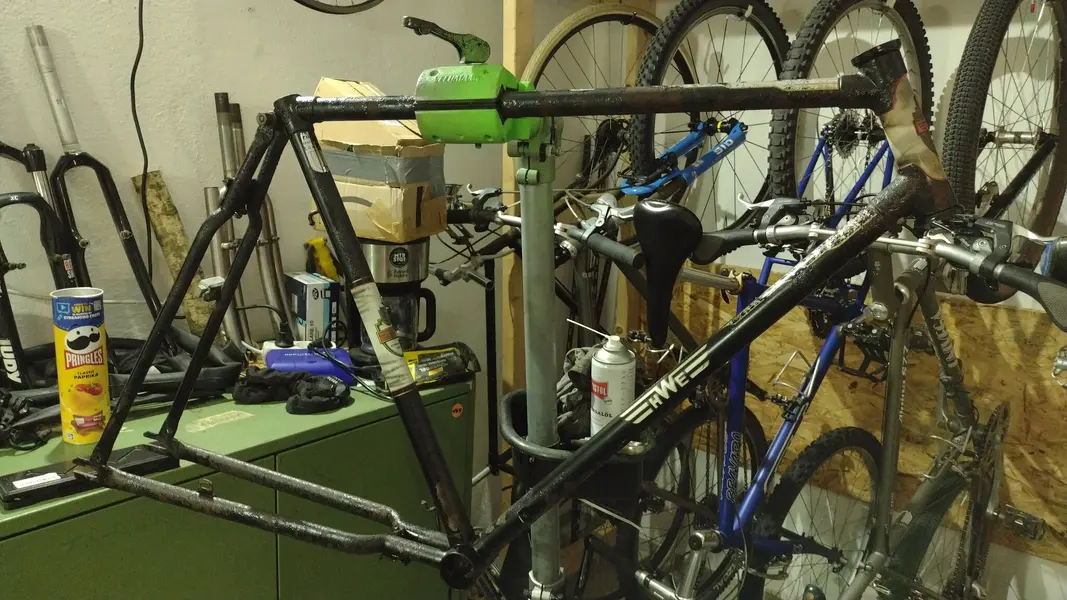
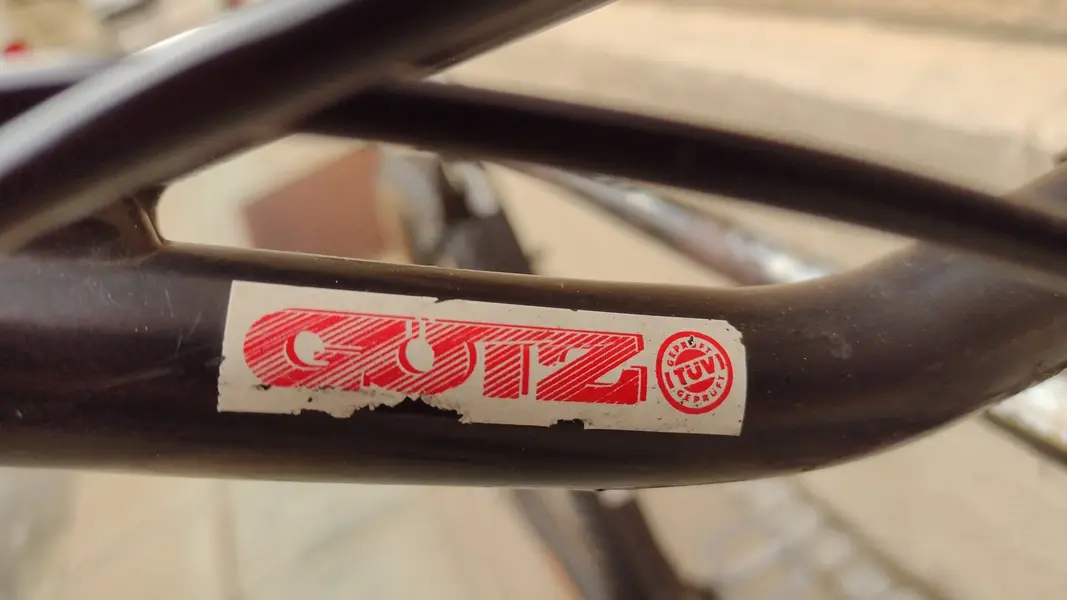
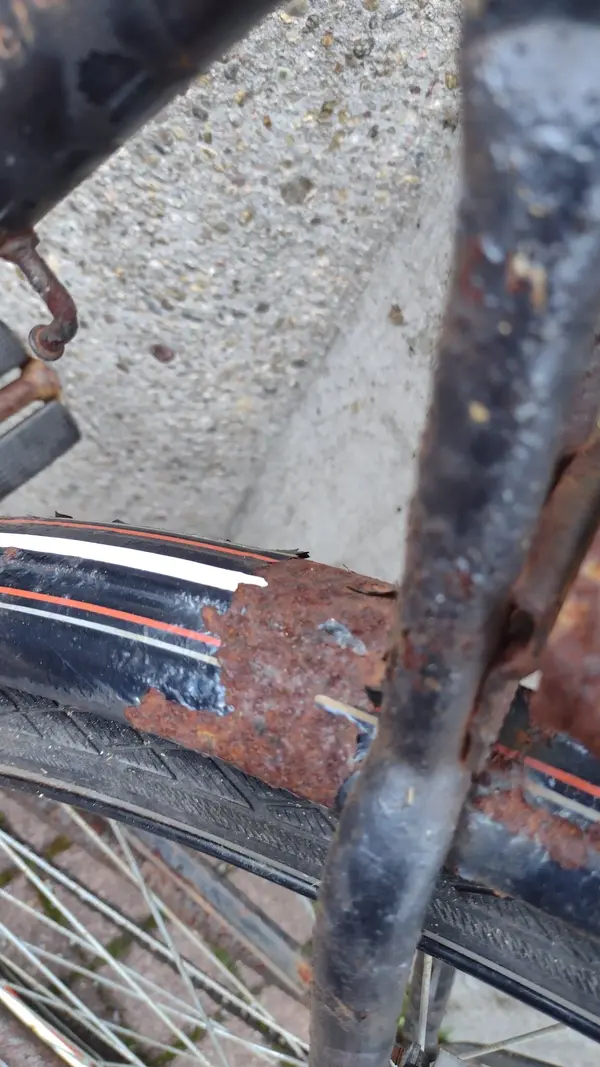
I found what I was looking for in January and picked up the bike. It had spent the last 30 years outdoors in Sweden and therefore has a bit of a patina, as rust is called nowadays.


I bought it from the grand daughter of the first owner.
So off it went into the shed, the ride went well and everything felt solid.
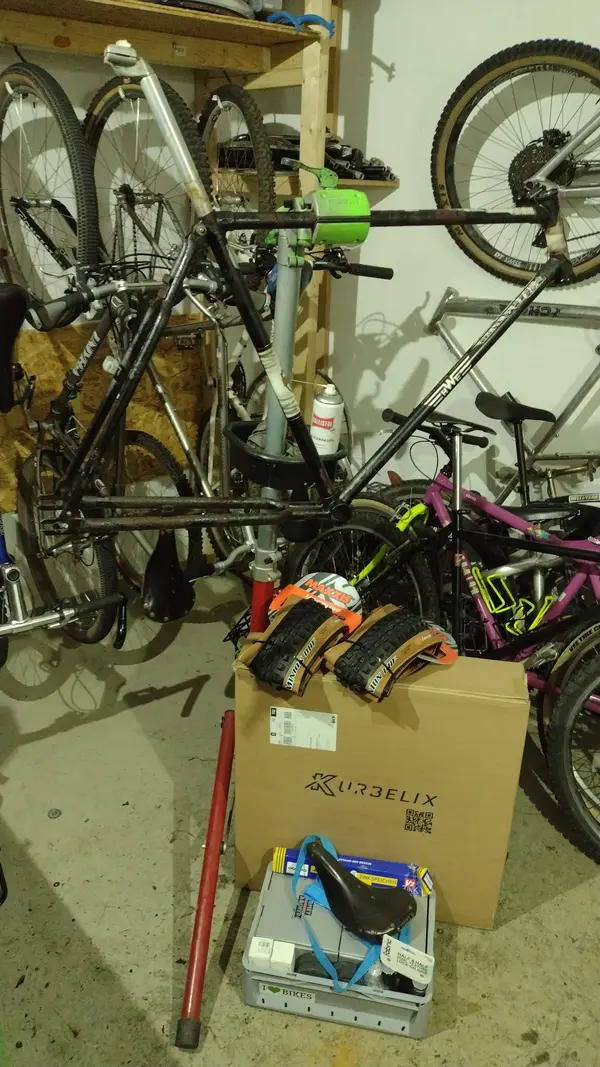
The first thing I had to do was make sure the 2.3 inch tyres actually fit, they did. Just needed a different fork.

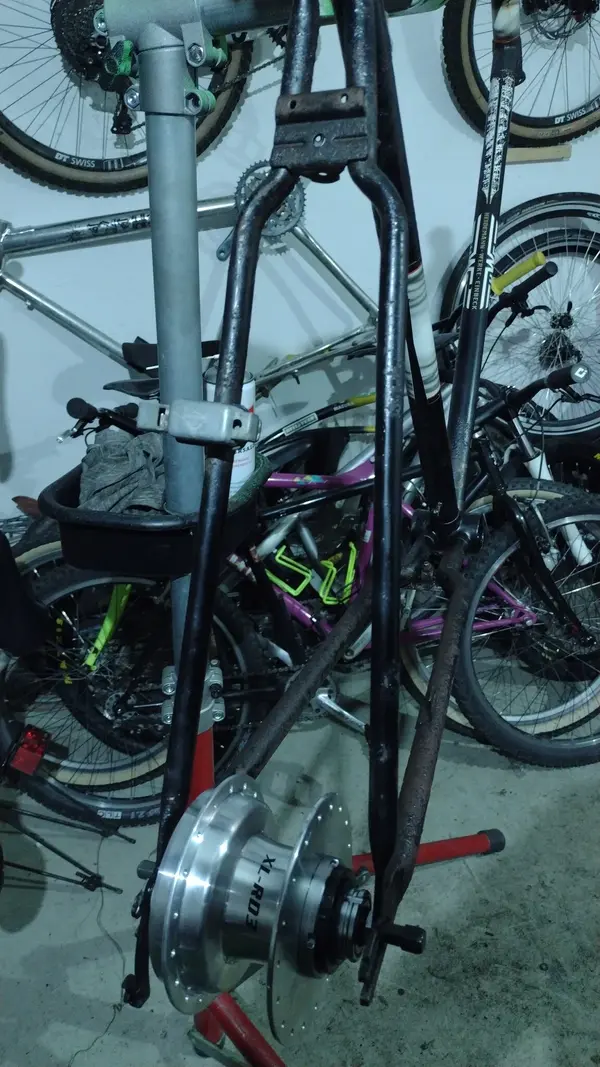
Then, with a lot of WD-40, swearing, some brute force and also bloody fingers, I completely dismantled the bike. Business as usual.

It all started about 20 years ago when I found a bike in a scrap container at my former company. It was old but it worked perfectly. I wanted to build it up as a Klunker or Tracker but unfortunately the frame didn't have room for fat tyres and 27.5" rims and tyres didn't exist yet. So it became a kind of commuter rat. But I still had fun with it.
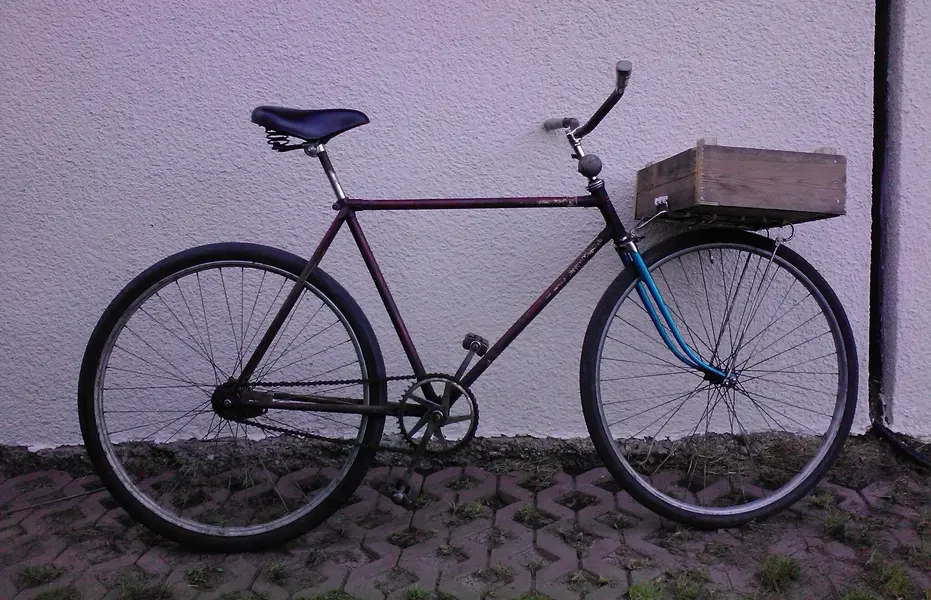
When I discovered a 27.5 inch Klunker in the mtb news forum last autumn (credits to null2wo), the idea came back and I started looking around for a suitable bike.
I found what I was looking for in January and picked up the bike. It had spent the last 30 years outdoors in Sweden and therefore has a bit of a patina, as rust is called nowadays.
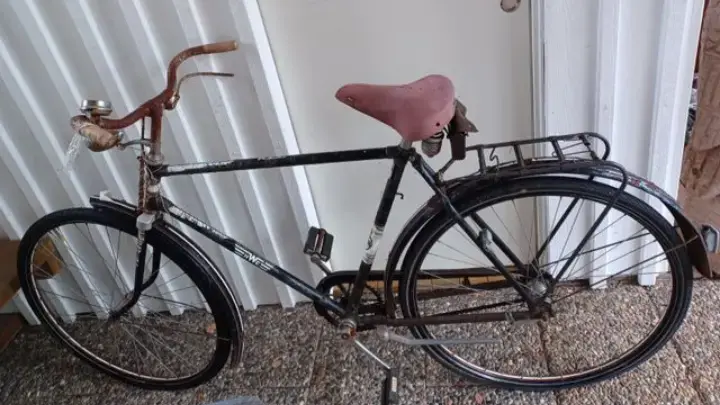
I bought it from the grand daughter of the first owner.
So off it went into the shed, the ride went well and everything felt solid.
The first thing I had to do was make sure the 2.3 inch tyres actually fit, they did. Just needed a different fork.
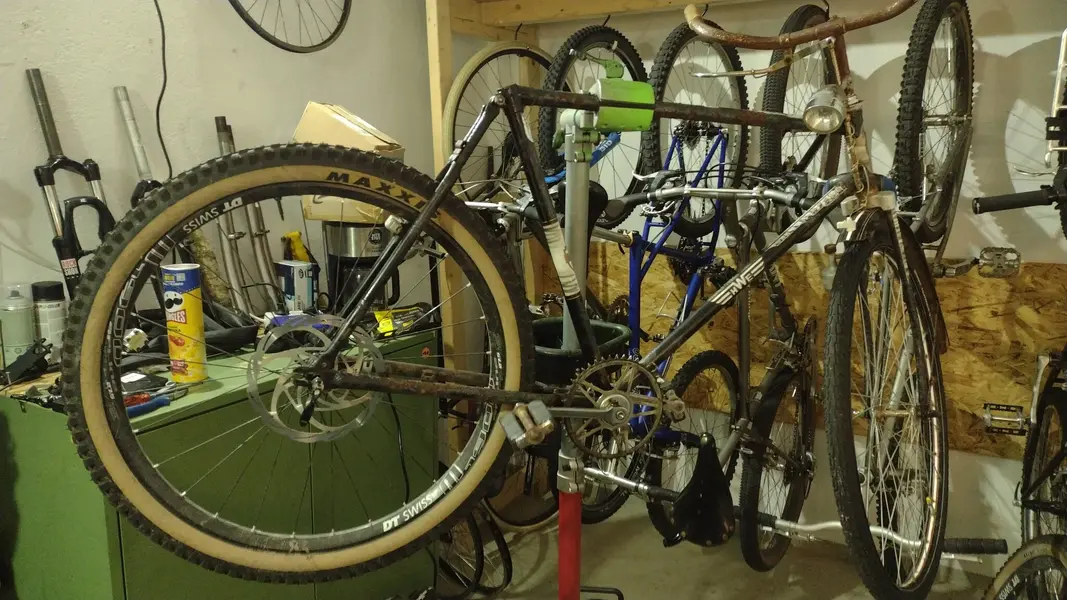
Then, with a lot of WD-40, swearing, some brute force and also bloody fingers, I completely dismantled the bike. Business as usual.
