Jonny69
Senior Retro Guru
Not much progress for a while. I've just had a knee op so I've got some enforced time off work. Ideal time to get through a few little jobs I've been putting off and I can get the bike ready for when I can ride again!
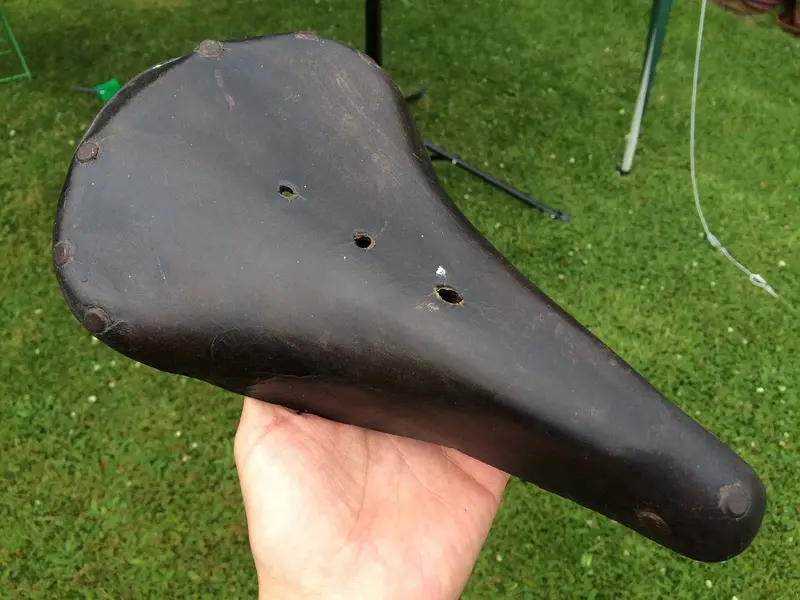
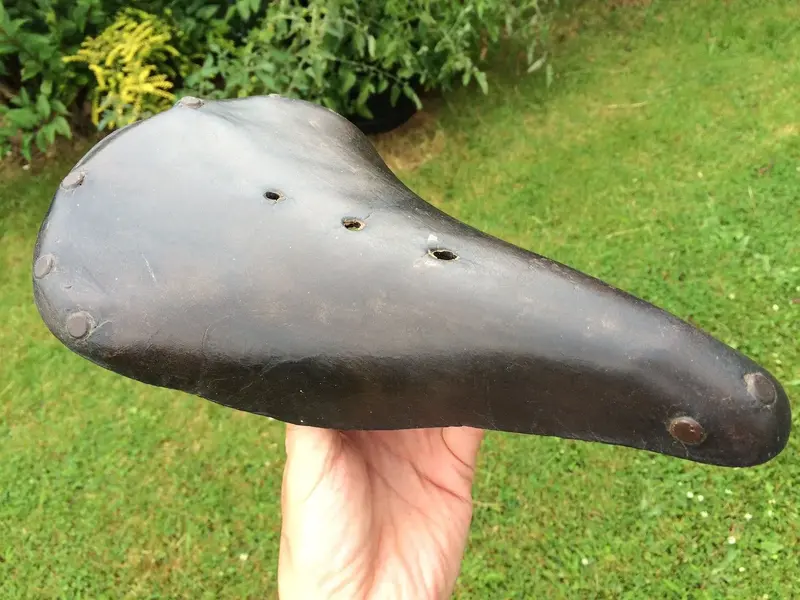
First up is the Wrights saddle. I took some before pics earlier in the thread:
[lost image]
[lost image]
It's basically sound but in need of a bit of TLC. The leather is dry and marked and it's a bit out of shape but it's salvageable with a bit of work. I've tackled a couple of leather saddles before so I'll run through with some pics how to save one.
[lost image]
[lost image]
First up, some damage assessment. In the two pics above we can see that the leather is very dry and very hard top and bottom. It's skin tight and sounds like a drum skin if you tap it, despite being backed off the tension adjuster. If I were to sit on the saddle at this point, I would expect it to crack away from one of the rivets at the back - so don't sit on it yet! It's also slightly out of shape, bulging on one side and a bit squashed on the other. I reckon it was sat in someone's parts drawer in the shed for a number of years. In my head it seems typical of a saddle that has had stuff stacked on it in the cold and damp and the leather has eventually yielded. First priority is to get it cleaned up in hot soapy water with a stiff scrubbing brush:
[lost image]
I'm going to be re-shaping the leather so, once scrubbed, I left it in the water to soak for 30 minutes or so. The leather goes soft and floppy and it can easily be re-shaped. The leather holds its basic shape and 'sets' when it dries out. You can therefore modify the shape by clamping or blocking it while it dries. I used a quick clamp to push down the bulge in the top and a zip tie to hold the sides in:
[lost image]
It takes at least 48 hours to fully dry and if you get it wrong you can simply repeat the process. The dry leather surface conveniently shows up the stampings at this point, so I now know that this is a 1960s Wrights W3ST. Velobase tells me "The W3ST was Wrights’ fast touring/audax model; much rarer than their standard sports W3N model. Similar in size and shape to a Brooks B17, but lighter and sportier. With bag loops, and the oval “Wrights” emblem stamped into each flank." Cool!
Once dried out, the leather goes hard and dry again. It needs nourishing before it can be used. On this one, because it's so dry, I'm going to use a combination of waxes top and bottom. Dubbin is your best friend, as a general rule. It's greasy and waterproof and this old dry thick leather loves it. It doesn't give a good shine, however, so I'm going to put a few layers of beeswax on top at the end.
[lost image]
Use an old toothbrush and slather on the Dubbin. Scrub it right in and make sure there's plenty on the surface for protection.
[lost image]
Same on the top. I didn't apply quite as much as underneath because I want to let it soak in and I'll put beeswax on top. From here I'm going to leave it a couple of hours to soak in and dry out, I'll buff it off and then start on a couple of good coats of beeswax which should shine up quite nicely. Clear shoe polish also works well. Let's see what happens...
Last edited:
