You are using an out of date browser. It may not display this or other websites correctly.
You should upgrade or use an alternative browser.
You should upgrade or use an alternative browser.
92 team marin......well....almost....
- Thread starter Tootyred
- Start date
27motorhead
Senior Retro Guru
- Feedback
- View
That's looking incredibly tasty.  Fluro yellow decals on top of that candy fade purple looks amazing. Also loving the Suntour and Shimano stickers on the seat tube. Nice hierarchy choice with Suntour sitting on top of Shimano!
And thus it will always be so.....Nice hierarchy choice with Suntour sitting on top of Shimano
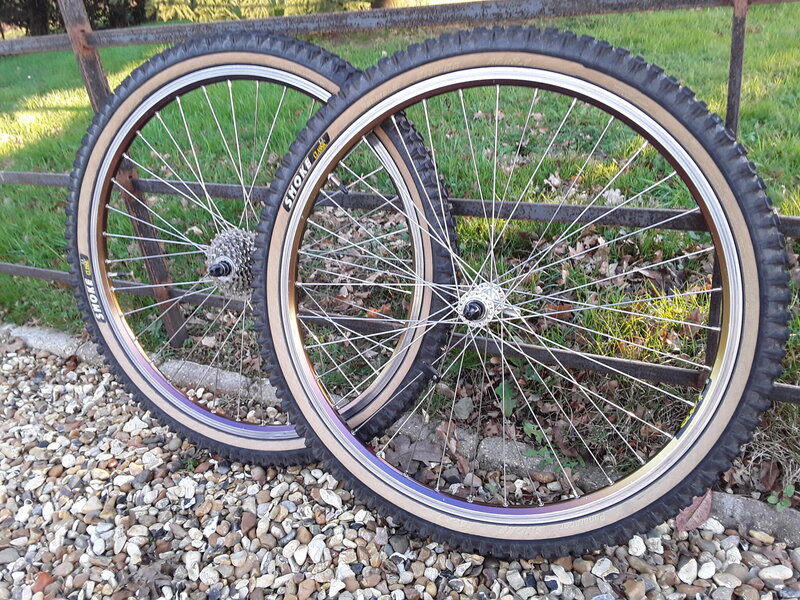
So these hubs.....7 speed to 8/9/10 conversion.
Thought i might do a little "show and tell" on the conversion process. If you know this bit, then skip on a chapter.....but a couple of people have messaged me asking about the process for old hubs...so here goes.
Im converting XT M732 hubs over from 7 to 8 speed. Nothing I'm doing is irreversible, so you can easily swap back to 7 if you next project needs it.
I only do this on 130mm hubs....the reason being the body is 5mm shorter than 135mm hubs. Everybody thinks 130 /135 is something to do with spacers, but its not the hub body is physically 5mm shorter. This works very much in your favour in the conversion.
The reason is spoke tension. The ideal is for both left and right spokes to be equal tension, however its not happening on a rear wheel.
When you add length to the drive side you worsen the percentage tension.....but 130mm shorter hubs alleviate this slightly. It still won't be as good as a modern hub, as the design of old hubs hampers slightly making a really compact drive side assembly......but its good enough to make a strong enough wheel.....well I've never had one dissolve on me!
So here goes.
First get a 130mm hub and a donor longer spindle......as the one from the 130mm wont be long enough to convert to 135mm.....
Strip the hub....and remove the freehub.....i keep an old cassette sprocket on the bench to hold the freehub.....
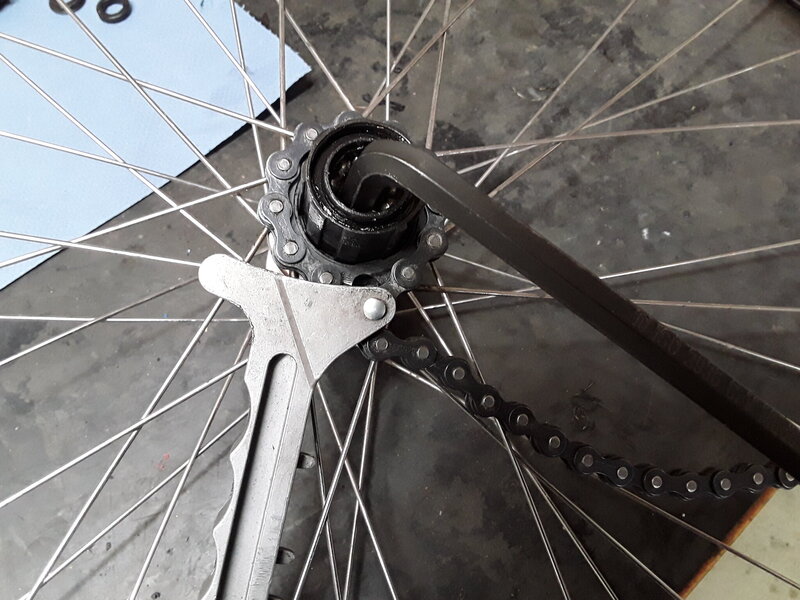
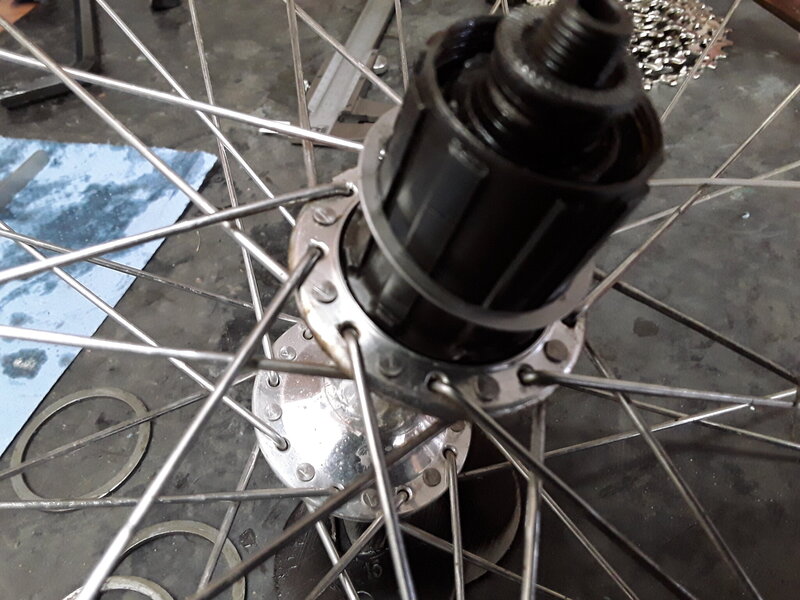
Now you need a donor 8/9 speed freehub......these are 5mm longer than 7 speed....hence the need for respacing.
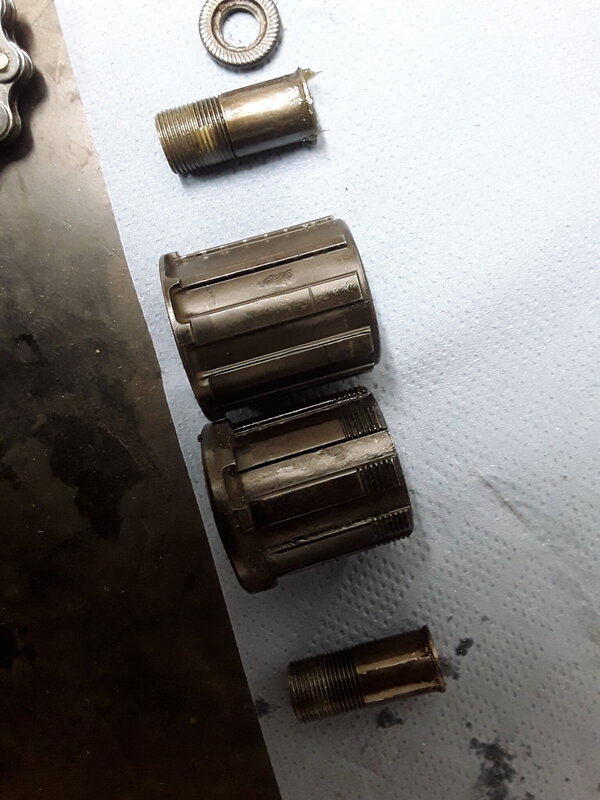
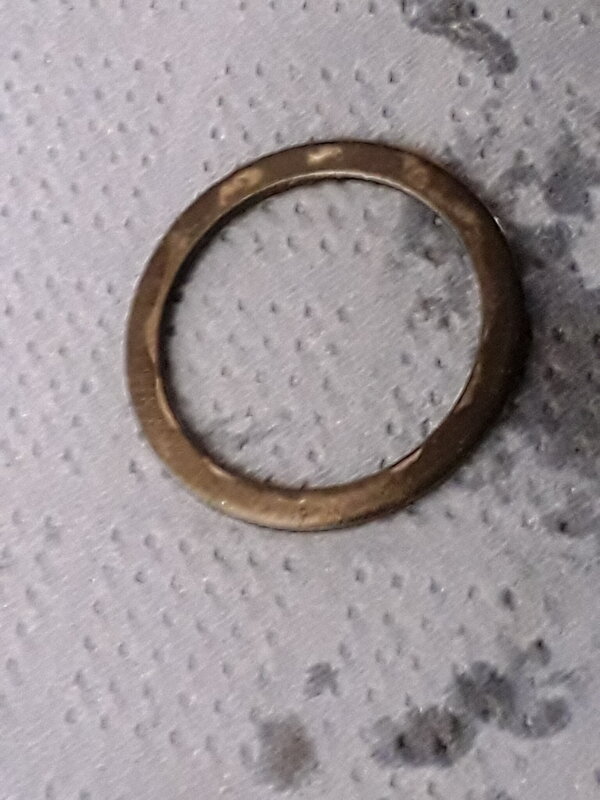
You will notice most newer hubs also have a lower flange on the end....this is problematic on xt hubs, as the freehub sits into a indentation. So.....you need a washer to go behind your new freehub. If you don't, the cassette may rub on the hub body ( model depending) and you will find your derailleur becomes dangerously close to the spokes in many cases.
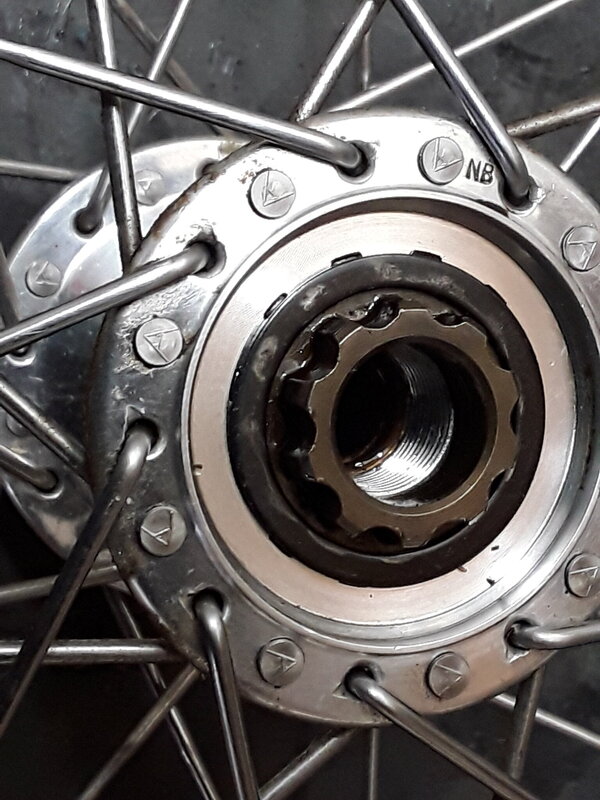
Oh no thats not right! You need a spacer.....
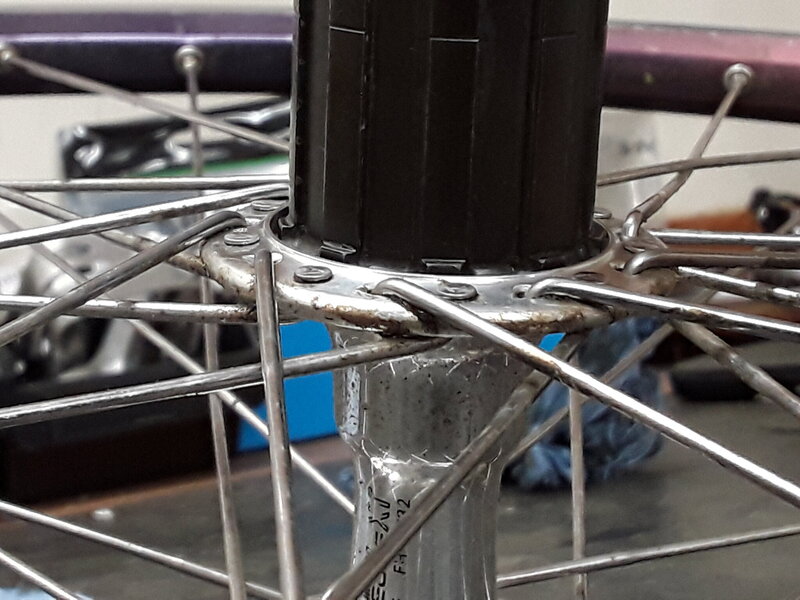
Like this.....
Strip the hub....and remove the freehub.....i keep an old cassette sprocket on the bench to hold the freehub.....

Now you need a donor 8/9 speed freehub......these are 5mm longer than 7 speed....hence the need for respacing.

You will notice most newer hubs also have a lower flange on the end....this is problematic on xt hubs, as the freehub sits into a indentation. So.....you need a washer to go behind your new freehub. If you don't, the cassette may rub on the hub body ( model depending) and you will find your derailleur becomes dangerously close to the spokes in many cases.

Oh no thats not right! You need a spacer.....

Like this.....

Last edited:
Now your spacer is in you can tighten up your freehub again...that's better.
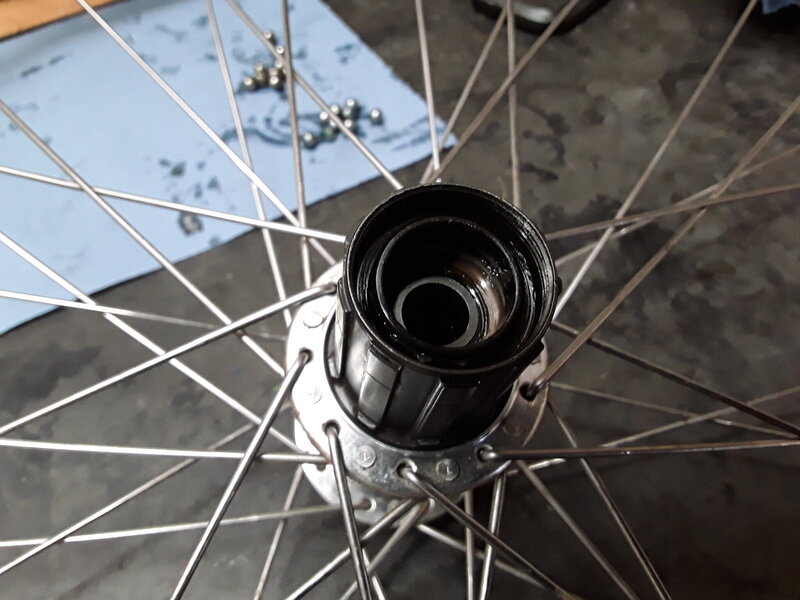
Now put you spindle back in....I would suggest taking the cone that came with the freehub and using that.....it will be the correct profile for the bearings....
Aim to get the drive side cone/ spacer / locknut assembly to resemble the original placement as much as possible.....you will need an extra 5mm spacer....
Then make up the non drive side with the cone, spacer, locknuts, until the OLD (over locknut dimension) is 135mm.
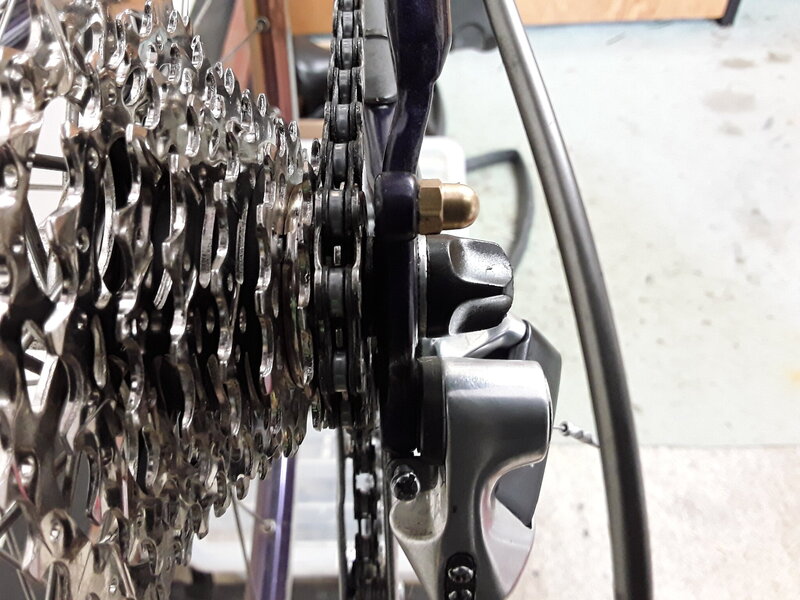
Now put it in the frame. The idea is to ensure the last sprocket is as close to the frame as possible to help with the spoke tension amd dish, without the chain hitting the frame......it might take a bit of fiddling spacers around.
Thats too far out man!
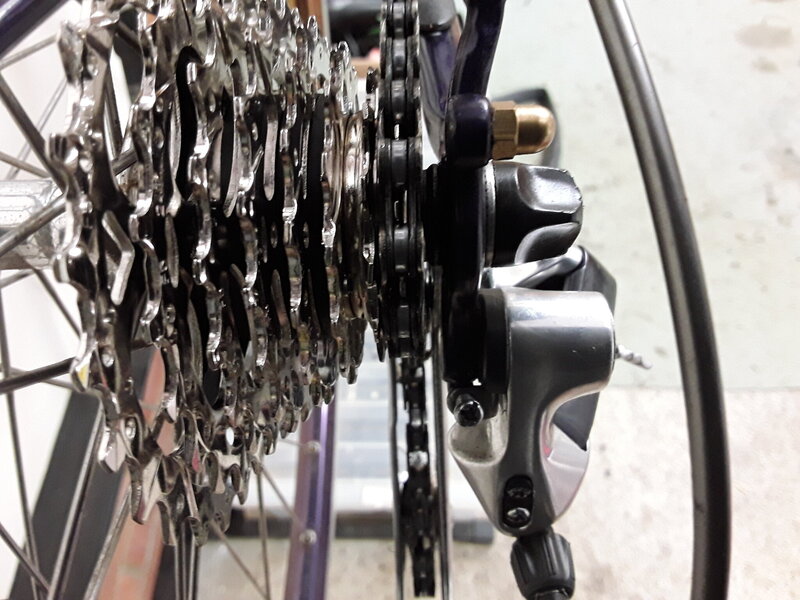
That's better

Now put you spindle back in....I would suggest taking the cone that came with the freehub and using that.....it will be the correct profile for the bearings....
Aim to get the drive side cone/ spacer / locknut assembly to resemble the original placement as much as possible.....you will need an extra 5mm spacer....
Then make up the non drive side with the cone, spacer, locknuts, until the OLD (over locknut dimension) is 135mm.
Now put it in the frame. The idea is to ensure the last sprocket is as close to the frame as possible to help with the spoke tension amd dish, without the chain hitting the frame......it might take a bit of fiddling spacers around.
Thats too far out man!

That's better

Last edited:
August Bicycles
Retro Guru
- Feedback
- View
Great explanation, moving away from uniglide to hyperglide also opens up your options for cassettes massively!
Last thing is just to check your derailleur position.
I found I was still a touch too close so i popped a 1mm spacer on the freehub behind the cassette......and a further 1mm spacer onto the driveside spindle.....and 1mm off the non drive side...
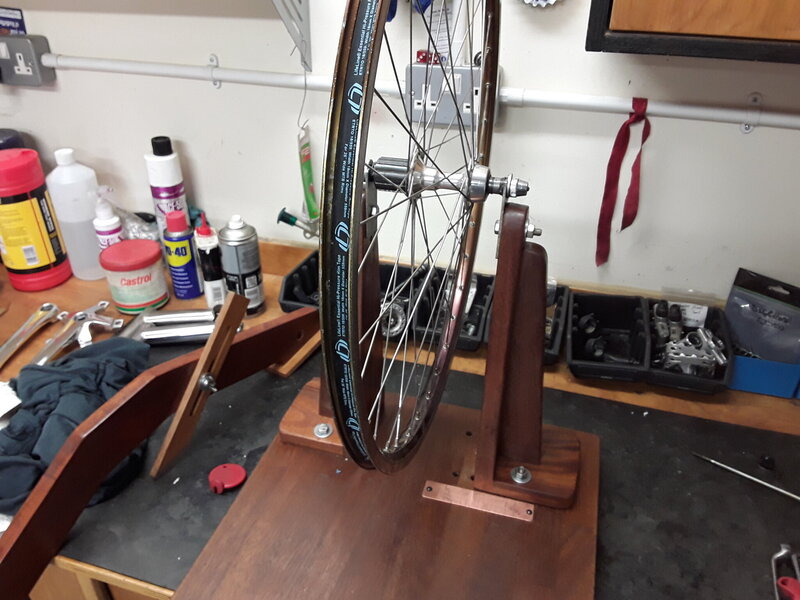
FINALLY......if this is a built up wheel like this, you will need to re dish it as you have moved the centre line in the process...
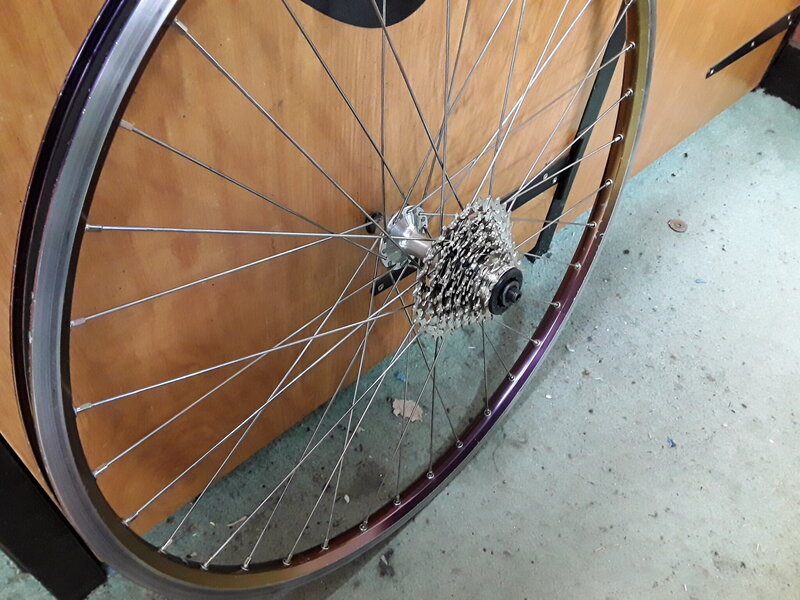
Done....8 speed old skool xt hubs.
I found I was still a touch too close so i popped a 1mm spacer on the freehub behind the cassette......and a further 1mm spacer onto the driveside spindle.....and 1mm off the non drive side...

FINALLY......if this is a built up wheel like this, you will need to re dish it as you have moved the centre line in the process...

Done....8 speed old skool xt hubs.

Yes. It certainly does and the process is pretty much the same going from m730 uniglide to hyperglide.moving away from uniglide to hyperglide also opens up your options for cassettes massively!
And no more broken bleeding knuckles removing cassettes! Oh how i miss those days!
Similar threads
- Replies
- 4
- Views
- 292
- Replies
- 21
- Views
- 3K
