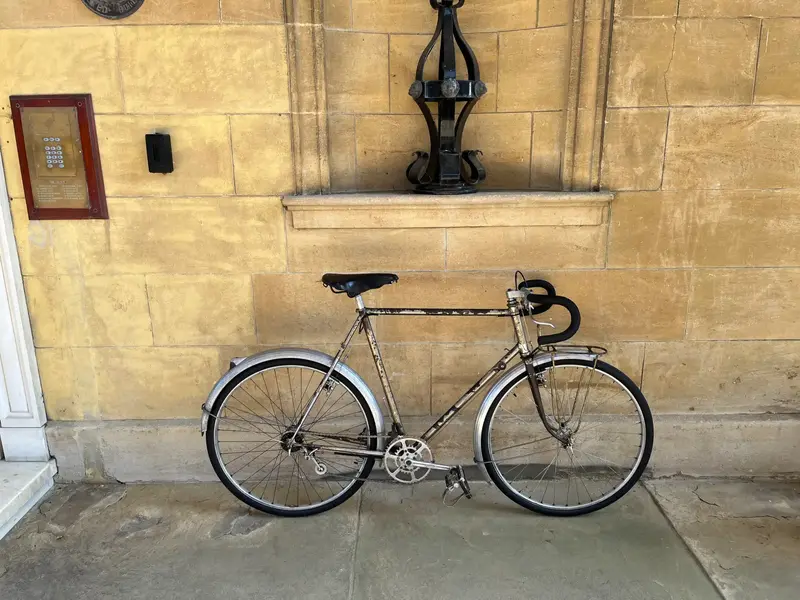
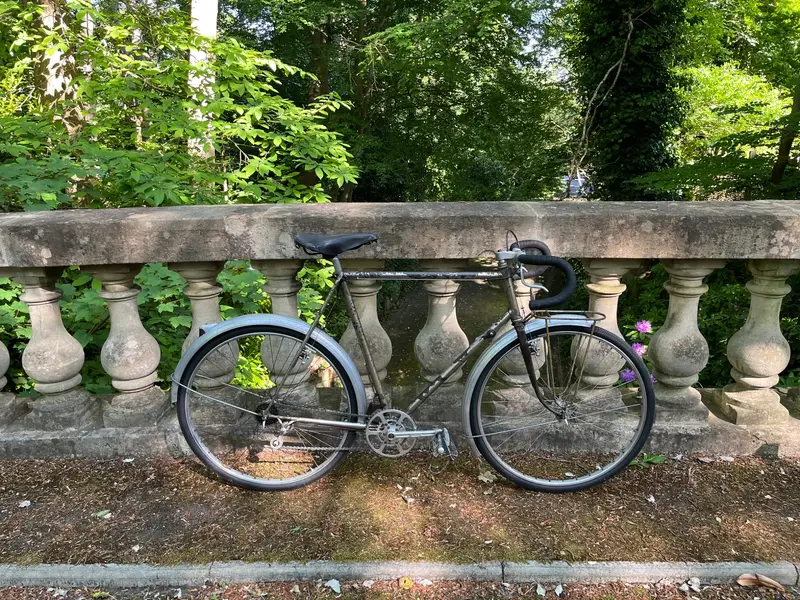
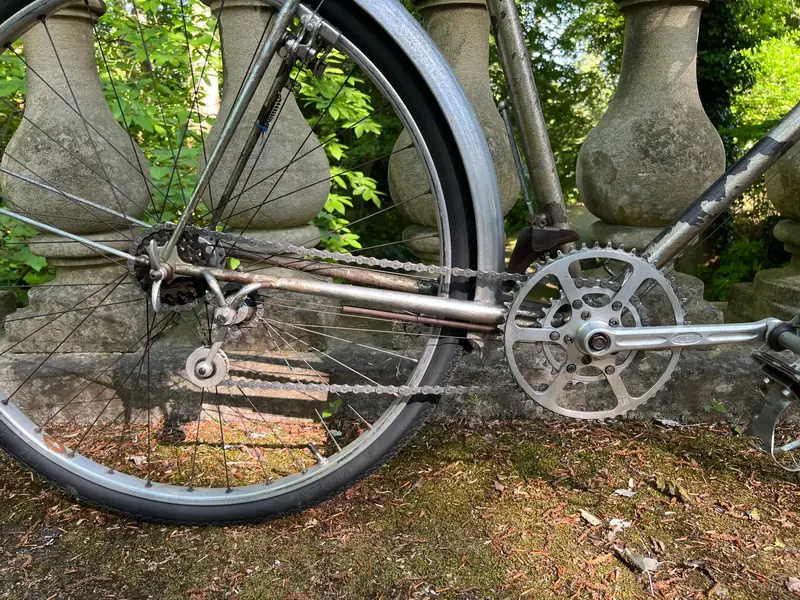
Late 40s / Early 50s René Herse tip find

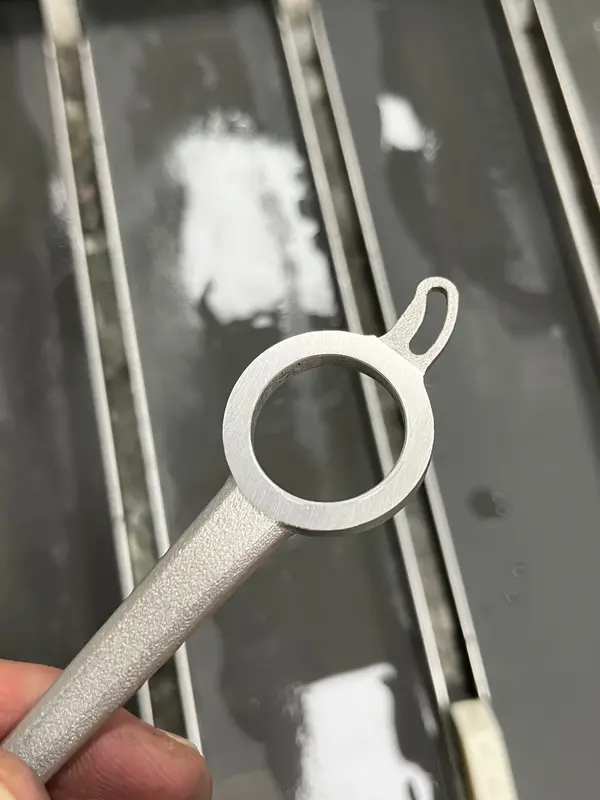
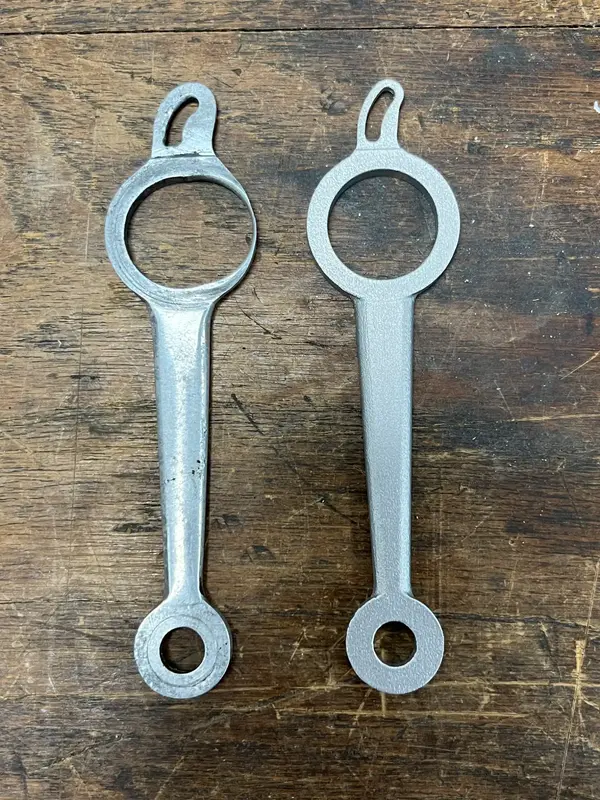
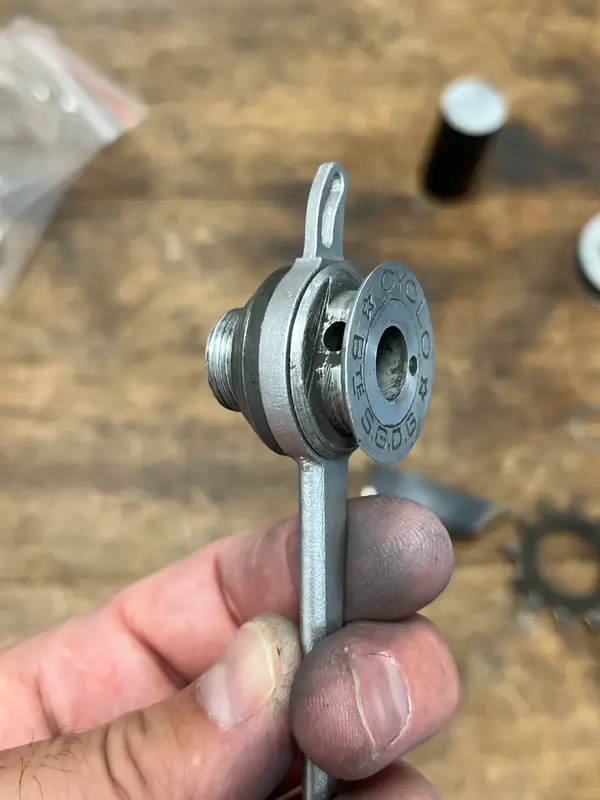
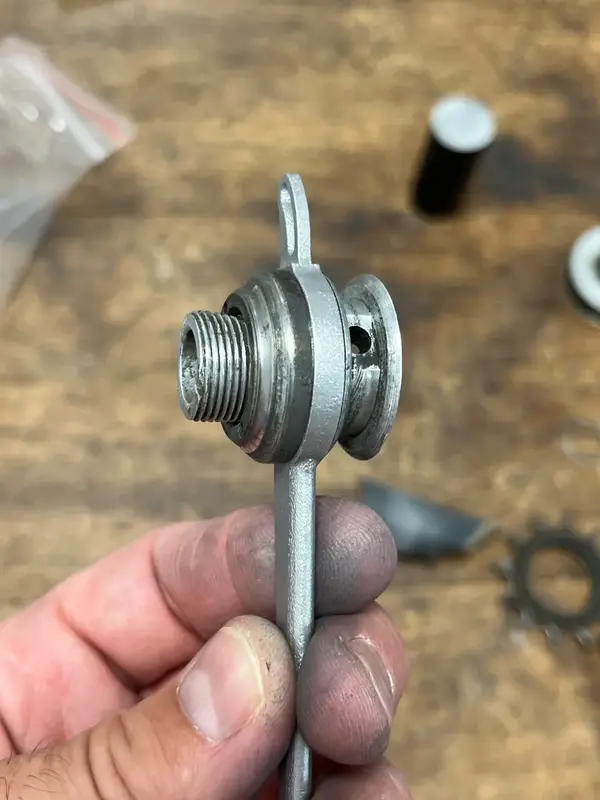
3D printed arm has arrived! Side by side you can see a small mistake I made on my CAD model for the tension spring slot. I’m annoyed at myself about that. It won’t affect the function but it’s a timely reminder to always measure twice and cut once.

IMG_3745.webp

This is my first ever 3D print in metal. I opted for a bead blasted finish to take off the as-printed roughness and this was the right thing to do. Tolerances are within 0.1mm. Internal bores are within tolerance but have a bead-blasted finish, so I’d recommend taking that into account as they’ll need re-finishing if it’s a bearing surface. I made mine slightly undersized to take up some of the wear and I’ve lightly honed it by hand to suit the pivot. I’ll also need to smooth off the side faces, but I’ll do that once I’ve refreshed my memory how it goes back together.

IMG_3746.webp

IMG_3747.webp

Once I’ve lapped all the parts together, it should work as good as, if not better than original! I might use a bit of fine valve grinding paste to just bed everything together nicely.

Edit: also I needn’t have worried about the stiffness. It’s easily as stiff as the original and it feels like the bead blasting has eliminated any stress risers which would be present in an as-printed surface finish.
 
thats just fabulous! you must be really pleased with the results

out of interest, did you already have decent CAD skills?
I am really pleased with it. And amazed at the same time. When I started my career in the late 90s it wasn’t possible to do this!

Yes, I use Solidworks quite a lot at work to get stuff machined and 3D print in plastic.
 
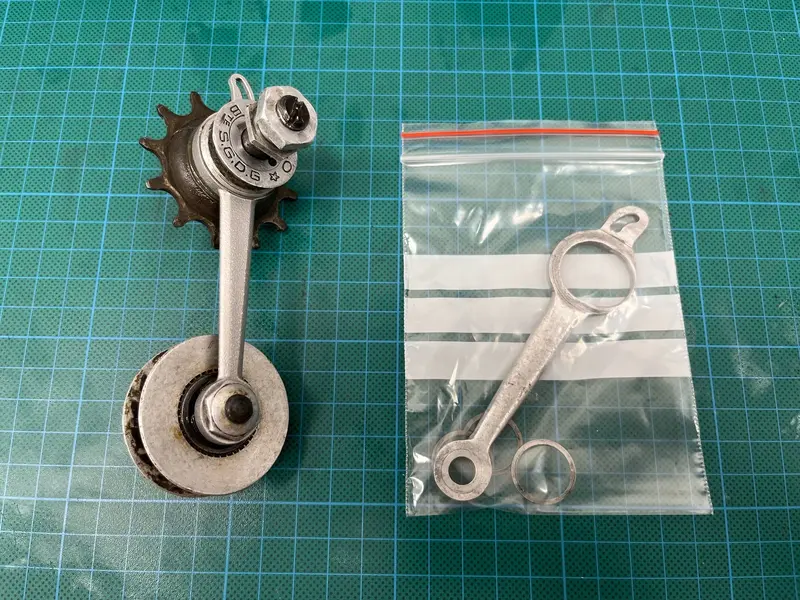
Got this put back together. As I said, I needed to lap the contact faces at the big end to make them flat. I'd made it 0.1mm thicker either side to take up the wear in the other parts and I just needed to lap it down to a perfect fit.

cyclo1.webp

cyclo2.webp

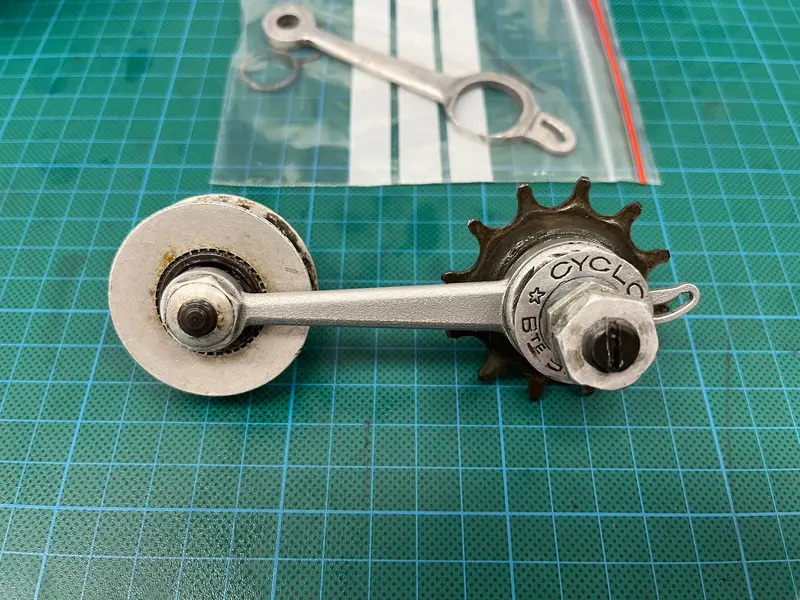
With that done, I put the jockey wheels back together. The slack in the bearing in the alloy guide pulley is set like a wheel bearing cone and it just takes a bit of trial and error to get it spot on. I set it just a touch tight so it can bed itself back in during use. Then the bearing in the gear at the other end is set with a stack of shims. I took three out and it was spot on.

cyclo3.webp

cyclo4.webp

The whole thing pivots smoothly and has almost no play in it at all. I've been a bit stressed about this job because I didn't know if it was going to work - so this has been SO satisfying! The fun starts here, though, because from what I have I gathered cabling these up can be very fiddly!
 
3D printed arm has arrived! Side by side you can see a small mistake I made on my CAD model for the tension spring slot. I’m annoyed at myself about that. It won’t affect the function but it’s a timely reminder to always measure twice and cut once.

View attachment 961596

This is my first ever 3D print in metal. I opted for a bead blasted finish to take off the as-printed roughness and this was the right thing to do. Tolerances are within 0.1mm. Internal bores are within tolerance but have a bead-blasted finish, so I’d recommend taking that into account as they’ll need re-finishing if it’s a bearing surface. I made mine slightly undersized to take up some of the wear and I’ve lightly honed it by hand to suit the pivot. I’ll also need to smooth off the side faces, but I’ll do that once I’ve refreshed my memory how it goes back together.
View attachment 961597

View attachment 961598

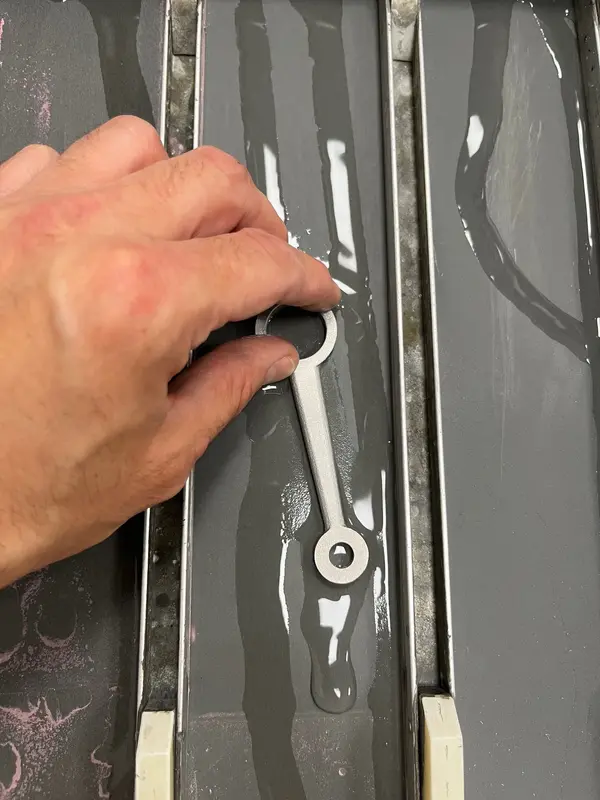
Once I’ve lapped all the parts together, it should work as good as, if not better than original! I might use a bit of fine valve grinding paste to just bed everything together nicely.

Edit: also I needn’t have worried about the stiffness. It’s easily as stiff as the original and it feels like the bead blasting has eliminated any stress risers which would be present in an as-printed surface finish.
What a great thing : )
 
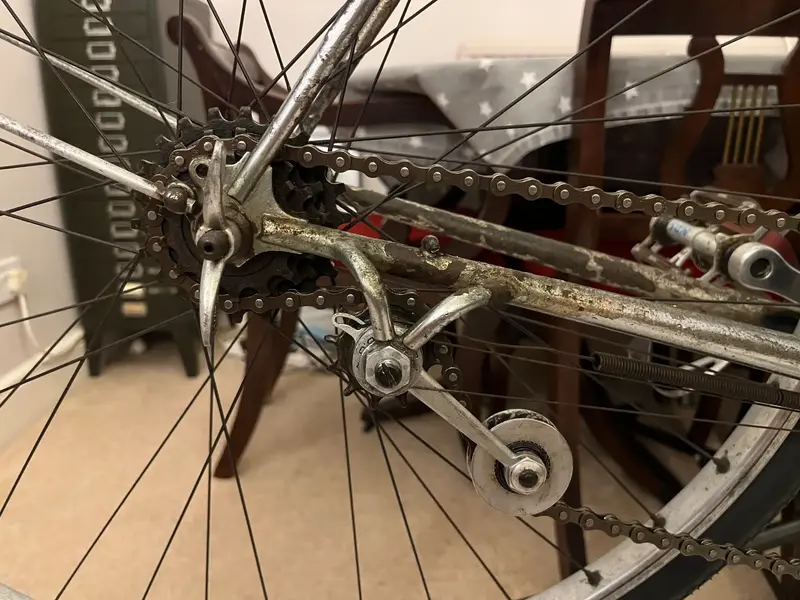
I’m getting there. It’s right what they say, this is fiddly to cable up and I’m glad I’ve got the original cable which has some witness marks on it, else this would be really difficult to figure out. I’ve got it pulling across the full range but my chain is about 2-3 links too short so it’s not shifting nicely yet. I’m going to see if I can get another chain tomorrow.

IMG_3754.webp
 
It’s taken me HOURS to find a new chain today. Halfords didn’t have one of their basic ones, my old LBS had closed down when I got there and then after a bit of head scratching I remembered where there’s another bike shop. Unfortunately I could only get a SRAM 6/7/8-speed which has slight ramps on the side plates. I was hoping to get a more basic chain than that because I still think it’ll perform better on this older drivetrain. Anyway, it’s on and it shifts across the whole range. Test ride time.

IMG_3756.webp

This is the oldest derailleur system I’ve used, by quite a margin. All my older bikes have been fixed or hub gear, so I’ve got no comparison point like a Benelux or anything. The closest I can describe it is it’s a bit like an older friction 5-speed, whereby the lever has a lot of throw and on the block there’s space for the chain to slip if you don’t hit a gear. This is where I think an older-style chain would be advantageous. The original chain measures 6.8mm across the plates and 8mm across the rivets. The 8-speed SRAM has flush rivets and is 7mm across the plates. I think the extra 0.5mm of rivet sticking out is probably a good thing in this case.

The suicide front change is a surprisingly long way down when you’re up on the saddle. I was worried about this one but it’s actually a pretty slick, accurate change. I haven’t even tweaked it, it just works!

What does feel really alien, though, is having gearing like a 28 up at the front. You just don’t normally get old bikes with that sort of gearing. I think I mentioned before that this bike doesn’t like being ridden out of the saddle. The wild gearing brings it alive though, you just sit back instead and push the pedals round!

IMG_3757.webp

IMG_3759.webp

That chain definitely looks out of place. Anyway, I think it’s ready to go back into service. Current commute is 14 miles each way with a few hills which I think it’ll deal with just fine. I’ll take it easy on Monday until I’m used to the gears and brakes, but it should fly along.
 
Back
Top