watch and learn

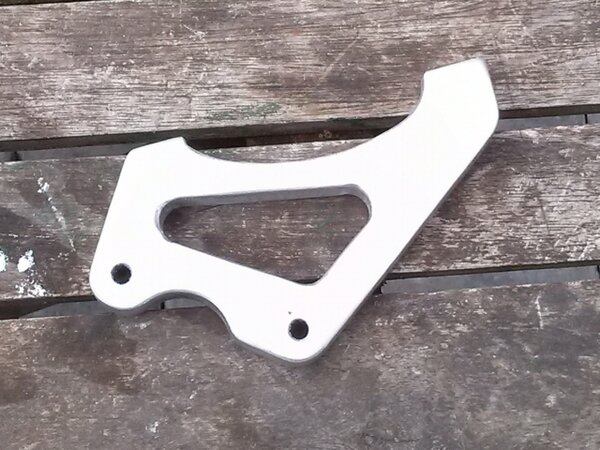
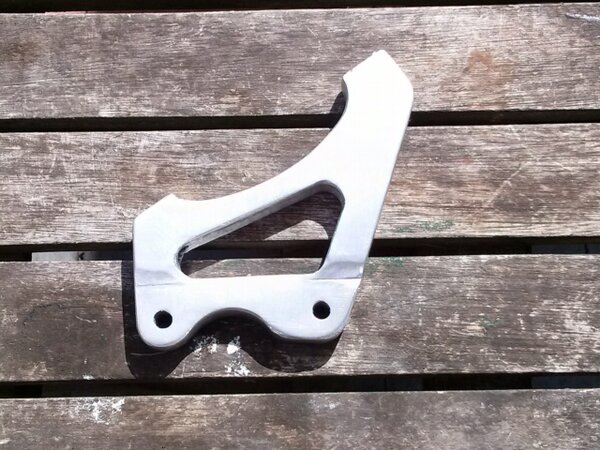
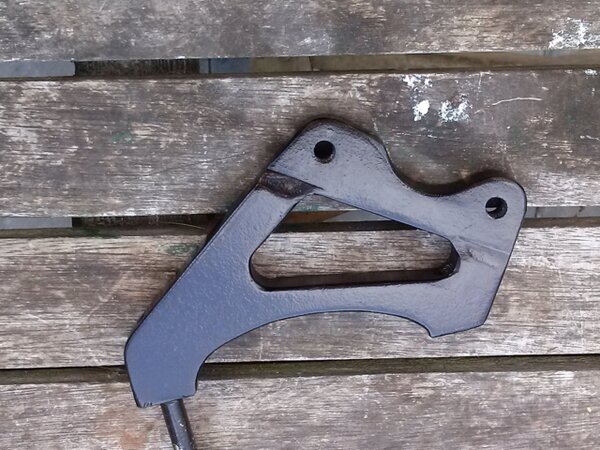
Now its mainly a matter of shedding some grammes and tidying up, totally unnecessary but if youre gonna do a job you should do it well. Lots of filing to do, hard work i can tell you :facepalm:
 

Attachments

  • CAM00072-1.jpg
    CAM00072-1.jpg
    57.9 KB · Views: 710
Tidied up and taken edge off corners. Roughly polished ready for a coat of etch primer then paint.

Waiting for wheels to turn up to find out how much metal to take off to clear rotor bolts.

Basically the hard work is done, phew. :xmas-big-grin:
 

Attachments

  • CAM00074-1.jpg
    CAM00074-1.jpg
    63 KB · Views: 632
Re:

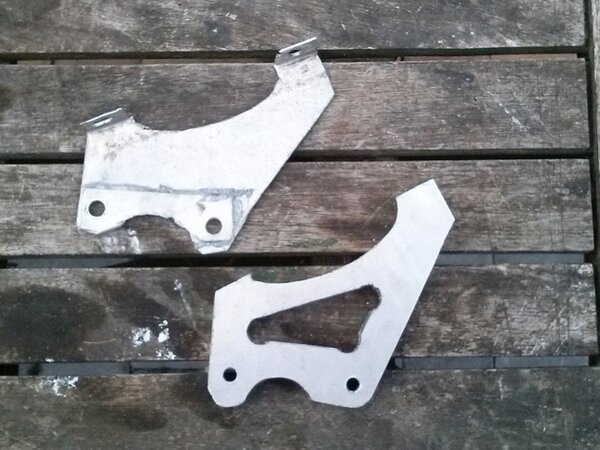
On modern bikes the seatstay takes the bulk of the braking torque. With your design the dropout takes all the stress and those older rear ends were never designed for that.
I'd suggest making a connecting rod to the left rear canti boss, like commonly seen on the Onza adapters. That'll move some of the stress to the seatstay.
 
On really modern bikes, 29er, the rear brake is back on the chain stay.
 

Attachments

  • 84767_5-1.jpg
    84767_5-1.jpg
    18.3 KB · Views: 578
Took 1 mm off to clear rotor bolt heads, there already was a tiny gap but this ensures the heads will never foul the adapter.
 

Attachments

  • CAM00080-1.jpg
    CAM00080-1.jpg
    72.2 KB · Views: 472
Re: Re:

jimo746":2oso0mbv said:
Honest opinion now.... would you do it again? ;)


No way!
As i said early on, i would only do it if the adapter was not available or i had cnc mill/lathe. These can be found for about £25, expensive but hugely less hassle than crafting it by hand.

I did buy a larger chunk of aliminium thinking id make two or three more, forget that idea.
 
Back
Top