Uh OH! Hole in Chainstay (93/94 Dave Yates Diabolo)

Snippettysnip

Retro Newbie
Hi All,

I posted a couple of weeks back on my DY Diabolo project

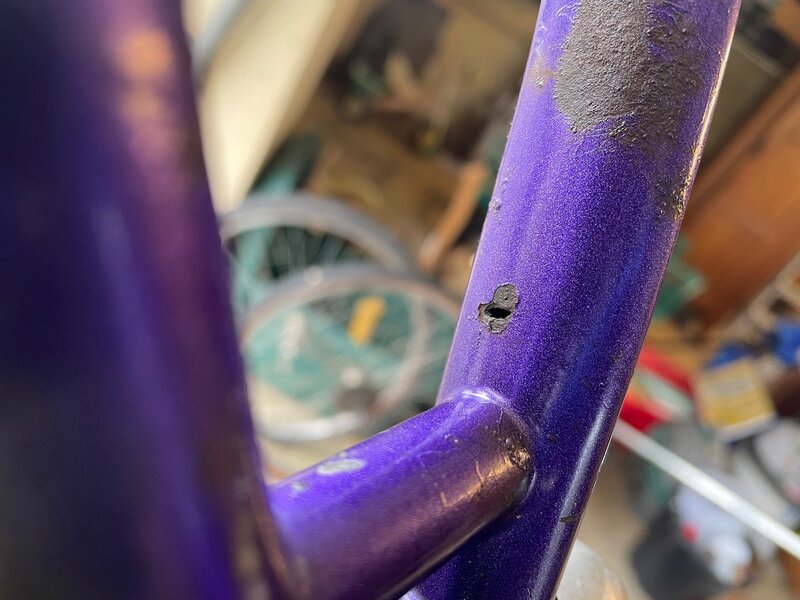
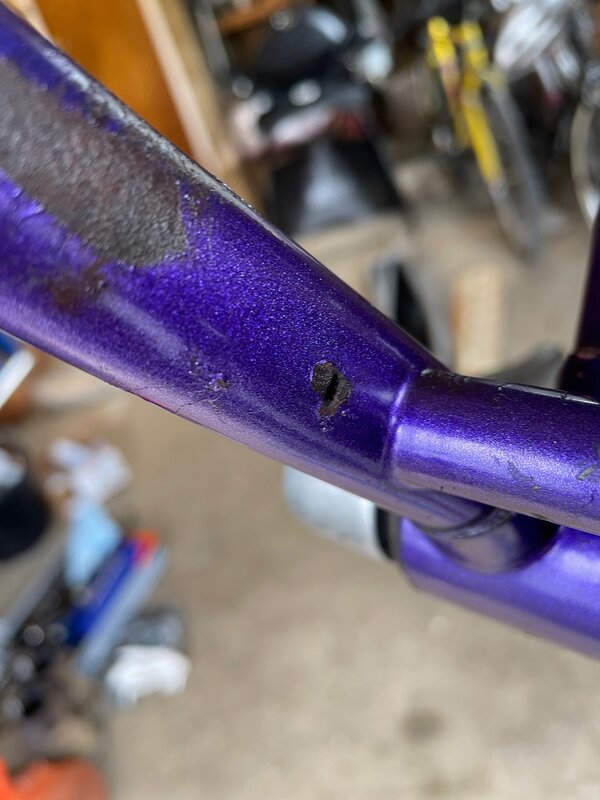
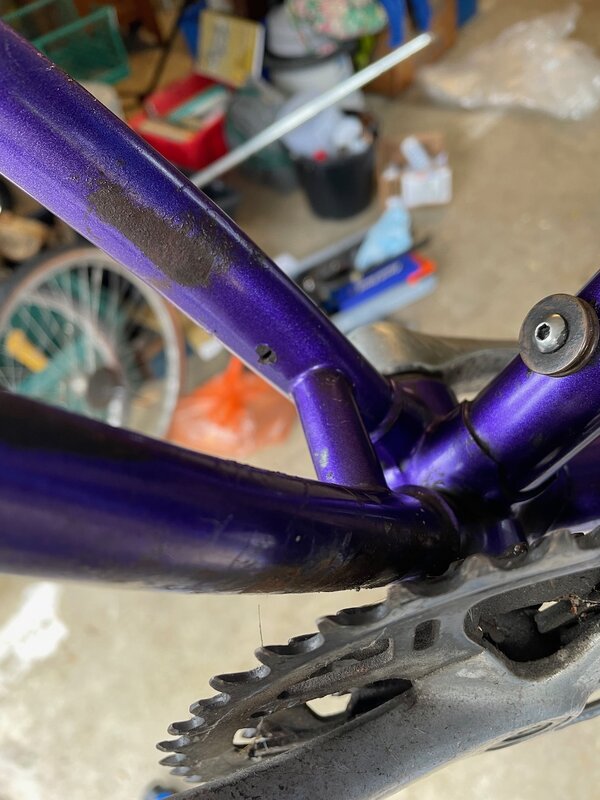
I've stripped everything down apart from the cranks and BB (awaiting a loaner on the tools). Everything came apart nicely (thank you teenage me for using lots of grease) and is in surprisingly good nick, apart from... a small hole in the left hand chainstay. Looks like a rust hole, but the location is actually away from the main patch of corrosion from tyre rub.

Is this game over?! What is the expert opinion on this? Is it bad? Can it be fixed?

Thanks in advance.
 

Attachments

  • IMG_4787.jpeg
    IMG_4787.jpeg
    178.6 KB · Views: 80
  • IMG_4786.jpeg
    IMG_4786.jpeg
    143.9 KB · Views: 81
  • IMG_4785.jpeg
    IMG_4785.jpeg
    163.7 KB · Views: 75
  • IMG_4784.jpeg
    IMG_4784.jpeg
    163.9 KB · Views: 79
Definitely repairable, without tube replacement, if that's as bad as it gets. It'll be worth stripping some of the paint in that area to make sure there's nothing more
 
That does look like rust worm from the inside out....it also looks like the area under your chainset is not too clever either!

One way or the other, you need to find out the extent if the rot, before you can make a decision on if its toast or not.
 
Try one of those tiny cheap led handle bar lights and a dentists mirror ...you can usually with a bit of patience find the right angle of dangle to get a look up there from the bottom bracket !
 
That does look like rust worm from the inside out....it also looks like the area under your chainset is not too clever either!

One way or the other, you need to find out the extent if the rot, before you can make a decision on if its toast or not.
I've never heard of a "rust worm" before, but I suppose the name makes it clear it's rust coming from inside somehow. The paint around the hole is actually really sound, so it must be from inside the tube. Once I get the BB out, I'll try to have a look up the tube.

An internet search tells me that I can buy an inexpensive endoscope, could be a useful addition to the toolkit!
 
These are usually relatively small areas of internal rust, rather than the wholesale internal rot that occurs at the bottom of seat tubes etc.

When repairing them, I will drill out back to good metal, fit a pin/nail or such, silver solder it into place, then file back down to the original surface. Here's an Off Road Toad with a similar problem:

1635514107257.jpg

It's worth stripping the paint for a small area around the hole (The paint will be damaged by the brazing heat anyway) and poking any other apparent rust spots with a hard pointed scriber to test them. Anything thing will give way easily.
Internal viewing with an endoscope is well worth it, too, but give the are a good clean out of grease etc first.

All the best,
 
These are usually relatively small areas of internal rust, rather than the wholesale internal rot that occurs at the bottom of seat tubes etc.

When repairing them, I will drill out back to good metal, fit a pin/nail or such, silver solder it into place, then file back down to the original surface. Here's an Off Road Toad with a similar problem:

View attachment 628232

It's worth stripping the paint for a small area around the hole (The paint will be damaged by the brazing heat anyway) and poking any other apparent rust spots with a hard pointed scriber to test them. Anything thing will give way easily.
Internal viewing with an endoscope is well worth it, too, but give the are a good clean out of grease etc first.

All the best,
When you say silver solder - is that electrical solder or the silver used to braze frames with a proper torch like Trek did back in the 80's?

I have the same issue and don't want to go through the expense of having it professionally repaired.
 
When you say silver solder - is that electrical solder or the silver used to braze frames with a proper torch like Trek did back in the 80's?

I have the same issue and don't want to go through the expense of having it professionally repaired.
Definitely brazing silver solder, not electrical stuff (mostly lead/tin/silver/copper alloys), or the higher silver content solders used in jewellery. Neither of these have sufficient strength for the job.

Brazing silver solder commonly varies from 39 to 55% silver, the remainder being copper and zinc. Higher silver content helps the filler flow, but is not really worth the expense here, it's mainly for lug work. They are made to international standard formulations, referred to as Ag40, Ag49, Ag55 etc. Make sure it's cadmium-free, too...Older alloys included cadmium to help flow, but it's very nasty stuff, so generally avoided these days if at all possible.

Temperatures needed for range from 6-700°C, so possible with propane and some patience. For small work like this, 1mm or 0.75mm filler is good, and is available for less than £10 for a 50cm rod of Ag40.
You'll also need a compatible flux, which will probably be the biggest expense (£20-30) since it usually comes in nothing smaller than 1Lb tubs. I've not seen silver solder flux coated or flux cored anywhere.

Also...to add a little confusion, make sure you avoid what the Americans often call 'Nickel Silver' rods. This is a high temperature (950°C), high strength brazing rod that has no silver in it at all, but more nickel than standard silicon bronze brazing rods, so has a similar silvery colour.

All the best,
 
Back
Top