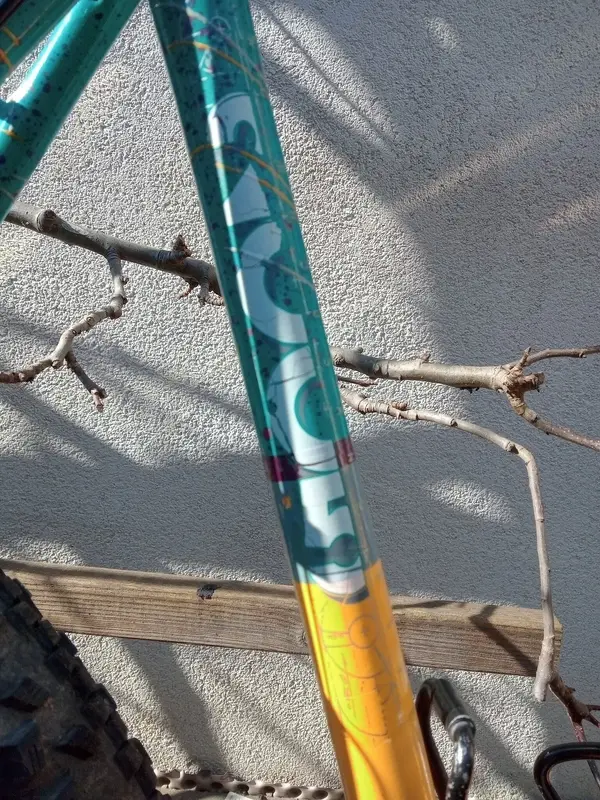
Touching up and protecting decals

Look forward to seeing the pics
My plan is to let the frame really dry for a few days, then I will take pictures with just the clear coat. On the decals.

Then I'll test out a small area to see how the coating respods to my standard frame treatment bin 'o' chemicals. The orange parts of the fram really need a good polish and wax.
 
Just a quick update and also a note that I have started a real bike thread to be found here, where I am including a sum up of this experience with the rest of the build:


And then a thank you to everyone here with their ideas and encouragement. I actually really hate working on bike paint. I dislike the chemicals and have so far only had disappointing results. This is one of the first times I am happy with the outcome. The bike is going to be high maintenance for sure--it will need regular rewaxing. I have also noticed that the orange base paint, which covers the entire frame, even under the green splatter sections, is super brittle and not well attached to the metal. So it will be a continual work in progress, but at least I have a method now that seems to work.

So, as promised, here are a few pictures after the first clear coat, using a synthetic resin varnish, which flows really well and evened out brush strokes on its own:

IMG_20220321_131926_415.jpg

IMG_20220321_132058_461.jpg

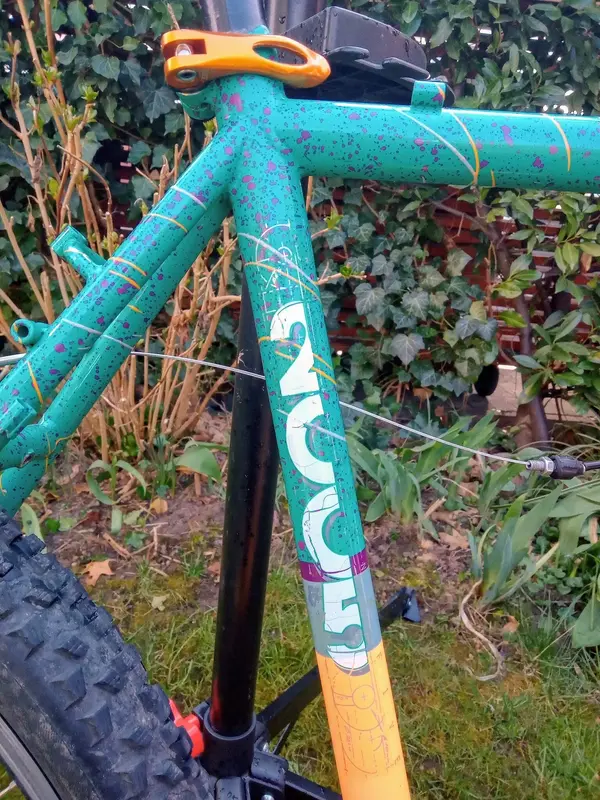
You will notice that the frame is not clean in general. The condition of the decals was actually preventing me from cleaning the whole thing properly, for fear of ruining them further. But since I used a brush, and not a spray, I was able to carefully clean the areas to receive the coating with alcohol swabs.

I noticed that there were some visible edges, and after test rubbing a small decal on the seat stay, I decided there was enough of a layer to lightly sand over the clear coat. I then brushed on a second coat. In the future, I don't know if I will do this. It helped in some places but created issues in others, so, as always, it pays to be more careful the first go.

After a few days, I went at the frame with a sponge and bike cleaner, being careful but not especially delicate with the decals. The clear coat had definitely done its job. I then decided not to tempt fate with a mildly abrasive polish, but instead went right to a liquid wax. I am very pleased with the outcome:

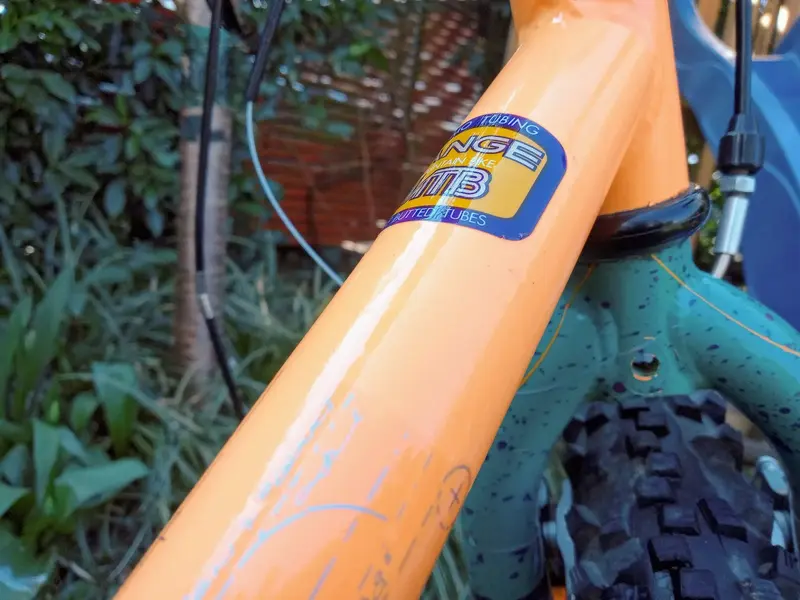
IMG_20220325_100115_250.jpg

You can see where the decal ends, but that was always there. The thing that I like about this example is that the paint between the Tange sticker and the decal is not clear coated. The reflection continues relatively constant through this area, nonetheless, so there is no sharp edge between clear coated and non-coated surfaces.

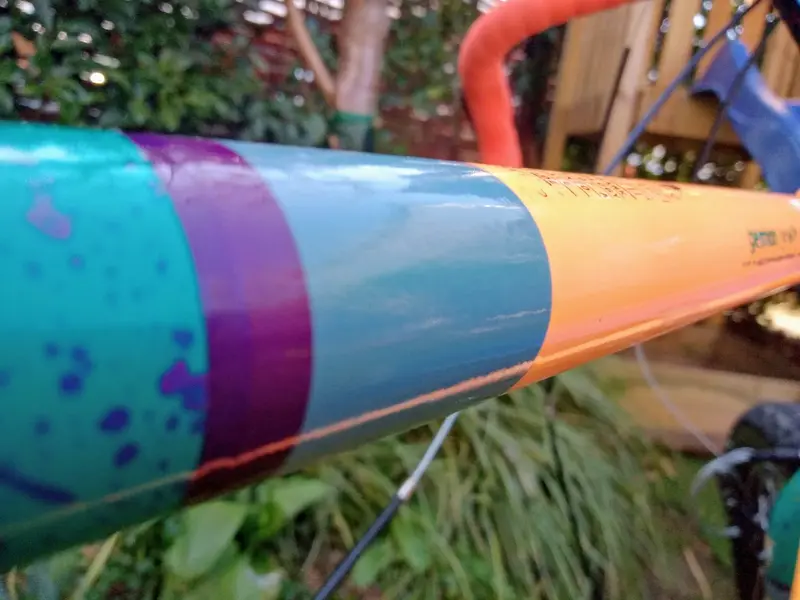
IMG_20220325_100056_535.jpg

Here something similar over the three surface types on the bike--the green splatter, the transition striping, and the orange. Of the three, the orange has fared the worst in the last 30 years.

IMG_20220325_095952_274.jpg

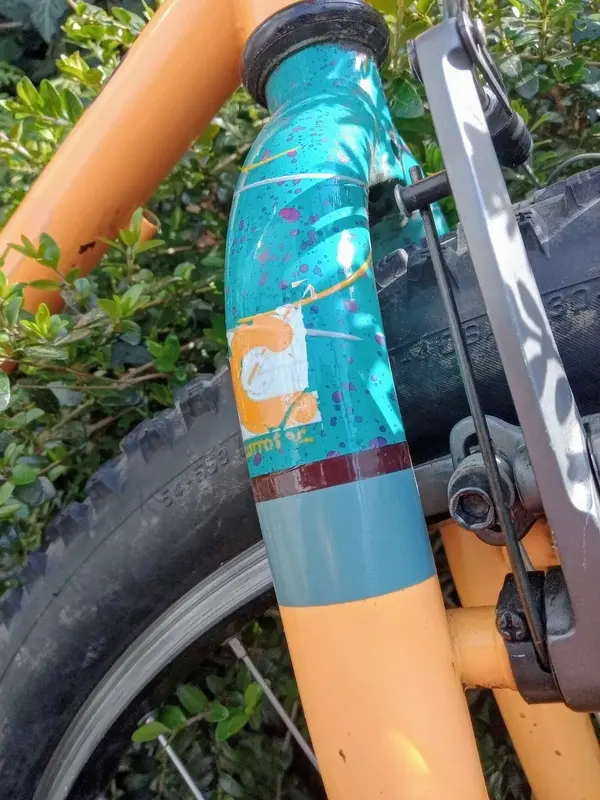
And finally, the light decal touch up on the down tube (and the new orange QR!). As a comparison, this is what it looked like originally:

IMG_20220307_140956_035.jpg

Clearly not perfect, but a huge improvement. I think it was the right idea to preserve the patina and not try to get it back to like-new, that would have just been impossible.

So thanks again!
 
I think you've done a cracking job (no pun intended).
In case it's of use to anyone else, I'll add:-
I've used a brushing clearcoat on my bikes, it's sold in art shops and the make is Winsor & Newton. Only a small bottle, but it goes a long way - I imagine a whole frame could be clearcoated for less than £10. It has a very long 'open time' ie it takes a very long time to dry, and is almost water-thin, so all brush marks disappear. I even used it on my Daughter's car when we noticed someone's (white car) had scraped the rear bumper (and of course driven off, not told her) luckily the original blue under the clear wasn't damaged, so having cleaned their white paint off I used some of the clearcoat. I tried a small brush, but the 'blobs' I put on looked raised and visible. I then took a chance (confident I could get it off if necessary with white spirit) ... I just 'massaged' the clearcoat over the area with my finger. It looked good, and once dry was invisible. I can't even see the repair and I know where it was! BTW the clearcoat I put on my bikes is 7 years old now, and no discolouration! The particular clear varnish is stated to be non-yellowing, and I believe it. (an enamel clear with no polyurethane in it). I have no connection with W&N, just a very satisfied customer.
Hey thanks for adding this. The clear coat i used was actually thicker than what I have previously used, but that was always for wood projects. It was even better at self leveling or self smoothing, but i was hesitant to use the same stuff on a bike. But it's good to know there are options what work well on bikes.

I find it is really a timing thing--up to a certain point, you can go back and muck around with things, and it will smooth again nicely. But the next moment might be too late and its hard to know when that happens.
 
Most small tin enamel is too thick, you might want to pour a small amount out and pop in a few drops of thinners......otherwise the lines wont flow and it will be very stop/ start.

I also found wiping the back and front on paper ( shiny magazines are good like for mixing on pinstriping) keeps the lugs edges clear and the lines neater.

Great fun.
Thanks for the tips. I suspected this might be the case with the thickness of the paint. I have also seen some vids of people loading them up with a Pipette so as to keep the outside clean.
 
Back
Top