STEALTHY BUILD - Dekerf Team SoftTail

TOMAS

Senior Retro Guru
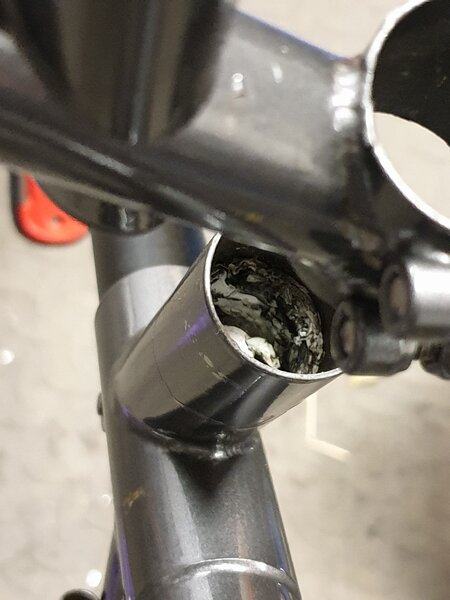
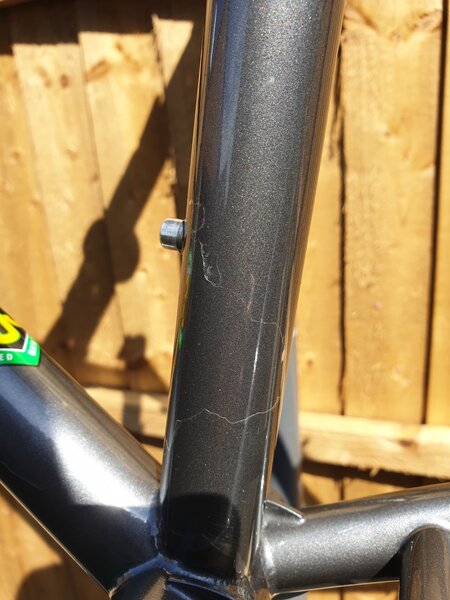
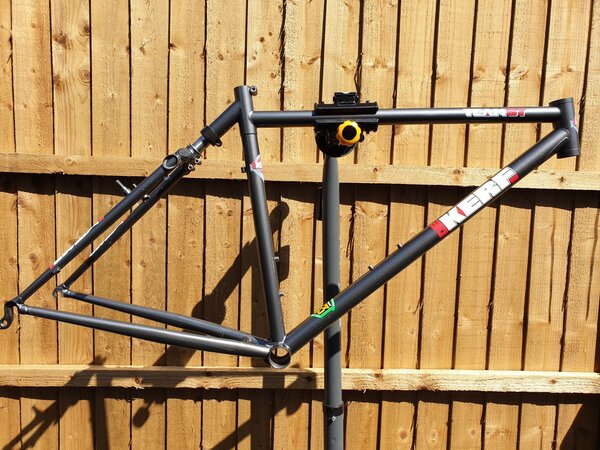
So this popped up on the bay a few days ago and arrived today, I thought it would be a nice accompaniment to my Dekerf SL that I have. Prev owner (not sure if its anyone on here) said it had been repainted by Argos Bristol (think this is spelling) in this non-factory gunmetal grey and new decals added about 2 years ago, but sadly the lacquer is peeling quite badly in places, however i'm okay to live with that for now.

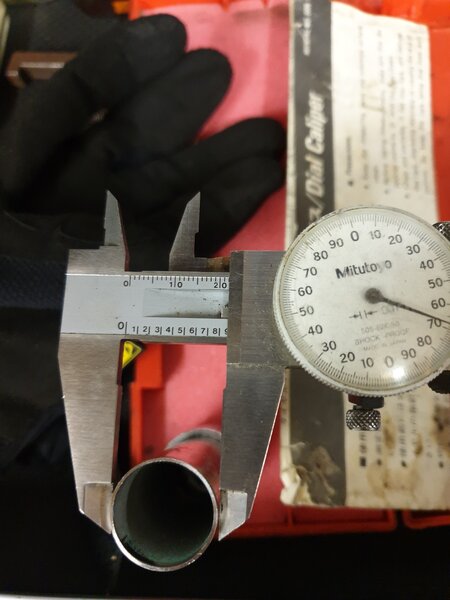
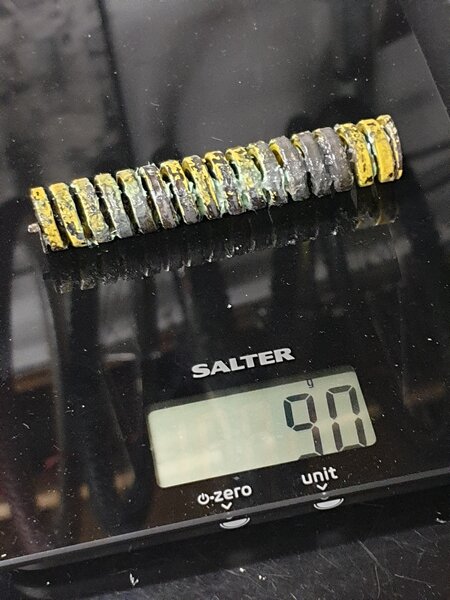
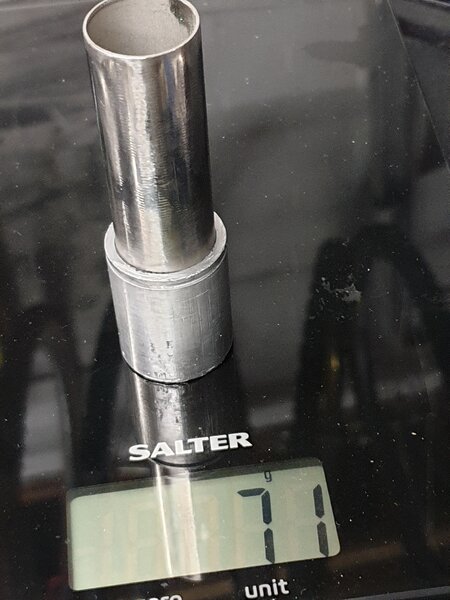
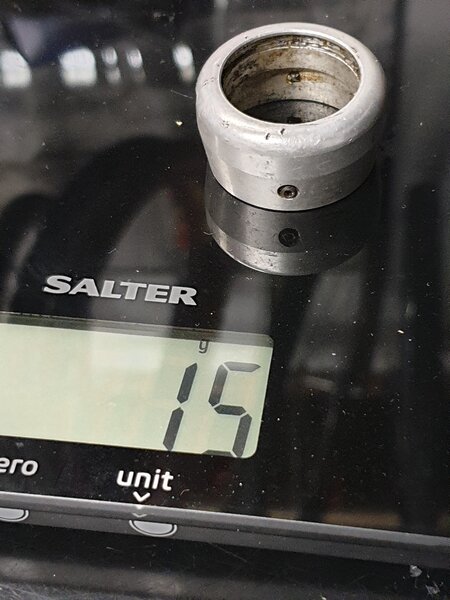
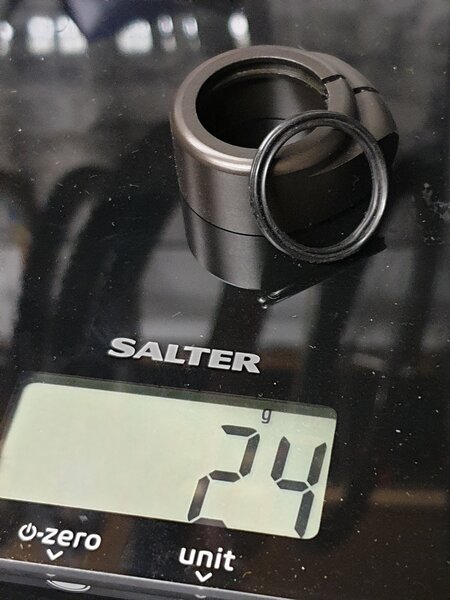
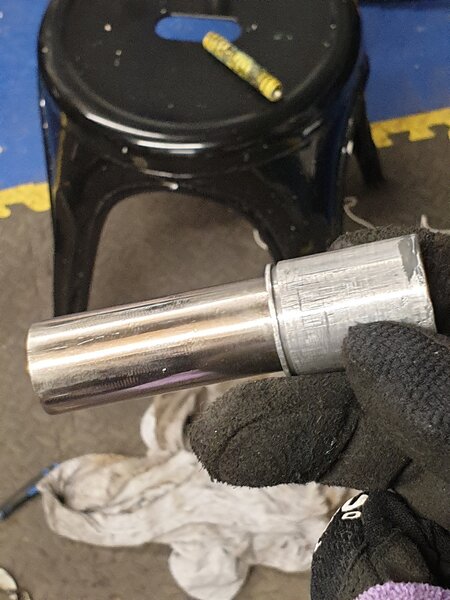
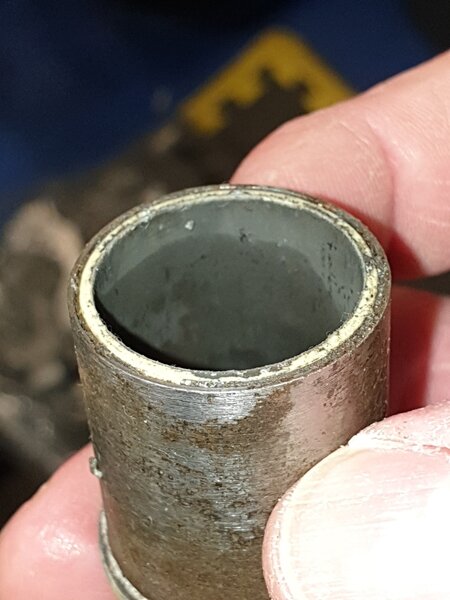
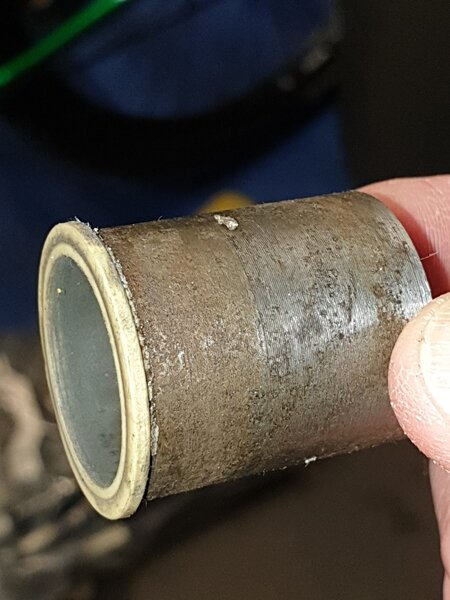
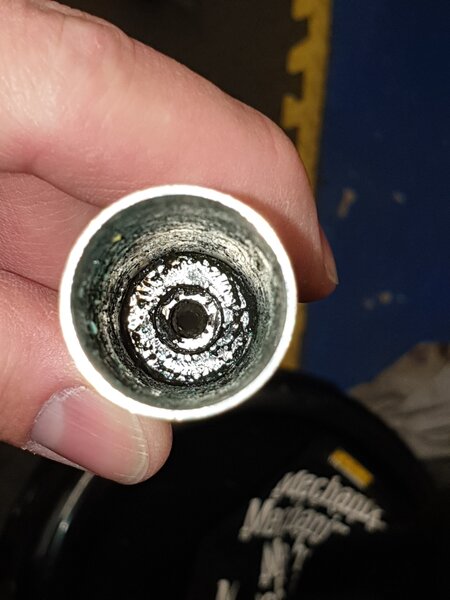
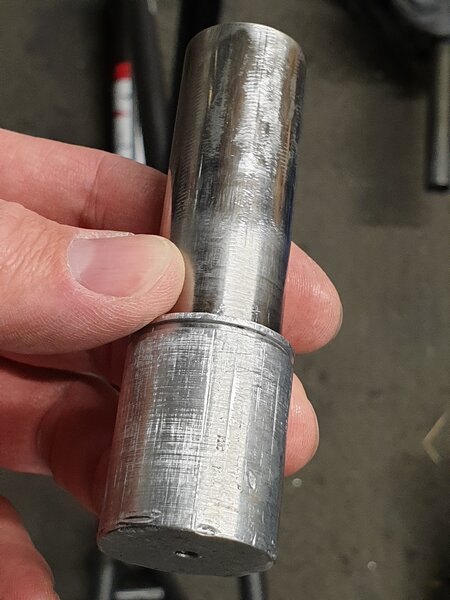
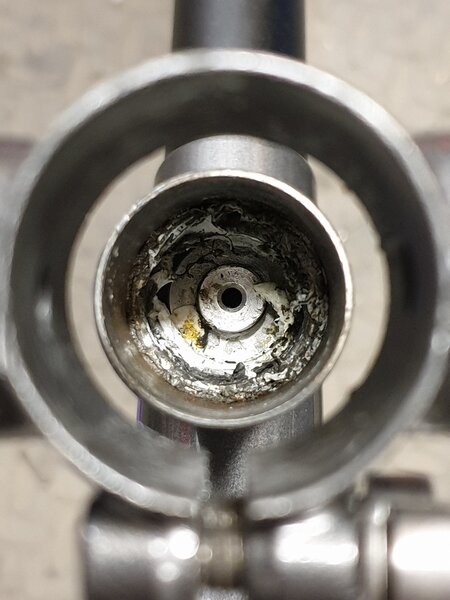
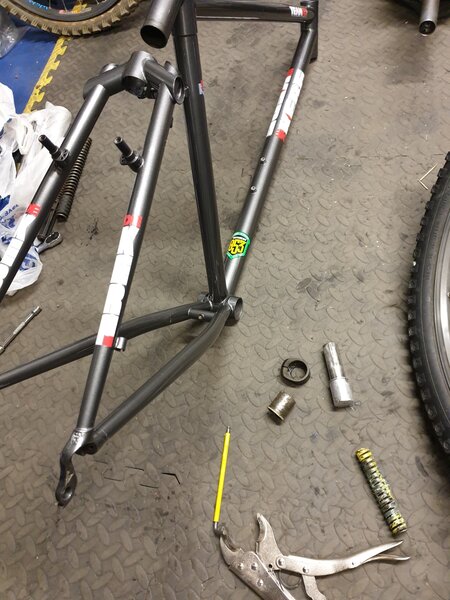
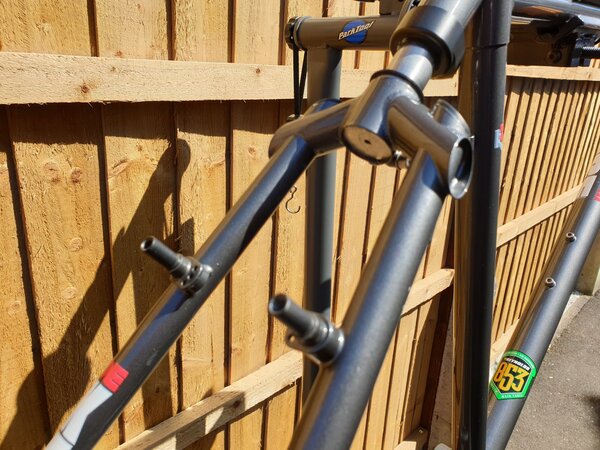
Here are a few pics of the bare frame, the prev owner also said that the the original Ti shock shaft has been replaced with stainless, obviously adds weight but possibly more durable and also the collet is a later one, again suspect this maybe an upgrade version, again these said to have been supplied by Dekerf himself. It comes in at 2kg at present, does anyone have any tips for removing the shock - spring and shaft? I assume its a case of unbolt the 2 bolts from the lower section of wishbone, undo the collet clamp, remove the circlip and then it should all just slide out from the bottom? I purely want to do this to be nosey before I build it, just interested to see the simple workings within...
 

Attachments

  • 20200417_132109_resized.jpg
    20200417_132109_resized.jpg
    159.8 KB · Views: 739
  • 20200417_132206_resized.jpg
    20200417_132206_resized.jpg
    173.5 KB · Views: 737
  • 20200417_132036_resized.jpg
    20200417_132036_resized.jpg
    223.1 KB · Views: 737
  • 20200417_131823_resized.jpg
    20200417_131823_resized.jpg
    332.2 KB · Views: 738
  • 20200417_131814_resized.jpg
    20200417_131814_resized.jpg
    434.2 KB · Views: 739
  • 20200410_155908.jpg
    20200410_155908.jpg
    1.1 MB · Views: 739
Re:

Ah you got this then! I was in discussion with the seller and it went.
He didn't mention the peeling to the top coat, shame but easily fixable.

What's your build plan? Might have a nice pair of early Judy SID's for it if interested :)

Regarding rear shock, your thought sounds correct, same set up as my Ritchey soft tail.

Looking forward to seeing what you do with it.
 
Re:

I'm not sure the shock shaft was ever made in titanium. My later ST had titanium chainstays, which had a habit of breaking, but the steel ones (Ritchey Logic IIRC) like yours are reliable.
The Team ST was described by one magazine at the time as "The best handling bike in the World!" Some may disagree, but it is a very lovely ride!
 
Re:

I have the Ti stay version (serial # in the upper 1900's from what I recall) and while flexy it is a beautiful bike to ride.

What you describe sounds right for taking it apart. I destroyed my shock on a rainy night ride in sandy trails so Dekerf made me a new shaft and spare seals and bushings.

I do warn you that putting it back together is not so easy. The frame was welded to sit naturally half way through the travel. So as your frame sits right now the shock is pushing the stays down, when you unbolt the shock the stays will spring up.

To reassemble I was told to put a wheel in the frame with a highly inflated tire. Put the longest wrench I could find between the tire and end of the shock, then pry the shock up into place. Somehow at the same time while holding that in the correct position you have to quickly do up the pinch bolts with your third hand :mrgreen: . Hope this all makes sense, happy to help with any other questions.
 
Re: Dekerf Team ST build (Dekerf experts in here please!)

1552: The seller did say in description about the lacquer peel, its a shame and I thought that Argos were meant to be top-draw painters but appears possibly might not be the case if this is happening?

*** SKIP THE BELOW NOTES AS I'VE NOW SOLVED THE REAR SHOCK PROBLEM... ***
So earlier I unbolted both the lower bridge bolts and then the upper collet clamp, I quickly discovered that as Baulz says, when it situ it forces the stays downwards, so these sprung up a little upon removing the Circlip. I then began to pull the shaft from the bottom but it got stuck and wouldn't come any further!? So appears the 1-piece shock shaft (stainless I believe as not magnetic) slides into a plastic/nylon type bushing, which is then surrounded by a metal cylinder, which then fits up inside the upper part of the frame bridge thats welded to seattube - is the internal spring just loose inside all of this, or fixed in any way?

The one thing i'm dubious about is the metal 'collar' that surrounds the nylon bush that started to slide out, this appeared to have white sealant around it, perhaps 'bonding' it in place, whatever the case, it isn't 'bonded' anymore. I really could do with an exploded pic of the few components that make up the 'shock' so that I can be sure all is good.

So its at the point where I can pull it out so that the top of the shaft is virtually level with its entry into the top of the upper bridge but it won't come any further and really don't want to start applying any brute forces with the rear end of the frame effectively not connected up properly, incase I damage something :(
 
Re:

So after having a word with myself I set back to working on the shock this eve. So I solved it, in that you leave the collet in situ (Don't unbolt) and then I removed the rear piston by way of unbolt lower bolts, whilst in compression nip the bolts then expand, whilst expanded unbolt and then compress again and so on... this effectively nipped and crept the piston out from its housing/the bush.

As you'll see from the piston, it's quite marked up, its also NOT round, its worn ever so slightly slightly oval - this will be due to the somewhat crude design, maximizing wear on just 2 opposing surfaces (top/bottom). I gave it a very light polish and removed all the grey tacky crud from the bush.

Only bit that is still slightly concerning me is that as you'll see, the bush has a metal collar around it, this then pushes quite easily into the frame, I would assume this ought to be a firm friction fit but its not, however I do wonder that once the collet is tightened this then holds everything firmly in place, including holding the bush shoulder firmly in its housing. With everything spotless and weighed I rebuilt it with some shaft lock in the interface between bushing collar/frame and then with some Slick Fork grease on spring/shaft and has made a HUGE difference in plushness. Weights of components below, I also DO think that the original piston may have been Titanium as in the catalogue pics it has a golden hue to it, suggesting anodizing to me, like fork stanchions? I've also photo'd the original collet, that affixes with grub screws and also has some small grease ports on it, it's a slightly lighter and super neat design but clearly not as burly as the newer style clamp up one.
 

Attachments

  • 20200417_225132_resized_1.jpg
    20200417_225132_resized_1.jpg
    137.8 KB · Views: 657
  • 20200417_224349_resized_1.jpg
    20200417_224349_resized_1.jpg
    267.9 KB · Views: 657
  • 20200417_224331_resized_1.jpg
    20200417_224331_resized_1.jpg
    223.5 KB · Views: 657
  • 20200417_224307_resized_1.jpg
    20200417_224307_resized_1.jpg
    233.7 KB · Views: 657
  • 20200417_224249_resized_1.jpg
    20200417_224249_resized_1.jpg
    227.2 KB · Views: 657
  • 20200417_223828_resized_1.jpg
    20200417_223828_resized_1.jpg
    263.7 KB · Views: 657
  • 20200417_221749_resized.jpg
    20200417_221749_resized.jpg
    186.1 KB · Views: 657
  • 20200417_221742_resized_1.jpg
    20200417_221742_resized_1.jpg
    220.1 KB · Views: 657
Re:

So if I was going crazy perfection with this build I'd consider having a Ti spring made - it looks fairly heavy duty and weighs a fair bit too, also a new Ti shaft would be great! If there are any budding UK engineers out there that fancy a task and don't want to charge me the earth do shout up haha!
 

Attachments

  • 20200417_221624_resized_1.jpg
    20200417_221624_resized_1.jpg
    159.9 KB · Views: 657
  • 20200417_221605_resized_1.jpg
    20200417_221605_resized_1.jpg
    235.7 KB · Views: 657
  • 20200417_221513_resized_1.jpg
    20200417_221513_resized_1.jpg
    165.1 KB · Views: 657
  • 20200417_221459_resized_1.jpg
    20200417_221459_resized_1.jpg
    149.9 KB · Views: 657
  • 20200417_220406_resized_1.jpg
    20200417_220406_resized_1.jpg
    245.6 KB · Views: 657
Re: Dekerf Team ST build (Dekerf experts in here please!)

I had a Team ST many moons ago and it was one of the nicest handling bikes I ever rode. Should never have sold it.... I’ll enjoy seeing yours getting built up.
 
Re:

So I've nearly gathered most of the parts to get this built up, i'm now just wondering about the lacquer peel... I've watched a few Tube vids and also done a fair bit of rattle can spraying in the past, do I flat off these imperfections and re-spray with rattle can lacquer, cut and polish before I go ahead with the build?

In theory it doesn't sound too tricky and with lots of time on my hands at present maybe worth doing before I rebuilt it up? Has anyone ever done this before on a bike frame, just wondering if I do a smaller test piece out of sight to check the lacquer doesn't react with existing lacquer on the frame?
 
Re:

If you just want to stop it getting worse for now, clear nail polish on the peeling edges will help reseal it.
Alternatively gently wet'n'dry the edges down and spray laquor should be fine I would think.
 
Back
Top