My 99 Lobo Restoration and build

Massive box of parts sent today to the anodiser and two weeks off work starting on Monday!

Due to some extreme stupidity I've gone and bought some BOS n'dee forks, so one frame will deffo be modern/retro/improved (inc pro deluxe, 6 pots etc) and then the smaller one can take the full set of retro original parts and the Monsters.

One white but I'm really not sure what to do with the other, polished or black or metallic black? Bearing in mind I'm painting so it seems a shame to just use plain shiny black but that is the original colour...
 
Magsy":r0mirwgc said:
Massive box of parts sent today to the anodiser and two weeks off work starting on Monday!

Due to some extreme stupidity I've gone and bought some BOS n'dee forks, so one frame will deffo be modern/retro/improved (inc pro deluxe, 6 pots etc) and then the smaller one can take the full set of retro original parts and the Monsters.

One white but I'm really not sure what to do with the other, polished or black or metallic black? Bearing in mind I'm painting so it seems a shame to just use plain shiny black but that is the original colour...

Magsy, I sent you a PM. Build looks great!
 
Today I have receive mine from painter, I choose plain grey !


alu38.jpg


alu39tj.jpg


alu40.jpg


:p
 
So I sent some stuff away and today it came back...


Ha! :p


Sea of red! This is work done by Steve from Acorn Plating. I think you have to be realistic, if I'm honest I'd hoped for better but to be fair some of the parts were 10-15 years old. The last picture is a brand new XTR clamp and came out perfect. It is clear that the process draws any pitting out and I'm a bit confused by the darker streaks in some of the parts. From 2 feet it all looks awesome so I'm not going to lose any sleep, especially as he did all that including return special delivery for £65. I'd do it again but finish everything myself before sending it..

Hubs are rebuilt and now at the shop with some NOS 321's being put together because I'm too lazy.

Hopefuly painting tomorrow if the bloody wind dies down :twisted:
 
Oh my.....

You are going to have one hell of a modern/retro/modified Lobo super bike!!!! I cannot wait for it!! Have you seen the Lobo on pink bike sporting Fox 40's?? If you've not maybe its best you don't, considering your taste I could see you following suite. They look amazing!!

...and I'm sure that your period specific one won't be 2 shabby either..
 
That's a whole load of anodized red! Looks good though and not bad for 65 notes.

Looking forward to seeing the bikes built up, especially the one with Bos forks. Hmmmm.

That Lobo with 40's looks ace and pretty modern. Can't help thinking it will ride like a bit of a dog with such long forks on it though.
 
Posts will be picture heavy but we all love pictures, I don't intend it to be a how-to but I always like reading others threads when they go a little more indepth.

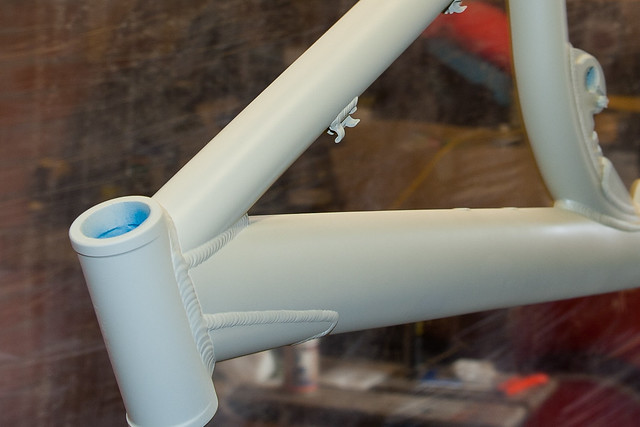
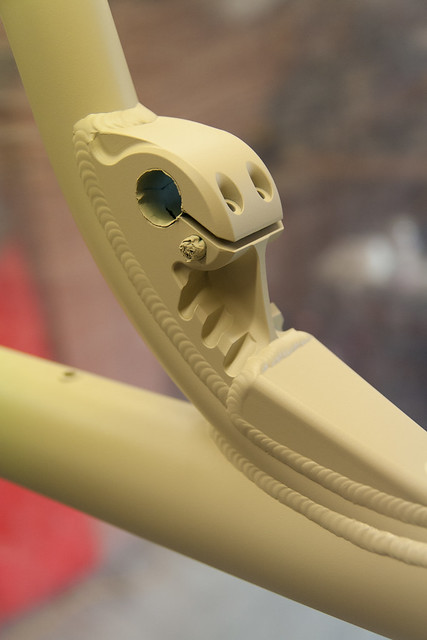
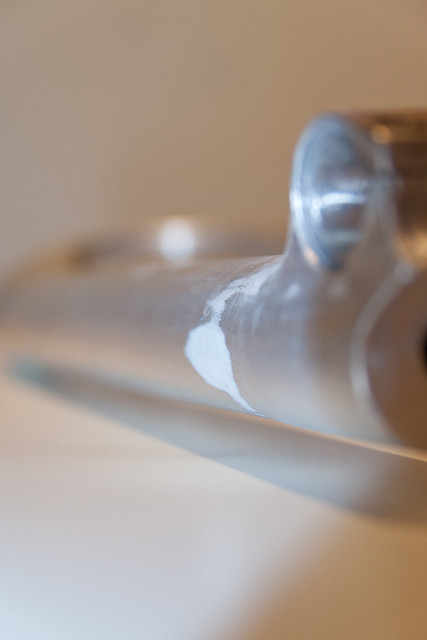
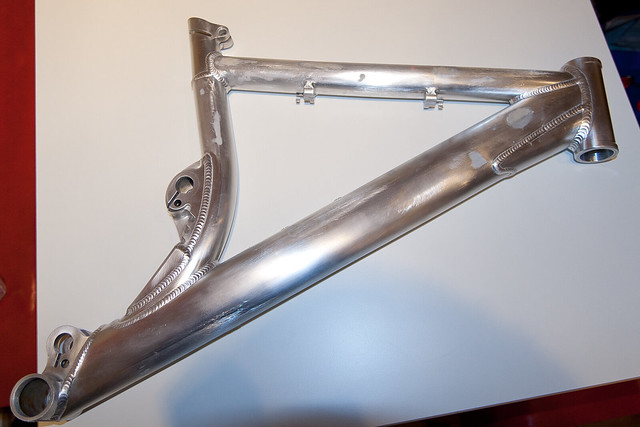
Like an idiot I forgot to take good pictures of the frame all fillered up and smoothed down, there are some earlier on in the thread and a few rehased below. Suffice to say you apply filler, sand it, apply more and sand it with a flat block until it is perfect. If you can feel it you will see it so it has to be top notch, the filler primer will take care of any little pinholes but nothing major. Creating a round profile with the filler is hard, this frame took a lot of filler and I really don't find it easy to work with! One thing is key and that it is it must be dry, this frame has lived indoors near a radiator for a long time, you should do everything you can to avoid getting water on the filler or it'll bubble up (weeks) later.


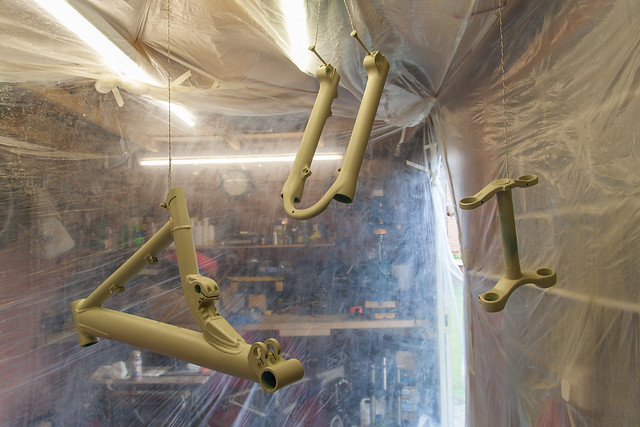
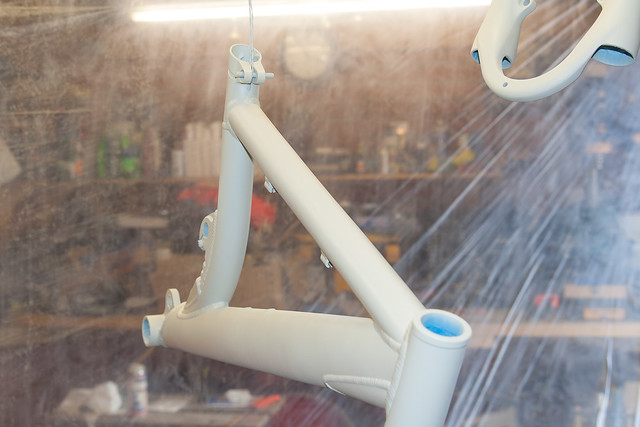
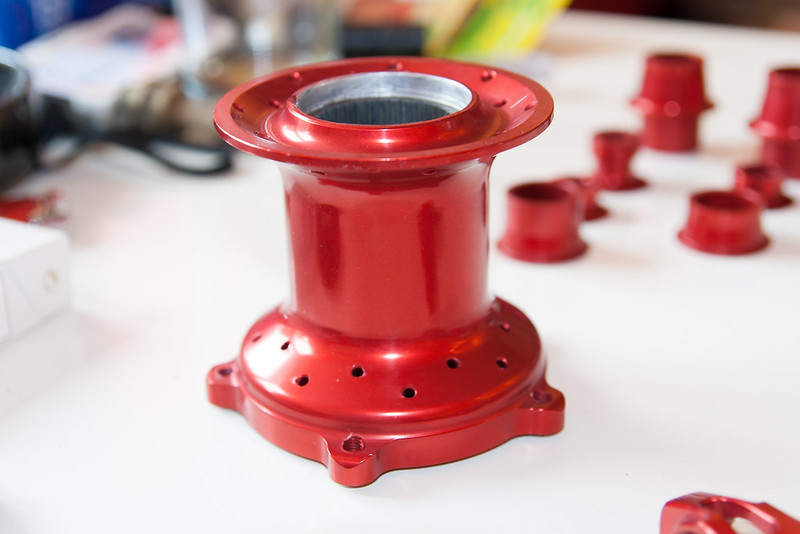
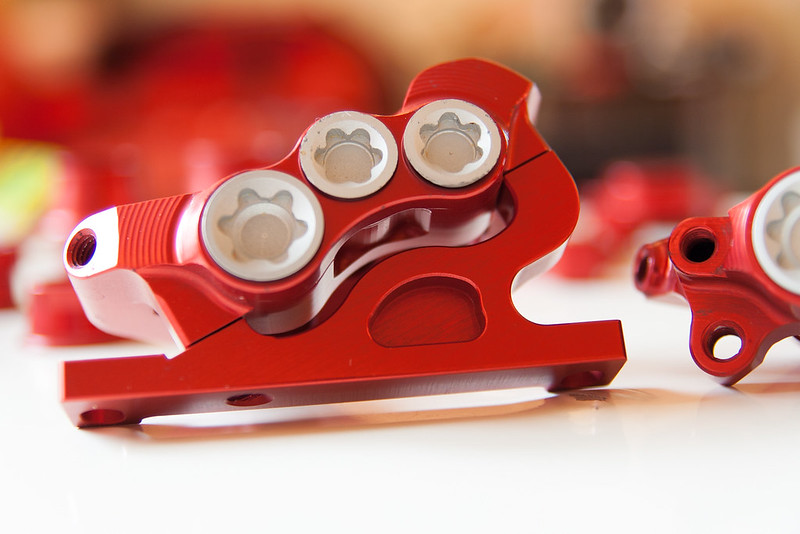
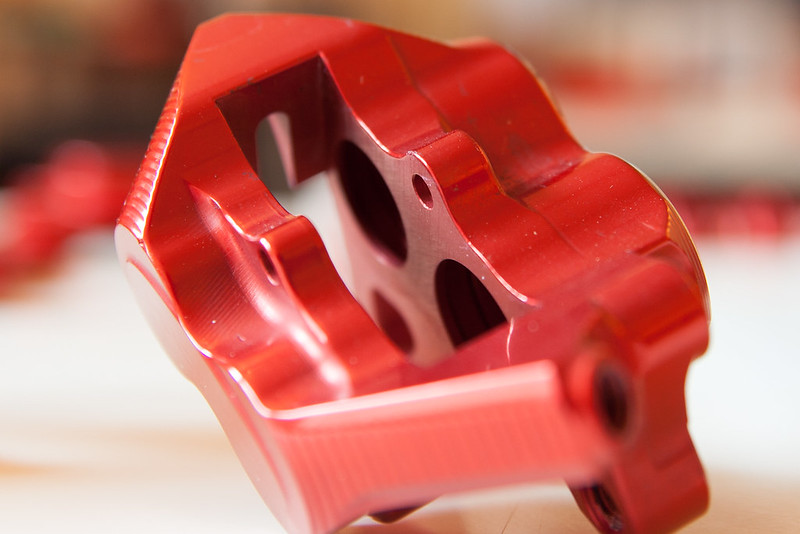
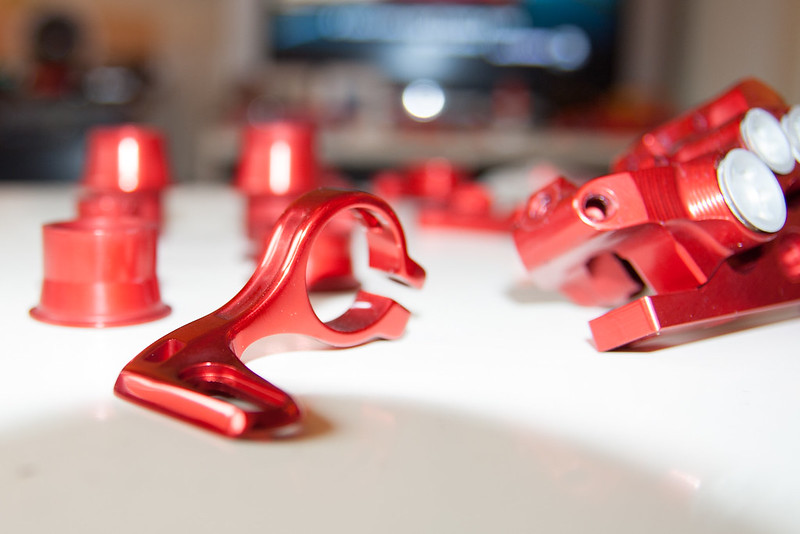
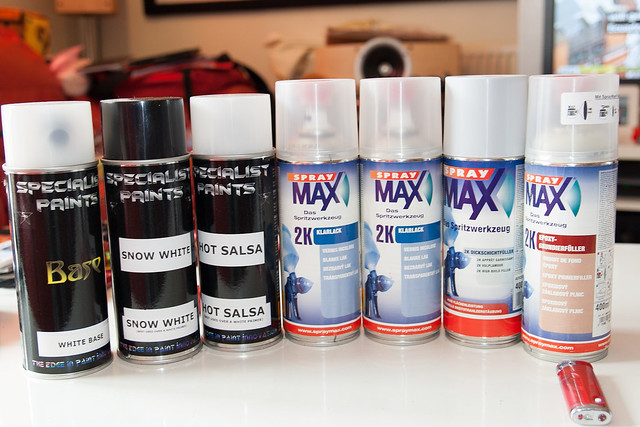
I have 2k epoxy primer followed by 2k filler primer, then 1k white, 1k 'snow' white pearl and finally 2k clear coat.


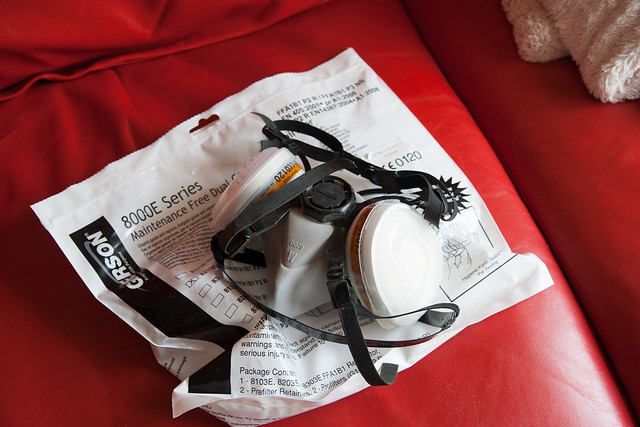
The 2k paints are dangerous, especially the clear coat. I have a half mask that claims to be good enough but a lot of people wouldn't use it so I'm not advocating this; it is a risk I'll take. I have suit, gloves, sealed eye protection and the mask, I have created a crappy booth with plastic and am forcing air through it. It kinda works, I have positive pressure and good airflow.


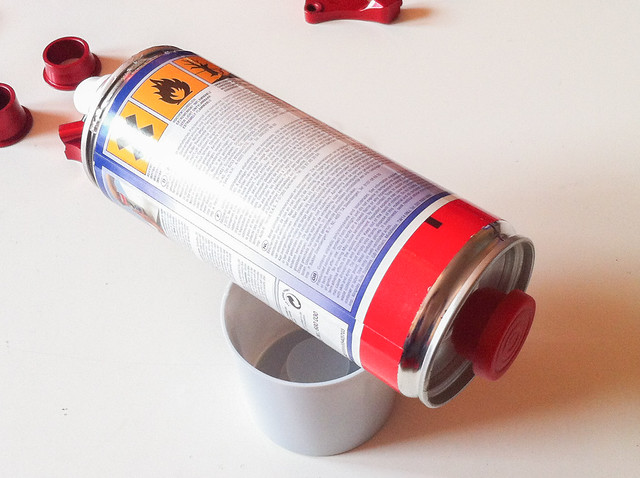
Underneath the can is an activator button, you hit that and it releases the hardener from a 'can within a can', shake it for a bit and then you have 2k activated paint that'll cure inside the can in ~12hrs so you have to work quick.

Normal aerosol paint is solvent based, it can always be removed with another solvent such as petrol even years later, it is soft and not very chip resistant either. This stuff is real car body paint, it relies on an activated hardner not evap of the solvents. It should be as strong as anything you can buy ready painted. I didn't want to powder coat the frame although I admit the extra work is ten fold, I'm only doing this because I like to play :)

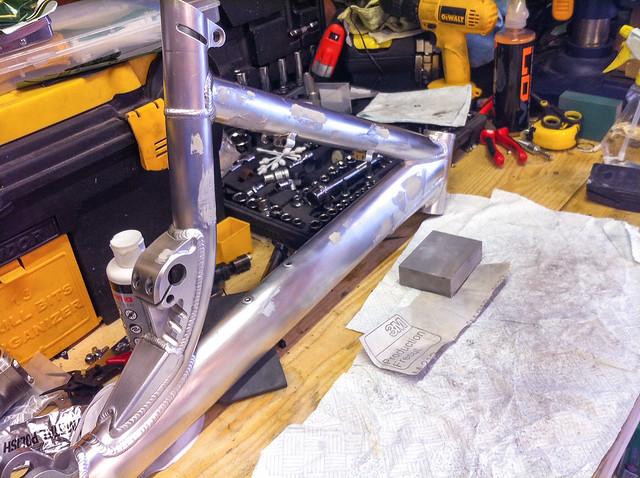
Two coats of epoxy primer on, filler primer to follow later..


Love the booth and the end results look very good.
The lobo with fox racing shox 40's looks aboslutely terrible. Some things cant be unseen.
And the ano red stuff just took you to bling factor 11.
 
Good job on the DIY painting.

Filling something that much be a bitch...I returned the alloys on my previous car and getting the edges smooth and round took some doing. Which filler did you use?
 
Back
Top