You are using an out of date browser. It may not display this or other websites correctly.
You should upgrade or use an alternative browser.
You should upgrade or use an alternative browser.
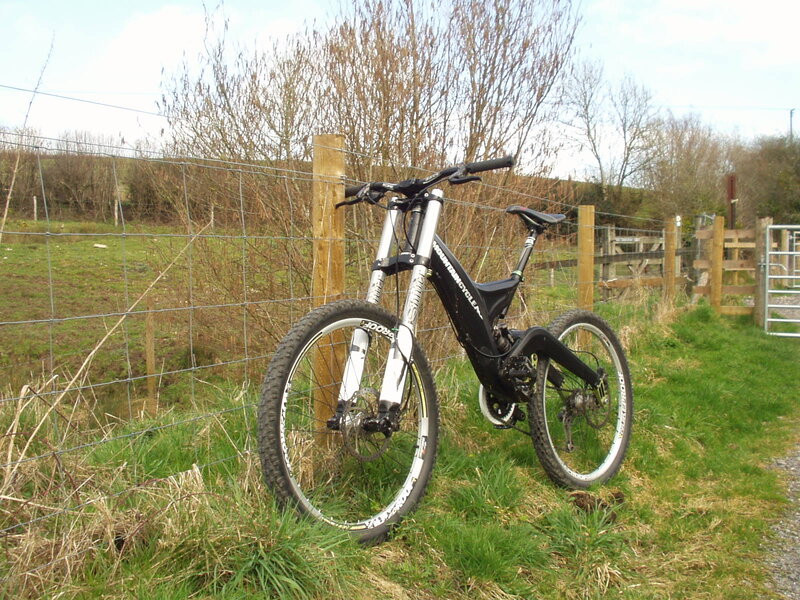
Mountain Cycle Shockwave 9.5 revamp. 14.7kg final weight.
- Thread starter synchronicity
- Start date
synchronicity
Senior Retro Guru
synchronicity
Senior Retro Guru
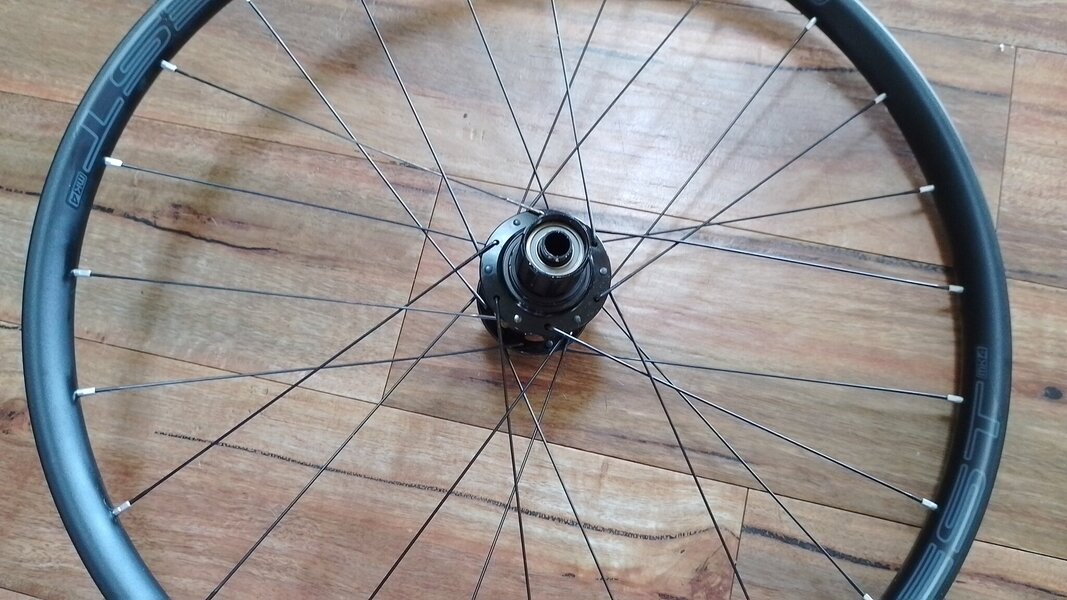
My opinion of hubs, spokes and rims:
synchronicity
Senior Retro Guru
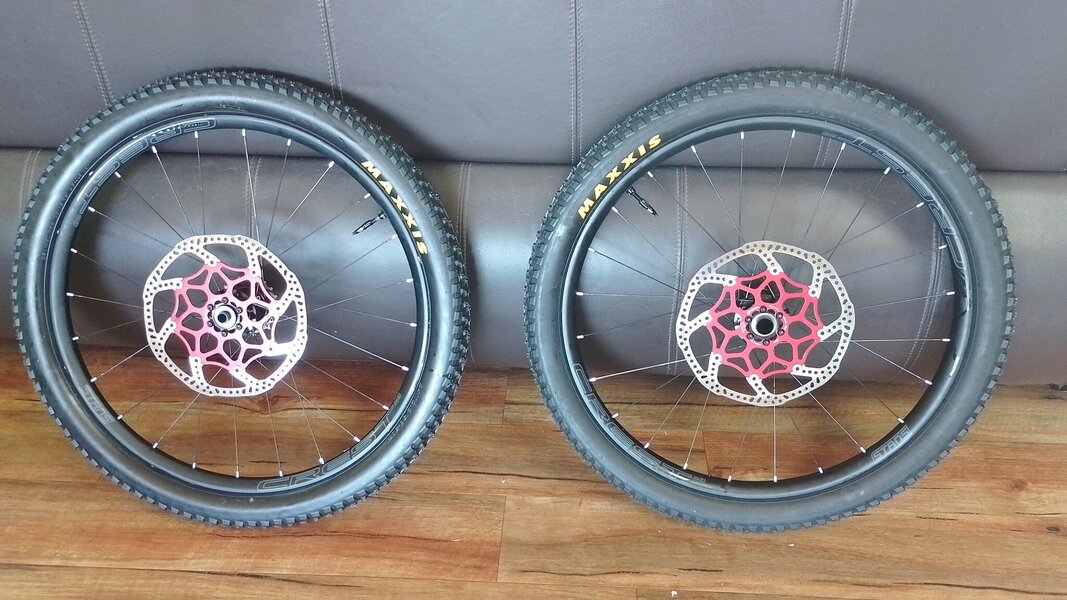
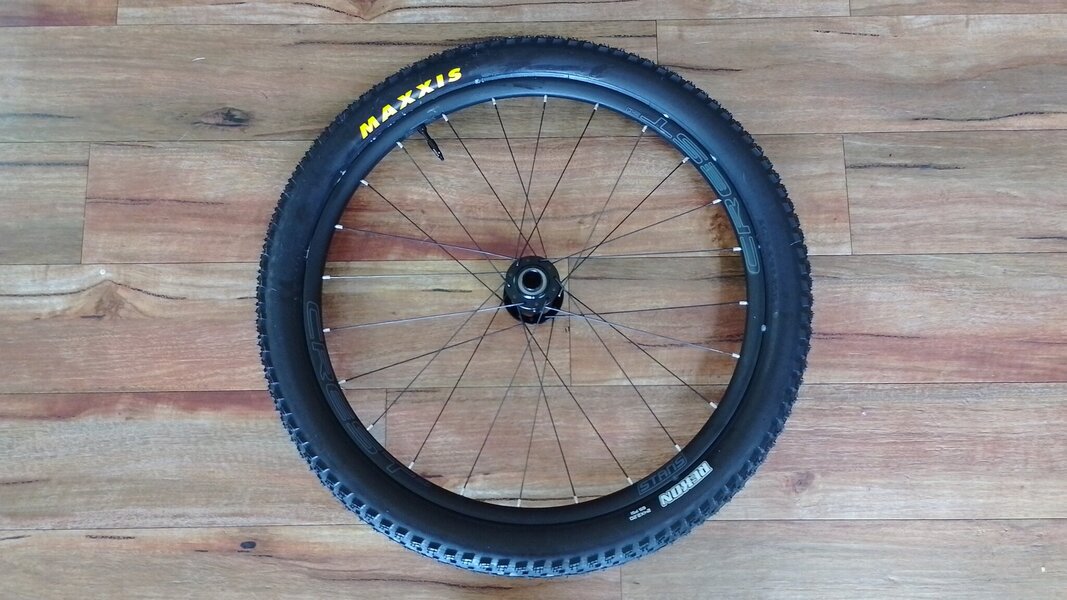
I decided to go tubeless (which is a first for me) with this setup for two reasons:
1) to save weight
2) to be able to run slightly lower pressures
I did a fair amount of reading online forums before embarking on this seemingly arduous hit-or-miss task.
Of course I tried to use my track pump to seat the bead and of course that didn't work.
I don't know how or why I was somehow expecting it to work, because deep down I knew it wouldn't.
Even taking the valve cores out "to increase flow", I must have looked like a right jackass pumping and not getting anywhere.
I must have wasted 20 minutes doing this. Unless you have the right pump, I suggest not to even waste 2 minutes on it.
Despite pulling the [Joe's] tubeless tape pretty hard, I still ended up with some longitudinal air bubbles in the centre channel of the rim.
I considered buying a tube and installing that to flatten everything out...
But I'm not a great fan of my lbs so that would mean waiting days on end for an online purchase.
Read somewhere else that pressure is pressure, installing a tube is just one extra unnecessary step, just install the thing as is, the bubbles will flatten out anyway.
So that's what I did. I decided to take it to a service station and stop all the guessing. The first servo was busy so on to the second one.
Meanwhile, the soapy water I had applied was fast drying out (I'm not taking an open bucket of soapy water in the car okay, couldn't find a spray bottle).
At first I tried to seat the bead sans sealant.
It sorta worked so I unscrewed the presta-to-schraeder adapter & squeezed a little bottle of Stan's in there
(no syringe needed, saving $20 right there, win)
This took about 5 or 10 minutes, which is acceptable enough I suppose.
I'm not keen on going to by lbs or getting a compressor, so for the time being, that's the method.
I'll no doubt have to buy a spare tube anyway as I don't completely trust this system yet.
I'm definitely not going to bother with tubeless on my road bikes (the rims aren't compatible anyway).
I won't bother with tubeless on my main mtb steed either (again, rims are oldschool).
Weight savings not significant I think over tubolitos.
I may convert my hybrid training bike however as it comes with tubeless ready rims and those tubes are fairly heavy for what they are.

synchronicity
Senior Retro Guru
Taping the second wheel, I thought I did a better job after taping it.
Had a cup of tea and came back to make the valve hole. Job nearly complete (or so I thought).
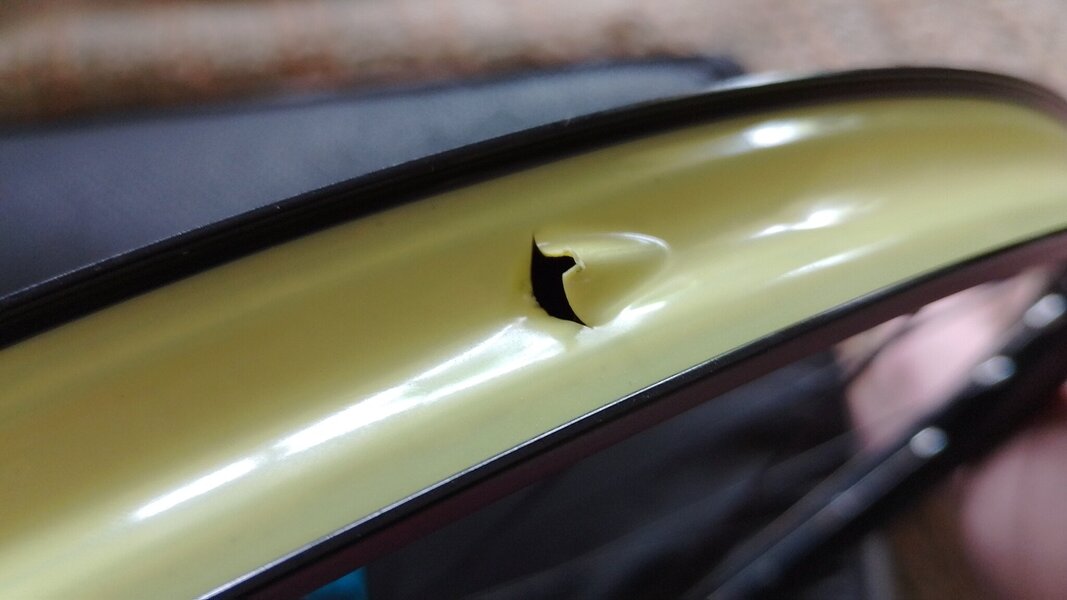
Then this happened. Why? Because nobody (I'm talking about manufacturers here) seems to punch a hole in one end of their tubeless tapes.
Why not? It's not that difficult. FFS.
Honestly, I was poking down on the valve hole, mostly blind (because I put the recommended two layers on, see below). I decided to poke up from the other inside side to be more accurate, get the hole centred properly, and this is the result. The tape is split and I had to do it all again (the tape is now trashed). A waste of half a roll of tape, and not exactly my fault.
I probably won't buy that tape again (Joe's; and that goes for you too Stan's, because the exact same thing would have happened using your tape).
I'm now redoing it with Spank fratelli polyimide tape (because it's a much superior material to start with).
Also, this whole idea of "doing two layers" is rubbish to start with. I feel it's very amateurish. They know one layer might not be good enough.
If they chose the right material to begin with, it would be the right thickness and stiffness with only one layer.
Attachments
synchronicity
Senior Retro Guru
As for Spank fratelli tape, it's very thin, I put one layer on, and it was difficult to get the bead to seat.
Next time I'll have to put two layers on.
Next time I'll have to put two layers on.
synchronicity
Senior Retro Guru
synchronicity
Senior Retro Guru
synchronicity
Senior Retro Guru
Still haven't entirely made up my mind about flats or clip-in pedals, so I have a set of both.
I suppose it depends on the difficulty level of the trail.
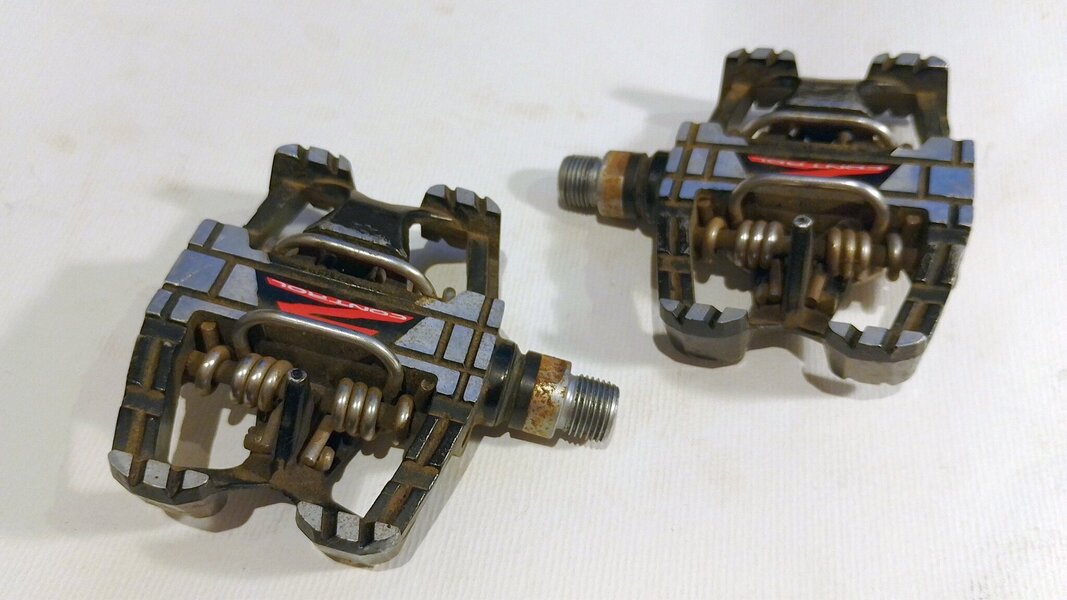
Here are the clip-in pedals I have chosen, Time ATAC Z control, all metal bodies, from another bike. That bike got MX6's instead now.
Not liking the rust on them spindles tho.
They'll have to do for now.
I suppose it depends on the difficulty level of the trail.
Here are the clip-in pedals I have chosen, Time ATAC Z control, all metal bodies, from another bike. That bike got MX6's instead now.
Not liking the rust on them spindles tho.
They'll have to do for now.

MCsanandreas
Mountain Cycle Fan
- Feedback
- View
Similar threads
- Replies
- 6
- Views
- 452
