Mikey08
Kona Fan
This was supposed to be a easy build!.......
A couple of years ago I picked up an old beaten up 2005 Trek Top Fuel. It had mismatched wheels, a fork that didn’t work, and a blown shock. The front Hope Mini carbon brake needed a lever rebuild, and the rear Mavic Crossmax was toast. But the frame seemed ok (apart from the paint) and a idea began to form in my head...
During Covid I'd gotten back into the MTB scene and bought a beautiful Kona Kula frame from Wadsy. (My Kona Kula build) (Some of Wadsys builds). It used to be Pip's (RIP) (The Pip-meister register) and was absolutely mint. I built it up as a retro-mod with more modern parts and really enjoyed it. When the Trek came my way I decided it was time to try some full squish and planned to bolt on all of the parts from the Kula then head out to enjoy my 80mm of rear travel. But its rarely that simple!
My Kula

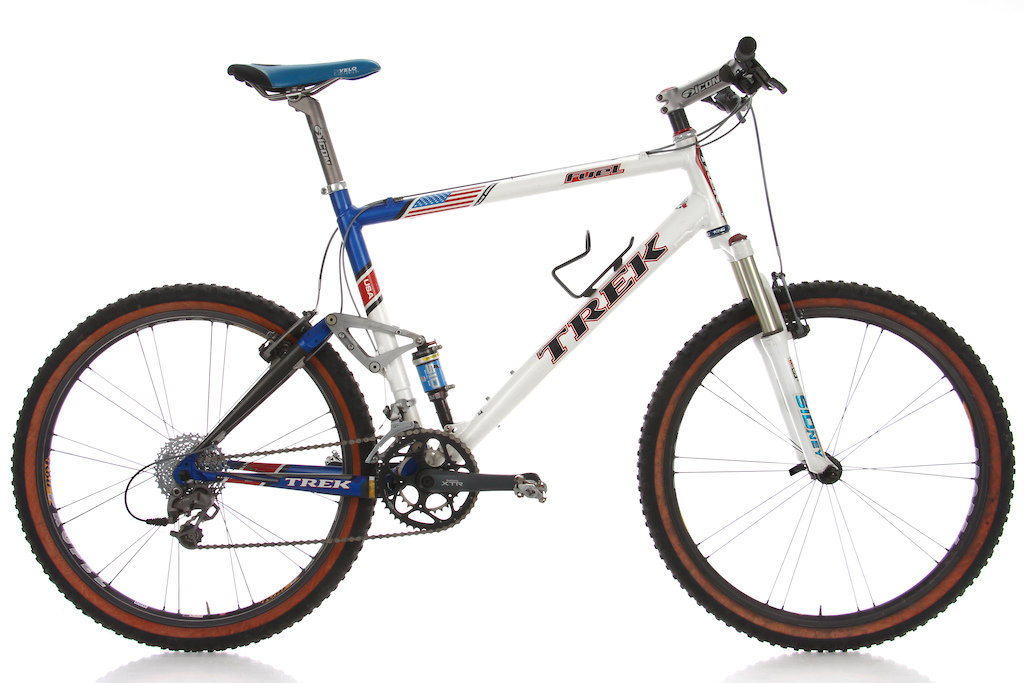
My Top Fuel mocked up with the parts from the Kula (and a Fox Transfer I picked up cheap, more on that later...)

Problem number 1: Loose headtube insert
I noticed there was a small crack in the paint towards the back/lower area of the head-tube, near the headset cup. I knew I was going to re-paint this frame anyway so began stripping the paint with anticipation of what lay underneath.
(look closely at the rear of the lower headtube)


I had hoped it was a just a paint defect but it turned out be a bigger problem. The alloy insert was partially loose and had de-bonded towards the rear. I knew that to repair this properly it had to come out. So, using a few stiff blows with a drift out she popped, no carbon got damaged thankfully!

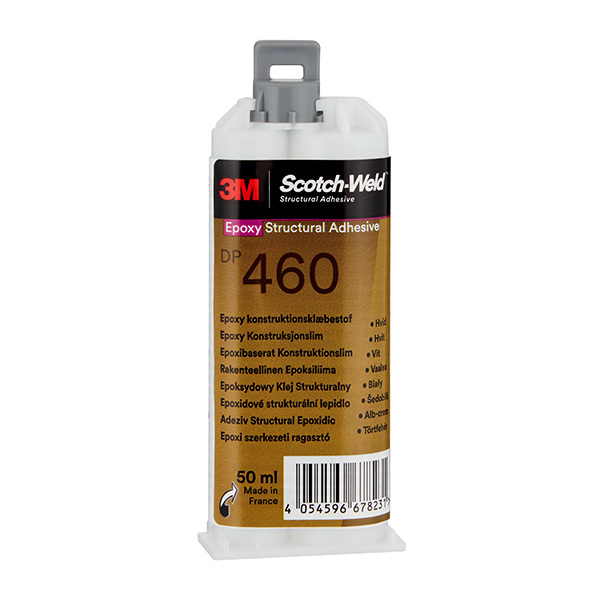
I’ll glue this back in with some 3M DP460 structural epoxy. I chose this after doing tons of research and speaking to various companies for advice. Its ridiculously strong stuff and can withstand shock and vibration. Not cheap at £50 for a 50ml tube though!
Problem 2: Knackered rear end.
The Top Fuels came with two different rocker links: Lower down the range alloy framed versions had an aluminum rocker, and higher carbon models featured a OCLV carbon rocker link.
This no doubt saved a few grams over the alloy version but they tended to wear around the non-drive side pivot point holes. Mine was very worn with the lower rocker bolt hole badly ovalised so I began searching for a replacement. I found an eBay seller that still had stock of the alloy version and I decided to buy one. I could have emailed Trek to see if they had any of the carbon versions still in stock, but I decided the alloy one would probably be stiffer and less prone to wear out.

In addition to all of the above, many of the rotating parts were badly worn too. I needed a new main pivot bushing and axle, and all the top-hat-style bushings needed replacing.
This was a real concern as there was no guarantee I could get hold of these parts for a 20-year-old frame.
One website called Triton Cycles had the parts listed so I dropped them a email; no reply. Then I emailed Trek UK; a wonderful lady named Sue Skeggs got back to me with a exploded diagram of my rear end (no pun intended) along with a part number list and assembly/torque specs. What a legend!


Now I was armed with exact part numbers I reached out to Triton Cycles again. They seemed my best bet as they had the parts listed on their website, but again, no reply. I tried the phone, no answer. (After googling them it seems they have a terrible reputation)
I felt a bit stuck at this point, so when I happened to find the email address for the Trek CEO I thought “what the hell” and emailed him. I was later contacted by someone from Trek UK and put back in touch with Sue who organised for the parts to be shipped to me. How lucky was that!

A couple of years ago I picked up an old beaten up 2005 Trek Top Fuel. It had mismatched wheels, a fork that didn’t work, and a blown shock. The front Hope Mini carbon brake needed a lever rebuild, and the rear Mavic Crossmax was toast. But the frame seemed ok (apart from the paint) and a idea began to form in my head...
During Covid I'd gotten back into the MTB scene and bought a beautiful Kona Kula frame from Wadsy. (My Kona Kula build) (Some of Wadsys builds). It used to be Pip's (RIP) (The Pip-meister register) and was absolutely mint. I built it up as a retro-mod with more modern parts and really enjoyed it. When the Trek came my way I decided it was time to try some full squish and planned to bolt on all of the parts from the Kula then head out to enjoy my 80mm of rear travel. But its rarely that simple!
My Kula
My Top Fuel mocked up with the parts from the Kula (and a Fox Transfer I picked up cheap, more on that later...)
Problem number 1: Loose headtube insert
I noticed there was a small crack in the paint towards the back/lower area of the head-tube, near the headset cup. I knew I was going to re-paint this frame anyway so began stripping the paint with anticipation of what lay underneath.
(look closely at the rear of the lower headtube)
I had hoped it was a just a paint defect but it turned out be a bigger problem. The alloy insert was partially loose and had de-bonded towards the rear. I knew that to repair this properly it had to come out. So, using a few stiff blows with a drift out she popped, no carbon got damaged thankfully!
I’ll glue this back in with some 3M DP460 structural epoxy. I chose this after doing tons of research and speaking to various companies for advice. Its ridiculously strong stuff and can withstand shock and vibration. Not cheap at £50 for a 50ml tube though!
Problem 2: Knackered rear end.
The Top Fuels came with two different rocker links: Lower down the range alloy framed versions had an aluminum rocker, and higher carbon models featured a OCLV carbon rocker link.
This no doubt saved a few grams over the alloy version but they tended to wear around the non-drive side pivot point holes. Mine was very worn with the lower rocker bolt hole badly ovalised so I began searching for a replacement. I found an eBay seller that still had stock of the alloy version and I decided to buy one. I could have emailed Trek to see if they had any of the carbon versions still in stock, but I decided the alloy one would probably be stiffer and less prone to wear out.
In addition to all of the above, many of the rotating parts were badly worn too. I needed a new main pivot bushing and axle, and all the top-hat-style bushings needed replacing.
This was a real concern as there was no guarantee I could get hold of these parts for a 20-year-old frame.
One website called Triton Cycles had the parts listed so I dropped them a email; no reply. Then I emailed Trek UK; a wonderful lady named Sue Skeggs got back to me with a exploded diagram of my rear end (no pun intended) along with a part number list and assembly/torque specs. What a legend!
Now I was armed with exact part numbers I reached out to Triton Cycles again. They seemed my best bet as they had the parts listed on their website, but again, no reply. I tried the phone, no answer. (After googling them it seems they have a terrible reputation)
I felt a bit stuck at this point, so when I happened to find the email address for the Trek CEO I thought “what the hell” and emailed him. I was later contacted by someone from Trek UK and put back in touch with Sue who organised for the parts to be shipped to me. How lucky was that!
Last edited: