syncrosfan
Senior Retro Guru
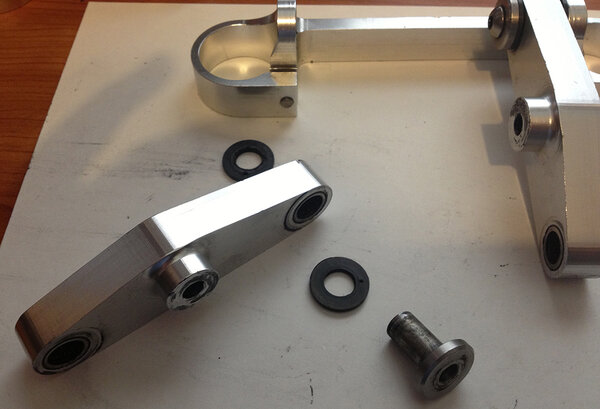
"Still, that won't cover the fact that I need to have the bb and bottle bosses tapped"
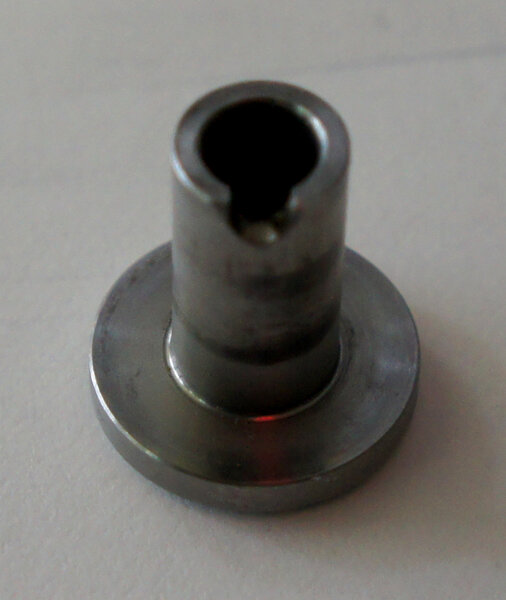
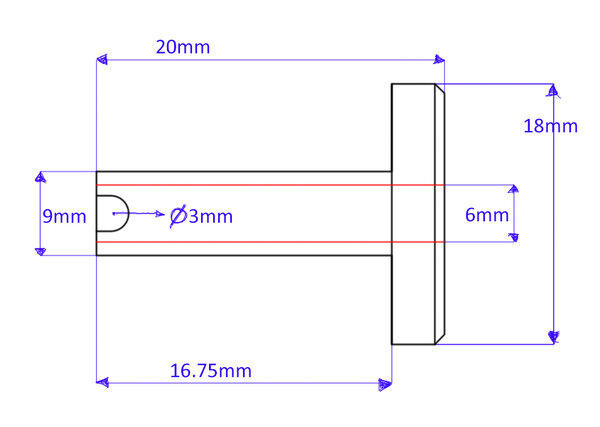
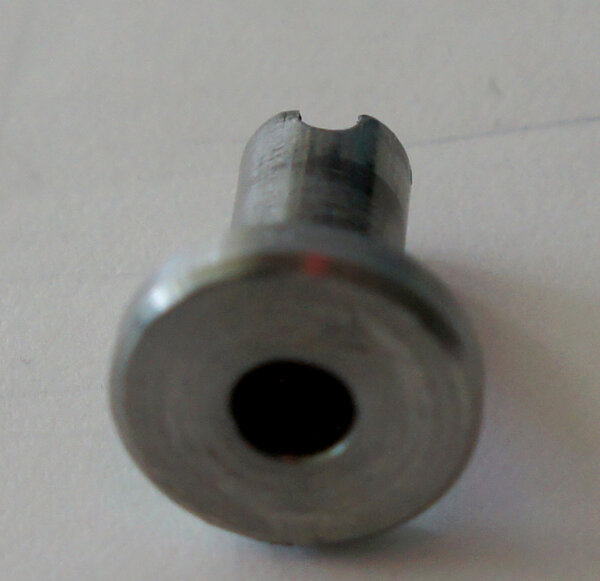
I still have to deal with the BB tapping. I got the proper cutters(not the chasing tools but proper machine cutters to do the job from scratch), now I have to make some monstrous contraption to be able to square off the frame in the milling machine at work. The bottle bosses are going to be crimped in like most frames out there (super easy to do, no tapping involved just finding the right size hardware).
You will have to deal with reaming the seat-tube out as well. There are some welding remains sticking out on the inside of the seat tube junction with the seat-stays which will require an adjustable reamer to deal with. I did it to my frame, now it takes a 31.8 seat-post (was a pain to find a black syncros seat-post in that size).
I checked on the roundness of the head-tube as well and there is definitely some ovalisation from welding... the problem is: A. there is no reamer in that size, B. to do the job requires an adjustable boring bar setup and a lot of work getting the frame squared off on the mill, and then the headset cups won't really fit anymore because you remove material. I did that to the raw aluminum frame I have, but the headset cups are now too small, so I'm thinking about just pressing in the headset cups I have in the painted frame and hope that the fit will be good enough with the over-sized bearings having less alignment issues (maybe some green loctite to bridge some gaps).
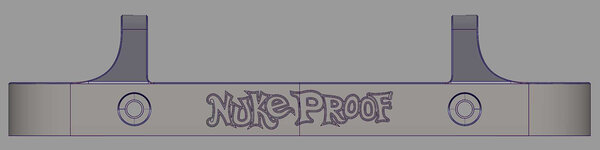
Getting an unfinished frame is a giant pain in the ass...
I still have to deal with the BB tapping. I got the proper cutters(not the chasing tools but proper machine cutters to do the job from scratch), now I have to make some monstrous contraption to be able to square off the frame in the milling machine at work. The bottle bosses are going to be crimped in like most frames out there (super easy to do, no tapping involved just finding the right size hardware).
You will have to deal with reaming the seat-tube out as well. There are some welding remains sticking out on the inside of the seat tube junction with the seat-stays which will require an adjustable reamer to deal with. I did it to my frame, now it takes a 31.8 seat-post (was a pain to find a black syncros seat-post in that size).
I checked on the roundness of the head-tube as well and there is definitely some ovalisation from welding... the problem is: A. there is no reamer in that size, B. to do the job requires an adjustable boring bar setup and a lot of work getting the frame squared off on the mill, and then the headset cups won't really fit anymore because you remove material. I did that to the raw aluminum frame I have, but the headset cups are now too small, so I'm thinking about just pressing in the headset cups I have in the painted frame and hope that the fit will be good enough with the over-sized bearings having less alignment issues (maybe some green loctite to bridge some gaps).
Getting an unfinished frame is a giant pain in the ass...