Saracen Race Elite - Complete!

Gonna do some work!

OK So I'm actually gonna do some work tonight

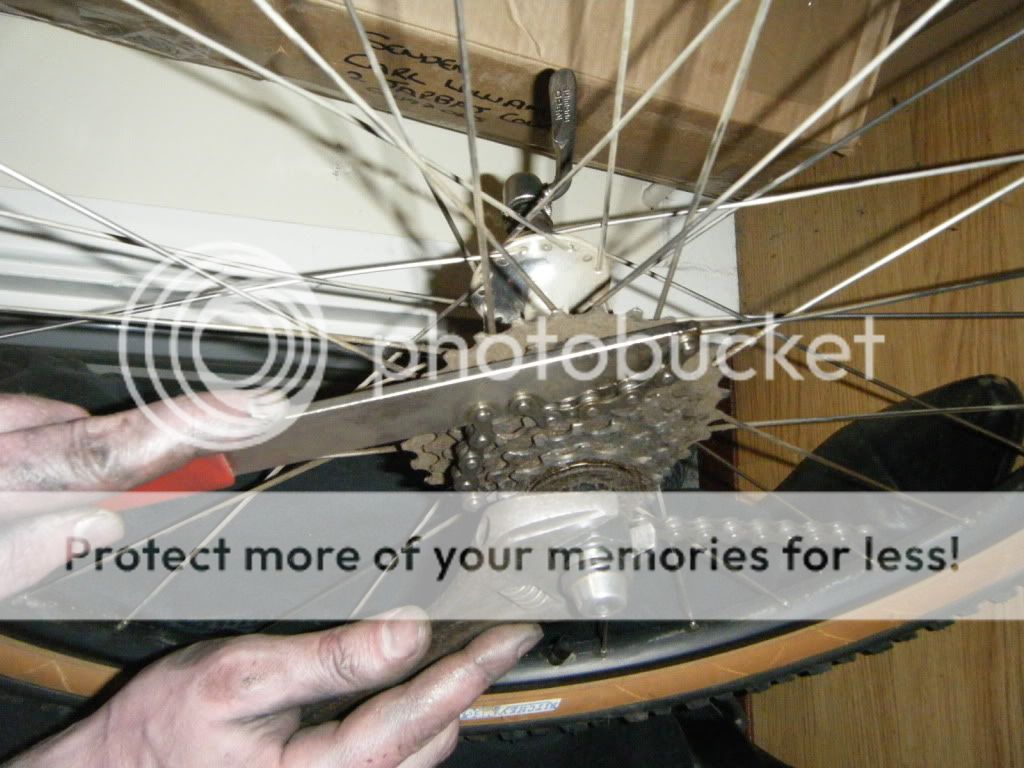
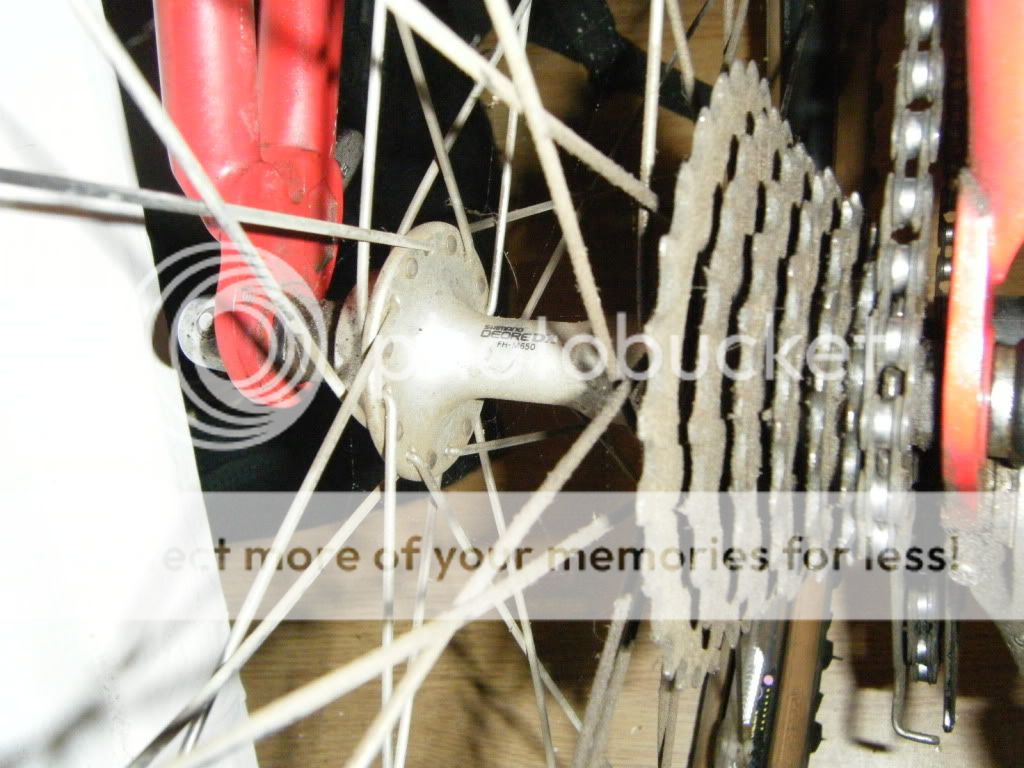
Back wheel has a gentle wander to it, so will true that out and clean stuff!
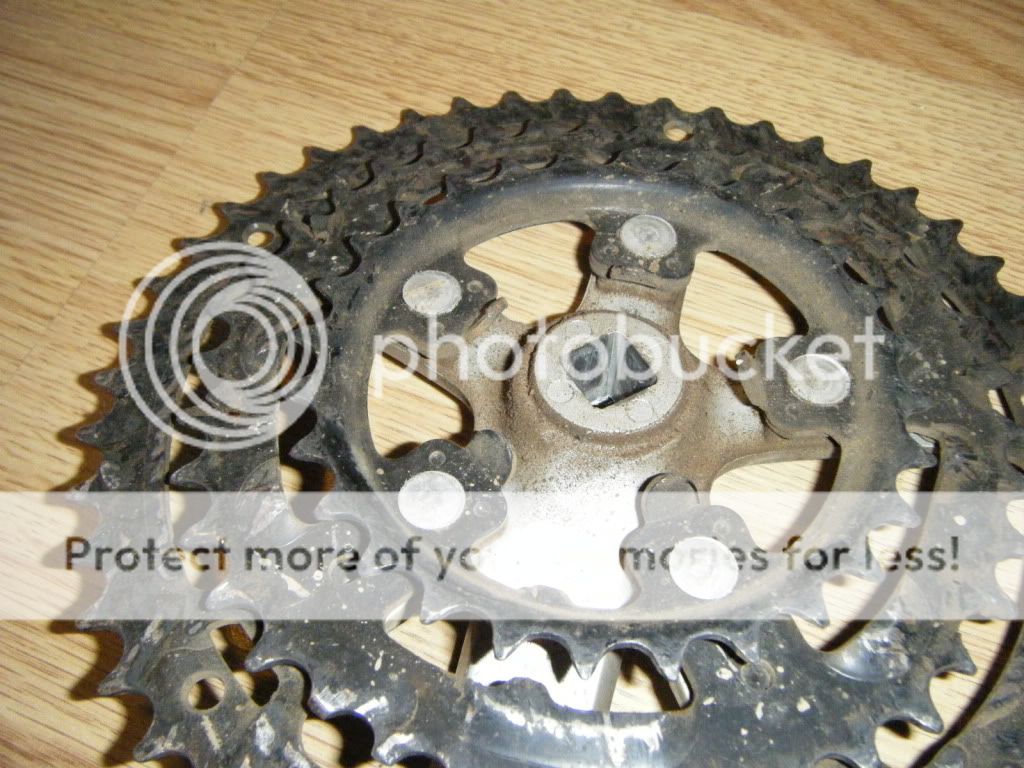
Yucko:

dscf2417.jpg


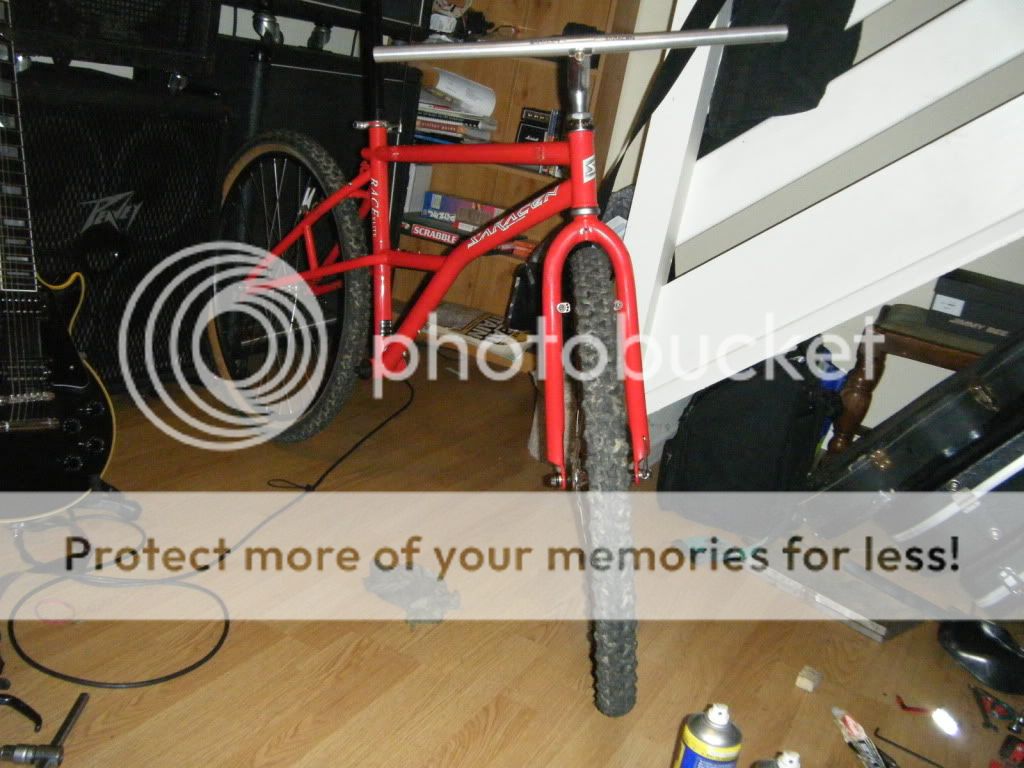
Get rid of bar ends and sort out a taller seat post, I'm nearly six foot and this is a very compact frame

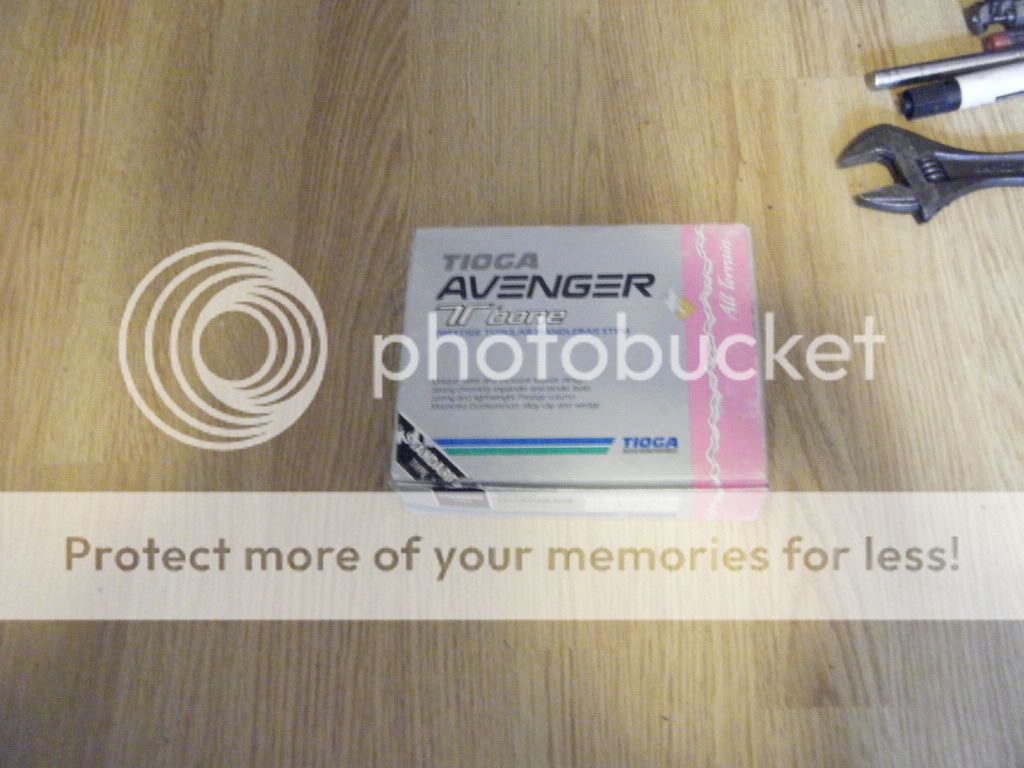
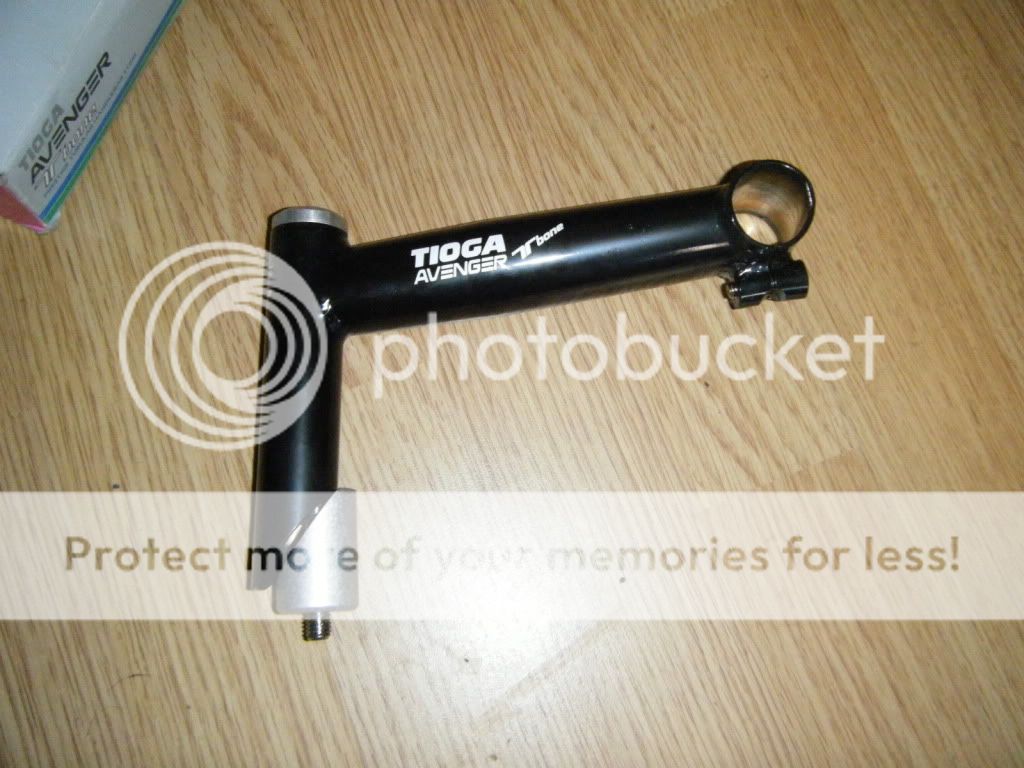
The seat tube is very upright, resulting in a short top tube, so I've posted a 'want' for a long reach quill stem which will fit - I'll put the saddle on pretty close to the limit of rear-ward adjustment

That's my geometry taken care of - with a potential bonus:

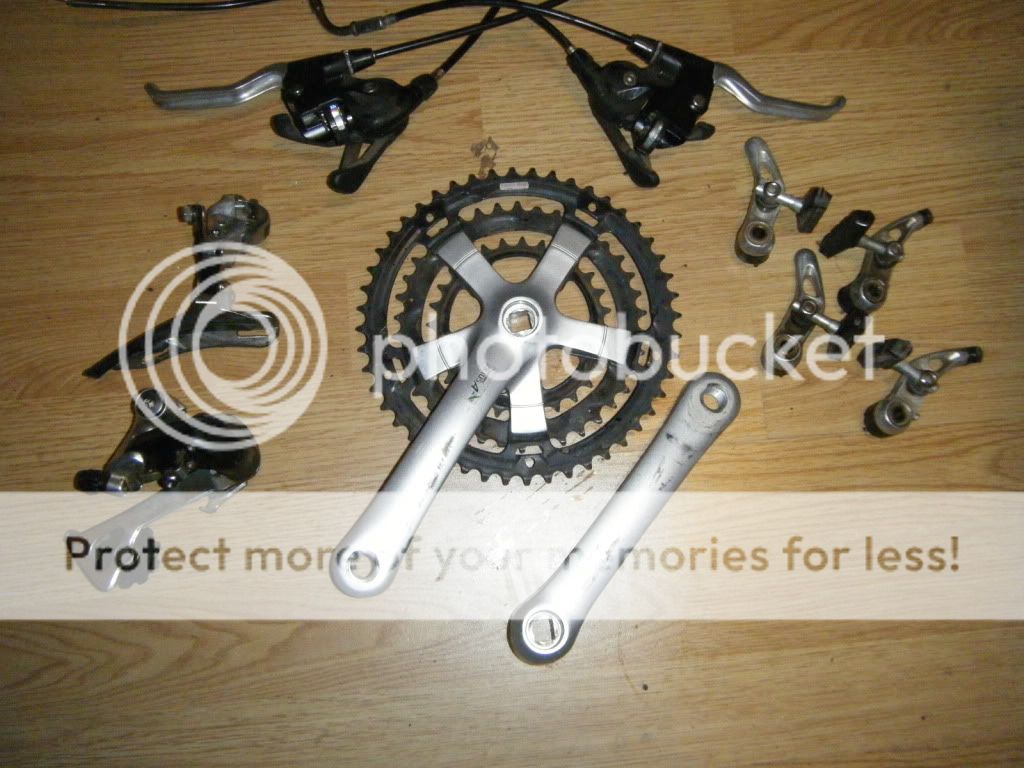
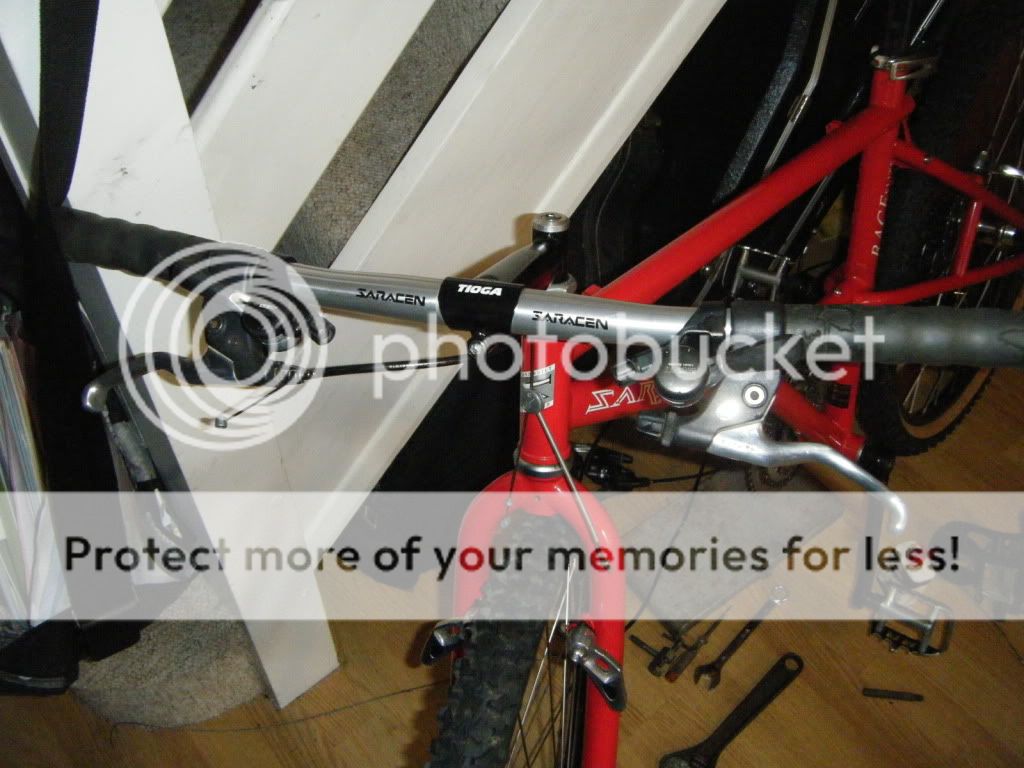
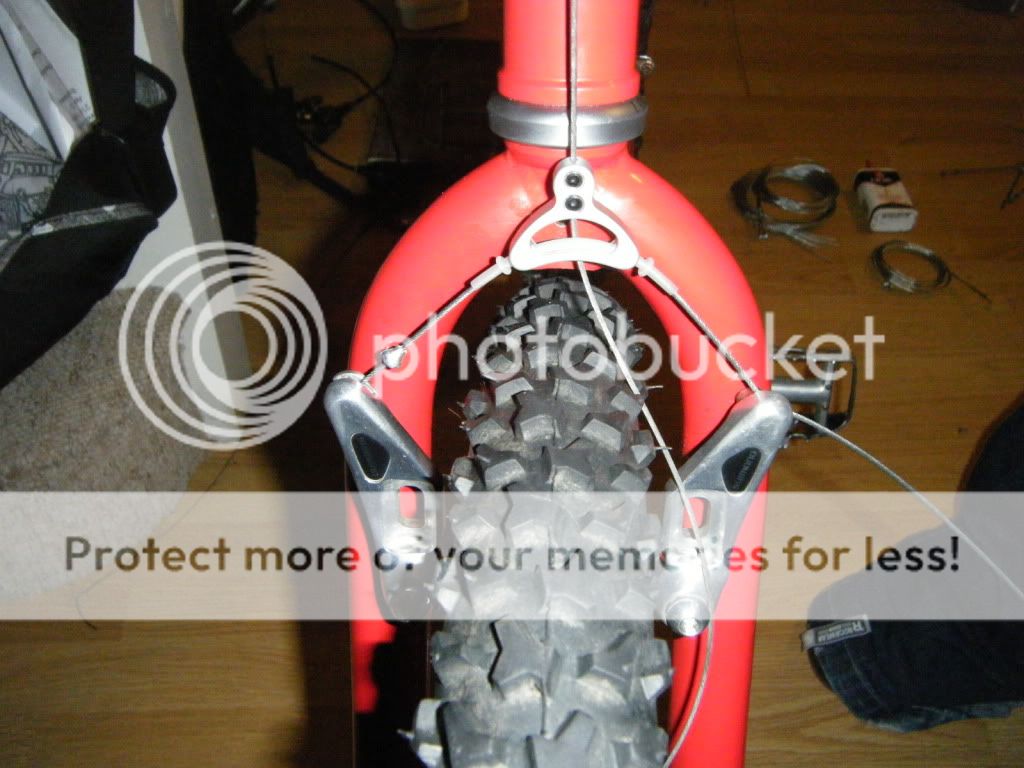
I'm really not keen on this setup at the front - Hoping a relacement stem will have a cable route or even a pulley!
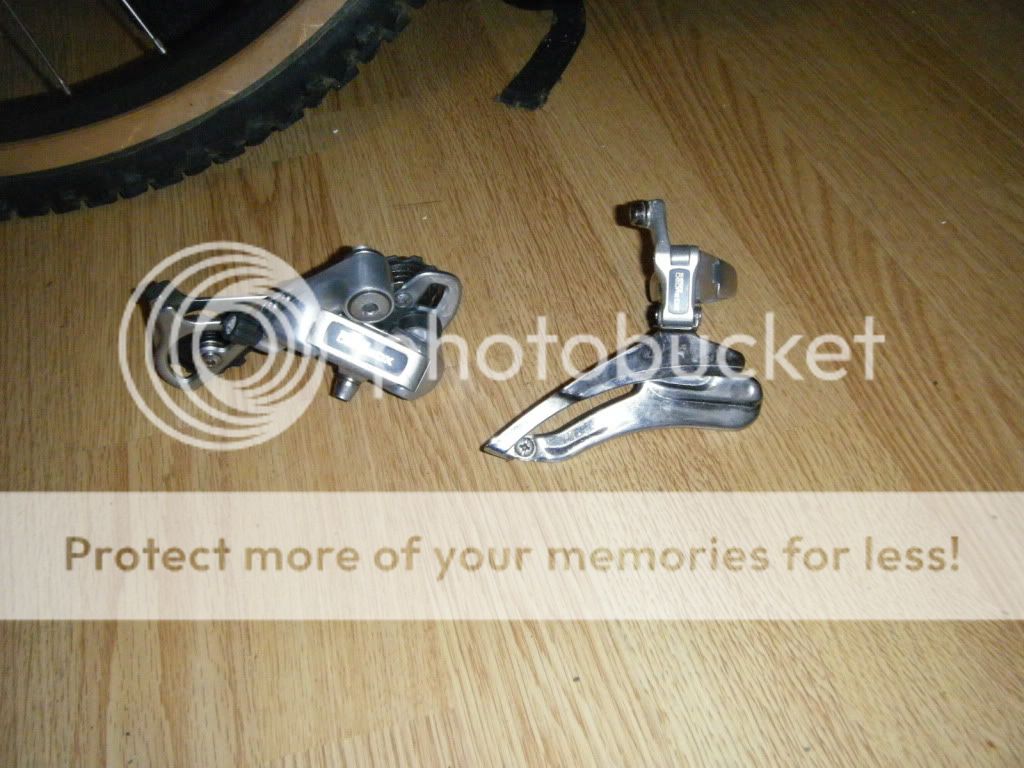
dscf2411.jpg


Mechs are decided

dscf2415.jpg


But now I have questions...

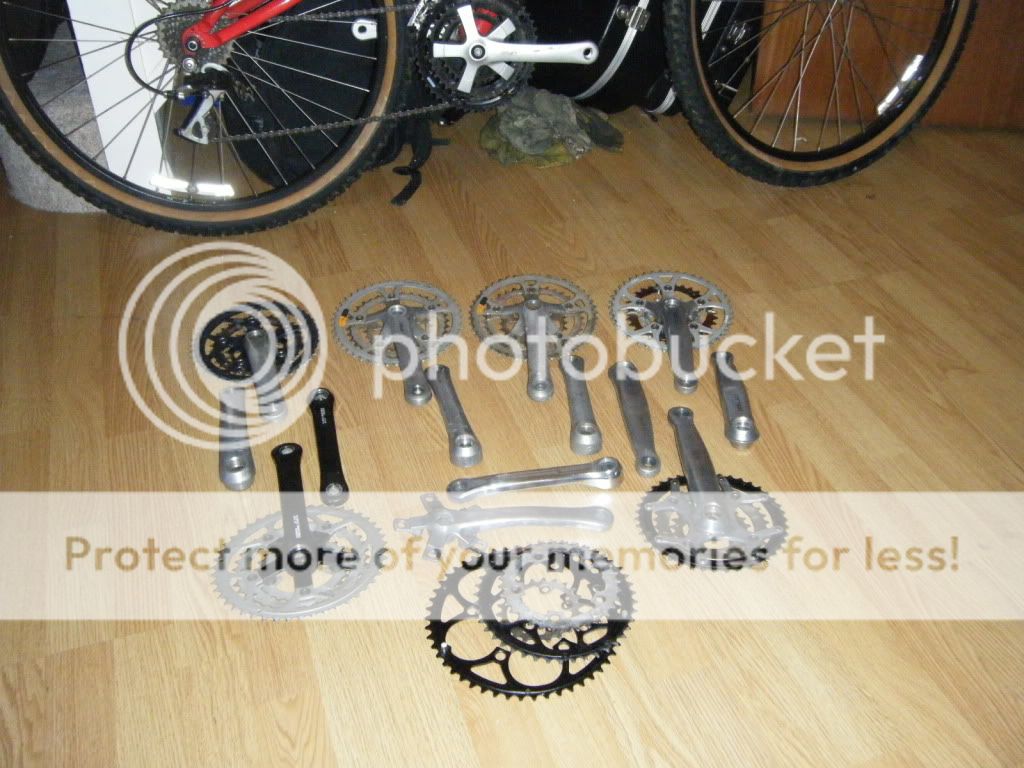
Which of these chainsets?

dscf2414.jpg


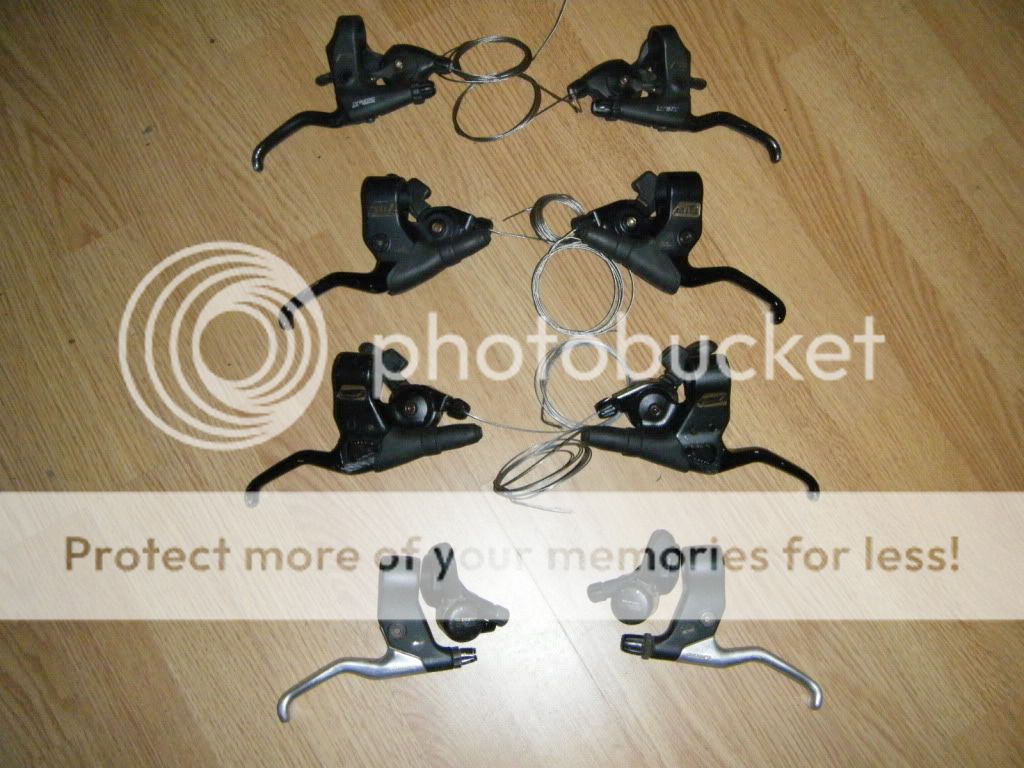
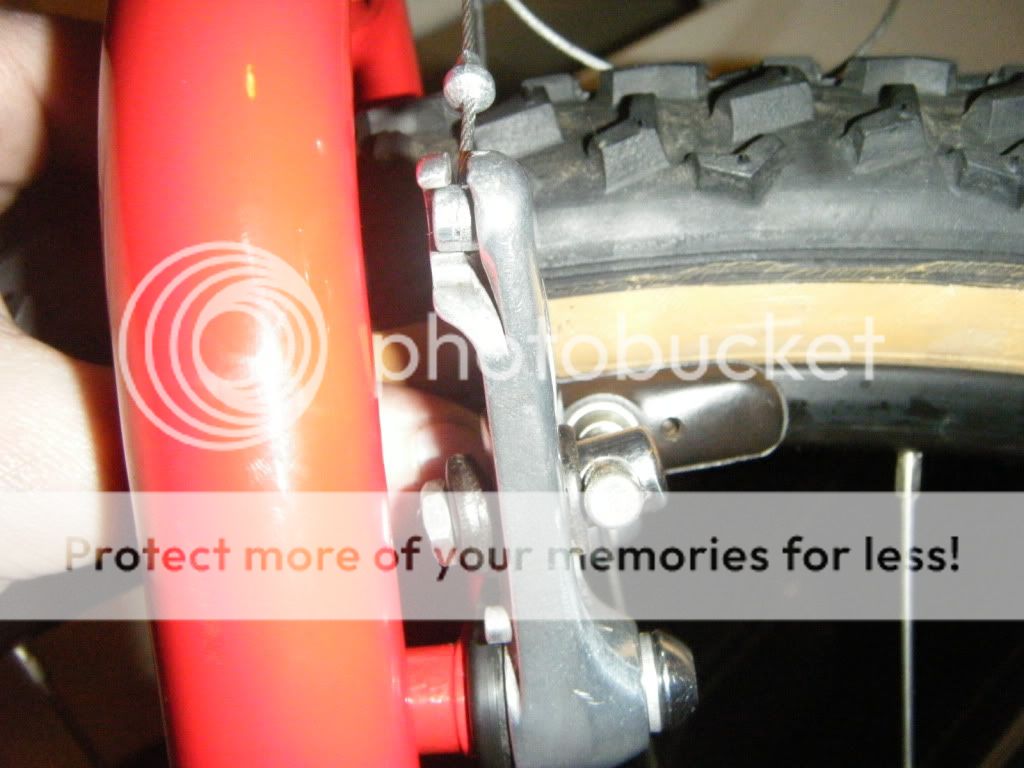
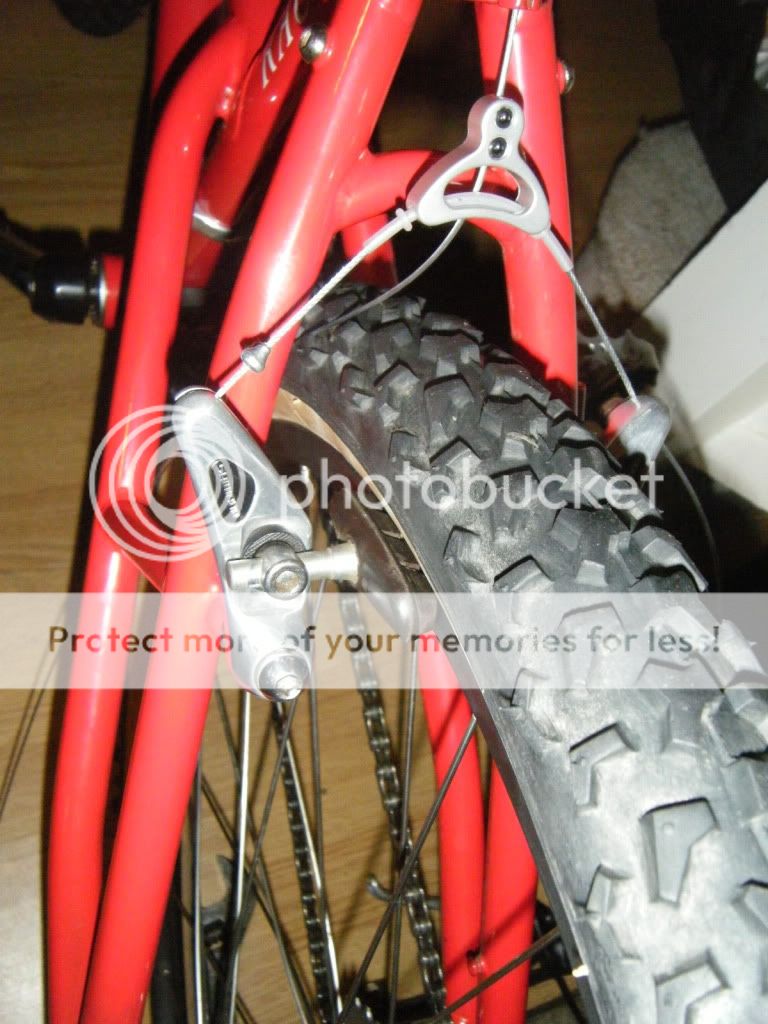
And which of these brakes? Black LX, older XT in silver or mid nineties XT vees?

dscf2416.jpg


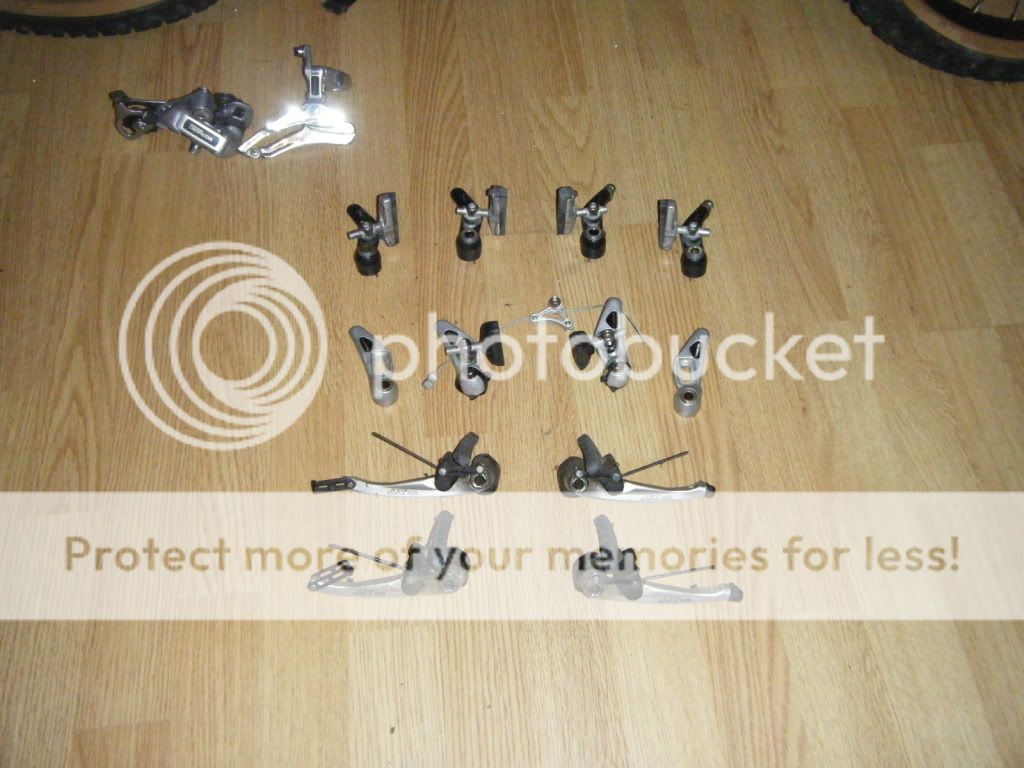
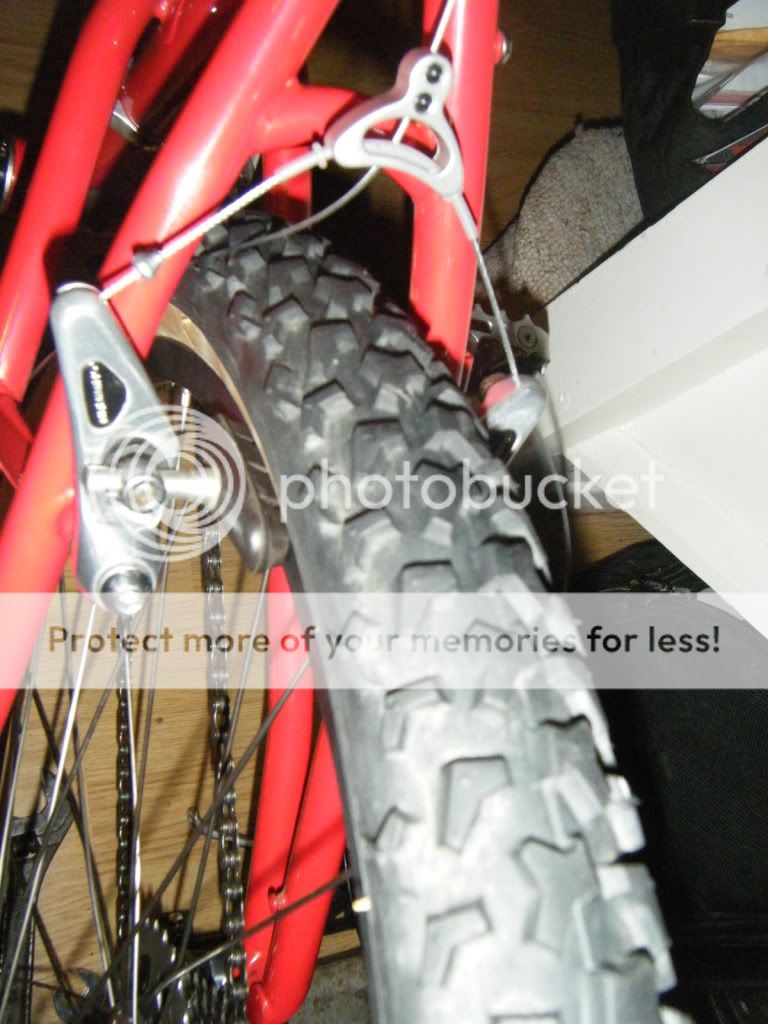
I'm leaning toward the black LX chainset and black LX cantis, but could be swayed for all silver chainset and the silver XT cantis... maybe the vees would look cool, no hangers needed could look very clean

Oh god someone help me! I'm gonna go and take bits off that's easy!
 
I think the silver would go well with the mechs. V-brakes would just be wrong imo
 
Agreed, the XT cantis and Deore crankset would look great.

By the way is that black crankset LX M560...?

EDIT: Just had a look back a the rest of the thread. It is M560.
 
Cheers guys

OK cool silver XT cantis, black LX chainset and silver rings...

Yeah that would look cool

Black chainset is M560

Another happy coincidence is it has the same offset as the current chainset so I won't need to swap the BB...
 
Agreed on the LX. Not v's.

Keep up the good work. Must book mine in for its powdercoat soon.
 
legrandefromage":1m8hrwi6 said:
my one of these was full DX/LX mix with thumbies and low pro cantis.


I demand satisfaction!

Thumbies eh? I have XT ones, I was thinking XT STI

hmm I thought I had that decided! Still plenty to do before I get to that new dilemma

dscf2423.jpg


Are my options...

BTW, LGF I borrowed this cassette removal tool strategy from your BB removal 'howto' thread:

dscf2422.jpg


Use the hole in the tool to hold it on with *something* = No more slippage!

Now looking for a suitable bolt to screw into BB axles for a similar trick - Cheers!
 
Progress!

Here's the bike relieved of most of the stuff I don't intend to use

dscf2424.jpg


Having all the Altus off was a very good chance to inspect it all closely

Here it all is:

dscf2426.jpg


I note that the brakes and shifters are very good, not heavy, well constructed and feel very solid and positive in operation

The economy on the STI units is a steel compression band to secure them to the bar, but this is thin and consequently, light

The cantis are exactly the same casting pattern as LX! But they don't benefit from the same sealed spring housing they also have heavier cable clamp bolts, which could be replaced

Surprisingly good thus far, these parts are very good

But then it all goes horribly wrong

The front mech has a steel band to attach to the frame, which is pressed to resemble the alloy bands on higher mechs as a consequence of this you have two very thin small surfaces contacting the frame to hold the mech on - bad times, multiple bad effects

The rear mech is even worse, the usual steel parallelogram and steel cage both sides are encountered leading to a weighty bit of kit, but the worst is yet to come! The knuckle which connects the front of the parallelogram to the cage pivot is PLASTIC 100%!

The final item is a real shame, the left hand crank arm is alloy, feels and looks pretty good

This is good and surprising cos the chainset has a decidedly 200GS look about it so something ain't right... What's it hiding?

Grabbing the chainset you are immediately struck by its weight (and glad you haven't been struck by it), this because despite an alloy arm and alloy spider Shimano have gone for all steel rings

Sadly there is zero prospect of upgrading these rings as they are all pressed so they can share common mounting points

Then the worst thing ever is discovered - At these mounting points bolts aren't used. The aluminium of the spider is melted over these points to secure the rings

I felt almost ill at the sacrafice of engineering good practice to the evil of economy

Harder to explain than I thought so here's a pic:

dscf2435.jpg


I thought I'd have a little fun so I got a 200GS chainset out of the comedy parts bin and weighed the two Altus is only 50 grams lighter that 200GS jeez

Anyway in other news the postie brought this:

dscf2430.jpg


Which contained this:

dscf2431.jpg


Which replaced this:

dscf2432.jpg


And looks like this:

dscf2433.jpg


So I'm pretty happy with that!
 
D'oh

So as you may have spotted after all that pfaffing about with STIs I didn't even use them

Gotta blame LGF!

Dug in the parts bin and got out some XT thumbies and XT levers again!

So that's quiet a bit of decision making power gained from RB

1) Controls
2) Chainset
3) Cantis

The bike is complete and ready for pics tomorrow!

But I thought I'd do a post about canti setup. I remember from somewhere on here some guys think they don't do the job so well

Here's how I set them up:

Step 1, get you brakes all cabled and equalised using the little allen screw in the side of the RH canti (don't have the pads on):

dscf2441.jpg


dscf2440.jpg


At this point you could trim and cap your cables, but I prefer to wait...

Dial up about 1 -2 mm of adjustment at your levers (depending on how close you like you brakes to the rim/how staight your rims are):

dscf2453.jpg


The reason (as I suspect you guessed), is we are setting the brakes up in the ON position the shoes need to be hitting the rim bang in the centre of the brake track, completely square on

If we do anything else we are guessing, on with the task

We can now fit the first pad:

dscf2461.jpg


Note how we concentrate on getting the training side of the pad to contact, you may need three or four hands to get the mounting hardware to behave and sit nice and square also be sure not to over or under tighten the mounting bolt and nut

Too little and the pad will move, too much and well munch the canti arm

moderate pressure on a 10mm spanner will see the job right

Once we've done the pair, we wind off our adjustment and voila! Perfectly setup cantis in no time flat!:

dscf2460.jpg


Off:

dscf2443.jpg


On:

dscf2446.jpg


Then I test everything by applying the brakes really really really hard, which is why I wait to cut and cap

Sometimes summink slips!

Build is all done!... Pics coming soon!
 

Latest posts

Back
Top