VCBB_Falcon
Retro Newbie
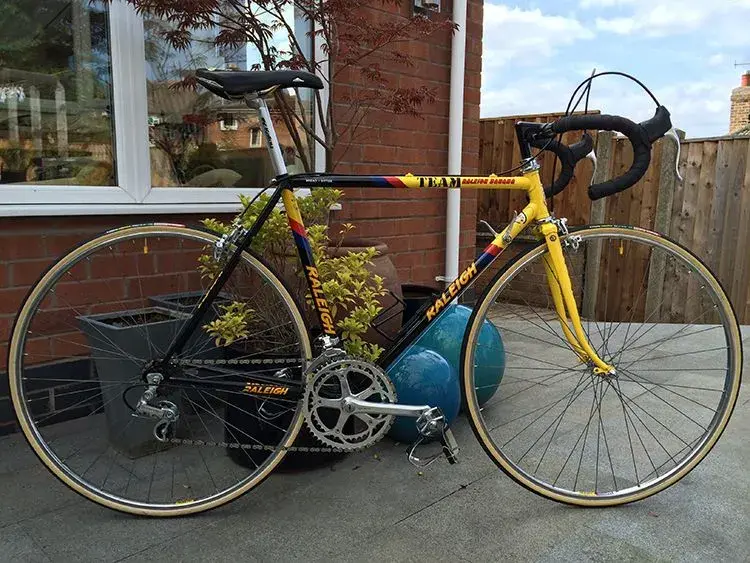
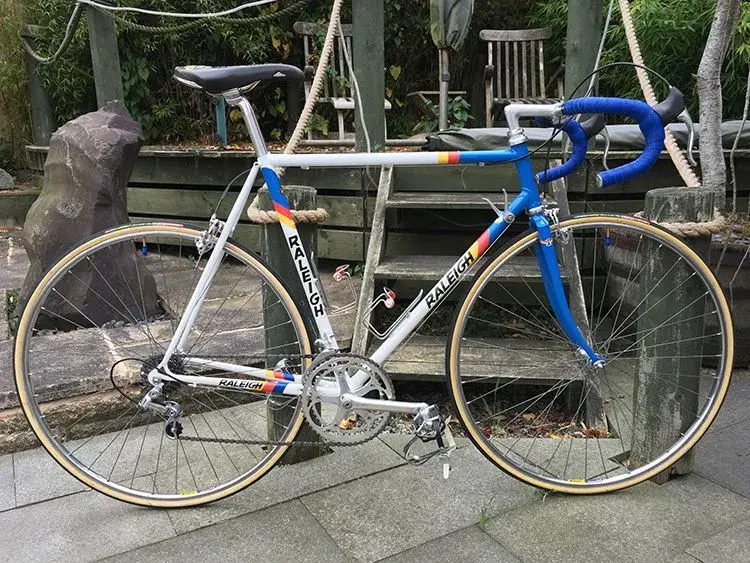
I've just finished building my Raleigh Team Panasonic using as many components from my Raleigh Team Banana as possible.
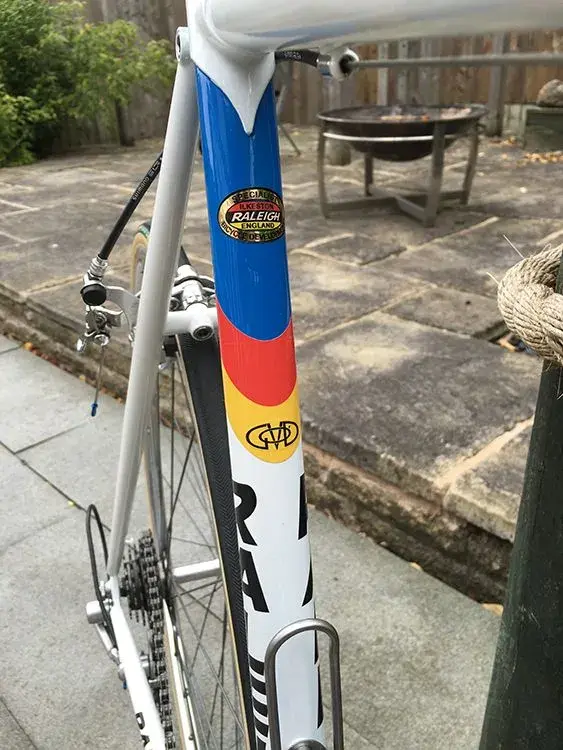
I rode the 2015 Retro Ronde in Flanders on the Banana but it became apparent that the frame was a little too small for me. I found a beautifully restored 1984 Raleigh Specialist Bicycle Developments Unit (Ilkeston) frame that would fix the problem.
The Banana already had a lovely Shimano Golden Arrow groupset, Mavic Monthlery tubular wheels & San Marco saddle.
The build took around three weeks including the time needed to find the few parts that wouldn't go across from the Banana, new cables, ferrules, tape etc.
Here's a trip through the re-build starting with the Banana...
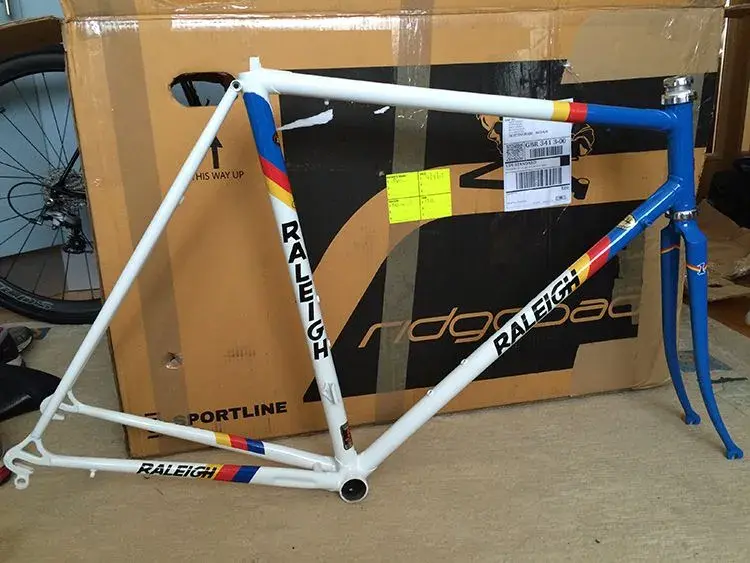
Here's the Panasonic frame just after it arrived:
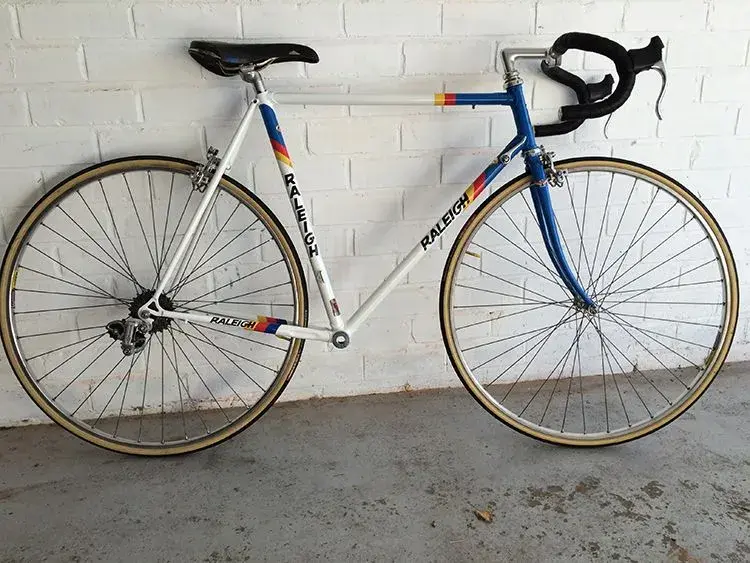
First job was to strip the Banana & get the Panasonic on its wheels. Bars were also installed along with the rear mech. The seat is on here but the seat post didn't fit. A new braze-on front mech was also needed to replace the clamp-on:
Next up fitting the bottom bracket, cranks & new front mech:
Then the (obligatory) blue bar tape:
And the cables & new KMC chain. I had a little trouble getting the cable ferrules to fit but a little gentle persuasion was worth it (very nearly there):
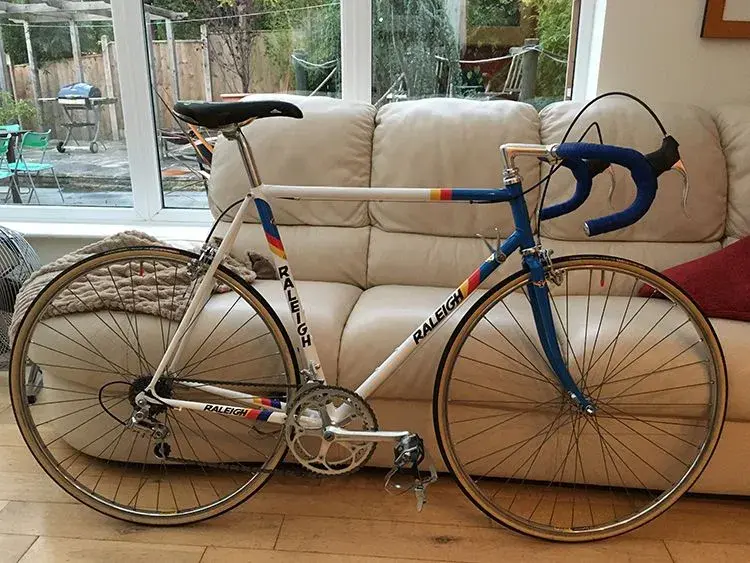
The last pieces in the jigsaw were the bolt for the seat post, rear wheel alignment adjusters, Elite Ciussi bottle cages & blue valve caps. And (drum roll...) here's the finished bike:
One detail I'm very pleased with are the rear wheel alignment adjusters, these were sourced after I had help from a couple of RetroBike members, I didn't actually know what they were called. Very happy that I found these, a lovely bit of detail on a stunning frame:
The bike has now been test ridden & it's lovely. Fits like a glove & corners superbly!
I rode the 2015 Retro Ronde in Flanders on the Banana but it became apparent that the frame was a little too small for me. I found a beautifully restored 1984 Raleigh Specialist Bicycle Developments Unit (Ilkeston) frame that would fix the problem.
The Banana already had a lovely Shimano Golden Arrow groupset, Mavic Monthlery tubular wheels & San Marco saddle.
The build took around three weeks including the time needed to find the few parts that wouldn't go across from the Banana, new cables, ferrules, tape etc.
Here's a trip through the re-build starting with the Banana...
Here's the Panasonic frame just after it arrived:
First job was to strip the Banana & get the Panasonic on its wheels. Bars were also installed along with the rear mech. The seat is on here but the seat post didn't fit. A new braze-on front mech was also needed to replace the clamp-on:
Next up fitting the bottom bracket, cranks & new front mech:
Then the (obligatory) blue bar tape:
And the cables & new KMC chain. I had a little trouble getting the cable ferrules to fit but a little gentle persuasion was worth it (very nearly there):
The last pieces in the jigsaw were the bolt for the seat post, rear wheel alignment adjusters, Elite Ciussi bottle cages & blue valve caps. And (drum roll...) here's the finished bike:
One detail I'm very pleased with are the rear wheel alignment adjusters, these were sourced after I had help from a couple of RetroBike members, I didn't actually know what they were called. Very happy that I found these, a lovely bit of detail on a stunning frame:
The bike has now been test ridden & it's lovely. Fits like a glove & corners superbly!
Attachments
-
 Banana.webp97.3 KB · Views: 1,176
 -
 Panasonic Frame.webp56.3 KB · Views: 1,177
 -
 Panasonic Wheels On.webp77.4 KB · Views: 1,173
 -
 Panasonic BB On.webp84.1 KB · Views: 1,172
 -
 Panasonic Bar Tape.webp83.2 KB · Views: 1,168
 -
 Panasonic Cables & Chain.webp84.4 KB · Views: 1,168
 -
 Panasonic Complete.webp125.8 KB · Views: 1,170
 -
 Panasonic Rear Adjusters.webp88.7 KB · Views: 1,173
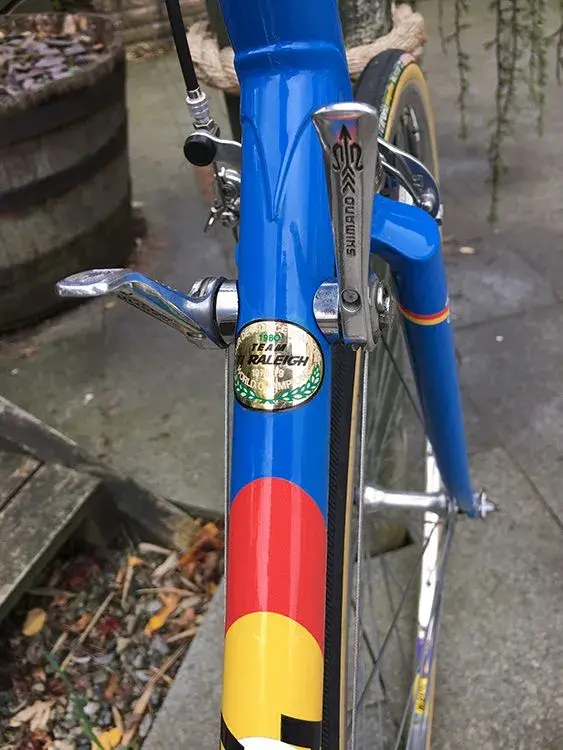
") . Just out of curiosity what's the frame number?
. Just out of curiosity what's the frame number?")