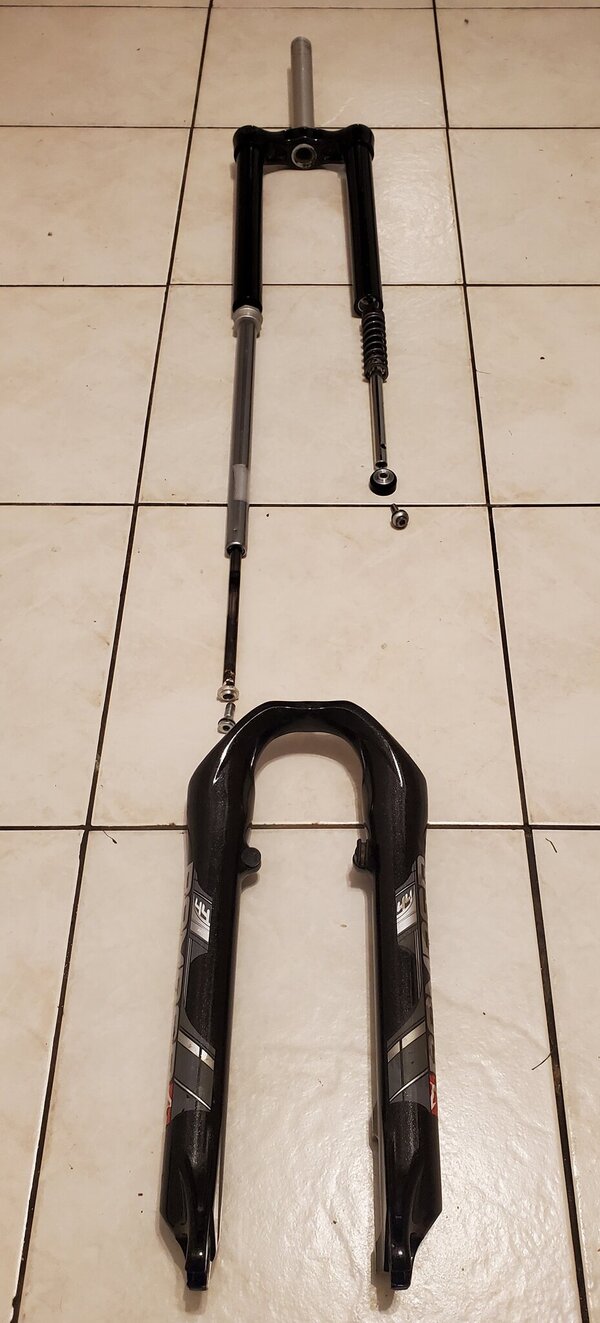
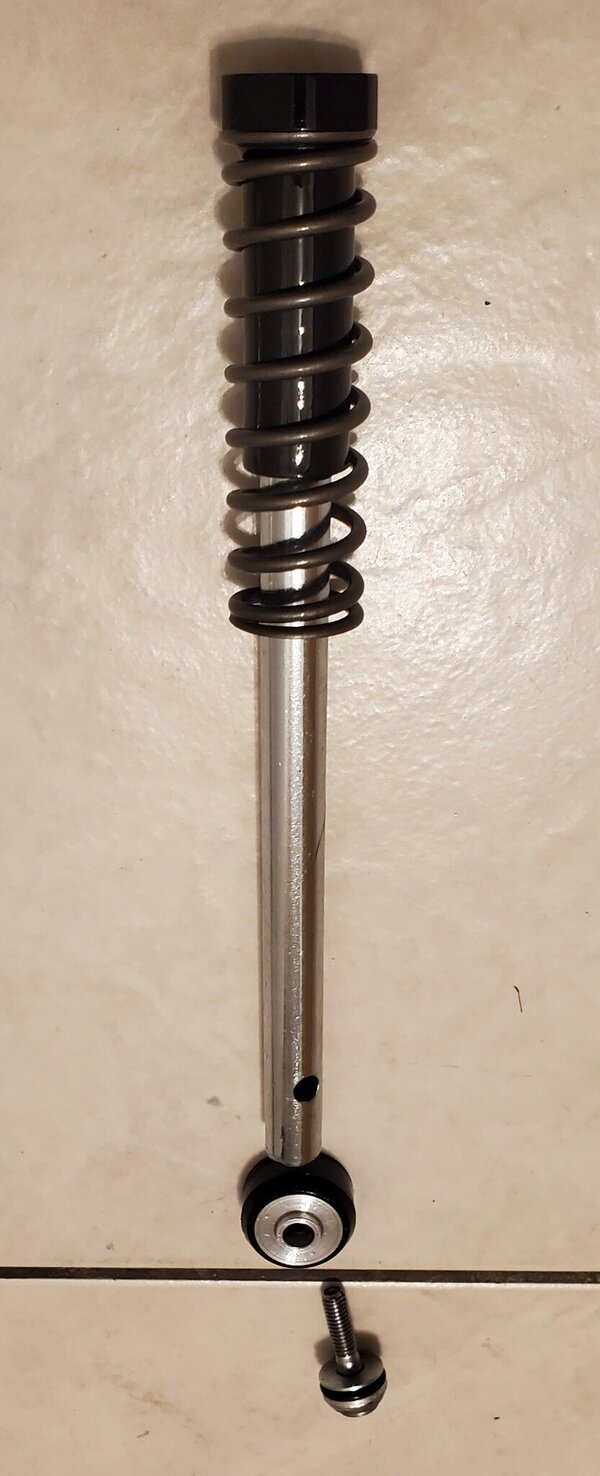
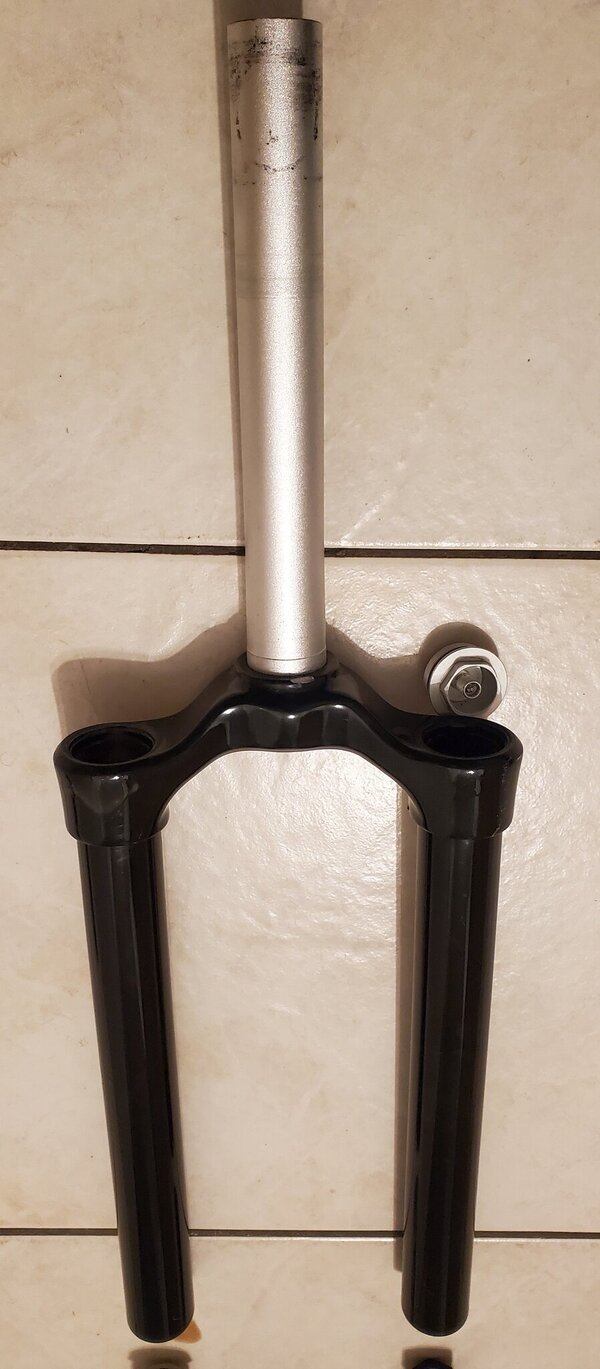
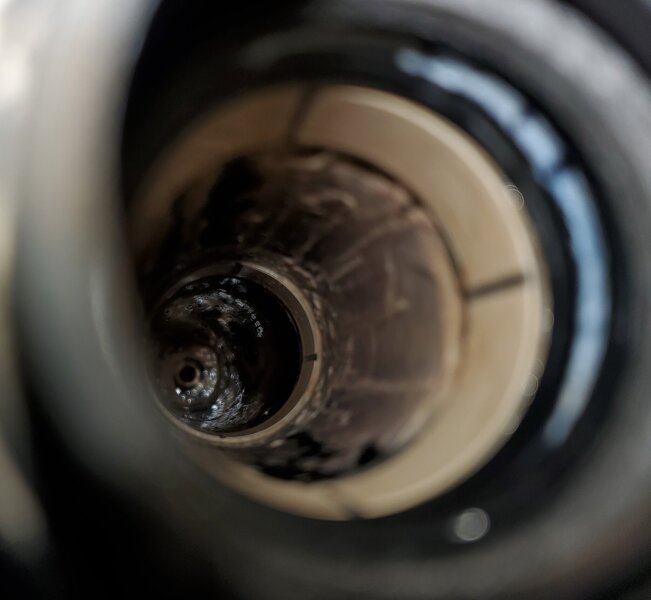
I figured there's a special tool for it, this looks quite nice yet simple. I actually got the caps to move earlier tonight, they are now lower in the stanchions and it appears once I wire-wheel the areas they vacated and lubricate everything nicely they should pop off without much fuss. Making a tool is definitely on the table now that I know what it looks like though, thanks for that!
 ⛑⛑
⛑⛑