Ajoten
Old School Hero
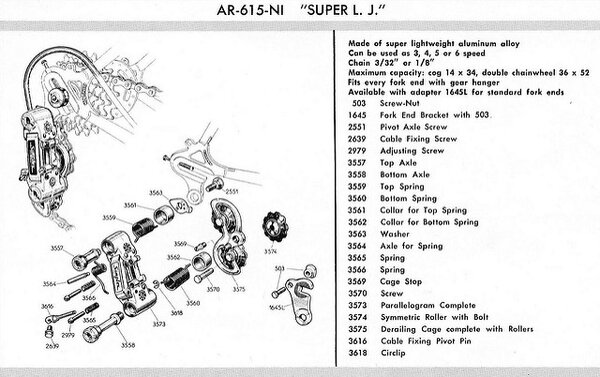
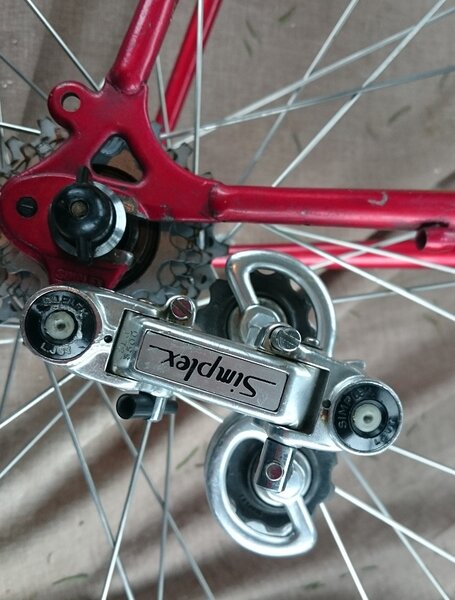
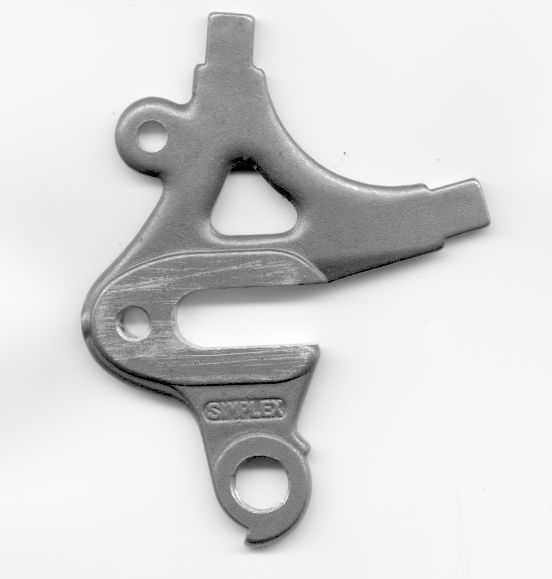
hamster":23s3cyfi said:Well for a start it's mis-assembled: the front parallelogram plate is upside down.
Hmm - I thought it was just that someone had put the sticker on upside down.
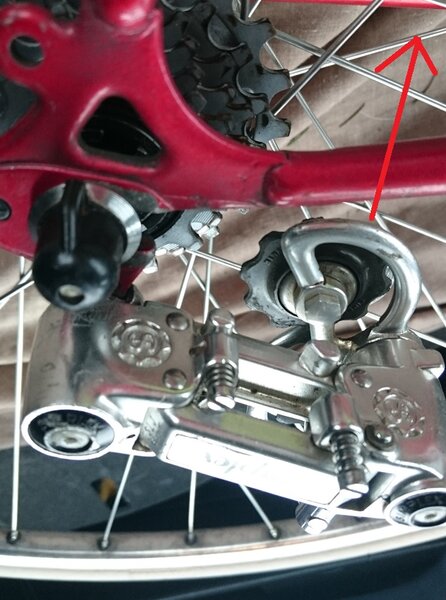
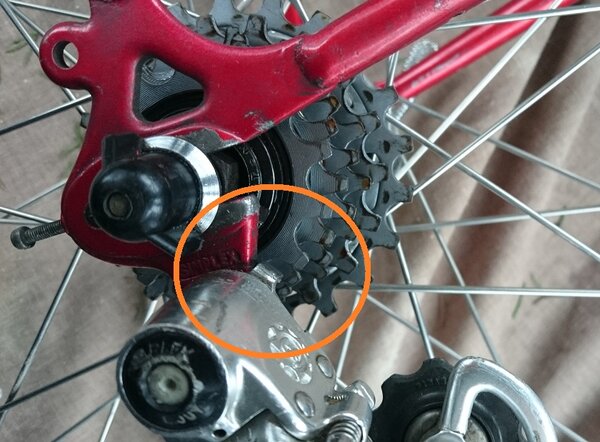
Looking at some diagrams online I see that there are two holes where the end of the top spring can go in the pivot bolt... I don't know if it's on the wrong one and if that would make a difference.