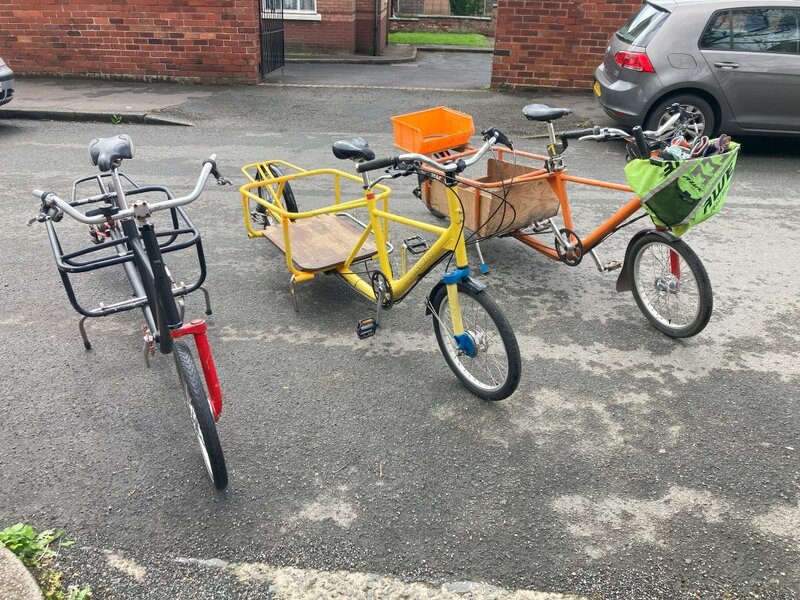
View attachment 841203
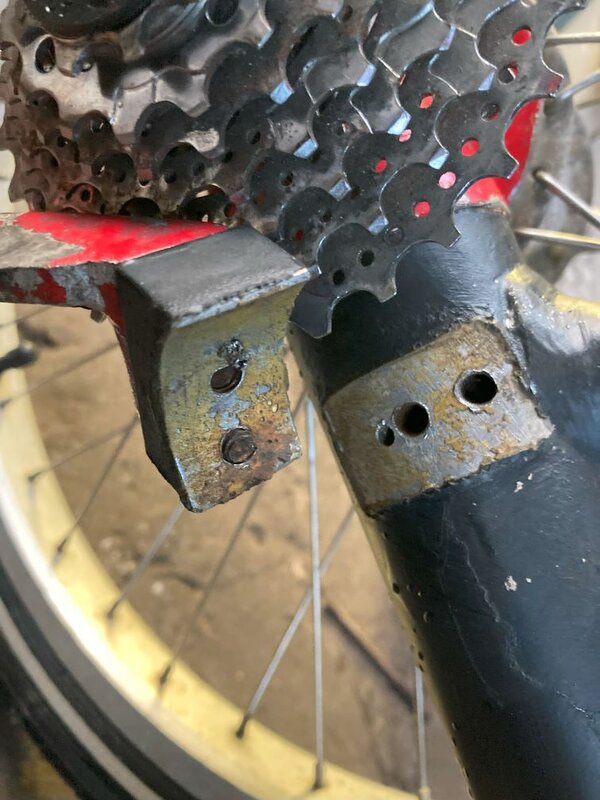
and so to the front wheel brakes. Joe had removed the old sachs type ones and bought two pairs of sturmey archer 70mm replacements. the brands have slightly different fittings, so some fettling was required. in the picture above the cam has been removed. and on the right you can see the pin. it has a hole in the end of it bored out and tapped for a screw. the sachs fitting uses an E clip, the sturmey archer uses a star clip and neither are appropriate here because of the screw.
View attachment 841207
View attachment 841208
The length of the cam pin are slightly different, so I had to do some grinding to make the hub boss thinner. Because it is ally when the cam lever is bolted on and you give it a little twist it polishes up the freshly ground surface so it is easy to see where to take more off.
View attachment 841209
the old pads have a wider bearing surface on the cam, so you have to replace the cam and the pads together if you are moving from one type to another.The old ones were in a bad way.
View attachment 841211
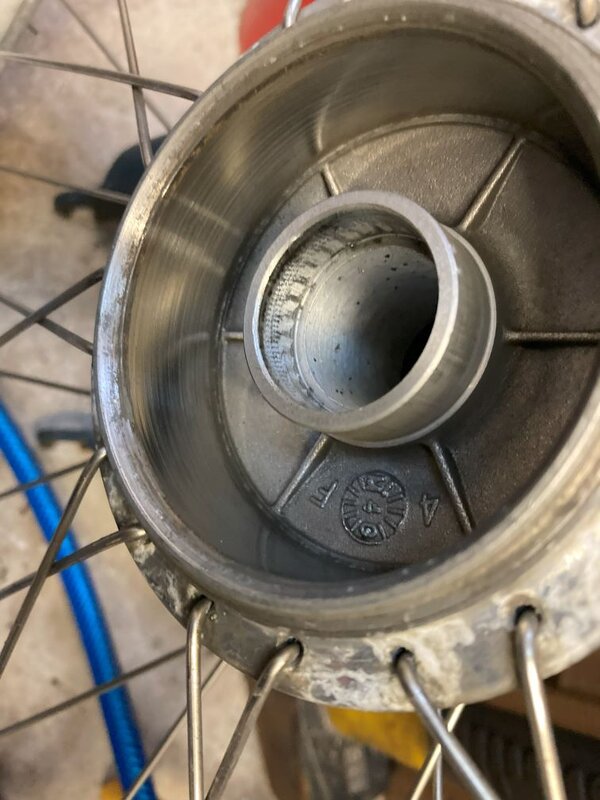
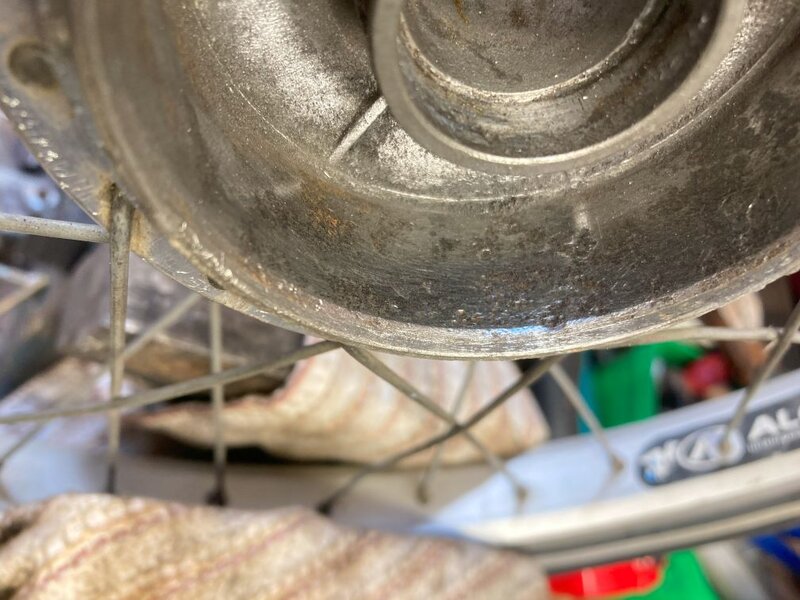
similar to the back drum , the front had been in a bath of wet snot for an eternity and had become badly pitted. so I wire wheeled it and it is as good as it is going to get. Of course the 70mm sturmey archer pads are bigger than the sachs pads so I had to file off about 1mm all round to get the drum to fit.
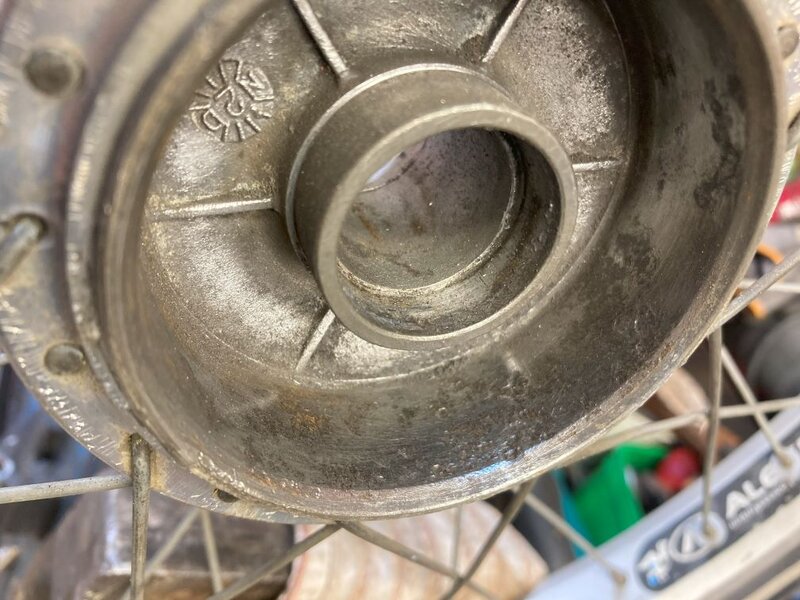
On my other bikes the axle shaft is loose and fits into the wheel on a machined hexagonal section of the axle. This one is bonded in.
View attachment 841212
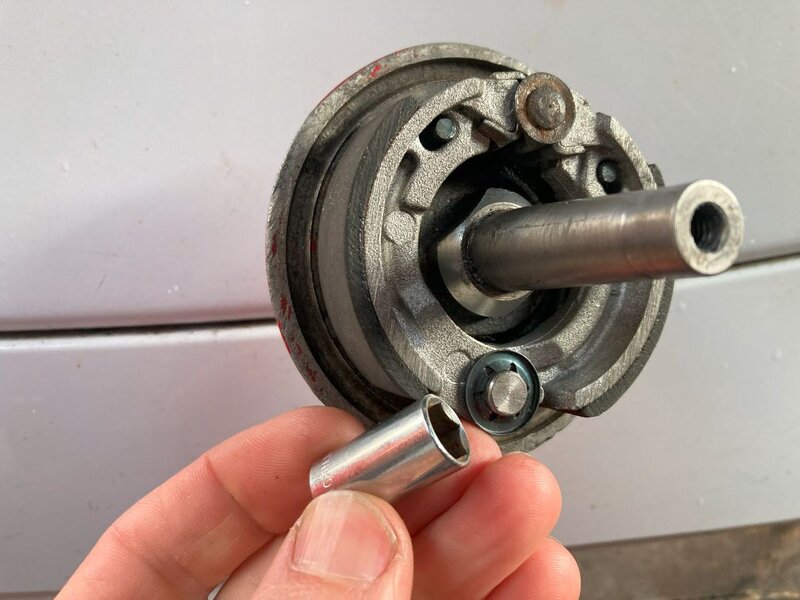
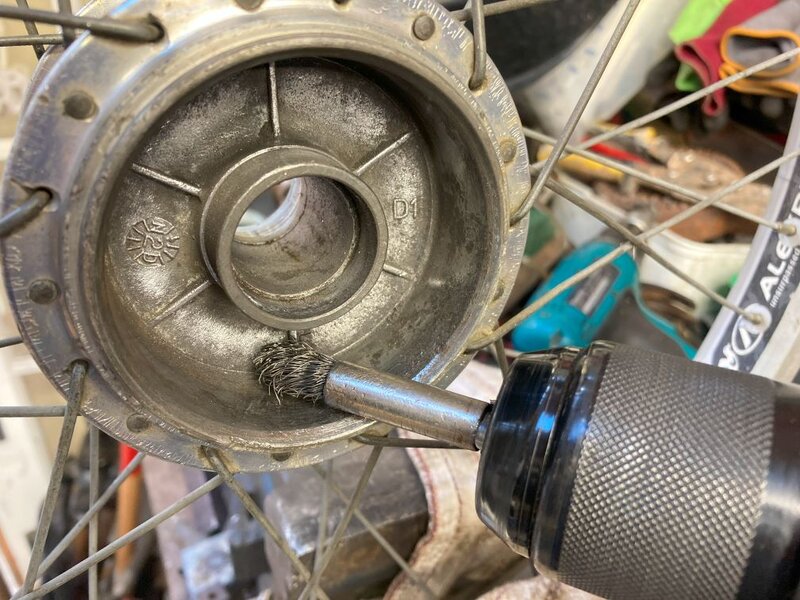
You can see the hex shape and the glue on top. the photo is after some wire brushing. A screw and washer would usually hold it together. as it is it is probably unnecessary, but I put it back in anyway.
View attachment 841213
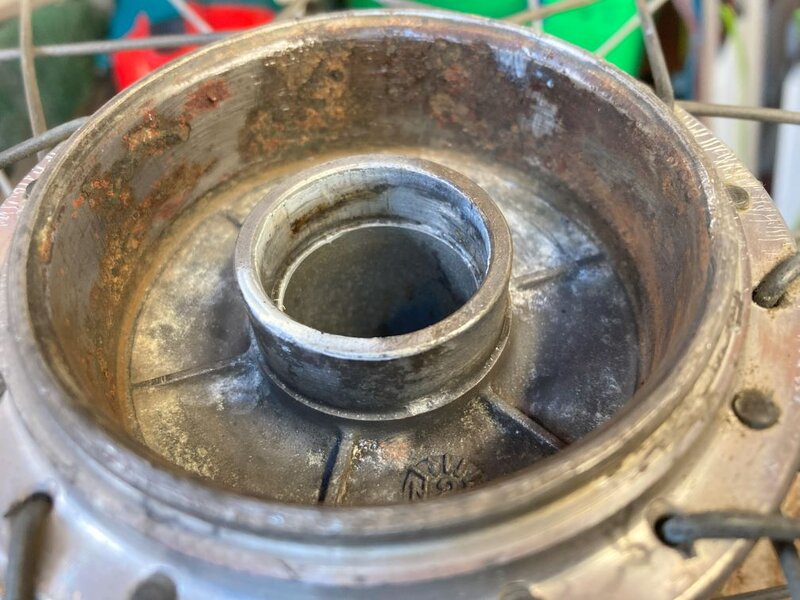
So onto the shaft within the drum you have a spacer ring, then a bearing, then the brown muligatawny soup coloured spacer, hten another bearing, (not shown) then a burrows special bit of chopped up cartridge freewheel spindle, then the cartridge, then a washer and screw to complete the ensemble.
The bearings are new, as are the brake pads, so now a bodge is in order....
the handlebars are about 3m, as the cable routes, from the rear brake, so a long cable is required, but only a regular rear cable sheath. there is a stop pop riveted to the main tube somewhere behind the BB. I have ordered some long cables but these things take time so I married up two shorter cables using bits of electrical strip connectors.
View attachment 841216
View attachment 841218
so that got both brakes working and I bodged the chain on as a single speed for now and took it around the block. It rides fine and handles as it should. The turning circle is enormous as it usually is, but it rolls and is now rolling well. I am waiting on a gear cable and I have to figure out the making of a jockey wheel to go halfway along the chain.
I have had a bit of a look at it. on the other bikes the diameter of the jockey wheel is about 1.5 inches. for the chain to clear the front bar of the load basket. the jockey wheels are made out of one piece of plastic, so I might just cut one on my lathe. This bike has two mounting points for this jockey wheel. why 2 is anyone's guess. one about 5" back from the front bar, that joe showed previously had been rubbed. and another about 7" back. on the other bikes it is about 3.5 inches back.
cheers for now.
 , kindly accepted, so it's gone!