yakboy
Manitou Fan
Re:
It's Friday!! Hooray, able to have a post work play in the garage..anyway..
Brakes:
My Lotus came with front and rear Magura's. The British Eagle Lotus used the Magura's on the rear but XTR Cantis on the front. Not going to replicate that. The fork I have chosen will accomadate 4 bolt magura mounts (at the rear if that doesn't give the game away ). Anyway the current Magura's are silver which doesn't give much of a contrast, so want to go with black, then I saw these baby's

Magura HS33 Olympia Edition. Released in 2004 to mark the passing of the MK1 HS33's. I got really excited until I realised that they are as rare as the Lotus and I don't want to search for 7 years for them :roll:
You can buy a boxed set with the certificate, commemorative watch, gold braces etc from Germany for 280 Euros's, but....
1. Way out of my price range
2. Too nice to use
3. I only need the levers and the slaves
So I decided to do it myself..
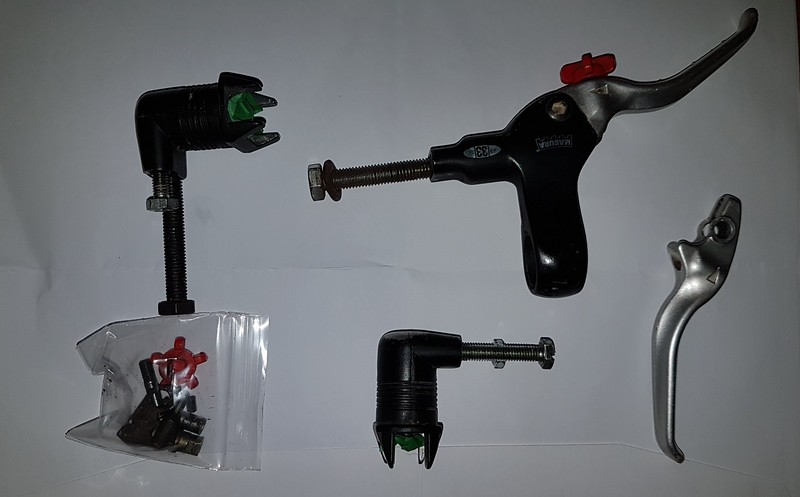
Bought a black set from eBay so I don't have to strip to bare metal. Will strip the levers to have them nitrided and will see what Gil can come up with in terms of Gold Magura slide decals
It's Friday!! Hooray, able to have a post work play in the garage..anyway..
Brakes:
My Lotus came with front and rear Magura's. The British Eagle Lotus used the Magura's on the rear but XTR Cantis on the front. Not going to replicate that. The fork I have chosen will accomadate 4 bolt magura mounts (at the rear if that doesn't give the game away
). Anyway the current Magura's are silver which doesn't give much of a contrast, so want to go with black, then I saw these baby's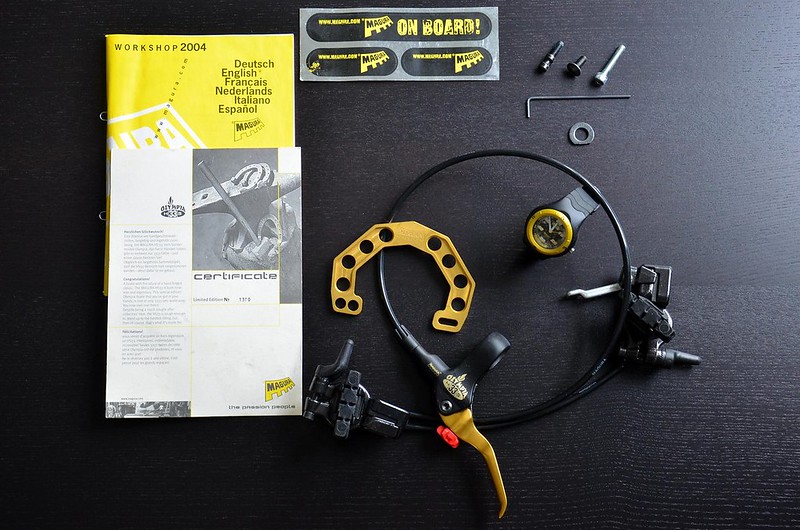
Magura HS33 Olympia Edition. Released in 2004 to mark the passing of the MK1 HS33's. I got really excited until I realised that they are as rare as the Lotus and I don't want to search for 7 years for them :roll:
You can buy a boxed set with the certificate, commemorative watch, gold braces etc from Germany for 280 Euros's, but....
1. Way out of my price range
2. Too nice to use
3. I only need the levers and the slaves
So I decided to do it myself..
Bought a black set from eBay so I don't have to strip to bare metal. Will strip the levers to have them nitrided and will see what Gil can come up with in terms of Gold Magura slide decals