Late 40s / Early 50s René Herse tip find

Regarding the Rene Herse cranks currently available for sale, I remembered reading that they are not anodized. Here's a link -
 
Almost forgot. Bent pedal spindles seems fairly common on the vintage stuff. VAR did make a pedal checker - it was like a big heavy flywheel with the pedal threads in the middle. Presumably you put the pedal on the edge of a flat surface and spun the flywheel to see if it ran true.

Yes I checked the spindles - they're definitely straight!
 
Concerning the original RH cranks, I've been in contact with a family member who specialises in non-destructive testing. I've sent him some pictures from the thread about the cranks. He suggested looking at:
https://www.bindt.org/What-is-NDT/Liquid-penetrant-inspection/ and further mentioned there is list of companies who could dig deeper. Also mentioned getting a good x10 jewellers type magnifying glass and being aware that some cracks are not visible to the naked eye. 3D Xray is the ultimate to know for sure. You are welcome to PM too.

My own view: these are uber lightweight very vintage almost 70 year old cranks with an unknown history at the birth of it all. I don't think it's sensible to ride them, but I do think it's sensible to preserve them. I actually cringe at an attempt to straighten them out too. Possibly wooden frame them behind glass them and look at them in the man-cave as wall art and the little urk of the one that got away, or sell them off for "display / show bike only" to help fund this once in a lifetime tip-find project.

I'm not specialist, a specialist can help make a right decision, hence I reached out. I'm really routing for this to succeed, and I get you want this to be a rider which makes it even better, but at the same time there's a part of me which says don't accelerate anymore damage than what time as already done, and what may have been done under previous ownership.
 
some inspiration here if you haven't seen it already:

 
Concerning the original RH cranks, I've been in contact with a family member who specialises in non-destructive testing. I've sent him some pictures from the thread about the cranks. He suggested looking at:
https://www.bindt.org/What-is-NDT/Liquid-penetrant-inspection/ and further mentioned there is list of companies who could dig deeper. Also mentioned getting a good x10 jewellers type magnifying glass and being aware that some cracks are not visible to the naked eye. 3D Xray is the ultimate to know for sure. You are welcome to PM too.
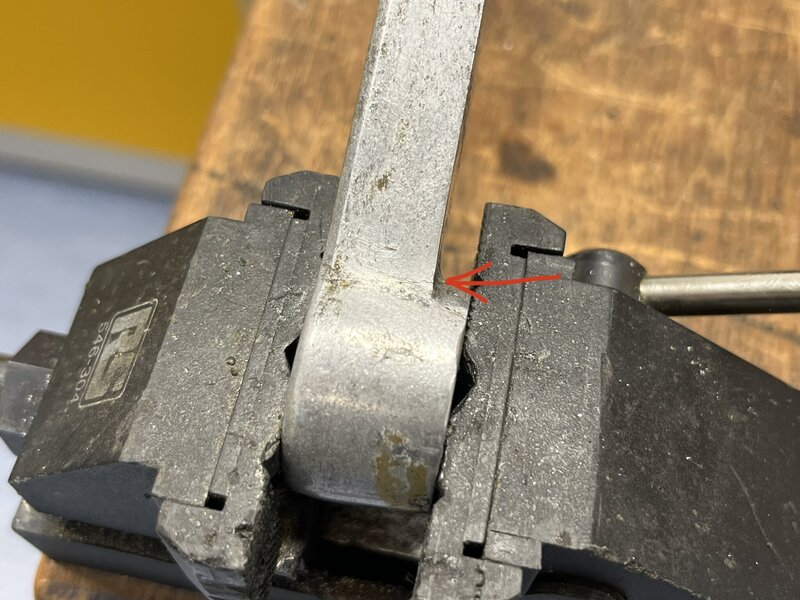
I actually work in NDT too and I’m a materials scientist, that’s why I’ve got access to all the measurement tools I’m using. There’s not really any need to go as far as dye penetrant here or any microscopy, because the extent of the cracks can be seen with the naked eye. I’ve actually spotted another more significant crack at the other end of the crank arm which basically writes it off. I can open that one up by flexing the crank arm, so I’m not going to be risking riding on it.

My own view: these are uber lightweight very vintage almost 70 year old cranks with an unknown history at the birth of it all. I don't think it's sensible to ride them, but I do think it's sensible to preserve them. I actually cringe at an attempt to straighten them out too. Possibly wooden frame them behind glass them and look at them in the man-cave as wall art and the little urk of the one that got away, or sell them off for "display / show bike only" to help fund this once in a lifetime tip-find project.
Yeah, this is basically where I’ve arrived, too. There would be a small risk of breaking it if I tried to straighten it but now I can see it’ll almost certainly break if I ride on it. Like you say, it’s not worth the risk on a component which is so rare it’s a museum piece. Plus, realistically, there’s the issue that I use all my bikes properly and I don’t want want a big failure and the associated loss of teeth etc.

I had exactly the same thought about mounting them up for display though!

I'm not specialist, a specialist can help make a right decision, hence I reached out. I'm really routing for this to succeed, and I get you want this to be a rider which makes it even better, but at the same time there's a part of me which says don't accelerate anymore damage than what time as already done, and what may have been done under previous ownership.
Trust me, I don’t want to break anything on this. I’ve already sacrificed the crank bolts and sheared that screw - that’s already a couple too many things for me!
 
I’ve arrowed the crack. As I said, I can open this one up by flexing the crank arm so this one is definitely a problem. I think this probably points to something being dropped on the pedal on that side, which is a shame.

Drive side looks absolutely fine. I think my replacement cranks of choice are going to be early 49D because they’re very similar dimensions, and I even think they’re close enough that I could get away with the René Herse on the drive side and a 49D on the NDS without it looking out of place.

79280022-797D-45FB-AC0E-19CD19F852B3.jpeg
 
  • Like
Reactions: Woz
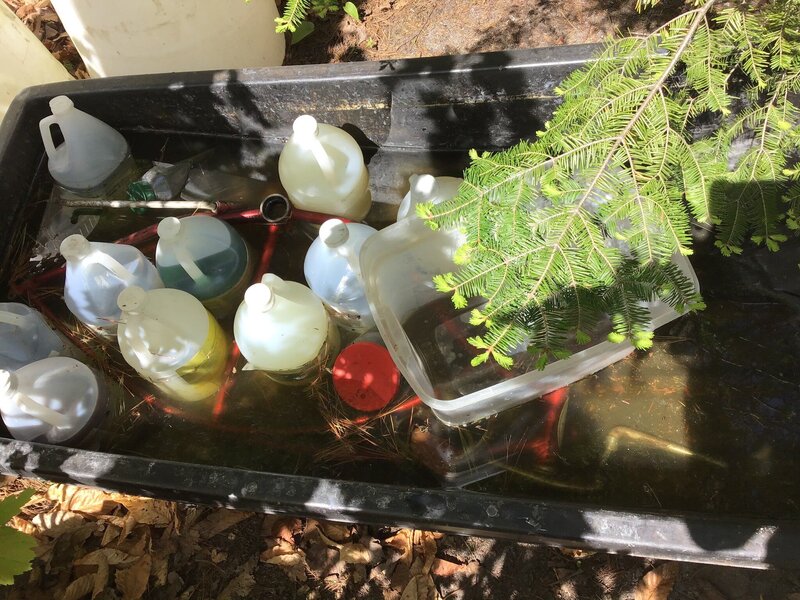
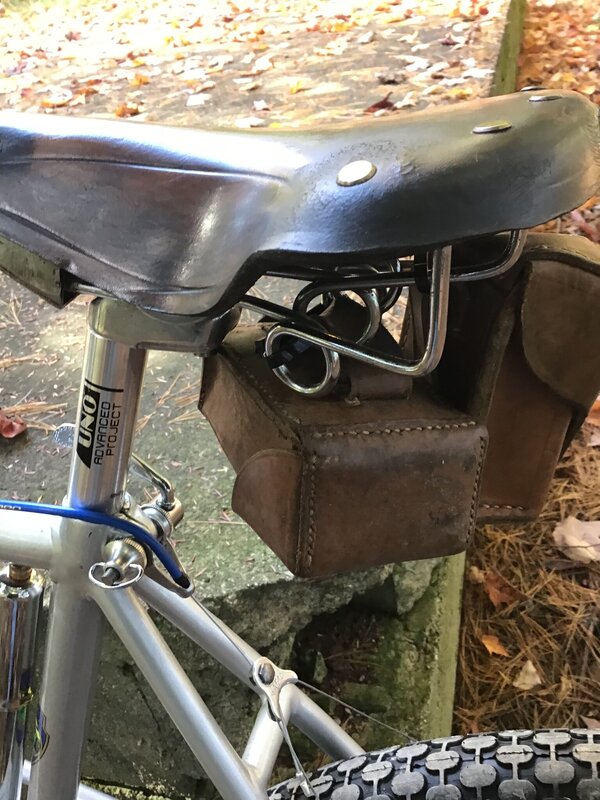
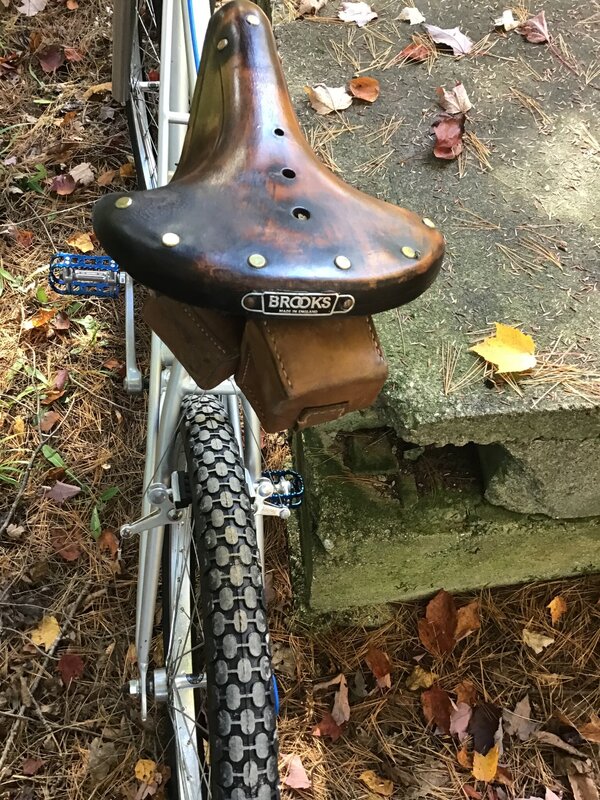
What a find. If it were mine I would disassemble it and put the frame and fork in a bath of phosphoric acid (ph down for pool for aquariums in the states, dilute a quart in enough water to cover the frame with jugs and buckets of ballast water so the frame is covered) the other steel parts I would soak in Evapo Rust as it only takes away rust. IMG_4666.jpeg I don’t know about the alloy parts, perhaps cleaning and buffing like old motorcycle cases. I use a cotton wheel and buffing compound. The alloy will be shiny but the pits will still be there. I would take a rag with gloves and coat all cleaned and de rusted steel with Ospho, a fantastic dichromate and phosphoric acid rub on primer. Don’t get it on the threads. Photograph and measure the location of the decals and color. I use a piece of lath to mark the decal location. I would replace the spokes, but make sure first they’re not odd ball. One of my old bikes had butted spokes with different gauges at each end. I had to use j bend washers on the replacement spokes. It will look fantastic just cleaned up without even a respray. Such a beauty. Slow patience will remove the corrosion. Here in the States hot rodders coat cleaned up rusty parts with a penetrating oil called Gibbs. I’ve used it and stuff doesn’t continue to rust. It’s very pricy. I think it’s only automatic transmission fluid mixed with a foaming penetrant. It didn’t lift or fade any of the old decals or paint. The phosphoric acid will lift any paint that has even minor rust under it so you might not have much old paint to remove. I rubbed on the Gibbs with a rag. The coat is thin and after it dries you can’t tell it was put on. The seat must be carefully cleaned as it might just disintegrate if it’s soaked in anything like polypropylene glycol, which museums sometimes use to preserve leather. After cleaning I usually use a very slow drying marine clear flexible epoxy on the whole saddle top, filling and penetrating into leather cracks. I fill and reinforce around the rivets, top and bottom. This stuff is unforgiving and must be mixed at exactly 2:1 or it won’t dry. I use bottle caps for measuring the amount to rub into the saddle leather. Mix for at leas five minutes. It takes two days to dry. If I’m happy with the fill and epoxy reinforcement I next melt canning wax in an old tray and submerge the whole saddle in it, letting it soak in but being careful not to burn the leather. This causes wax hardening so it really won’t move to fit your sit bones. I’ve done this many times and it usually works. If the saddle leather is real rotten it just breaks apart but yours looks like a candidate. Wax hardened saddle. IMG_0728.jpeg IMG_0729.jpeg
 
Last edited:
Back
Top