Thanks Jamie
Wintery? Oh,like 23 1/2 degrees? (shhhhh Mike's from California!) Yeah, sounds chilly! Of course, every pub serves free whiskey in Scotland so there's something I suppose.
Not sure about learning but thanks for watching.
I am going to do........(drumroll)
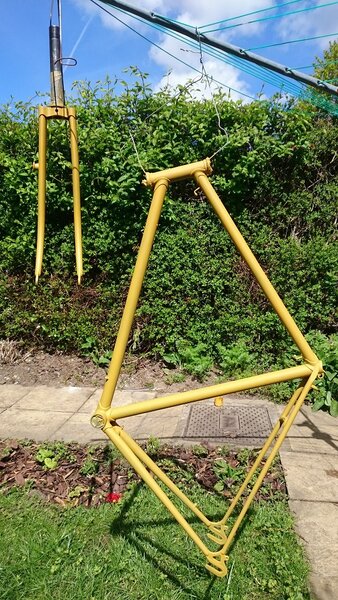
EXACTLY the original paint job. There was just enough to get all the info I needed which is nice. Flamboyant darkish red on top of a pale gold. When it comes to these flamboyant finishes (translucent ink on top of a base) there are only 4 or 5 different colours of ink. If you can even see a flake of the original colour it's relatively easy to figure it out. Of course you need a suppliers colour chart which my paint shop lets me borrow. The other question is what colour was the base? There are maybe 12 to 15 different options but again if there is any left it's very doable. Off the top of my head I think there are 2 different gold bases available (one light, one dark). I'm still learning but I think the colour choices are the same now as ever.
Sorry, lots of info but it's a new finish for me so I find it interesting. It's quite expensive and trickier to lay on flat than normal 2k paint but the finish is great. More to the point, this is exactly how a lot of decent steel frames were painted from the 30's (?) on.
It's a bit windy to be painting this weekend so I'll try and get around to rebuilding a Raleigh Lenton '54 I've just finished and post some pics.