Today i decided to bite the bullet. Early last year i decided to clear out my "storage". The result was the sale of 400 odd bike parts from the late 80 and early 90. All stuffed up there when i had finished with them, never to see the light of day again. Working in a shop i had access to the sweety jar and my boss seemed more than happy for me to hand most of my wages back to him at the end of the week....can't think why.
I did keep a few bits and bobs, partly for sentimental reasons and partly as i thought i might like to use them.
So today i decided to tackle my tange switchblades. Stuffed up in the loft, when the became surplus to use after switching my old race bike to more sedate use and purchasing a new fangled suntour xc pro equipped proflex........theres another story of terrible judgement right there!
So im going to restore them.....and put them back where they belong.....(yes i still have the bike they went on new too). Thought you might be interested to see what an idiot with time and patience can achieve ( or not) from a pile of junk.
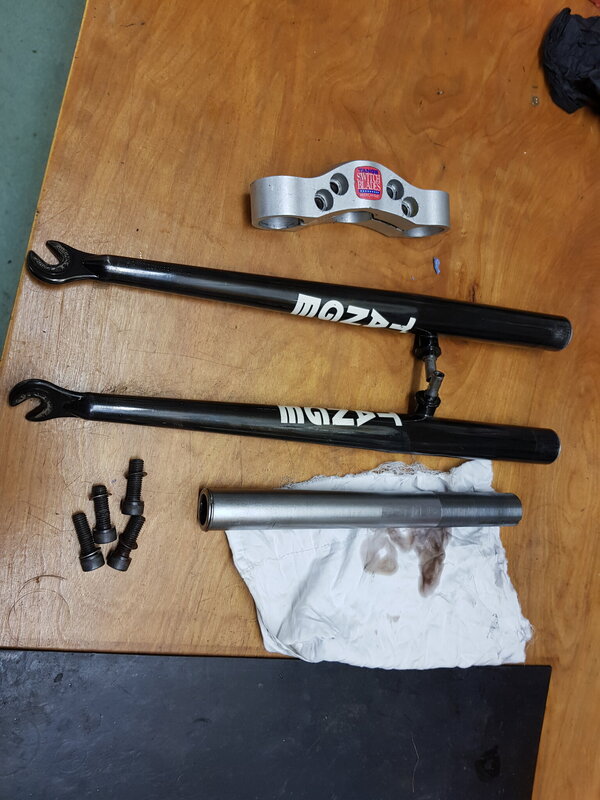
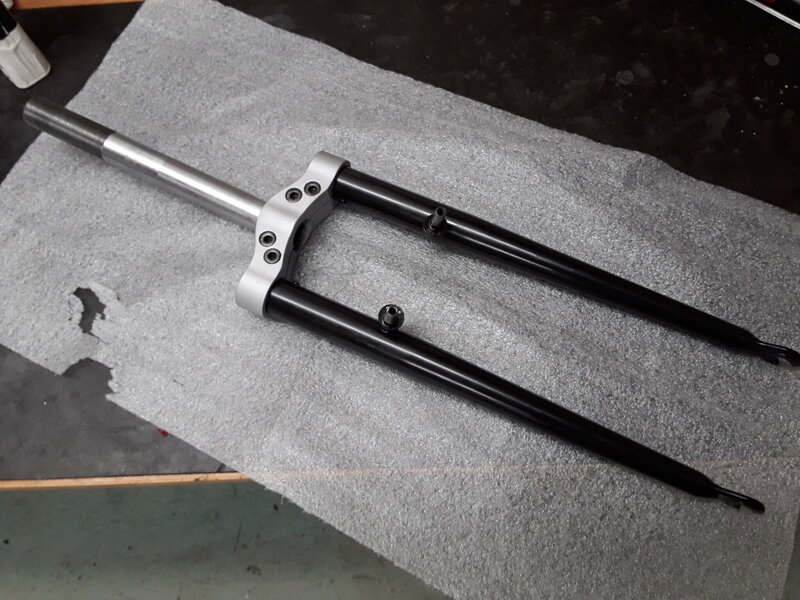
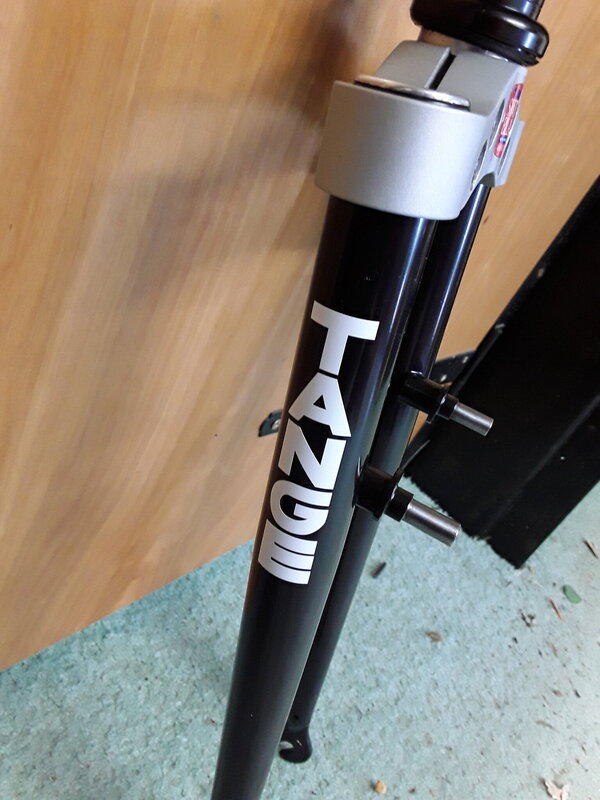
Here they are now in bits, pretty scuffed up with the crown knocked to hell. The paints faded really bad where its not been physically ground off.
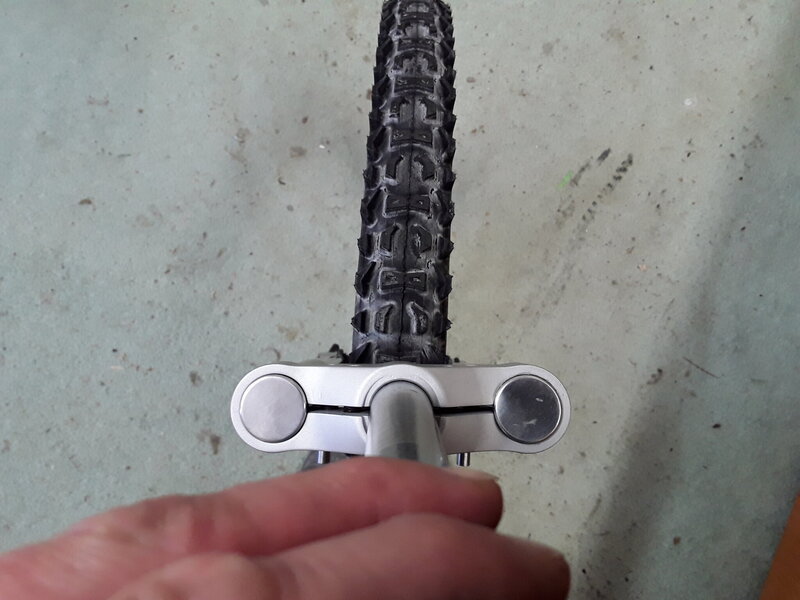
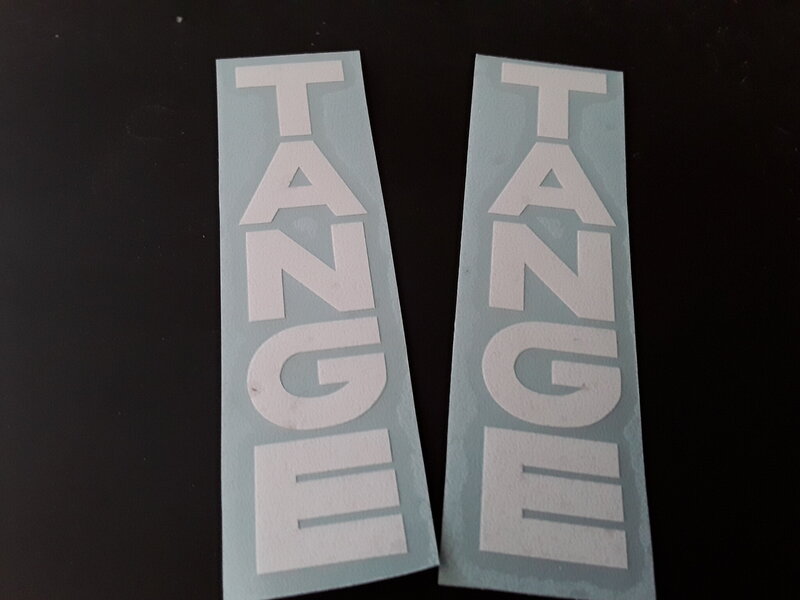
First jobs were to rub down the legs and get a decent photo of the graphics for reproduction. The leg graphics should be easy, but not sure im going to get the crown decal, so i peeled it with a hair drier and a scapel. Its now in its own sealed bag ready to go back.
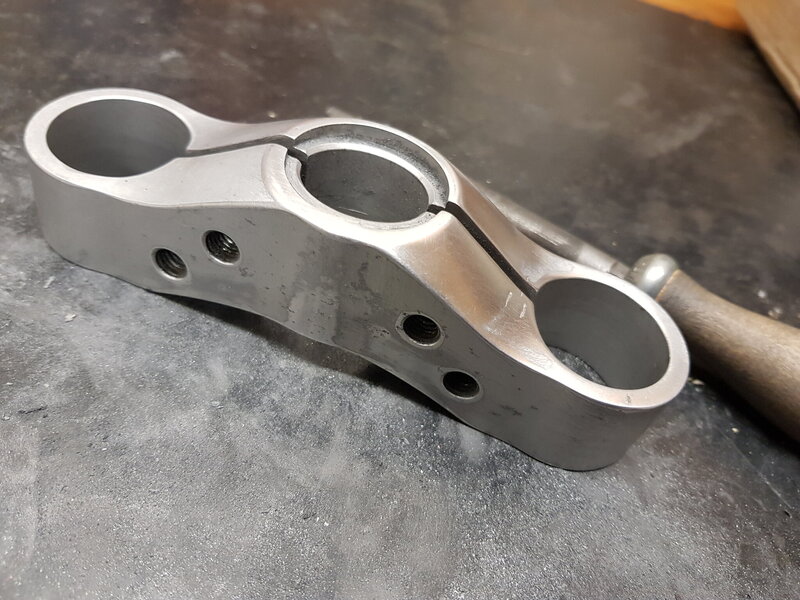
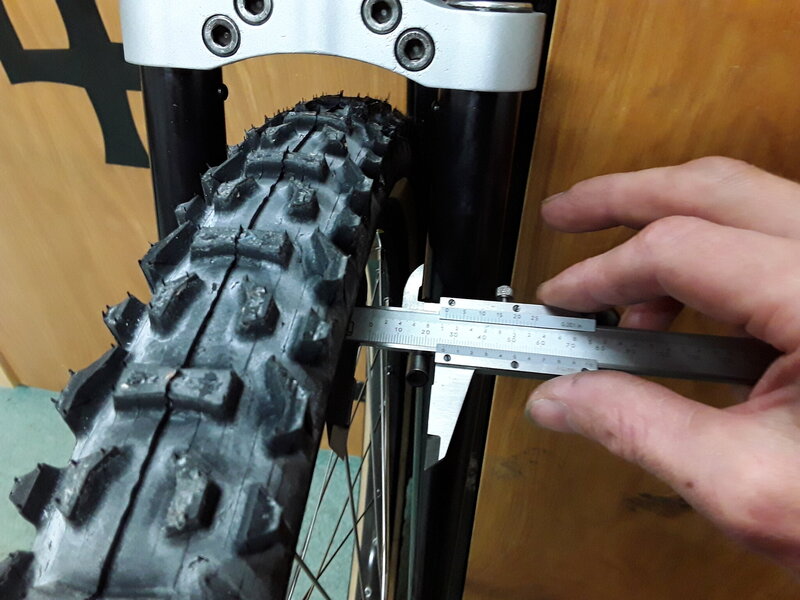
With all that done i " tin foiled" the inside of the steer tube and filed out the knocks in the crown, going from file to 180 paper all the way to 600. (1200 on the end caps). As you can see most of the big gouges are gone, but with all things restoration, often knowing when to stop is key! There are still a couple of marks but getting them out would cost me too much metal.
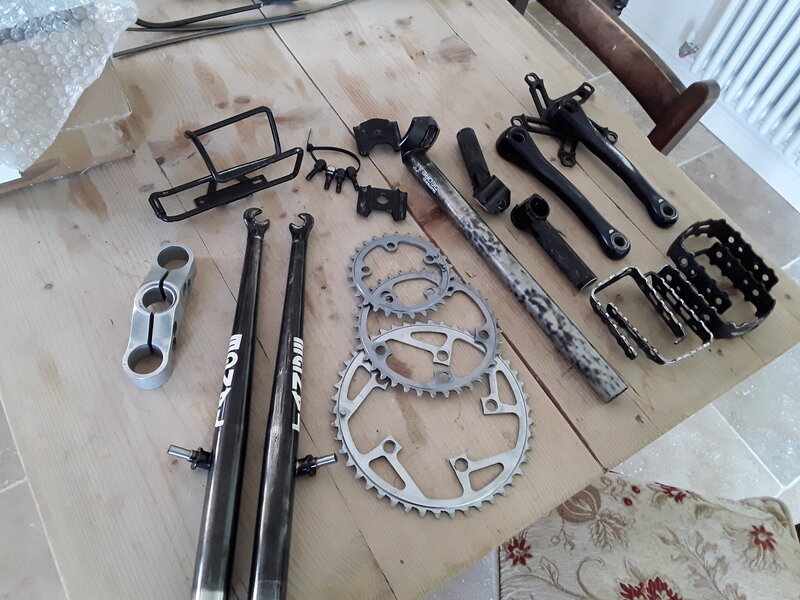
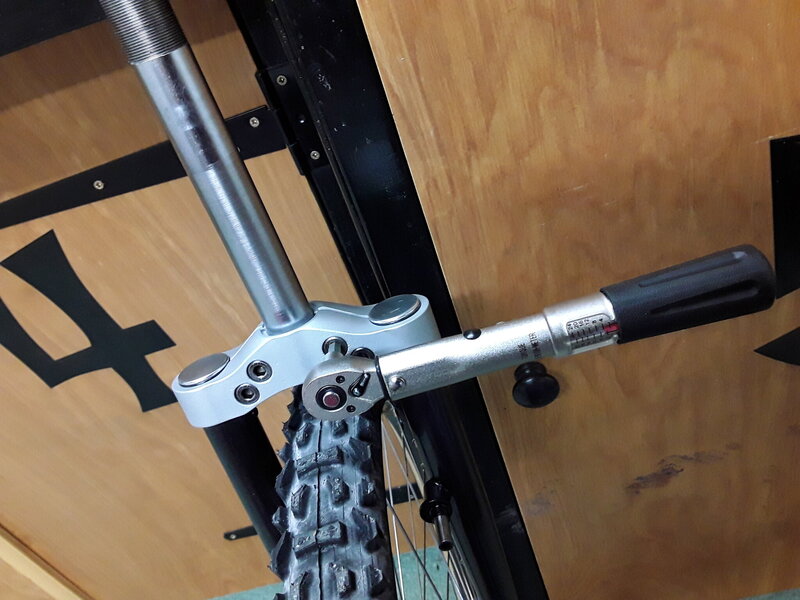
2 hours later the bits are ready for "cerakote". So its off to see mark the gunsmith! Then adam the sign writer with my stencil. ( he loves analogue !).
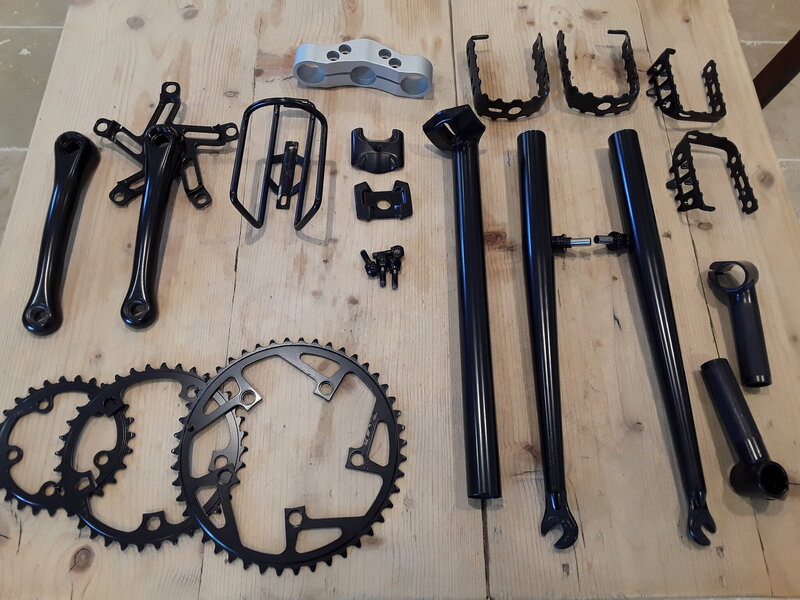
I'll post back when these and the rest of the box of bits return form coating.
I did keep a few bits and bobs, partly for sentimental reasons and partly as i thought i might like to use them.
So today i decided to tackle my tange switchblades. Stuffed up in the loft, when the became surplus to use after switching my old race bike to more sedate use and purchasing a new fangled suntour xc pro equipped proflex........theres another story of terrible judgement right there!
So im going to restore them.....and put them back where they belong.....(yes i still have the bike they went on new too). Thought you might be interested to see what an idiot with time and patience can achieve ( or not) from a pile of junk.
Here they are now in bits, pretty scuffed up with the crown knocked to hell. The paints faded really bad where its not been physically ground off.
First jobs were to rub down the legs and get a decent photo of the graphics for reproduction. The leg graphics should be easy, but not sure im going to get the crown decal, so i peeled it with a hair drier and a scapel. Its now in its own sealed bag ready to go back.
With all that done i " tin foiled" the inside of the steer tube and filed out the knocks in the crown, going from file to 180 paper all the way to 600. (1200 on the end caps). As you can see most of the big gouges are gone, but with all things restoration, often knowing when to stop is key! There are still a couple of marks but getting them out would cost me too much metal.
2 hours later the bits are ready for "cerakote". So its off to see mark the gunsmith! Then adam the sign writer with my stencil. ( he loves analogue !).
I'll post back when these and the rest of the box of bits return form coating.