enc
Kona Fan
This is not a definitive guide… It's a quick guide I put together showing the methods and materials I used to achieve the finish on a set of forks I painted recently. Others will have different methods and opinions on how to do this and I encourage you to add them to this thread ") I cannot be held responsible for any fu<k up$… if you're not confident in your abilities , get a grown up to help ..
I cannot be held responsible for any fu<k up$… if you're not confident in your abilities , get a grown up to help ..
Ok, that’s the disclaimer done with …..
Introduction …
There’s plenty of information available on the net detailing how to paint a bike frame. Indeed, I tapped into some of it before starting my Kona project and I suggest you do the same. So what makes this “How To Guide” different from any other ? Nothing really ! However, with it being MTB specific hopefully members of the forum will identify with it a little easier.
I don’t claim to be an expert at spraying paint … far from it. The last bike frame I painted was in the early 90’s. Although the basic principles are the same Materials available to the home painter have advanced somewhat since those days….. so has Health and Safety. I’m not going into H&S here suffice to say, at its most basic you should use a face mask when painting and a facemask and eye protection when sanding.
I’ve painted lots of stuff over the years but more recently, parking sensors in pearl metallic for a rear bumper and car brake callipers. I found during this project painting a bike frame is not as straight forward as you might imagine.
What I document here is, dare I refer to it as, the restoration of my Kona forks.
Some would say its not a restoration as its not an attempt to make to original spec. That’s fine, but this bike will be a rider and some other components used wont be factory spec either. The headset for example will be a modern, lighter and probably harder wearing Token component….even frame decals will not be OE spec purely because I prefer the later ones. This bike will be “custom Kona” spec.
Onto the painting…
Part 1 Forks.
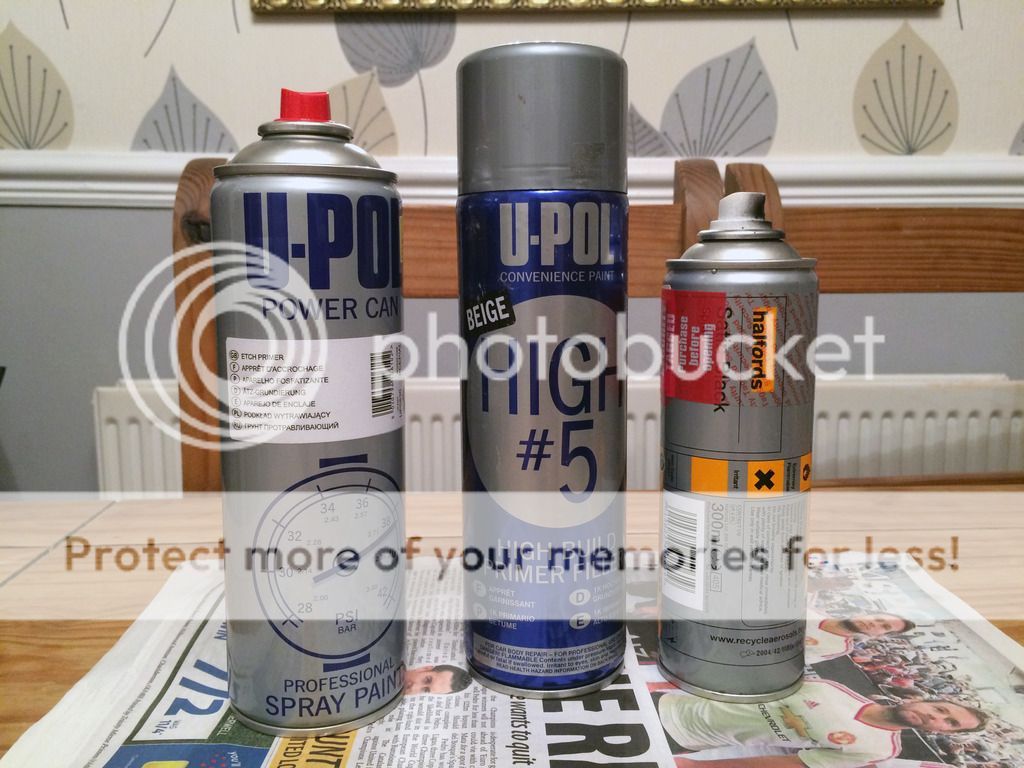
These are the Materials i used…
Other products are available. You might find you achieve a better finish using alternative products/materials ...
Nitrate gloves
Safety glasses
U-POL high build primer
U-POL etch primer
HB body Clear coat aerosol
Hycote satin black aerosol
Wire brush drill attachment
Drill
Rust remover (Bilt Hamber deox gel
Cling film
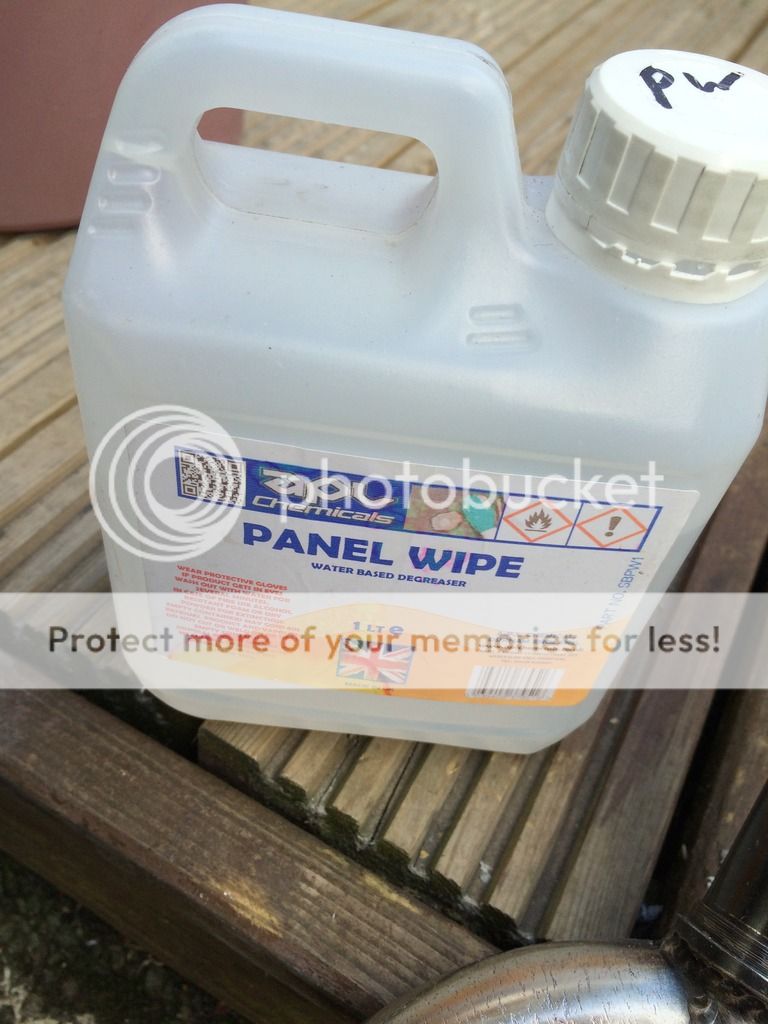
Panel wipe
Tack cloth
Wet and dry sand paper (various grades)
So that’s quite a list! Fortunately I had most of the paint and materials on the shelf.
I appreciate if you were to buy all this stuff from scratch it might possibly work out cheaper to send the frame to be powder coated or professionally painted… but where’s the fun in that?
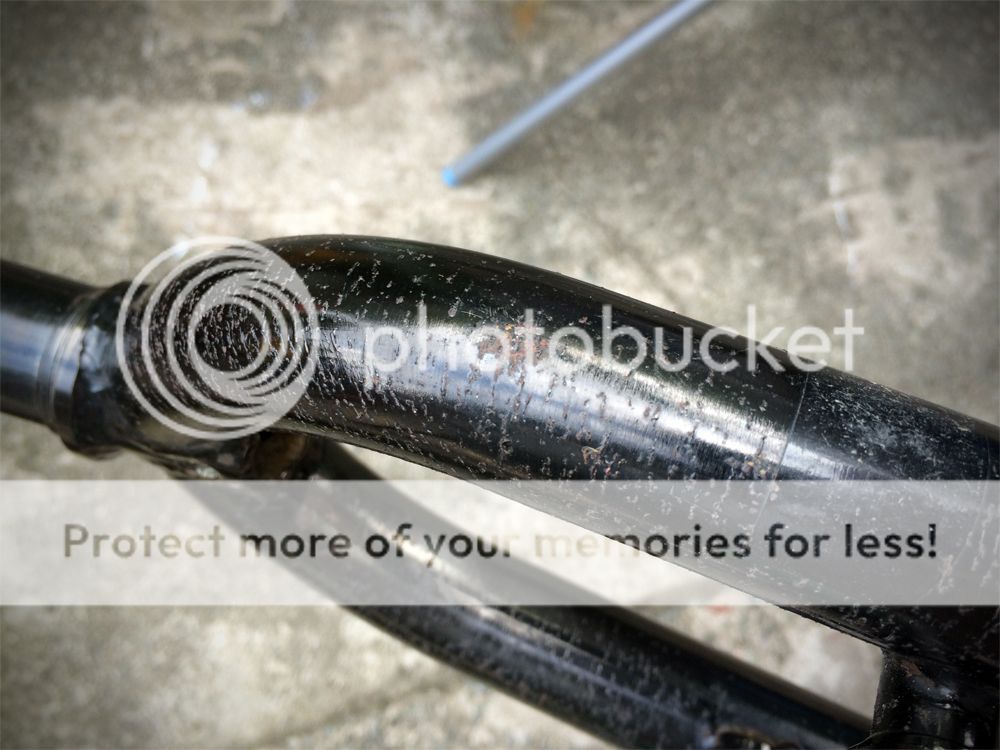
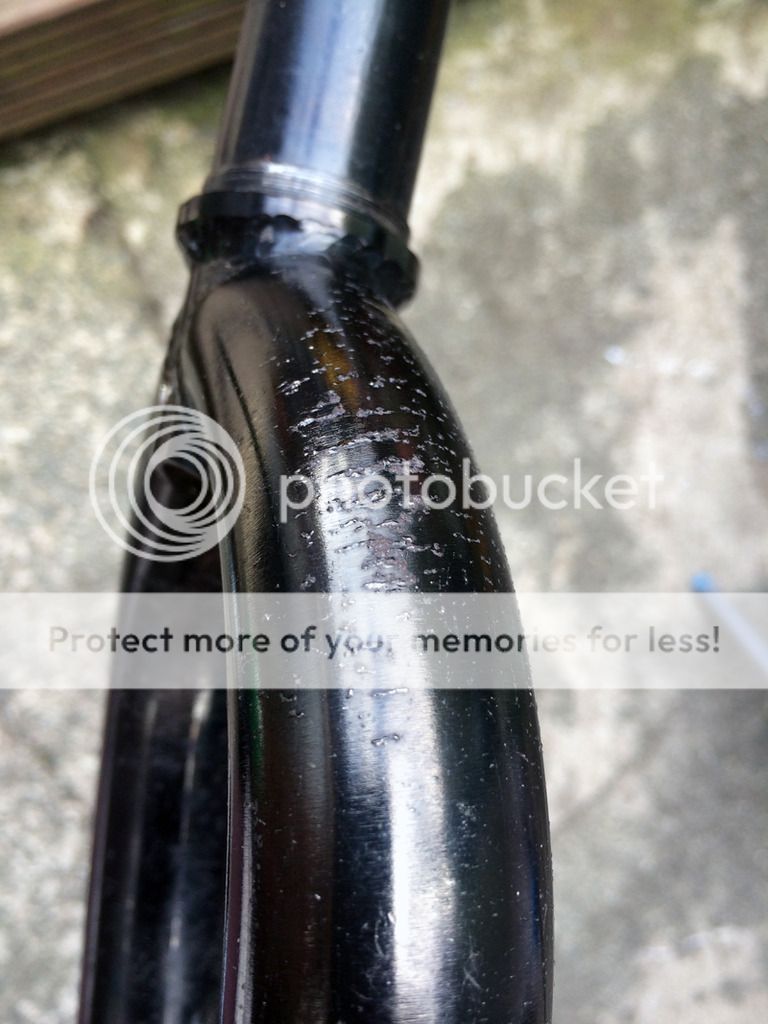
The forks fitted to this 91 Cindercone are project 2’s finished in black chrome. As a process im not sure how black chrome is applied but these forks were in a bad way.
Rust had formed in an unusual pattern … horizontal lines across the forks possibly as a result of the chrome cracking along the curves and holding water !?
I started by washing down the forks then degreasing with panel wipe.
Once dry and residue removed I started with the wire brush attachment.
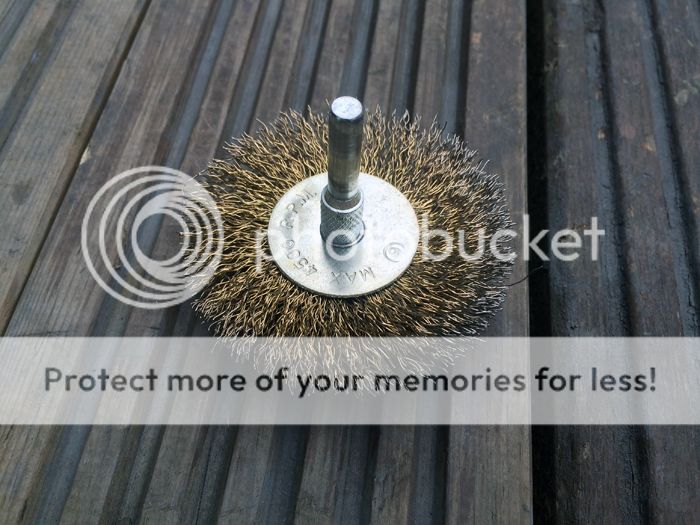
With medium pressure I hit the worst sections of rust around the top curves. After 15-20 mins I was left with a much cleaner set of forks. Remaining paint was removed with P150 grade Wet and dry… the paper was pre soaked in warm water with a touch of washing up liquid added. The washing up liquid helps stop the paper clogging … it’ll last much longer.
Rust treatment….
I know lots of people swear by kurust indeed, ive used it myself in the past but things move on …. Its my understanding that kurust doesn’t actually remove rust what it actually does is put a surface coat over it… effectively sealing the rust underneath.
I use a product by Bilt Hamber called Deox Gel.
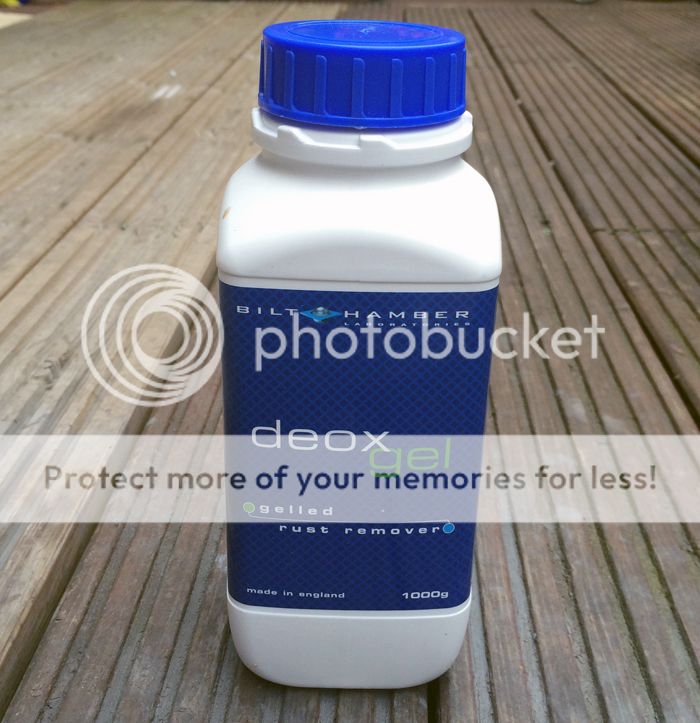
The advantage of Deox Gel is it actually attacks/removes the rust leaving rust free steel. There’s two negatives with Deox Gel …. Its fiddly/messy to use and time consuming. As im in no rush here... I used Deox Gel.
A thick coat was applied and the forks tightly wrapped in cling foil. The purpose of the cling foil is to stop the Gel from drying out.
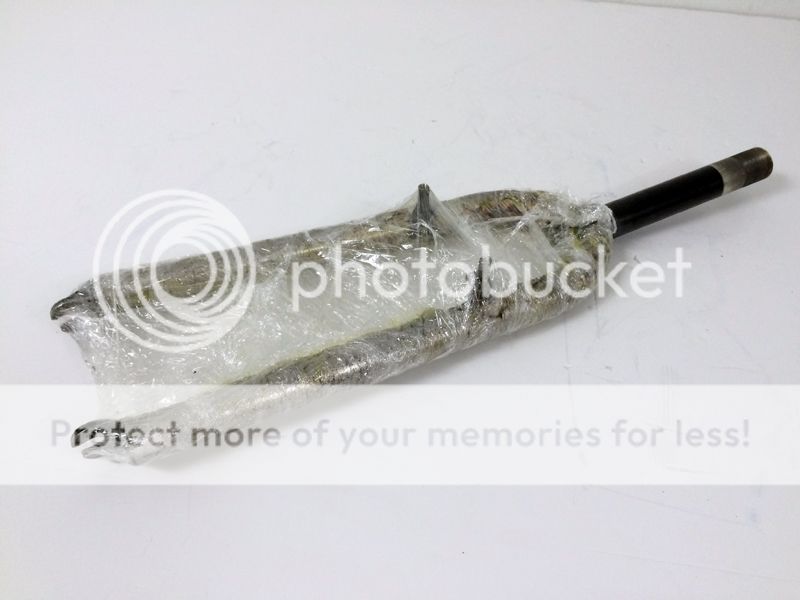
The forks were left overnight. The day after, the cling film was removed and excess gel wiped away.
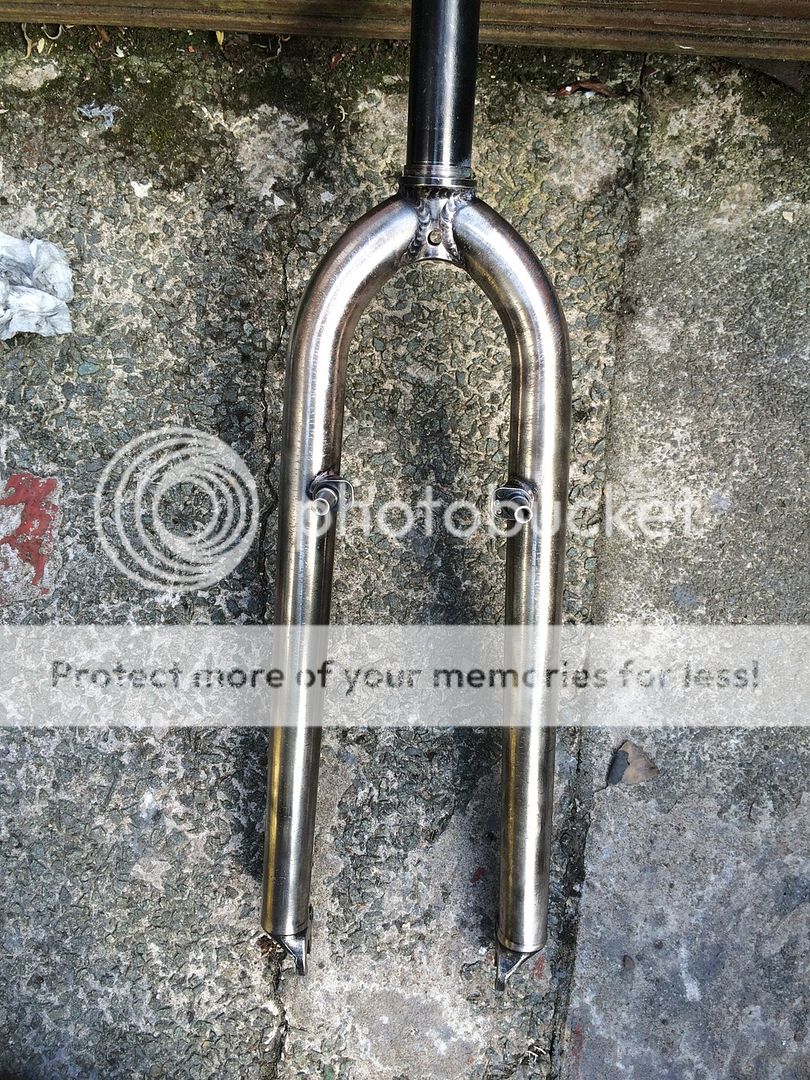
The forks were then once again hit with the wire brush drill attachment and sanded with p1000 this time used dry.
The forks were then wiped down with panel wipe (always remember to clear panel wipe from the surface. Don’t let it dry on the surface)
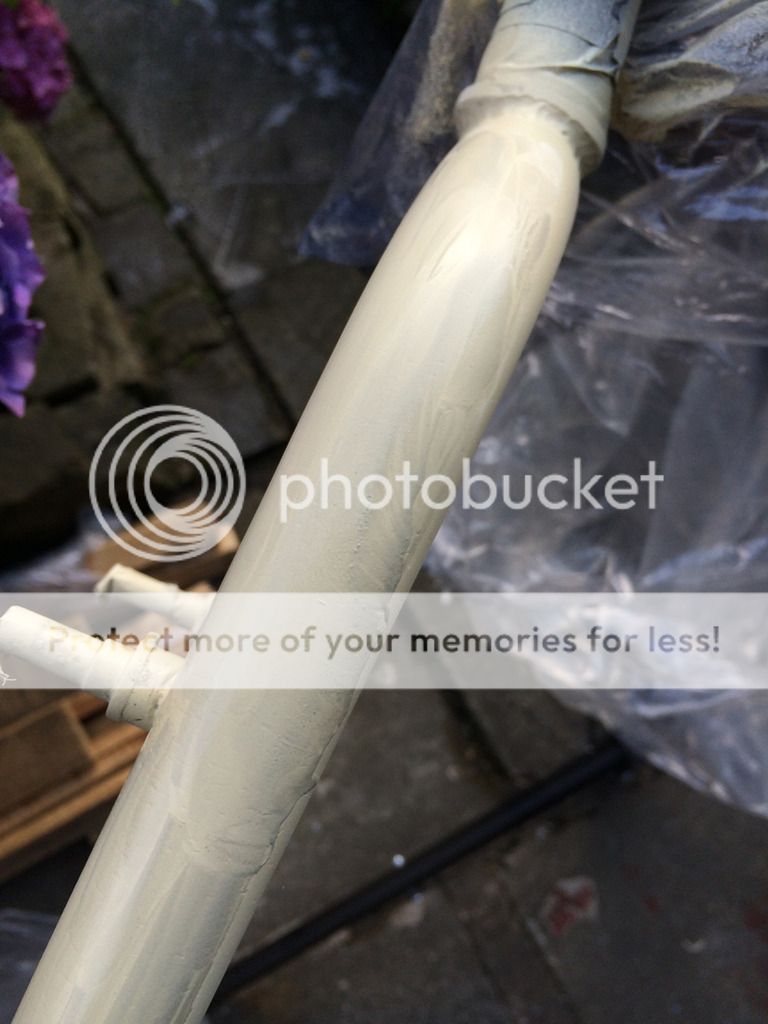
A dusting of U-POL etch primer was applied followed 15 minutes later by a full coat.

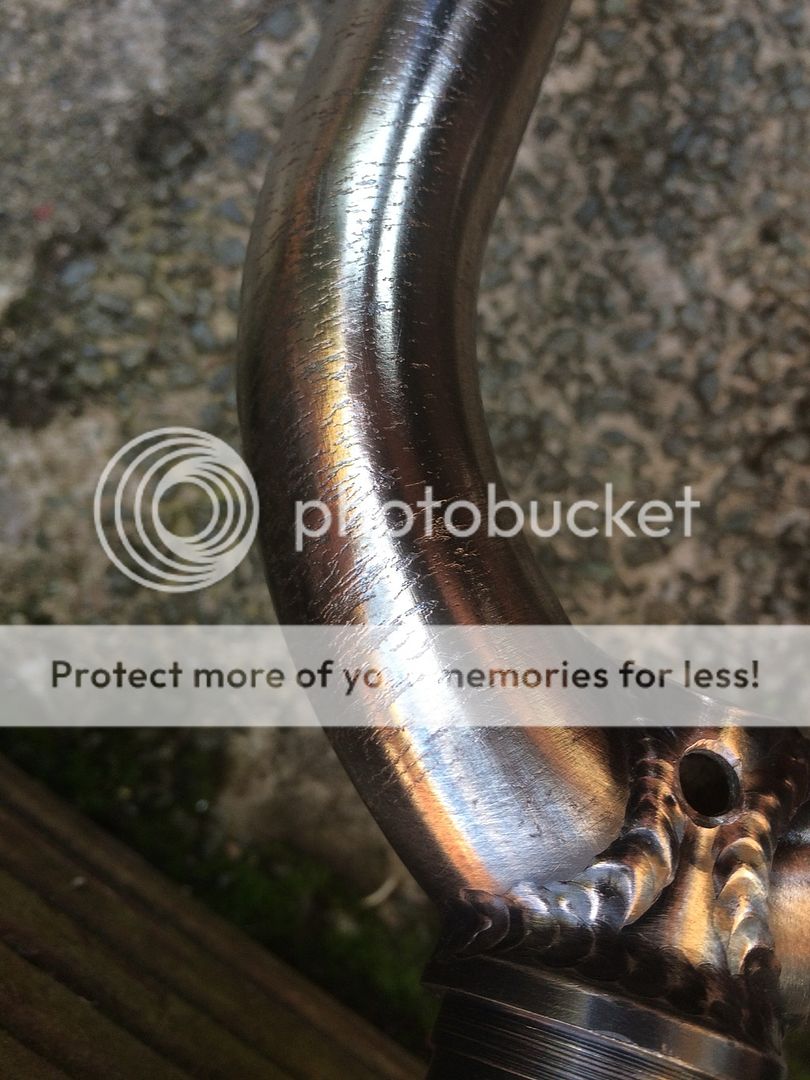
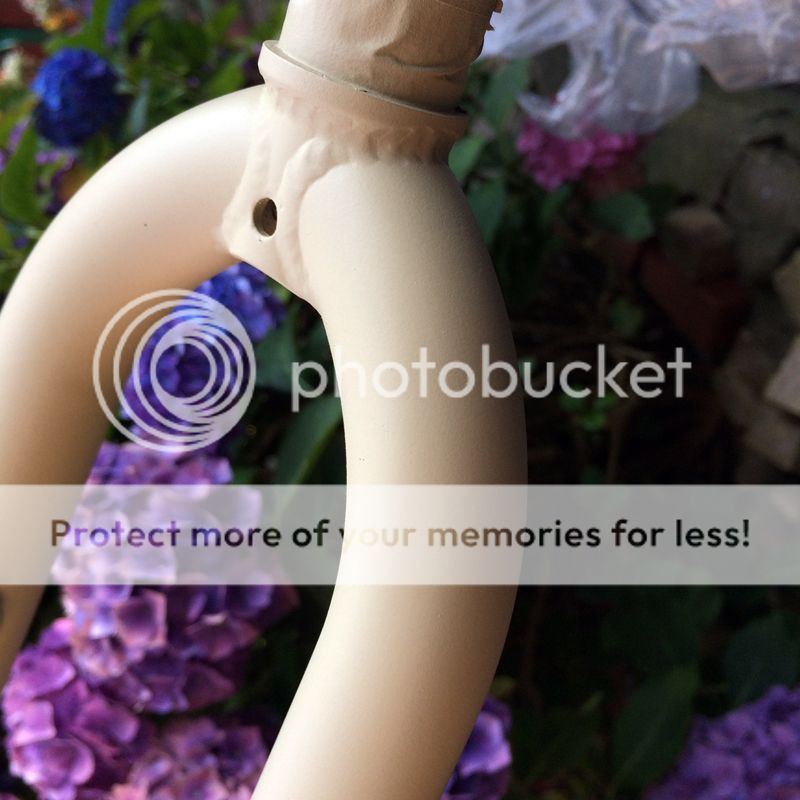
The rust had left furrows on the forks particularly around the top curves. These were never going to be filled by a standard primer. Because of this I decided to use a high build primer. I find the U-POL, High 5 primer to be very thick ( I also use hycoat high build but it isn’t anywhere near as thick) with excellent covering properties… its ideal for situations like this …it also works well at coving sanding marks.
Careful application is important as it can very easily run/sag and I shake the can after every spray to keep the nozzle flowing freely. With the paint being so thick it doesn’t tend to last too long.
*the light that burns twice as bright burns half as long … Roy Batty

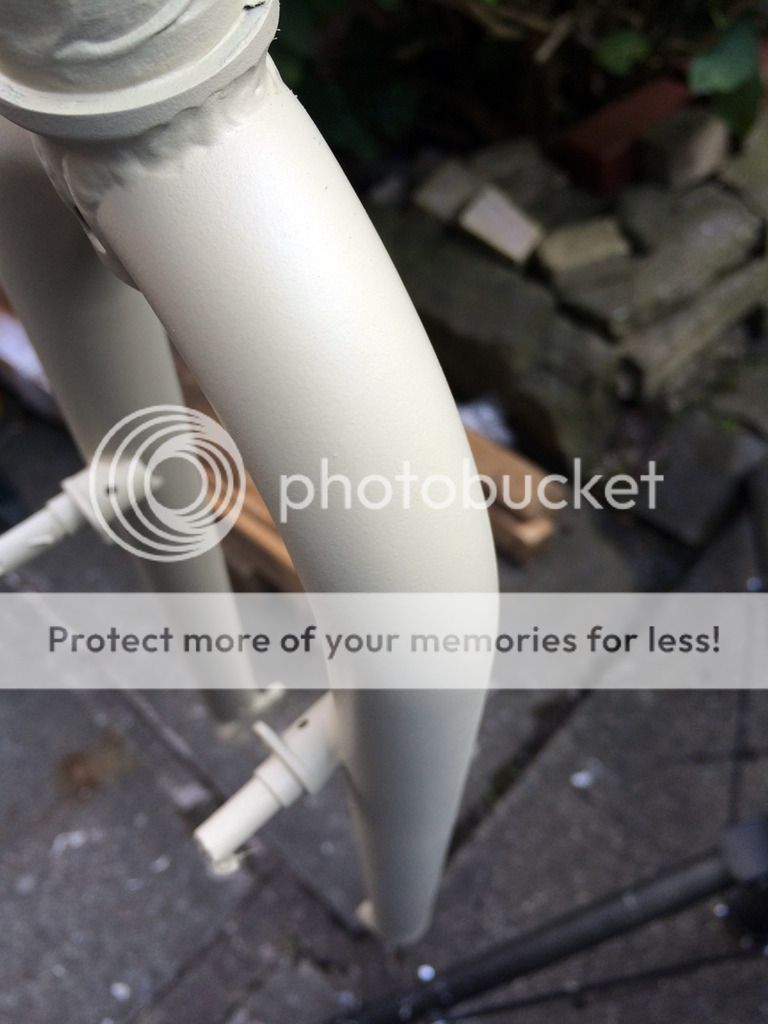
With the furrows and other imperfections filled by the High build primer I allowed the primer time to flash off … I think it was around 15-20 mins … conditions for spraying outside were absolutely perfect .. no wind and 20 degrees.
The high build was then flatted with P1200 used wet …. Primer is porous and will absorb water so I was carefull not to allow the water to dry onto the forks… I wiped them down after every few passes of the paper.
After a careful wipe down with a tack cloth (to remove any dust) The surface was now smooth and ready for the base coat.
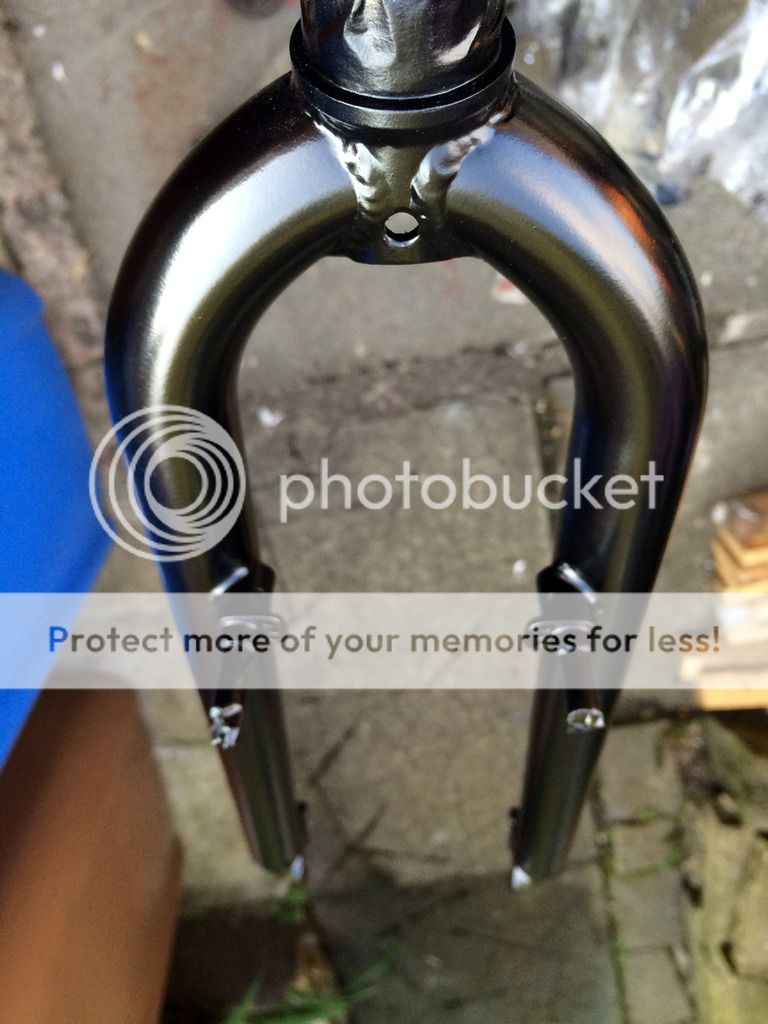
A dusting of satin black was applied and left for 10 minutes
an all over coat of satin black applied and left 10 minutes
final coat of satin black applied
*Originally I intended the forks to be satin black but after painting I was unhappy with the finish… so took the decision to clear coat them.
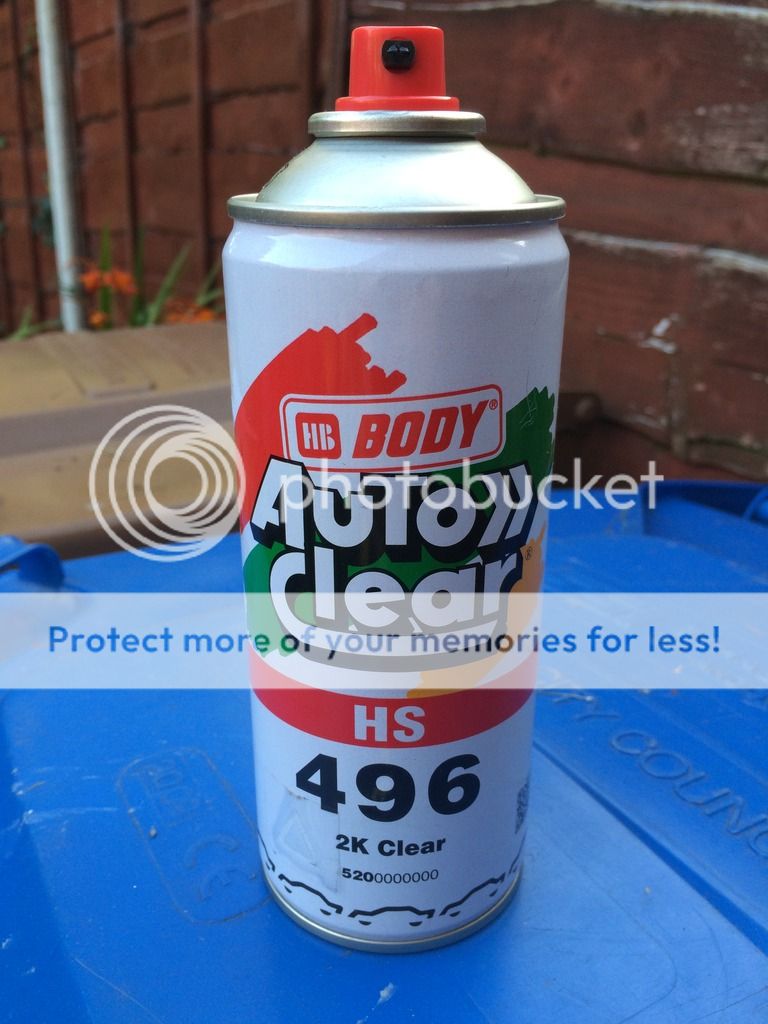
I applied the clear coat without further preparation. This is the HB body clear coat i used. it says 2K on the tin but it isnt 2K as its only a 1 part aerosol. 2K aerosols are available but without the correct safety gear ... i'll pass
A dusting of clear coat applied allowed to flash off 10-15 mins
A fuller coating of clear coat applied flash 10-15 mins
A full wet coat of clear applied.
....
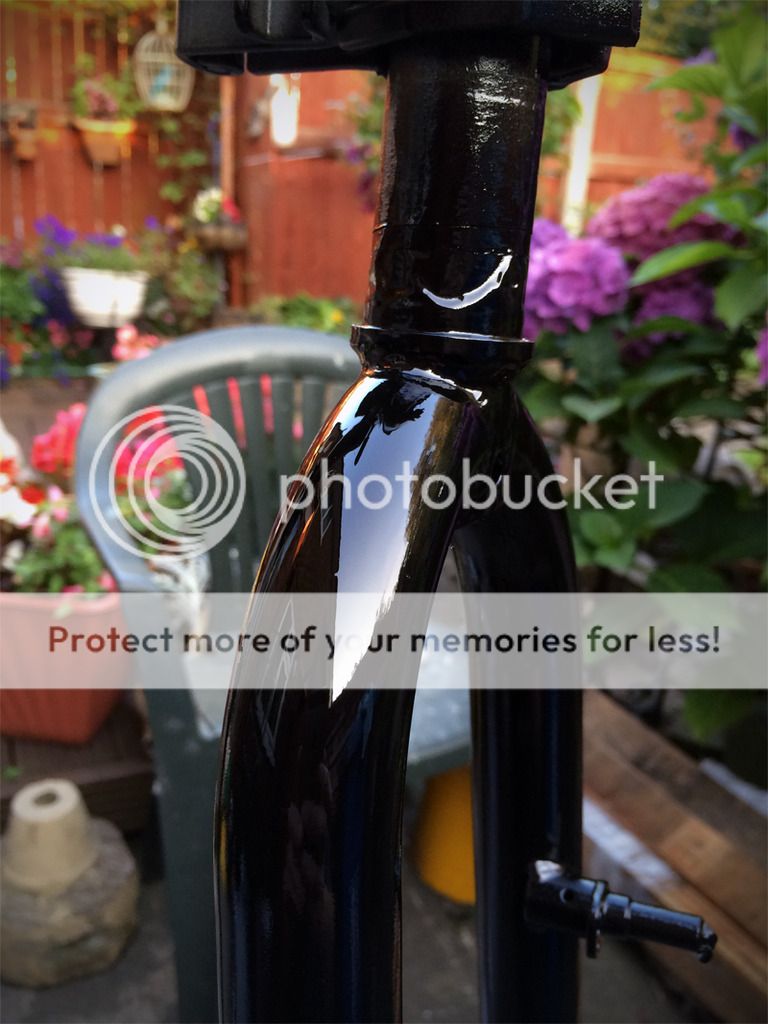
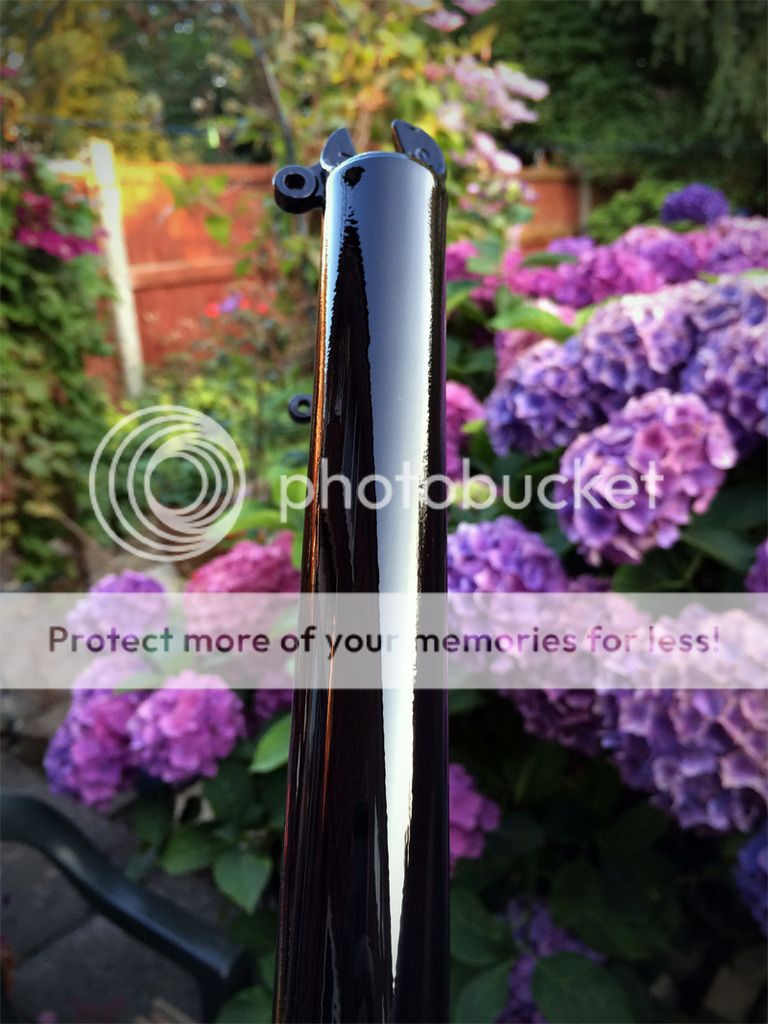
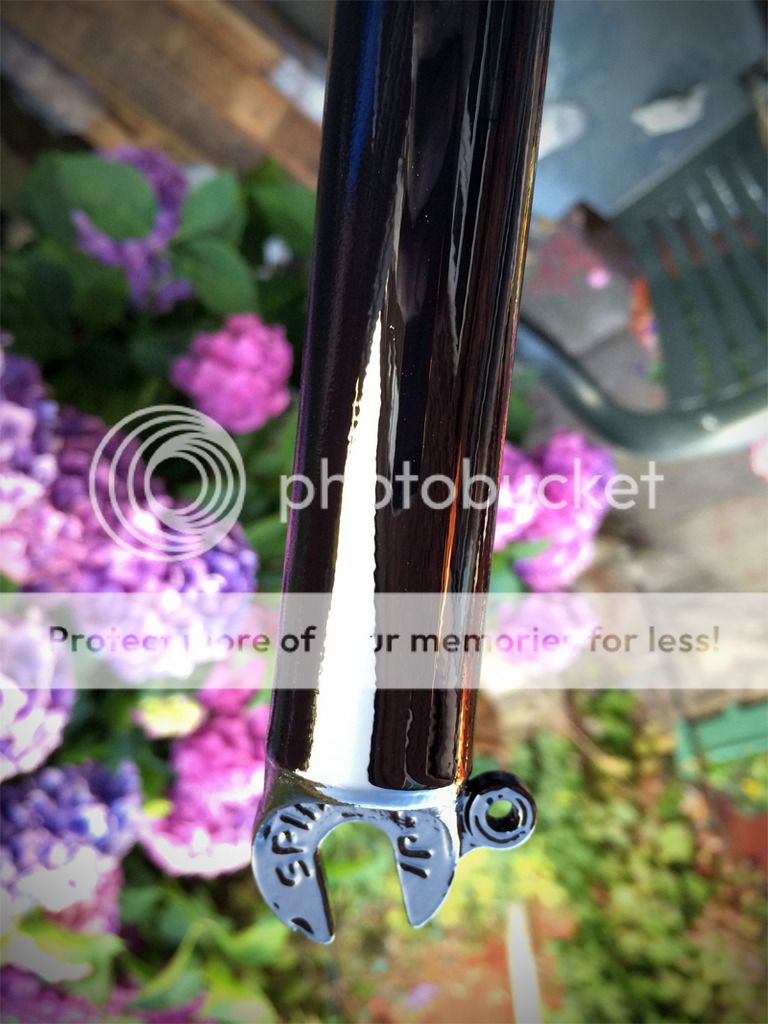
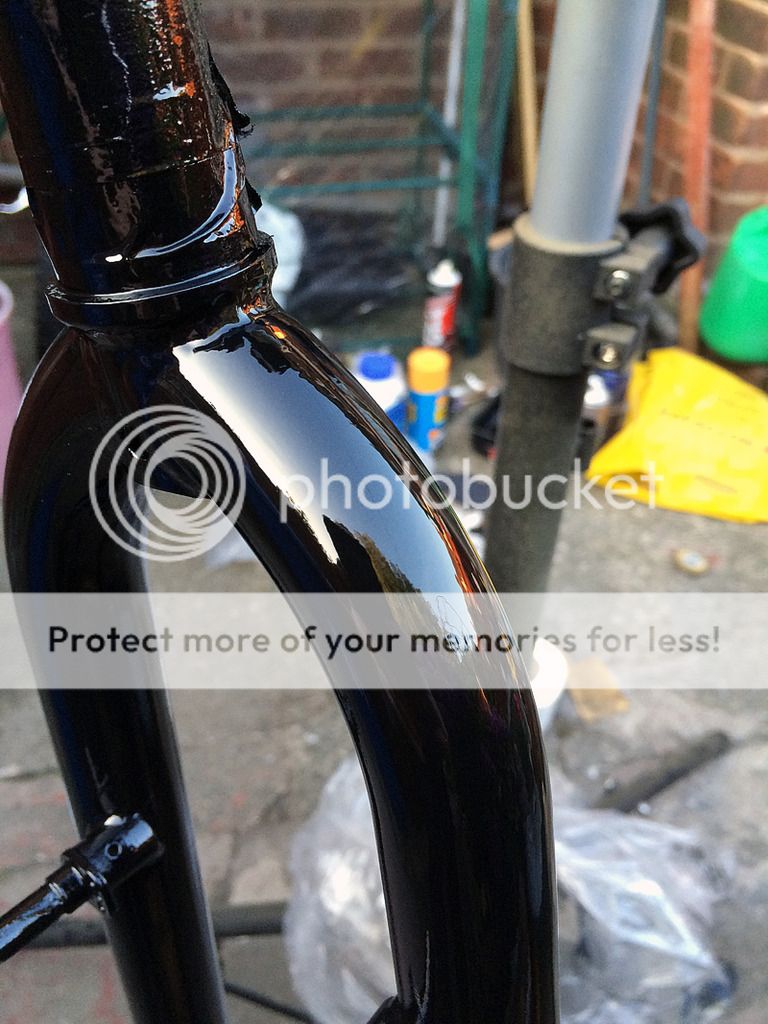
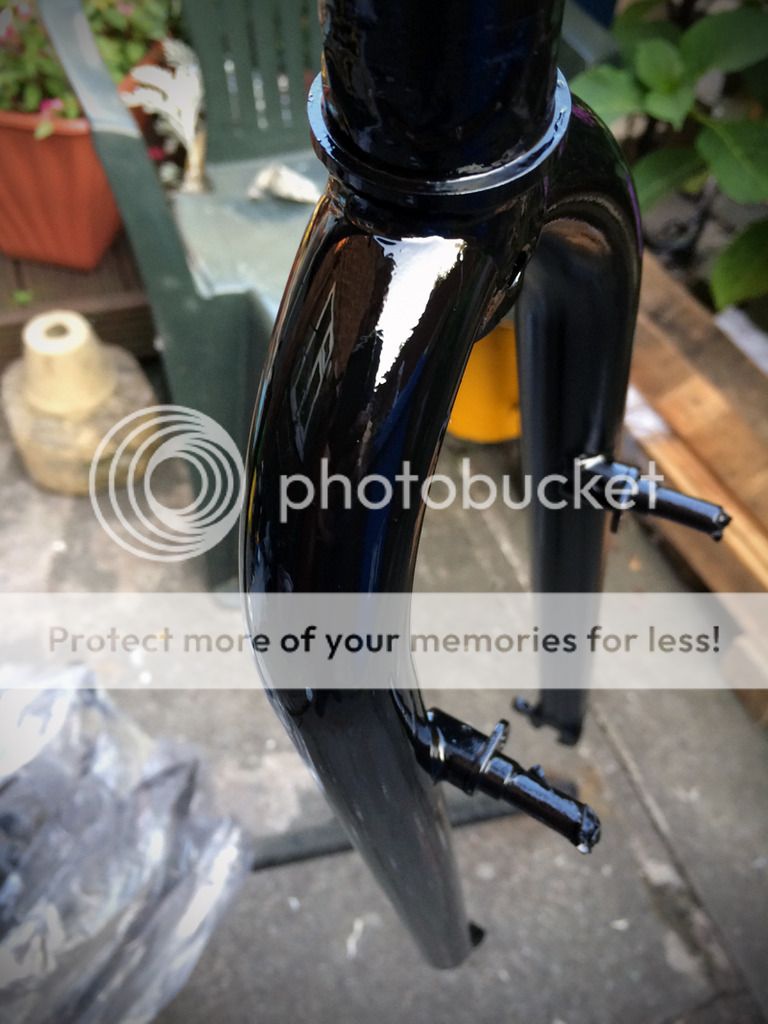
Not perfect but not too bad for a rattle can job. At the time writing... its been about 5 weeks since i painted the forks and there's been very little paint shrinkage... once the paint has fully hardened and cut back they'll look top notch
In the next exciting episode :roll: ill detail how the frame was painted.
Obviously you may have experience of doing things differently so any tips or ideas gratefully received
cheers
Ian.
I cannot be held responsible for any fu<k up$… if you're not confident in your abilities , get a grown up to help ..Ok, that’s the disclaimer done with …..
Introduction …
There’s plenty of information available on the net detailing how to paint a bike frame. Indeed, I tapped into some of it before starting my Kona project and I suggest you do the same. So what makes this “How To Guide” different from any other ? Nothing really ! However, with it being MTB specific hopefully members of the forum will identify with it a little easier.
I don’t claim to be an expert at spraying paint … far from it. The last bike frame I painted was in the early 90’s. Although the basic principles are the same Materials available to the home painter have advanced somewhat since those days….. so has Health and Safety. I’m not going into H&S here suffice to say, at its most basic you should use a face mask when painting and a facemask and eye protection when sanding.
I’ve painted lots of stuff over the years but more recently, parking sensors in pearl metallic for a rear bumper and car brake callipers. I found during this project painting a bike frame is not as straight forward as you might imagine.
What I document here is, dare I refer to it as, the restoration of my Kona forks.
Some would say its not a restoration as its not an attempt to make to original spec. That’s fine, but this bike will be a rider and some other components used wont be factory spec either. The headset for example will be a modern, lighter and probably harder wearing Token component….even frame decals will not be OE spec purely because I prefer the later ones. This bike will be “custom Kona” spec.
Onto the painting…
Part 1 Forks.
These are the Materials i used…
Other products are available. You might find you achieve a better finish using alternative products/materials ...
Nitrate gloves
Safety glasses
U-POL high build primer
U-POL etch primer
HB body Clear coat aerosol
Hycote satin black aerosol
Wire brush drill attachment
Drill
Rust remover (Bilt Hamber deox gel
Cling film
Panel wipe
Tack cloth
Wet and dry sand paper (various grades)
So that’s quite a list! Fortunately I had most of the paint and materials on the shelf.
I appreciate if you were to buy all this stuff from scratch it might possibly work out cheaper to send the frame to be powder coated or professionally painted… but where’s the fun in that?
The forks fitted to this 91 Cindercone are project 2’s finished in black chrome. As a process im not sure how black chrome is applied but these forks were in a bad way.
Rust had formed in an unusual pattern … horizontal lines across the forks possibly as a result of the chrome cracking along the curves and holding water !?


I started by washing down the forks then degreasing with panel wipe.

Once dry and residue removed I started with the wire brush attachment.

With medium pressure I hit the worst sections of rust around the top curves. After 15-20 mins I was left with a much cleaner set of forks. Remaining paint was removed with P150 grade Wet and dry… the paper was pre soaked in warm water with a touch of washing up liquid added. The washing up liquid helps stop the paper clogging … it’ll last much longer.
Rust treatment….
I know lots of people swear by kurust indeed, ive used it myself in the past but things move on …. Its my understanding that kurust doesn’t actually remove rust what it actually does is put a surface coat over it… effectively sealing the rust underneath.
I use a product by Bilt Hamber called Deox Gel.

The advantage of Deox Gel is it actually attacks/removes the rust leaving rust free steel. There’s two negatives with Deox Gel …. Its fiddly/messy to use and time consuming. As im in no rush here... I used Deox Gel.
A thick coat was applied and the forks tightly wrapped in cling foil. The purpose of the cling foil is to stop the Gel from drying out.

The forks were left overnight. The day after, the cling film was removed and excess gel wiped away.
The forks were then once again hit with the wire brush drill attachment and sanded with p1000 this time used dry.
The forks were then wiped down with panel wipe (always remember to clear panel wipe from the surface. Don’t let it dry on the surface)


A dusting of U-POL etch primer was applied followed 15 minutes later by a full coat.

The rust had left furrows on the forks particularly around the top curves. These were never going to be filled by a standard primer. Because of this I decided to use a high build primer. I find the U-POL, High 5 primer to be very thick ( I also use hycoat high build but it isn’t anywhere near as thick) with excellent covering properties… its ideal for situations like this …it also works well at coving sanding marks.

Careful application is important as it can very easily run/sag and I shake the can after every spray to keep the nozzle flowing freely. With the paint being so thick it doesn’t tend to last too long.
*the light that burns twice as bright burns half as long … Roy Batty

With the furrows and other imperfections filled by the High build primer I allowed the primer time to flash off … I think it was around 15-20 mins … conditions for spraying outside were absolutely perfect .. no wind and 20 degrees.
The high build was then flatted with P1200 used wet …. Primer is porous and will absorb water so I was carefull not to allow the water to dry onto the forks… I wiped them down after every few passes of the paper.

After a careful wipe down with a tack cloth (to remove any dust) The surface was now smooth and ready for the base coat.


A dusting of satin black was applied and left for 10 minutes
an all over coat of satin black applied and left 10 minutes
final coat of satin black applied
*Originally I intended the forks to be satin black but after painting I was unhappy with the finish… so took the decision to clear coat them.

I applied the clear coat without further preparation. This is the HB body clear coat i used. it says 2K on the tin but it isnt 2K as its only a 1 part aerosol. 2K aerosols are available but without the correct safety gear ... i'll pass

A dusting of clear coat applied allowed to flash off 10-15 mins
A fuller coating of clear coat applied flash 10-15 mins
A full wet coat of clear applied.
....


Not perfect but not too bad for a rattle can job. At the time writing... its been about 5 weeks since i painted the forks and there's been very little paint shrinkage...
once the paint has fully hardened and cut back they'll look top notch In the next exciting episode :roll:
ill detail how the frame was painted.Obviously you may have experience of doing things differently so any tips or ideas gratefully received
cheers
Ian.