Kirk Revolution

GreenwichPete

Retro Newbie
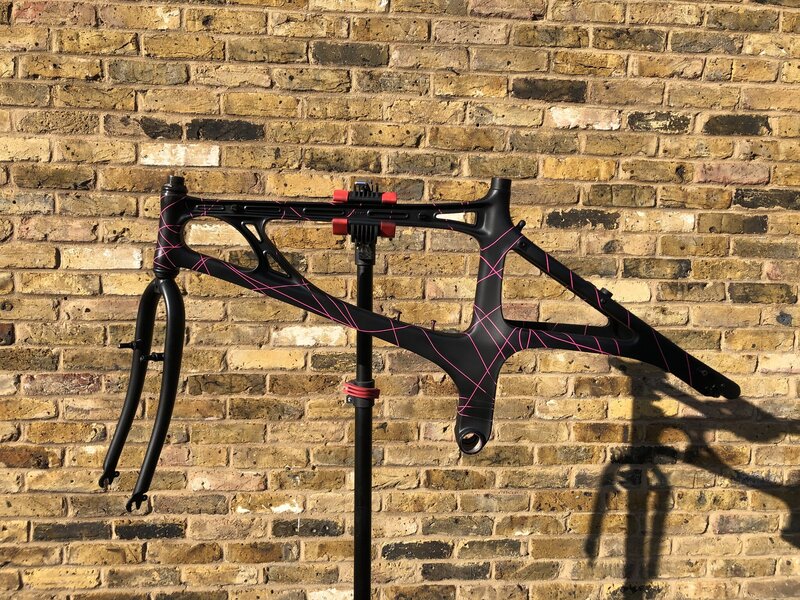
Have been doing up a Kirk Revolution as a little lockdown project - first I’ve done - fun but definitely far from perfect!

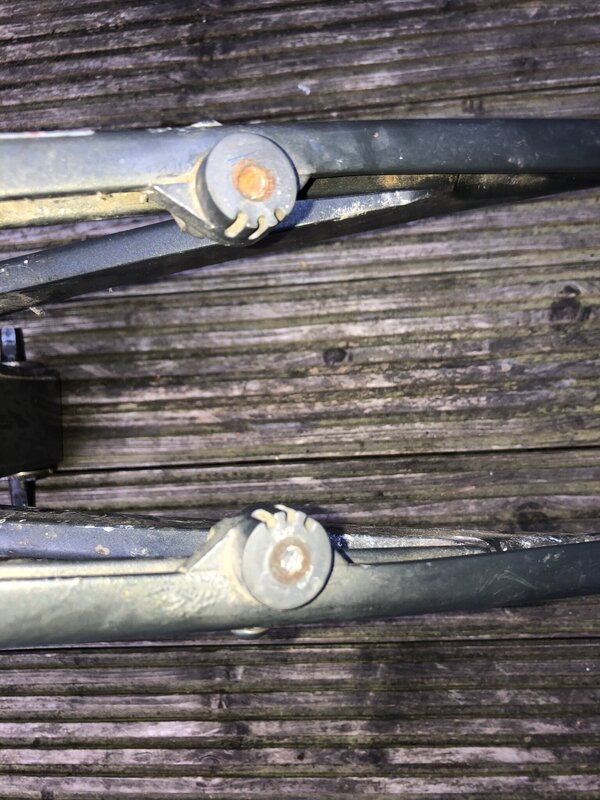
Wanted to see if anyone had any advice on the Kirk rear brakes. The bosses have sheared completely off but when I twist the bolt behind the frame the centre where the boss would have been spins making me think they were screwed in rather than welded. If I drill out the middle am I likely to find a thread I can simply screw in a new M10 brake boss? I’ve been a bit stumped and don’t want to start drilling into the frame without a bit more of an idea!

Any thoughts appreciated!

8E76513C-F4D1-4EE2-8BE7-2702F4EE439F.jpeg B7493837-FCEC-4503-9842-DD587492E7D8.jpeg
 

Attachments

  • B9677332-C009-4A44-BBAF-BEC13B5E6F86.jpeg
    B9677332-C009-4A44-BBAF-BEC13B5E6F86.jpeg
    1.1 MB · Views: 14
  • 144846CE-E667-4CF3-ACFB-D08FBC8F5F12.jpeg
    144846CE-E667-4CF3-ACFB-D08FBC8F5F12.jpeg
    494.8 KB · Views: 15
Be careful if drilling the frame....

NEWS_160619752_AR_0_VLESELEVCOKM.jpg

😅 I had to get that in there before LGF did.
 
The brake bosses were originally bonded into the seatstay bracket with an epoxy structural adhesive , and were retained in position while the
adhesive cured , by a small pan head socket screw . The seatstay brackets were treated similarly , the screws did not contribute any
significant strength to the construction and merely held parts in their correct position . The rear dropouts are also bonded/screwed
in position

To remove the existing damaged bosses you would need to first weaken the epoxy adhesive bond and press the boss out from the back

If you are seriously going ahead with this then I would suggest that you remove the seatstay brackets to gain better access to the boss
retaining screws

I should mention that to weaken the adhesive you will need a hot air gun to achieve around 200C at which point the adhesive will start to
fail enabling you to prise the brackets off and then push the bosses out . You then have the problem of what bosses to fit etc.

Personally I think your best option is to obtain a damaged frame ( with bosses intact ) and swap the brackets over . A relatively simple fix

A cautionary note !

Powder coating temperatures are high enough to seriously weaken/degrade the structural adhesives used in many frame/fork constructions
and not just Kirks

Hoppe this helps , good luck
 
Thanks very much for the response! Had no idea that’s how they were fixed. What’s weird is when I spin the screw at the back a 10mm circle of something on the front where the boss spins - could be that whoever owned it before me tried something.

I do have a second Kirk so I’ll give that a look. Any ideas on how I would I get the brackets off? I’ve taken out the small screw on the side of the frame but the bracket seems firmly stuck in place!

Thanks for heads up on the powder coating - all done so far with a spray can so I’ll stick with that.

Cheers,

Pete
 
You will need to heat the bracket to around 200C to weaken the adhesive and then pry it off with something like a screwdriver blade

Remove all the old adhesive before you re-assemble using something like Devcon and hold the bracket in place with the small screw
 
Or you could get the stubs that are left in there tapped/threaded to take a front fork size boss, rather than de-bond and re-bond? Just an idea.
 
Or you could get the stubs that are left in there tapped/threaded to take a front fork size boss, rather than de-bond and re-bond? Just an idea.
Sounds like a good option , in which case you could remove the retaining screw from the back and make use of the existing
tapped hole to guide your drill . You can drill from the back using an extra long series drill ( 4mm x 120mm say ) this will
hopefully emerge at the front on the exact centreline of the broken boss . Its then a matter of drilling and tapping for
the appropriate threaded boss
 

Latest posts

Back
Top