ThePowster
Old School Hero
Afternoon chaps.
Hope y'all watching the tour
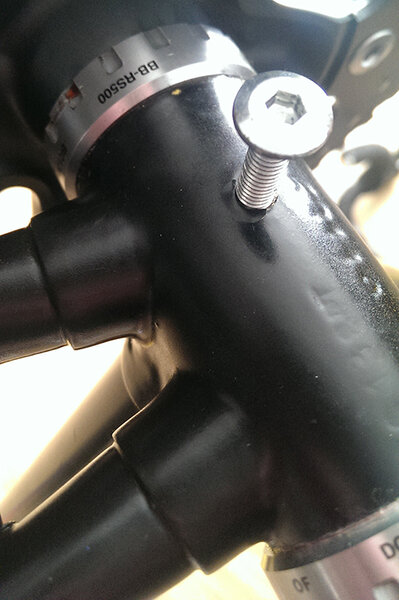
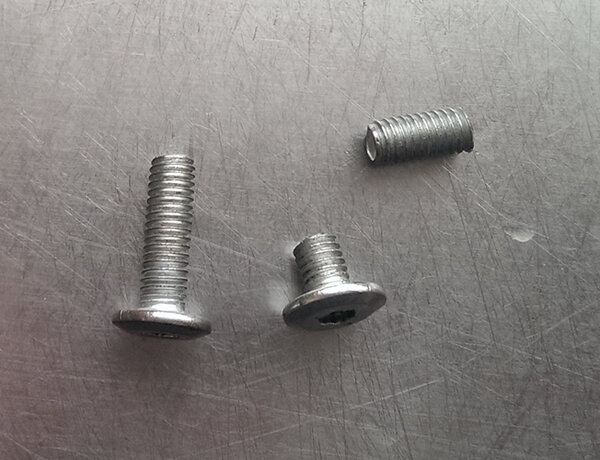
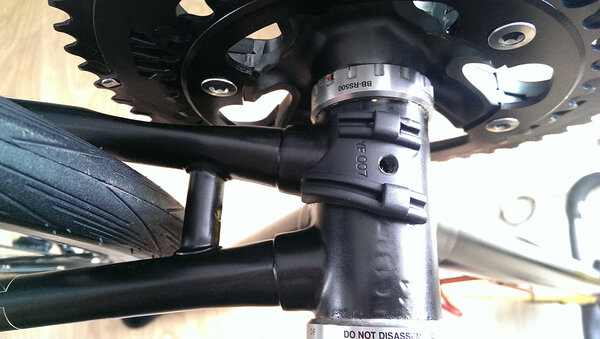
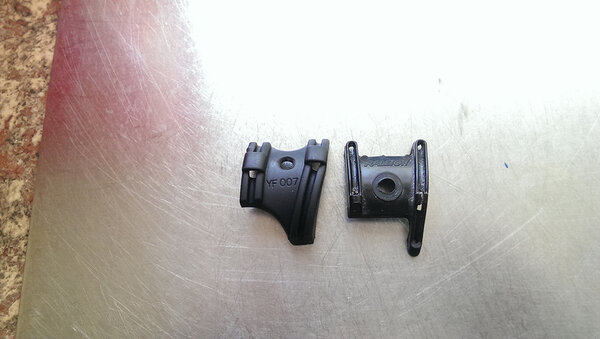
OK so I have been stressing over this cable guide business, I had to break the rivet out the old one when I had the frame painted and it was recommended to me to buy the one below, but I have had no way of installing it as there is just a clean hole in the frame.
I looked at tap and die as a solution and I thought I had a tap and die set but cannot find it so then I thought, what about a self tapping screw or just try and screw new threads into the hole, so thats what I did
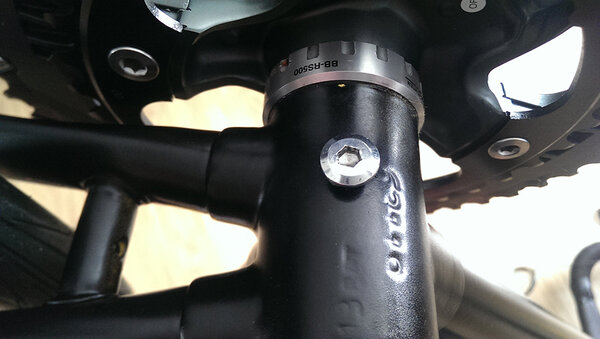
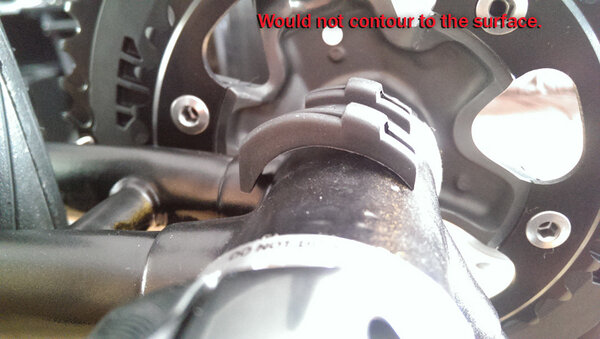
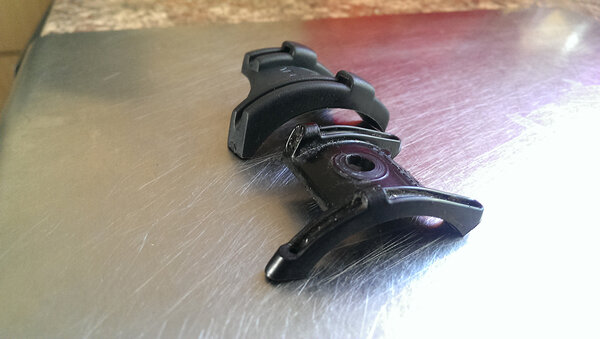
Pleased to say, it worked but... (always a but isn't there) :roll: I am not convinced that I ether have the right part or even if its installed right way round or what's going on.
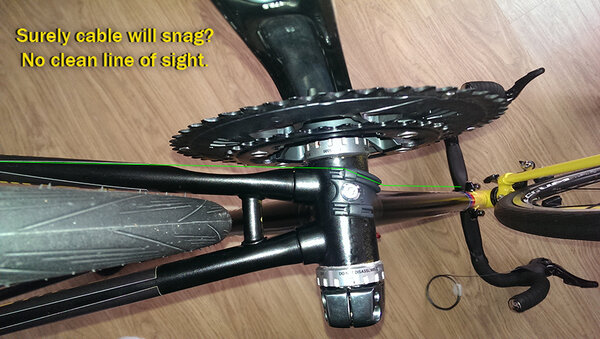
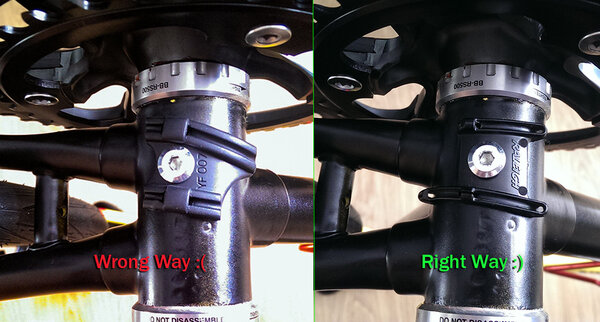
To me at least it looks odd, theres no clear line of sight for the cable to run, it's going to snag at an angle to get through this guide and cut through it, is it not?
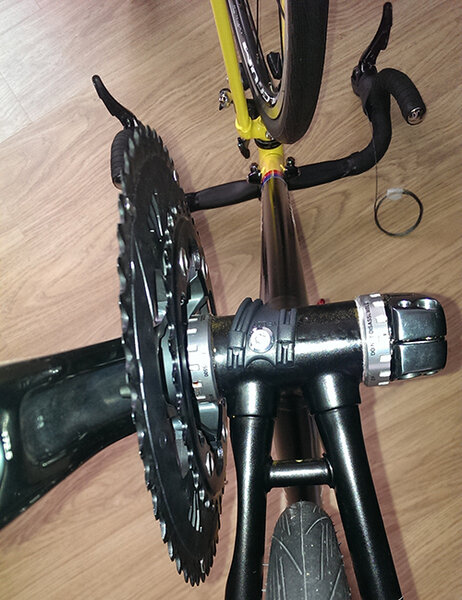
Maybe when the cable is in it will be alright, I dunno, but I wanted to ask the powers that be to see if they can spot anything or if indeed this guide is wrong for this frame.
Piccies
Hope y'all watching the tour
OK so I have been stressing over this cable guide business, I had to break the rivet out the old one when I had the frame painted and it was recommended to me to buy the one below, but I have had no way of installing it as there is just a clean hole in the frame.
I looked at tap and die as a solution and I thought I had a tap and die set but cannot find it so then I thought, what about a self tapping screw or just try and screw new threads into the hole, so thats what I did
Pleased to say, it worked
but... (always a but isn't there) :roll: I am not convinced that I ether have the right part or even if its installed right way round or what's going on.To me at least it looks odd, theres no clear line of sight for the cable to run, it's going to snag at an angle to get through this guide and cut through it, is it not?
Maybe when the cable is in it will be alright, I dunno, but I wanted to ask the powers that be to see if they can spot anything or if indeed this guide is wrong for this frame.
Piccies