Teggers
Old School Hero
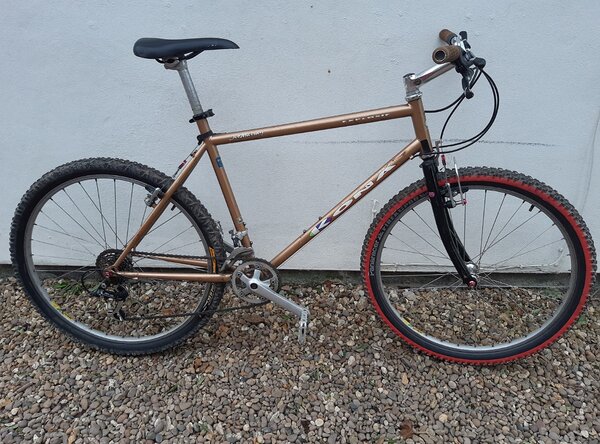
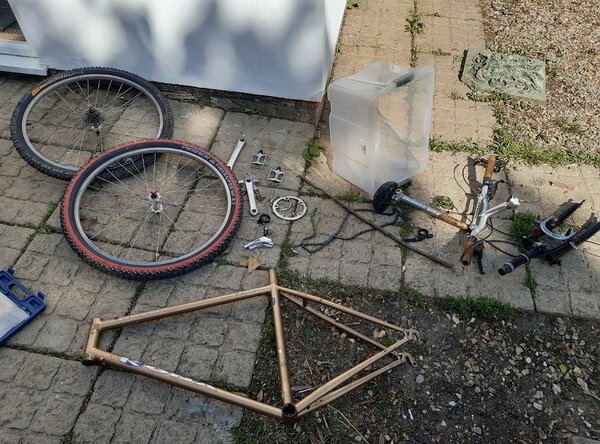
As I threatened when I first joined at the start of lockdown, I have finally started putting together my Explosif.
Warning: I am NOT taking it back to original factory spec so if this irritates you, I don't care as it's my bike not yours
A brief history of the bike: I bought it new in 1992 as old stock in a sale having worked in a plastic injection moulding factory for £2.50 an hour for my entire school summer holidays to afford my first decent bike. I managed to get a good deal and have a set of Rock Shox Mag 21's included. Can't remember how much it was all in but I think it all ended up being about £1000 give or take a bit. Not being one to leave things alone, I extensively changed parts over the subsequent few years to the extent that when I came to look at it as a project this year, not a lot of the original was left.
It was used as variously as a commuter, race bike (early to mid 90's during which I managed to break the Mag 21's), university transport, method of seeing the girlfriend of the time and, of course, its proper use as a trail bike. Then in 2009 it was relegated to the back of my garage as I bought a Felt Q520 (again, end of year clearance sale!)
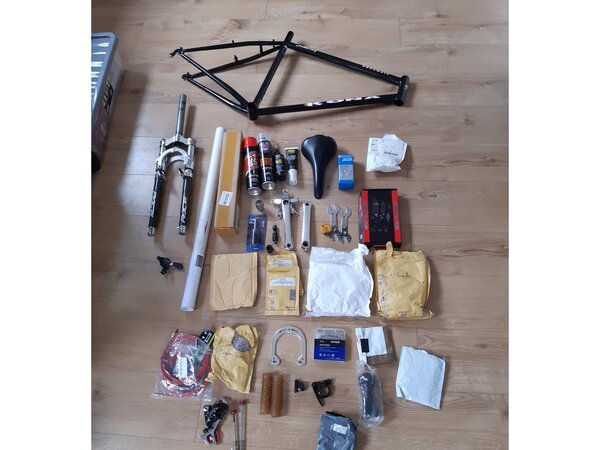
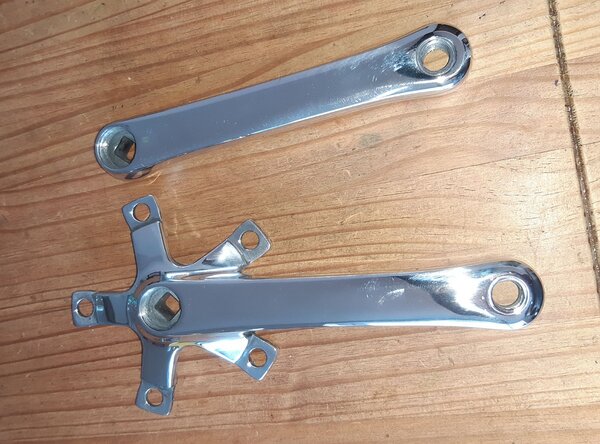
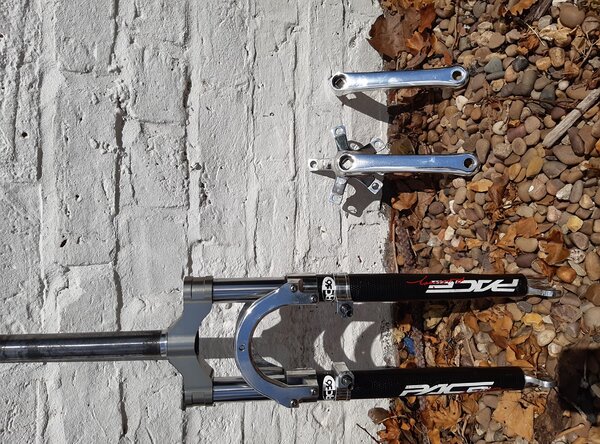
I have spent a lot of time online during lockdown browsing for parts and deciding how I wanted to go with my build. In car circles, it's called a restomod. Examples to put it into perspective for anyone who doesn't know what this is, think a '60's musclecar (Mustang/Camaro etc) with a new crate V8 with a blower or a nice old barn conversion house with new electrics and plumbing. So there are carbon bits, new model parts, older parts and, yes, even a few period correct parts!
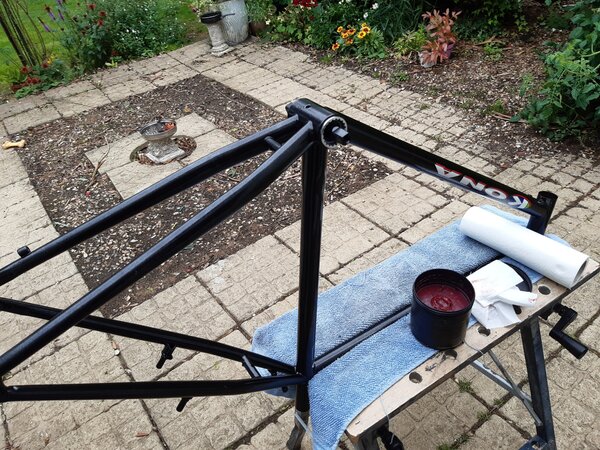
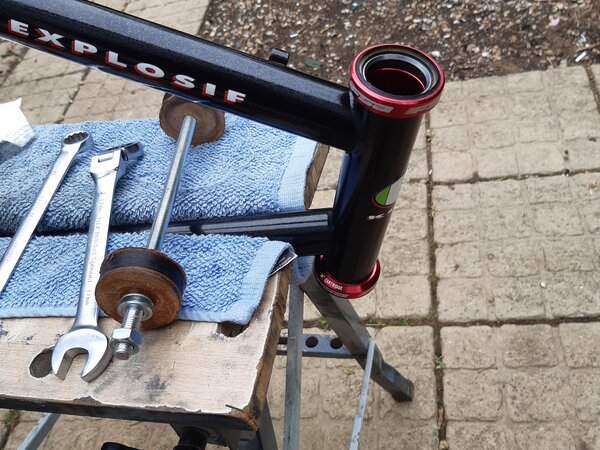
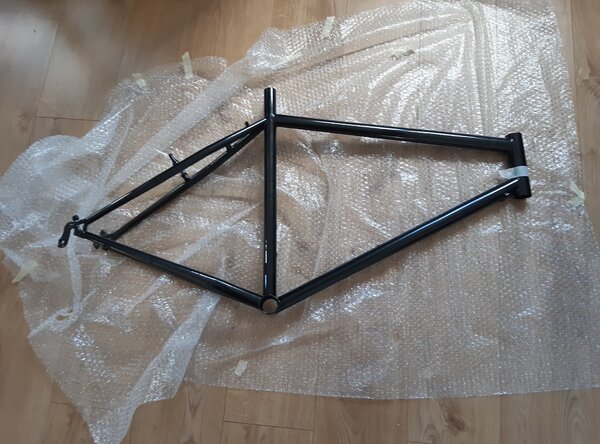
Decided on a black and silver theme with red highlights/trim to match the red highlights of the lettering.
I'm still waiting for a couple of parts to arrive and the build will now be done as and when I have time as I'm back at work on Monday.
Pics go from the bottom up in terms of progress...
Warning: I am NOT taking it back to original factory spec so if this irritates you, I don't care as it's my bike not yours
A brief history of the bike: I bought it new in 1992 as old stock in a sale having worked in a plastic injection moulding factory for £2.50 an hour for my entire school summer holidays to afford my first decent bike. I managed to get a good deal and have a set of Rock Shox Mag 21's included. Can't remember how much it was all in but I think it all ended up being about £1000 give or take a bit. Not being one to leave things alone, I extensively changed parts over the subsequent few years to the extent that when I came to look at it as a project this year, not a lot of the original was left.
It was used as variously as a commuter, race bike (early to mid 90's during which I managed to break the Mag 21's), university transport, method of seeing the girlfriend of the time and, of course, its proper use as a trail bike. Then in 2009 it was relegated to the back of my garage as I bought a Felt Q520 (again, end of year clearance sale!)
I have spent a lot of time online during lockdown browsing for parts and deciding how I wanted to go with my build. In car circles, it's called a restomod. Examples to put it into perspective for anyone who doesn't know what this is, think a '60's musclecar (Mustang/Camaro etc) with a new crate V8 with a blower or a nice old barn conversion house with new electrics and plumbing. So there are carbon bits, new model parts, older parts and, yes, even a few period correct parts!
Decided on a black and silver theme with red highlights/trim to match the red highlights of the lettering.
I'm still waiting for a couple of parts to arrive and the build will now be done as and when I have time as I'm back at work on Monday.
Pics go from the bottom up in terms of progress...
Attachments
-
 IMG_16062020_134042_(1080_x_800_pixel).jpg237.9 KB · Views: 1,069
 -
 IMG_16062020_134322_(1080_x_800_pixel).jpg264.1 KB · Views: 1,068
 -
 IMG-20200627-WA0001.jpg210.9 KB · Views: 1,066
 -
 IMG_11072020_110519_(1080_x_800_pixel).jpg164.2 KB · Views: 1,066
 -
 IMG_11072020_110538_(1080_x_800_pixel).jpg210.5 KB · Views: 1,066
 -
 IMG_16062020_134545_(1080_x_800_pixel).jpg169 KB · Views: 1,064
 -
 IMG_20062020_130910_(1080_x_800_pixel).jpg286.8 KB · Views: 1,065