In the mean time parcels have been arriving and still more are on their way.
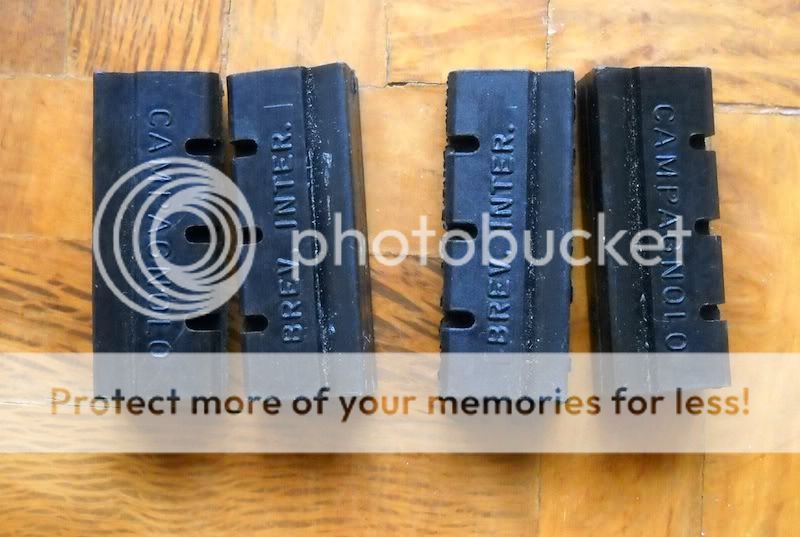
Brake pads NOS x4
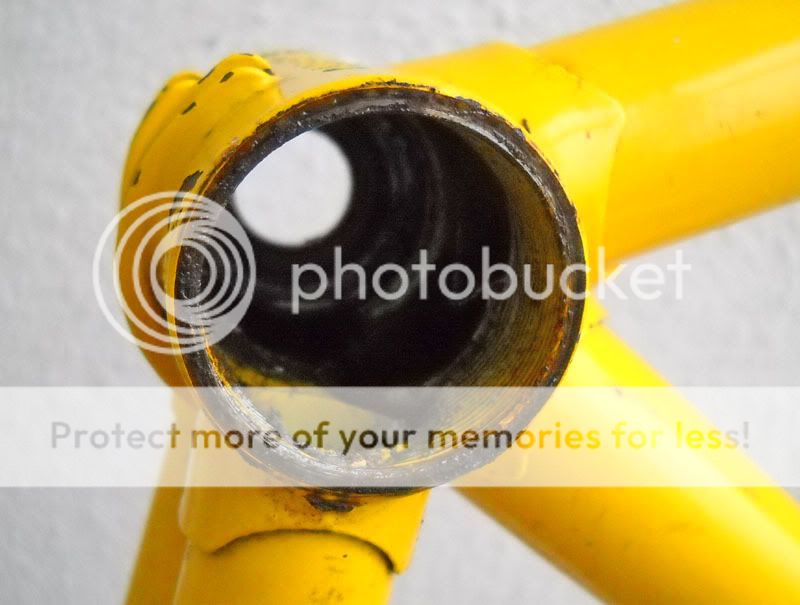
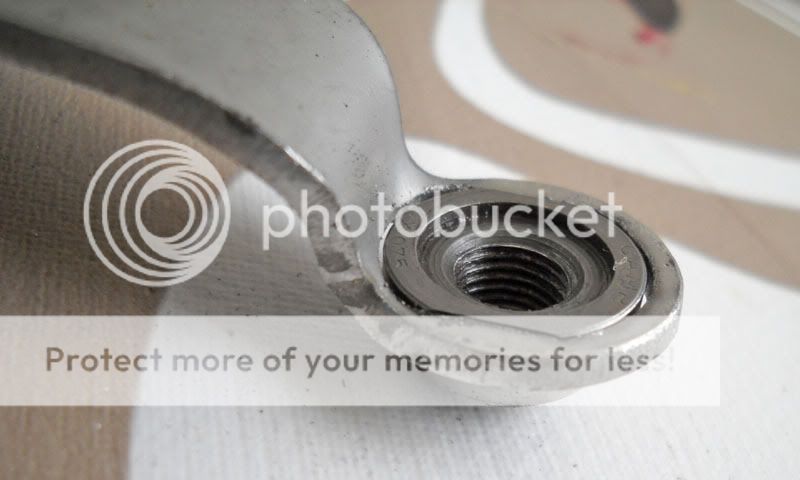
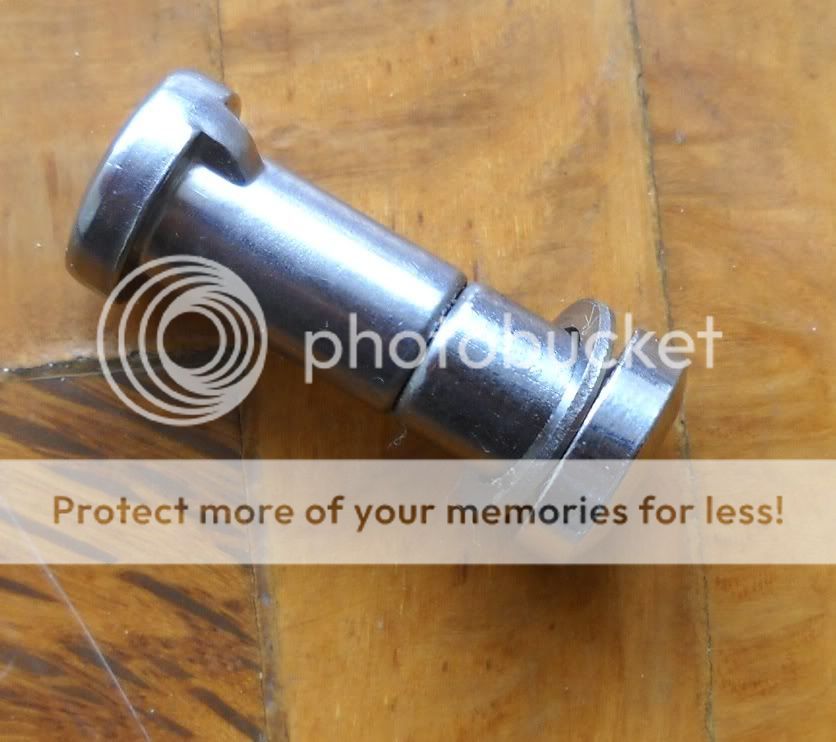
Seat pin
Chain and bar tape
(sorry no photos)
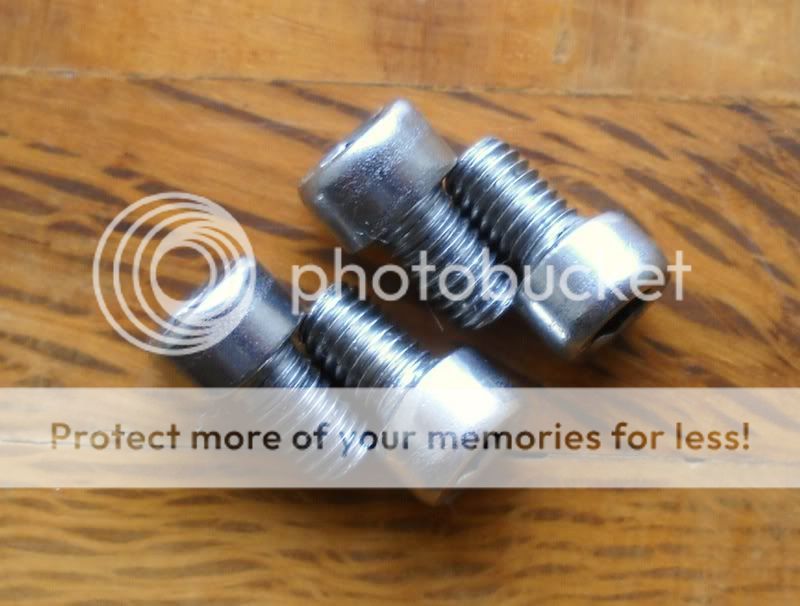
Cage bolts x4
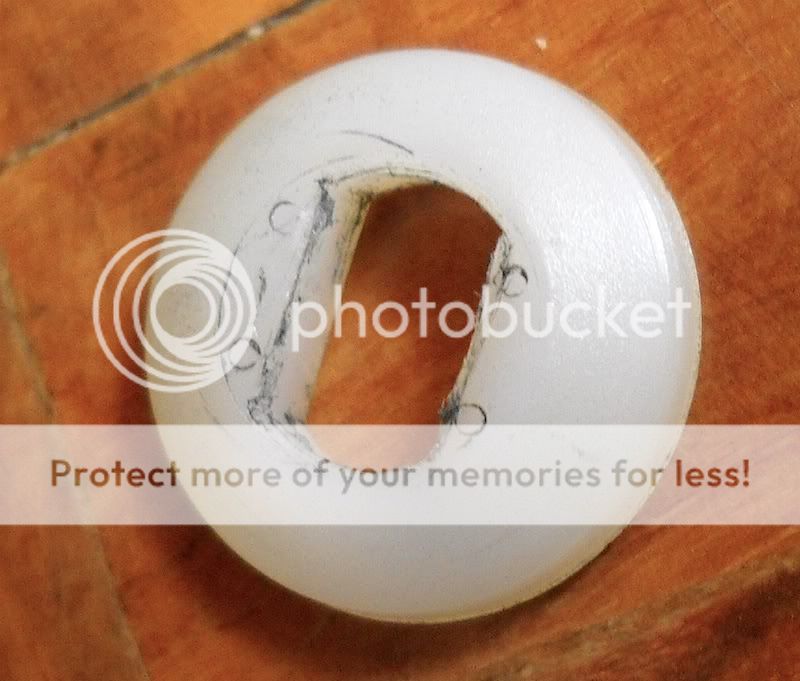
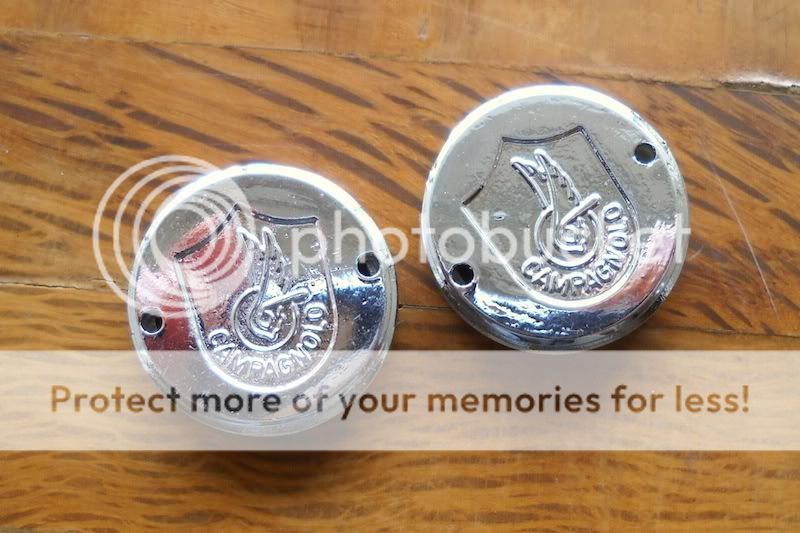
Dust caps NOS x2
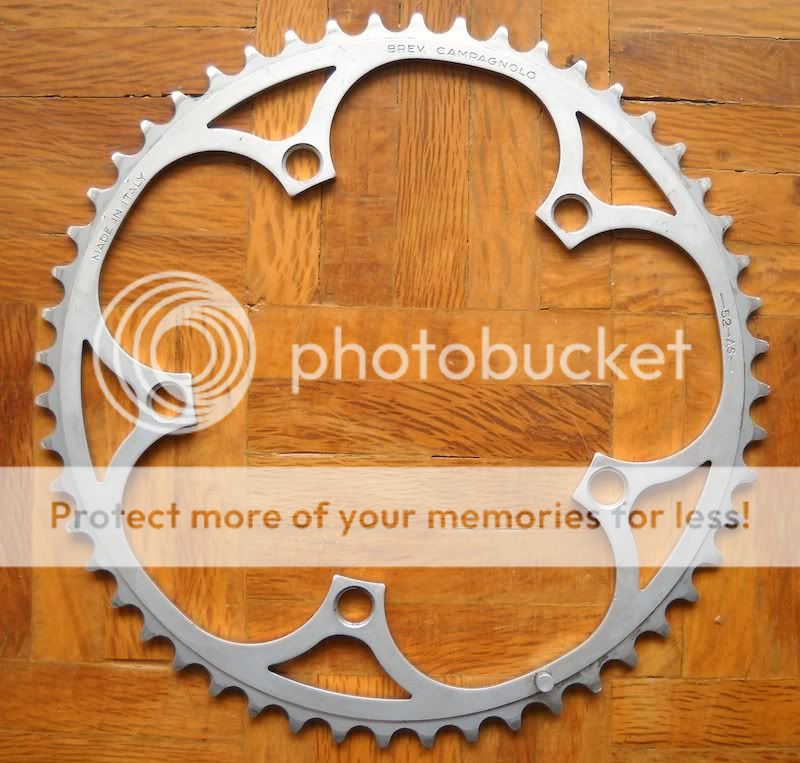
52T chainring (got it here on the forum)
Michelin tires x2 + continental tubes x2 + michelin rim tape x2
(sorry no photos)
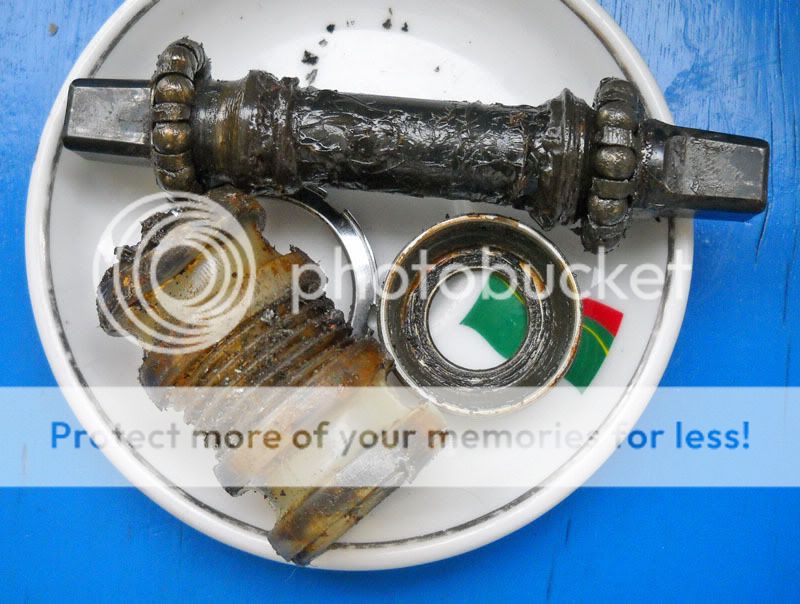
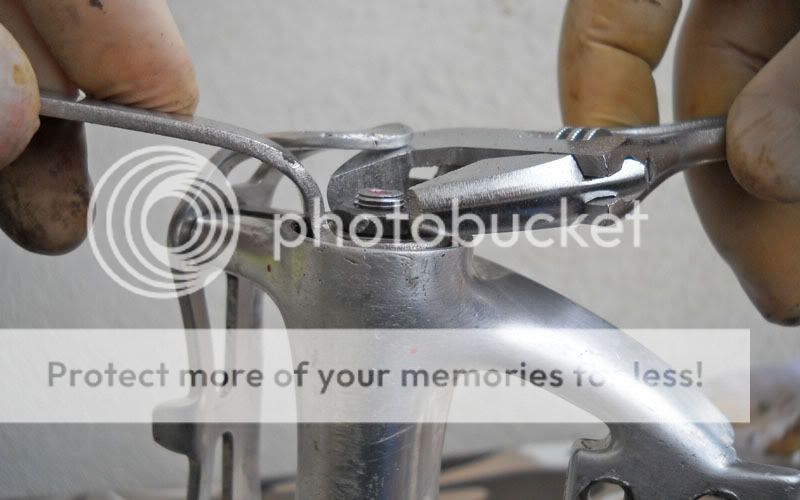
Dropout adjusters x2

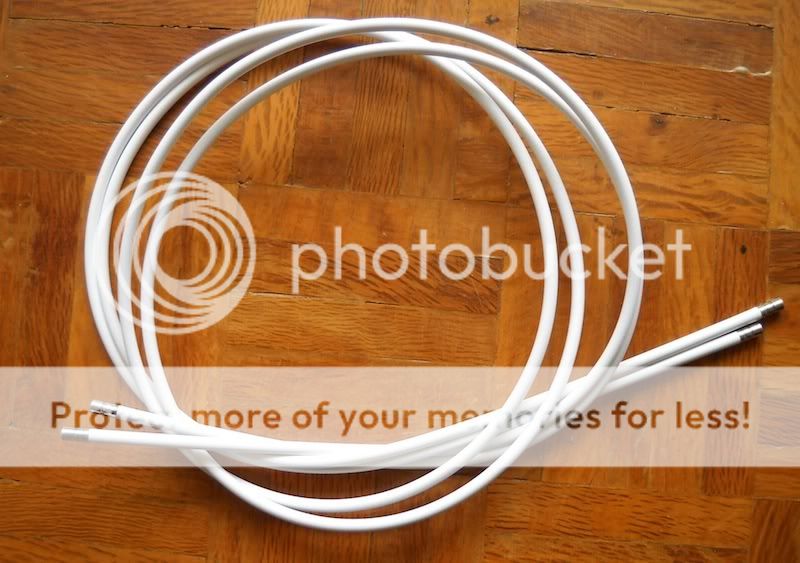
New white cable outer (2x1,5m)
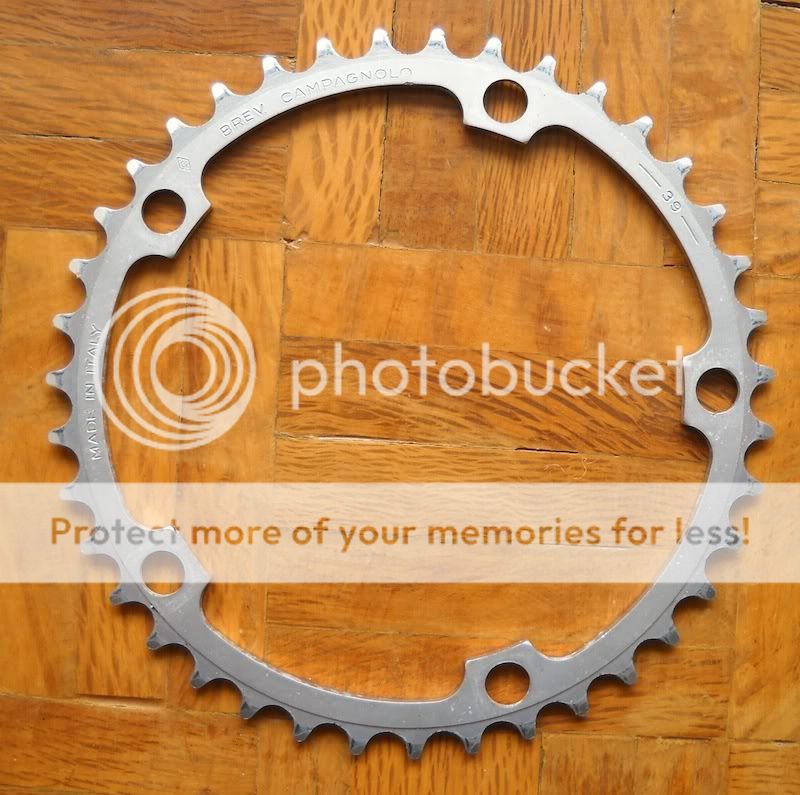
39T chainring (got it here on the forum)
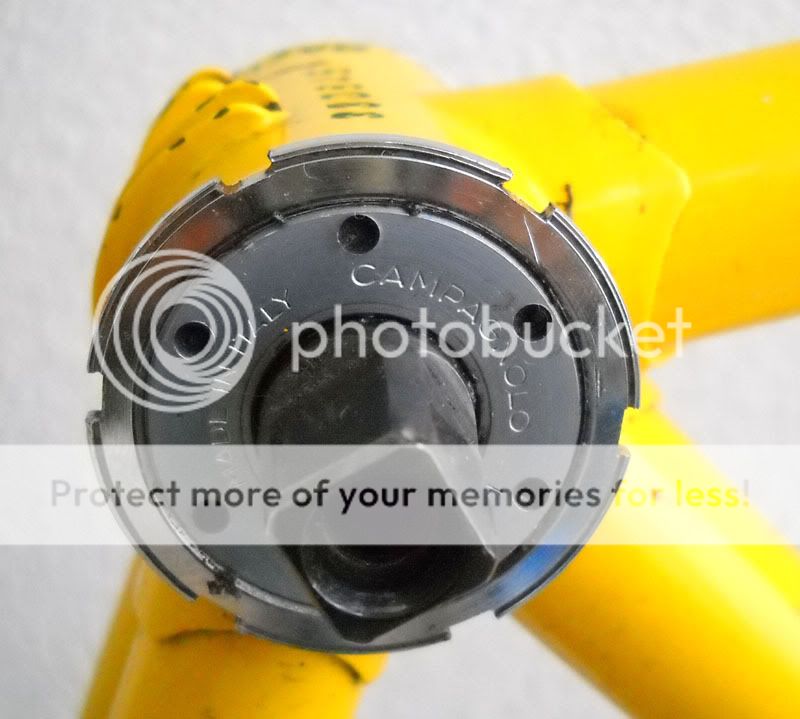
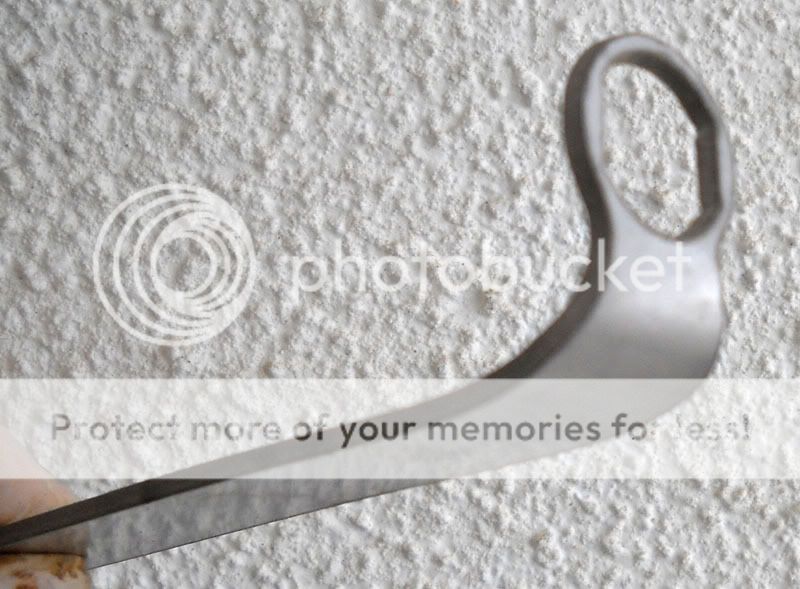
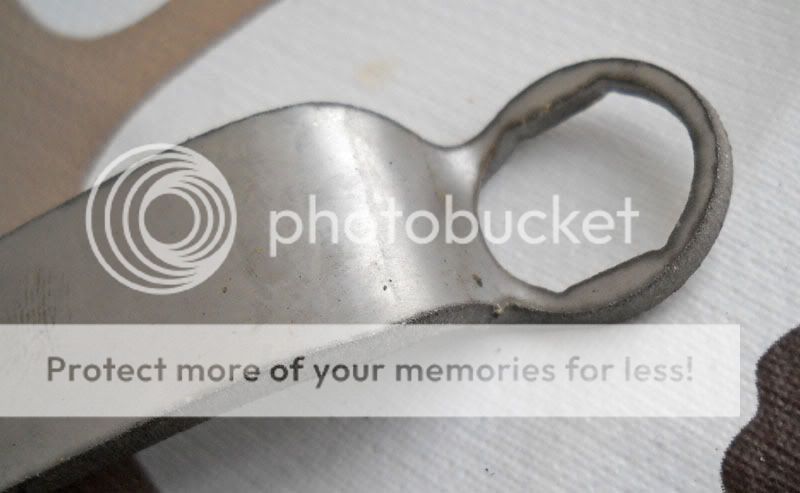
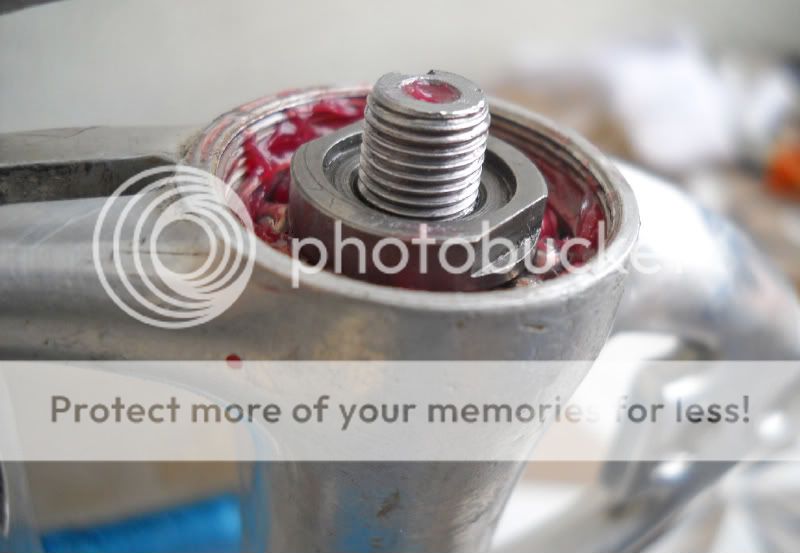
Front Athena skewer

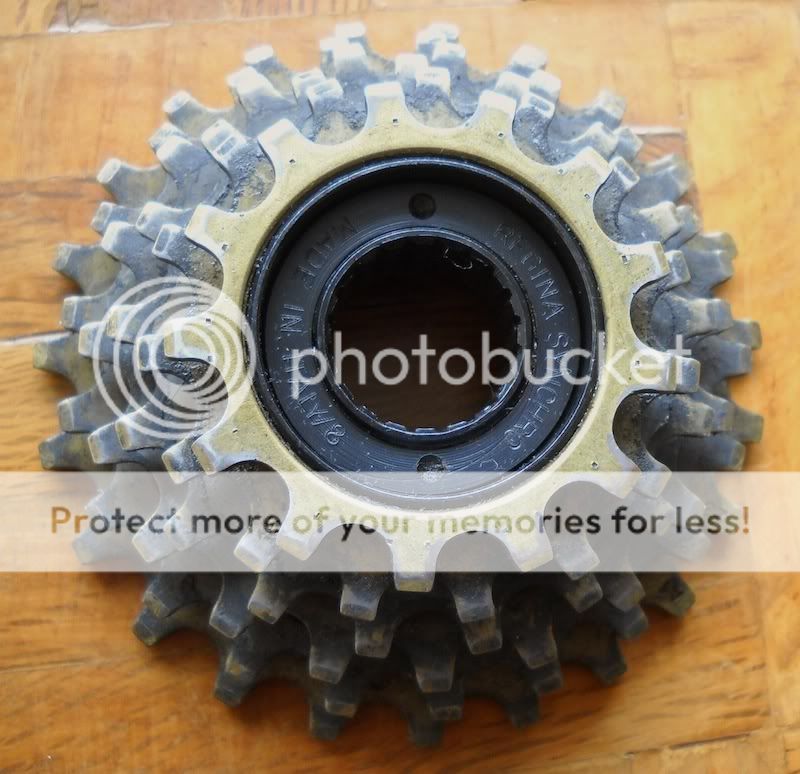
Regina freewheel (6 speed)
just wish I had more time to work on this project!
Brake pads NOS x4
Seat pin
Chain and bar tape
(sorry no photos)
Cage bolts x4
Dust caps NOS x2
52T chainring (got it here on the forum)
Michelin tires x2 + continental tubes x2 + michelin rim tape x2
(sorry no photos)
Dropout adjusters x2
New white cable outer (2x1,5m)
39T chainring (got it here on the forum)
Front Athena skewer
Regina freewheel (6 speed)
just wish I had more time to work on this project!