Wheel building!
If you wanna build wheels read this, if not perhaps not, it is LONG
Still waiting on loads of small parts that will complete the build
Including a pack of spoke nipples!
One pack has arrived, one hasn't so I built one wheel just to see how it will look and to post the process
Here goes;
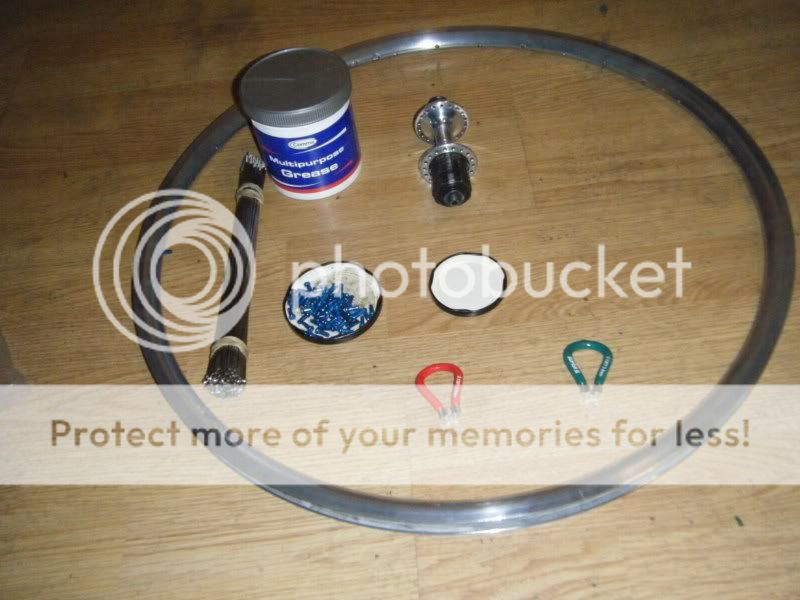
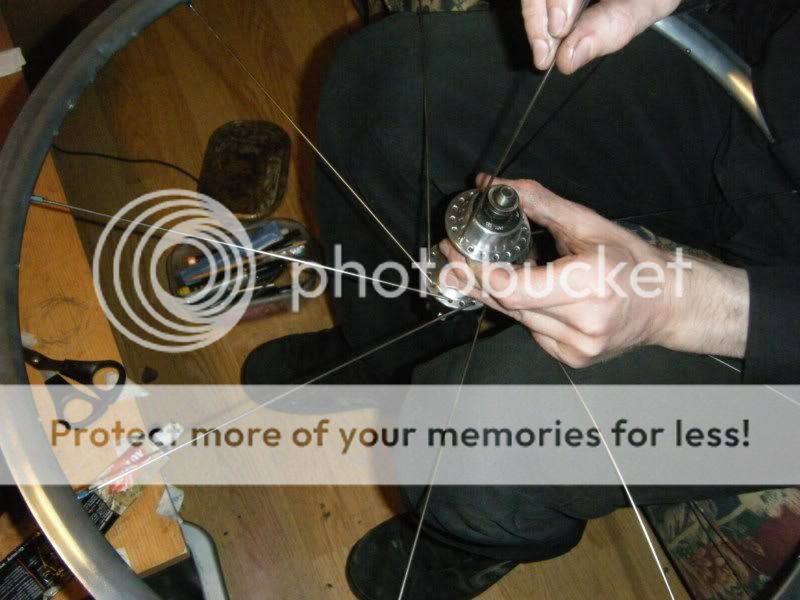
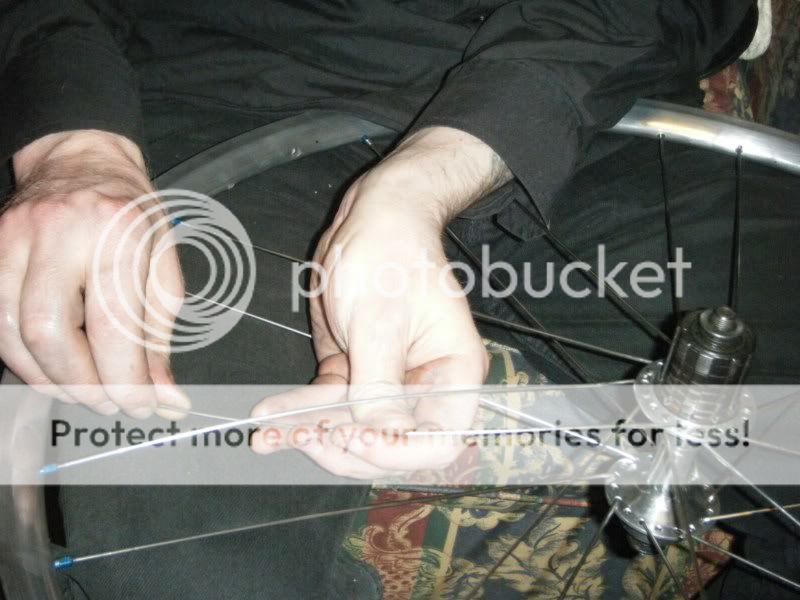
Here's the kit - I'm greasing my nipples - Ooh err - cos mine are a similar material to the rim and I don't want them to jam together sometime down the line:
The wheel I'm building is 36 spoke, laced in a 'three cross' pattern (meaning each spoke crosses three others)
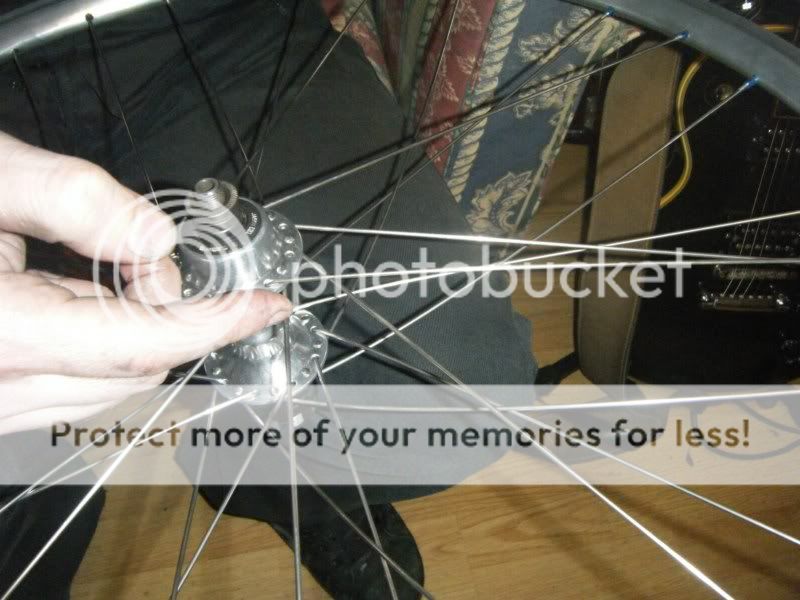
So to begin with we are wanting to do all our work work from the drive side of the hub and rim
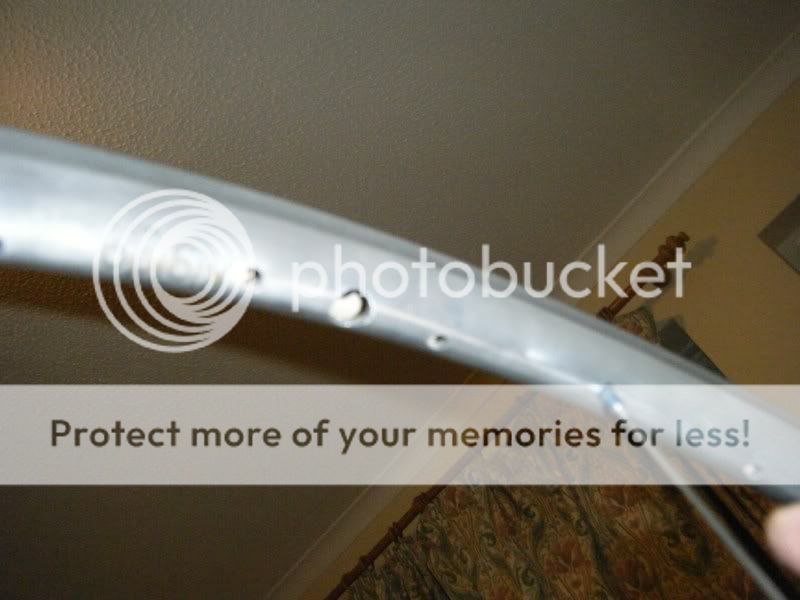
Looking at the rim you will se that the spoke hole drillings are angled alternately left and right... But which side is which?
We want the markngs on the rim to be readable from the drive side, which makes our decision!
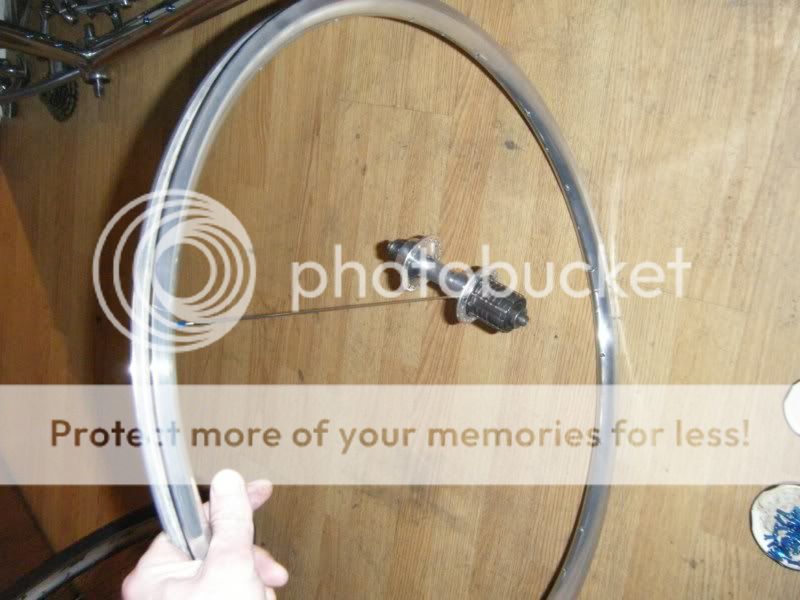
We want to start with an inside spoke on the drive side of the hub (the drive side of the hub is easier to identify)
")
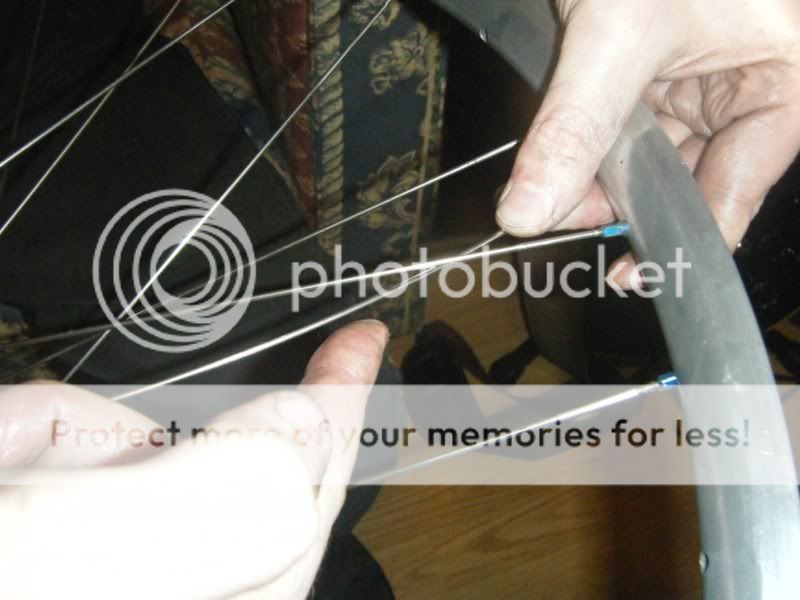
We want the first spoke we insert to go the hole which is nearest the right of the valve hole (or clockwise) and drilled for the correct angle, so it will be a right side spoke hole
In our case this is second hole to the right/clockwise of the valve hole viewed from the drive side
*********************
- This bit is purely optional
I want the marking on the hub to line up with - and be readable through the valve hole
So I find the markings and rotate the hub six spoke holes counter clockwise (left) If our firt hole was right next to the valve hole I would have rotated it by five holes
*********************
Back to the proper stuff!
Let's begin:
Then skip one hole on the hub and three on the rim - clockwise - and insert the next spoke
These first spokes all run up the inside of the hub flange, the heads sit against the outside. Only put the nipples on a couple of turns
Continue all the way around the wheel...
The spokes will seem really long and it won't look anything like a wheel, but keep the faith!
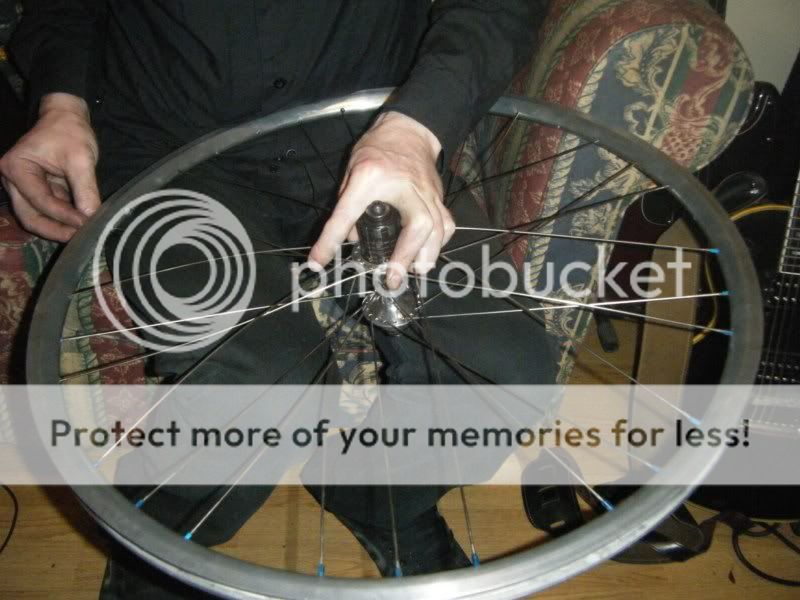
Now we want to do the non drive side inside spokes:
You will need to flip the wheel over
To get first of the non drive side spokes in the right place, look for your first spoke that you put in
It will be nearest the valve hole, but now on the left of the valve hole
Looking at the hub square on you should notice that the holes on the dive and non drive sides are offset
This is important
Your first non drive inside spoke will go into the hole which is offset to the right (clockwise) of the hole that your first drive side spoke went into
It will go to the hole in the rim which is immediately to ther right (clockwise) from the spoke on the drive side
If you have done it right, these spokes shouldn't cross over
Again the heads are all on the outside of the hub...
keep this pattern going all the way around the rim
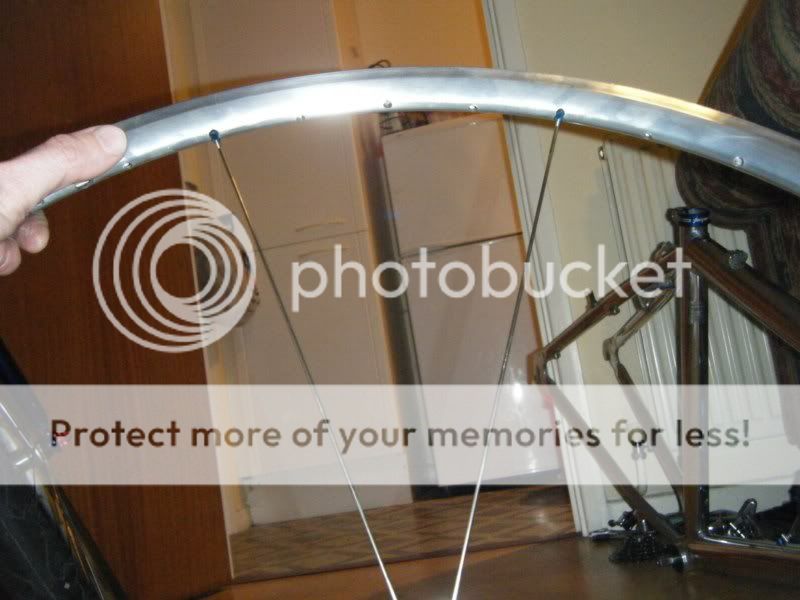
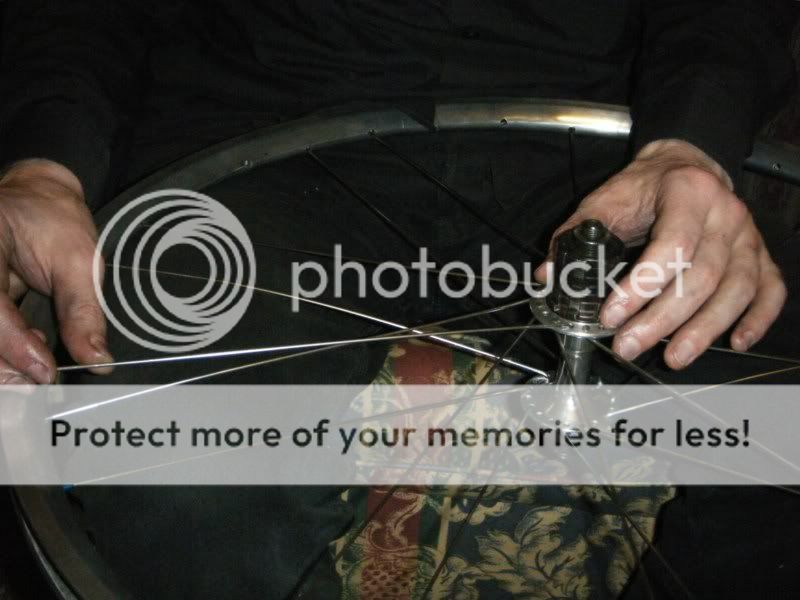
Now this is where the 'lacing' comes in
The out side spokes cross the inside spokes
Working from the drive side again, find your first spoke (that you began with all that time ago)
Insert a spoke into the hole in the hub wich is immediately couter clockwise (to the left) of that spoke
This spoke will be running on the outside of the hub, the head will be inside
Now this spoke will run clockwise accross your first spoke and the drive side inside spoke which is in the next hole but one on the drive side
It will cross over these two... On the outside of the wheel...
It will also cross one more drive side spoke, but this time it will cross under... Or run inside...
That's your three crosses (we are only considering drive side spokes in counting crosses)
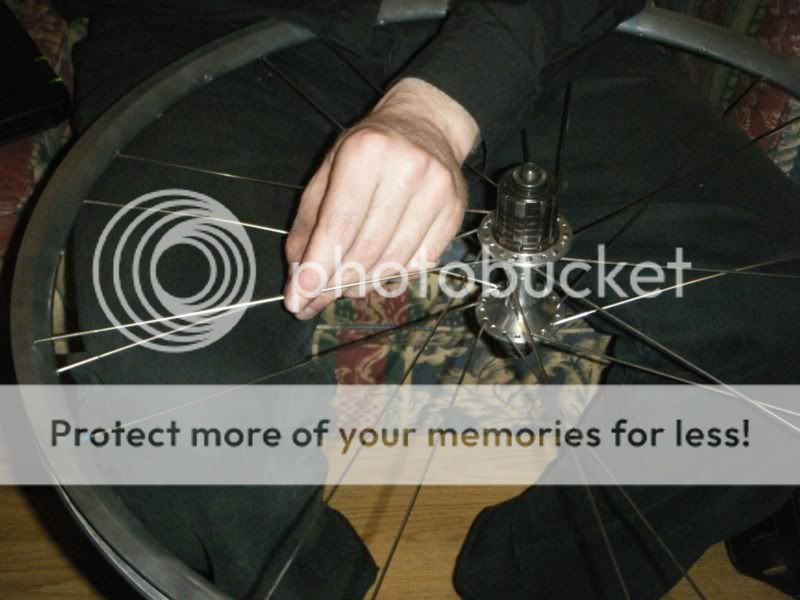
Some bending about will be neccessary to the lacing to happen, try not to mark your rim with the spoke
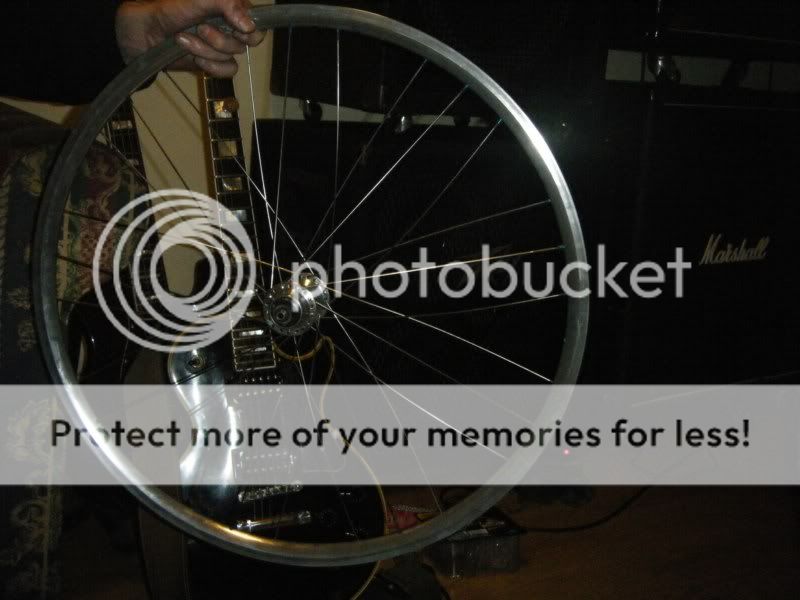
You will now see that the spokes aren't too long at all
Same spoke pictured from another angle:
Same spoke pictured from yet another angle:
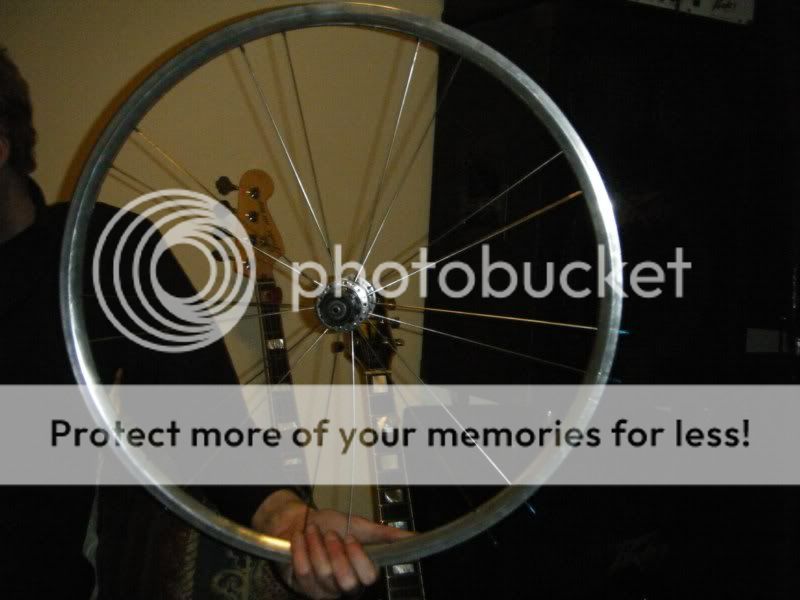
Carry on around and it will now start to look very wheel like
We're 75% done!
Frome here on in it's fairly obvious;
Same pattern as before except these are to the right (clockwise) from the inside, non drive side spokes and will run counter clockwise
Same three cross pattern crossing over two and under one of the inside spokes
Over, over:
Under:
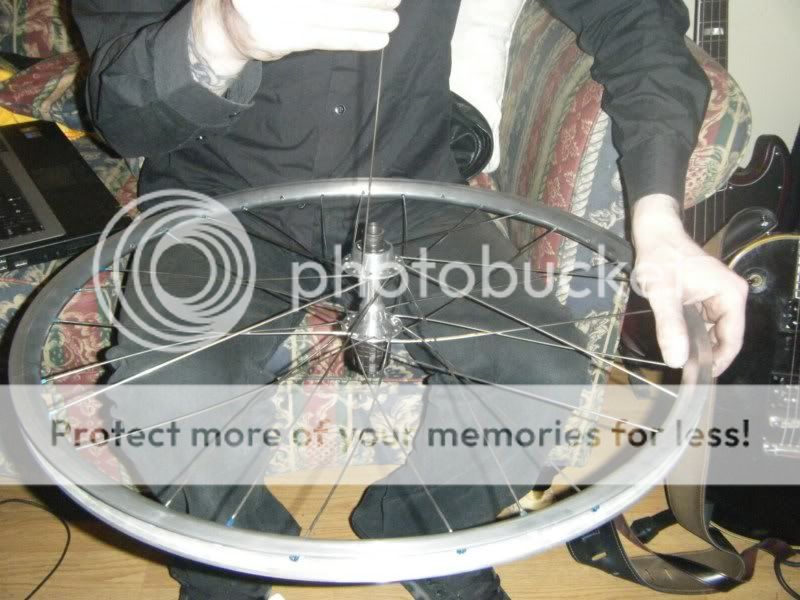
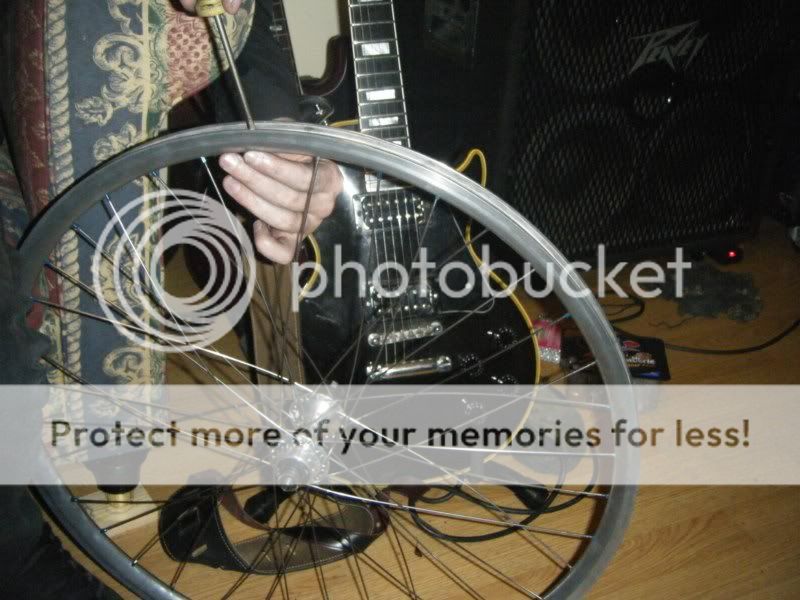
And finally!
You can get basic tesion on all the spokes nice and quickly like this:
Tighten them one turn at a time and you should end up with a fairly true round wheel, which you can then true up easily