You didn’t expect it to be quick did you ?

Well the weekend didn’t quite go to plan, but in-between house stuff (trip to IKEA etc) and painting wooden garden toys in prep for my daughters first birthday I actually managed to get a few little bits done on the bike
these updates are from over the last week or so
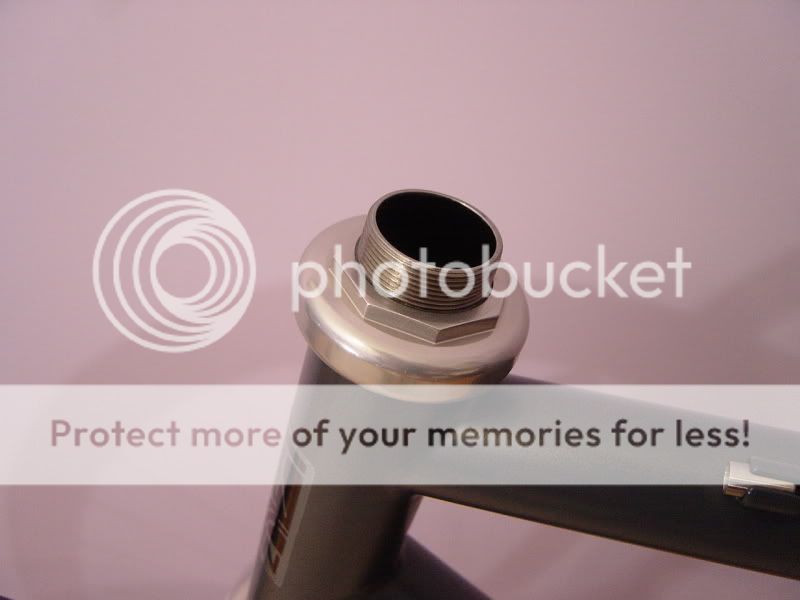
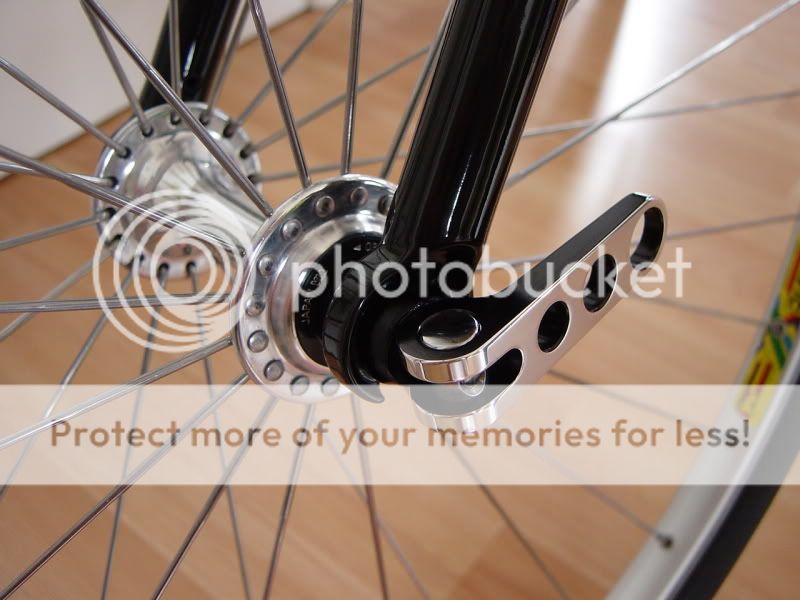
I found out that the SS shim washer on the headset was a bad idea as it was thin enough to jam in the threads making adjustment difficult (note to oneself – that’s why the washers they come with are thicker than the thread pitch
) still, gave me an excuse for a last photo of the tread seeing as how I have never owned one so neat – and it will stay that way as there is no tag washer to start to bugger the thing up :
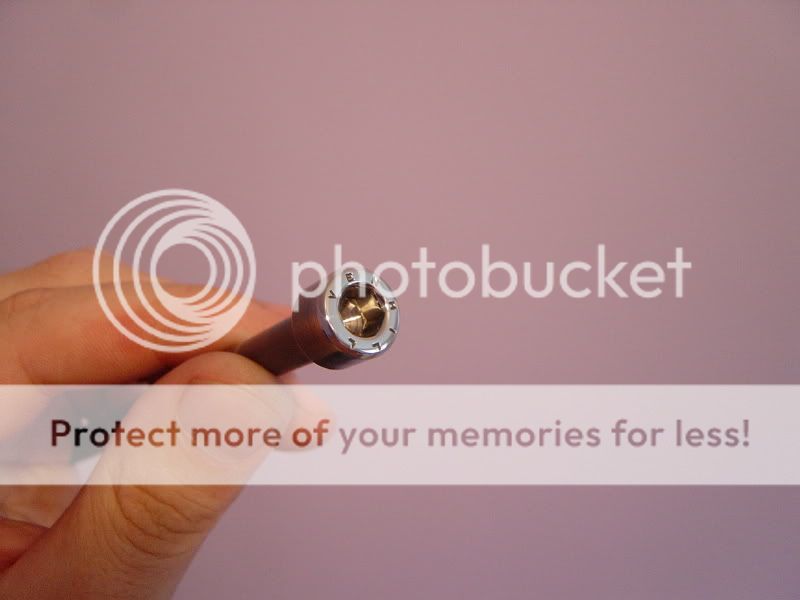
But tightening the stem quill resulted in a damaged bolt due to a small burr on the hex drive stopping it going down the bottom of the hole (only noticed when it was to late :-() and a scuff on the top of the quill :-( but a pit of re-polishing sorted it all out :
(just ignore the grease, the bikes covered in it at the moment
)
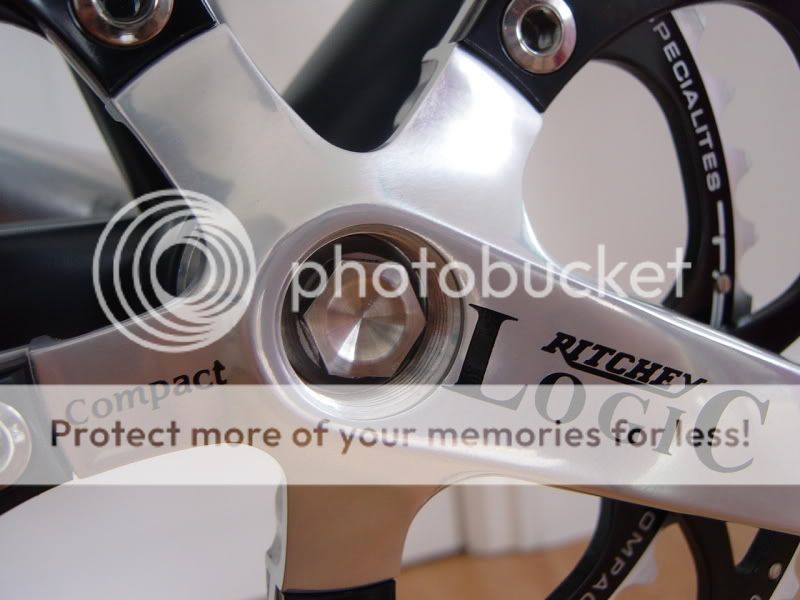
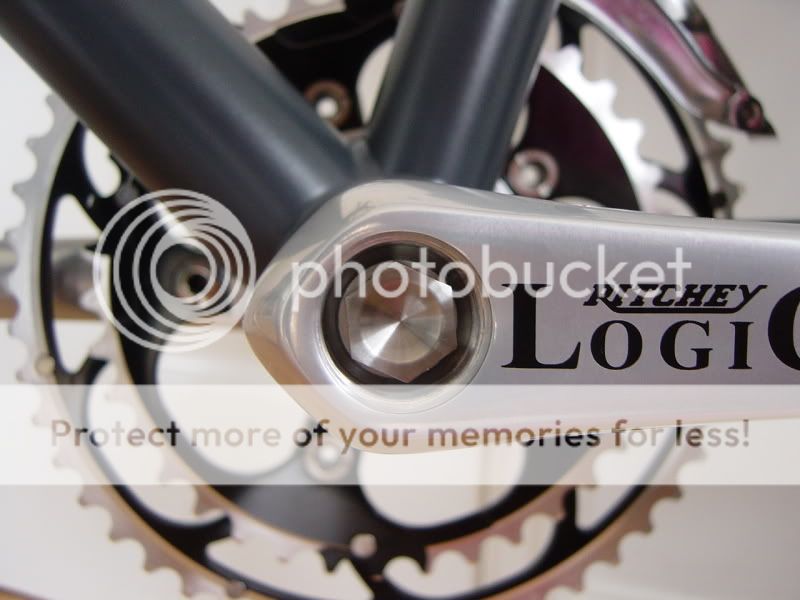
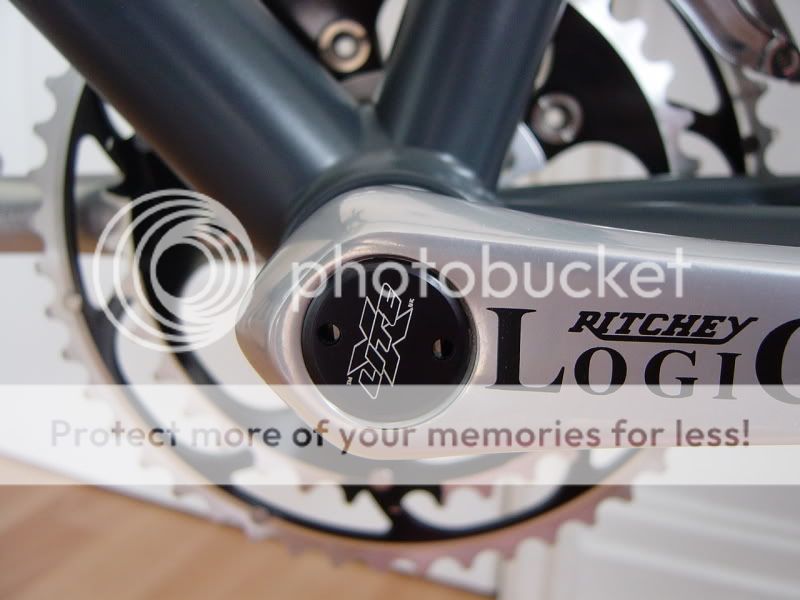
The modified bolts and spreader washers fit well and allow the caps to seat home properly :
and the grooves in the back of the chain ring bolts line up …
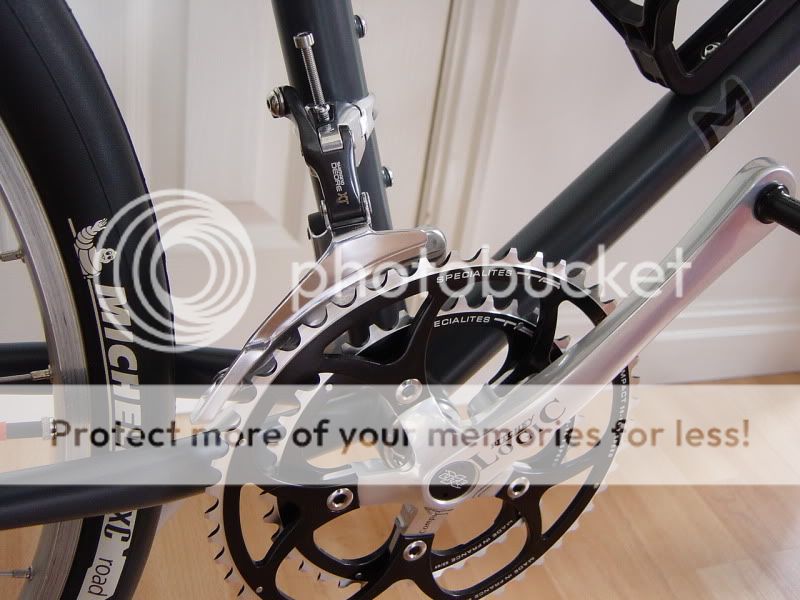
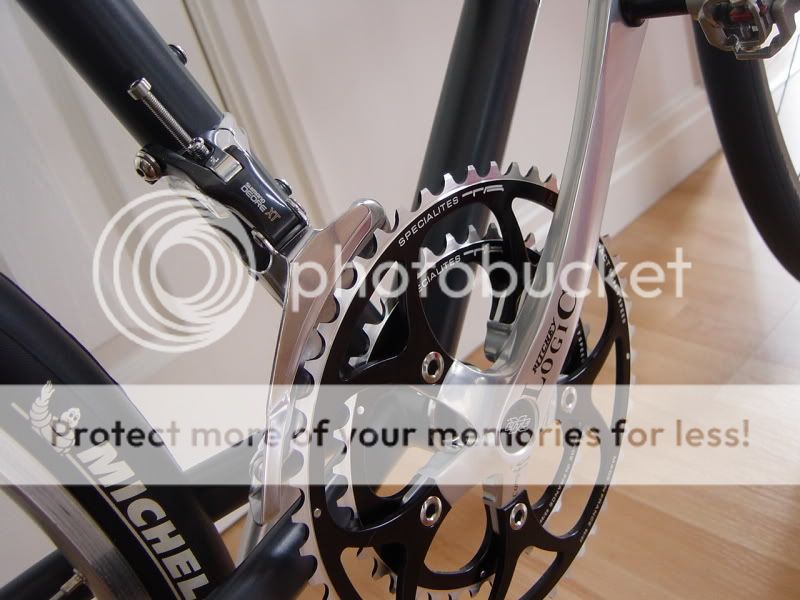
Front mech alignment has always bugged me (clamping it up, trying it, moving it etc) but I tried this with the long bolt and it was easy to do :
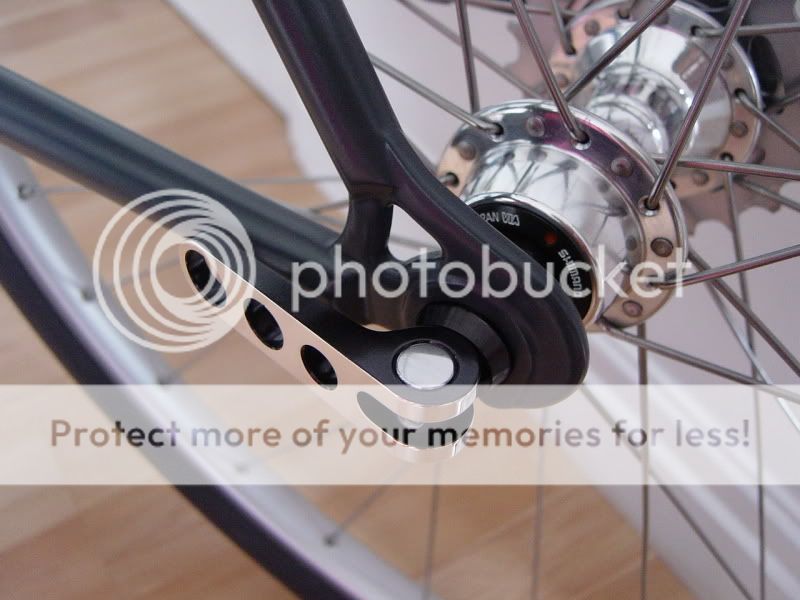
And a couple of the Ringle bling :
After realizing the springs were wrong handed on the rears, the cantis are now fully assembled and adjusted (never seem to remember it taking me so long to adjust the pads etc
) with kool-Stop ‘Quik Klaw’s. No pictures though 23:30 was a bit late for that
WD