Marin 1990 Bear Valley Rebuild - FINISHED !!! PAGE 38 !!!

I'm really pleased the first job has worked out to be a success, with those forks. ;) :LOL: I'm nervous with bated breath to see that the rest of the jobs work out a-ok :D
 
It's this sort of thread that has made me join up, love following your work.
Great job on the fork thread proving the old saying "If you want a job done properly, do it yourself".
I'm sure the rest of the work on them should be child's play to a man of your skill and patience.
 
Inspirational. Does make all my attempts to rebuild seem super rubbish but there we go!

I know you aren't going to be off roading it but will you even want to take it for a little spin after all this effort?
 
Thanks for all the comments :oops: :cool:

coomber":ht5iqvjz said:
I know you aren't going to be off roading it but will you even want to take it for a little spin after all this effort?

Of course ! (if its dry … :oops: :LOL:)

I am really looking forward to it. I have just moved into a new office at work and I even moved all the furniture around so I have a safe place for the bike :LOL: I plan on riding it in over summer and its not staying in the bike shed ! :shock: :D

I have got to find myself a big hill and see how fast I can pedal it to :LOL:

Hoping to have my first go at brazing over the weekend and de-boss / smooth off the forks ready for powder :D

WD :D
 
Well it was another good day with the build :)

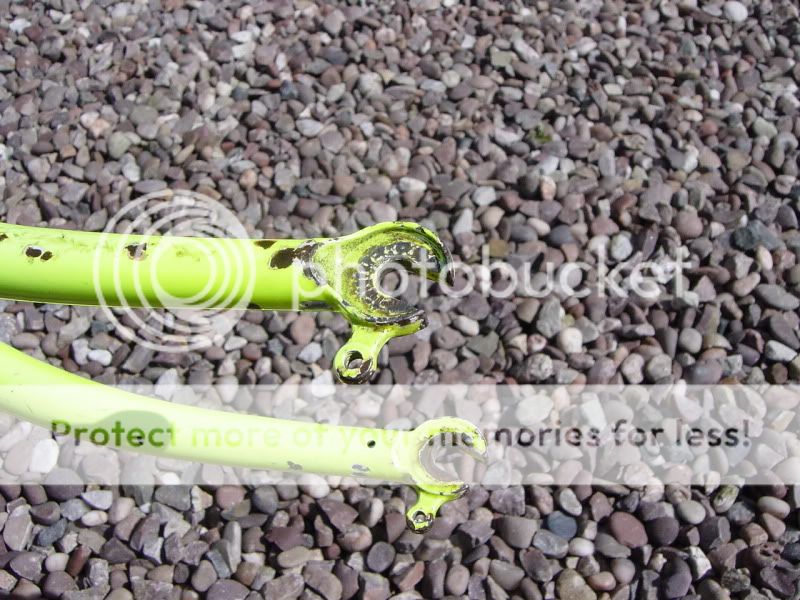
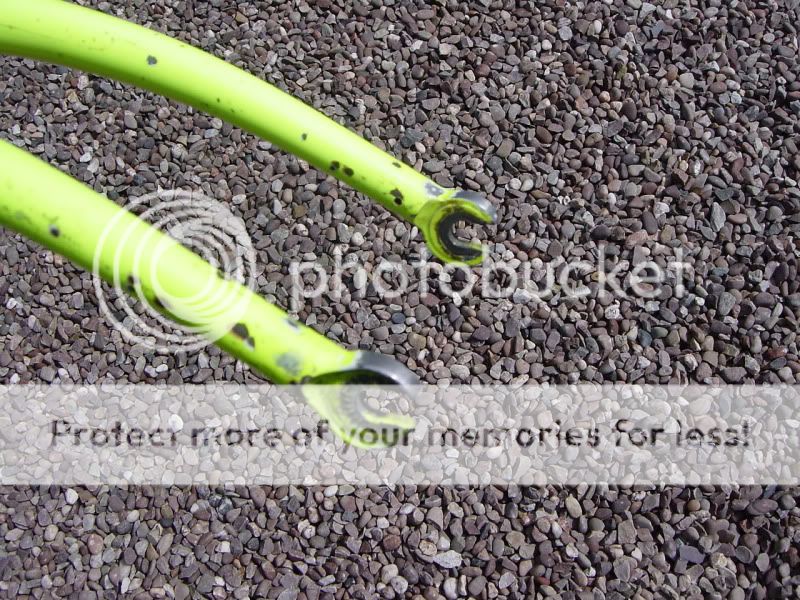
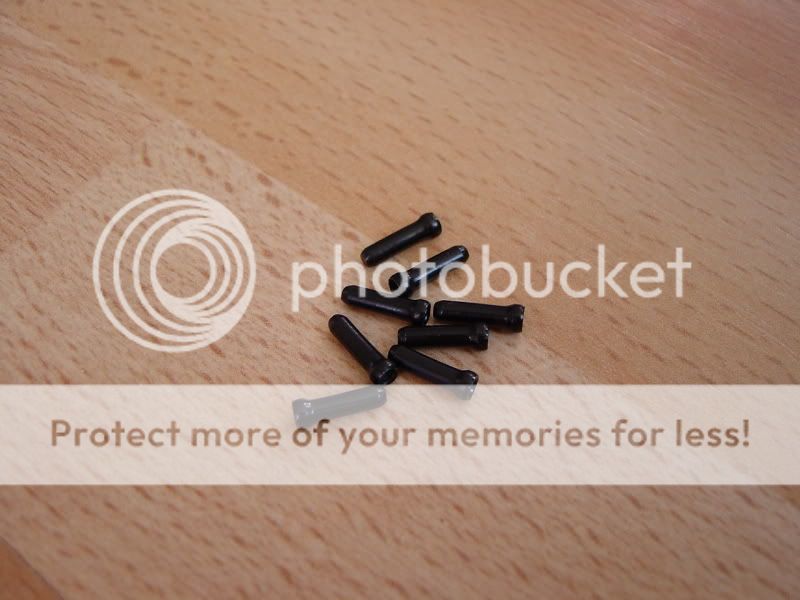
It started with the eyelets falling off the dropouts :LOL: from this :

DSC05071.jpg


To this (crappy picture alert :LOL: ) :

DSC05074.jpg


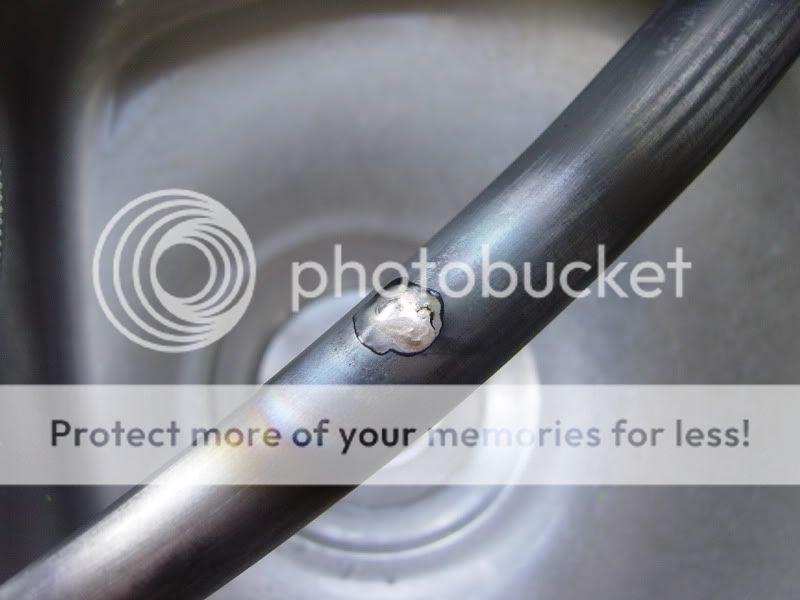
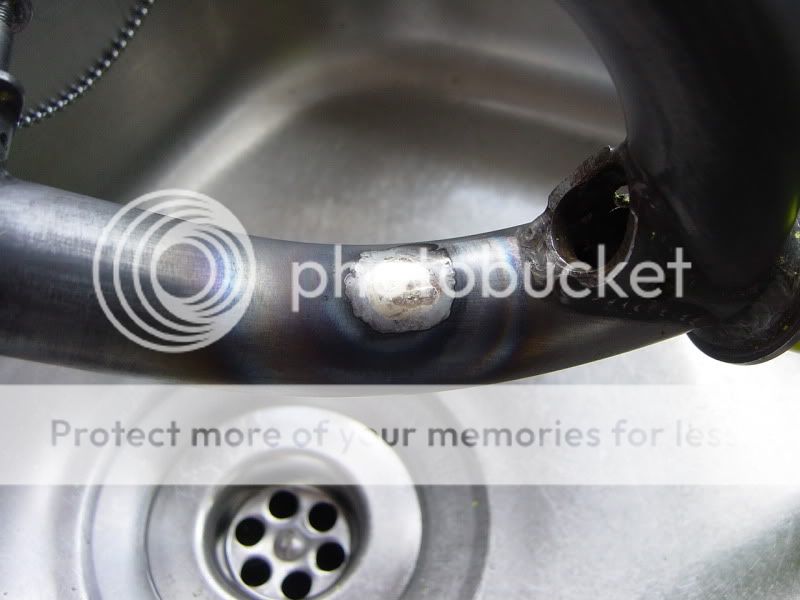
Then I thought I would have a go at brazing the dints ... I took a bit of a flyer and tried on the actual forks I am using :shock: I had done a bit of reading up on the net and wasn’t quite sure if my torch was going to be hot enough (butane / propane mix) but as the steel tubes are relatively thin walled they heat up OK / quickly.

After paint stipping the forks I found a few more small dints so I tried one of the smallest ones first. Note my brazing area, the sink :LOL: :

DSC05077.jpg


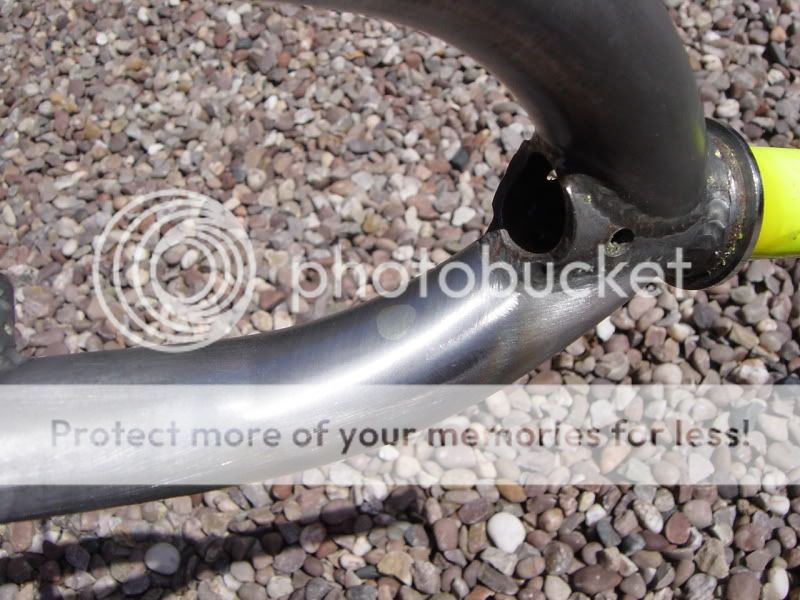
And then flatted back :

DSC05082.jpg


I was pleasantly surprised with the results (my first ever go at brazing) so as I gained confidence, I tackled the larger dints :
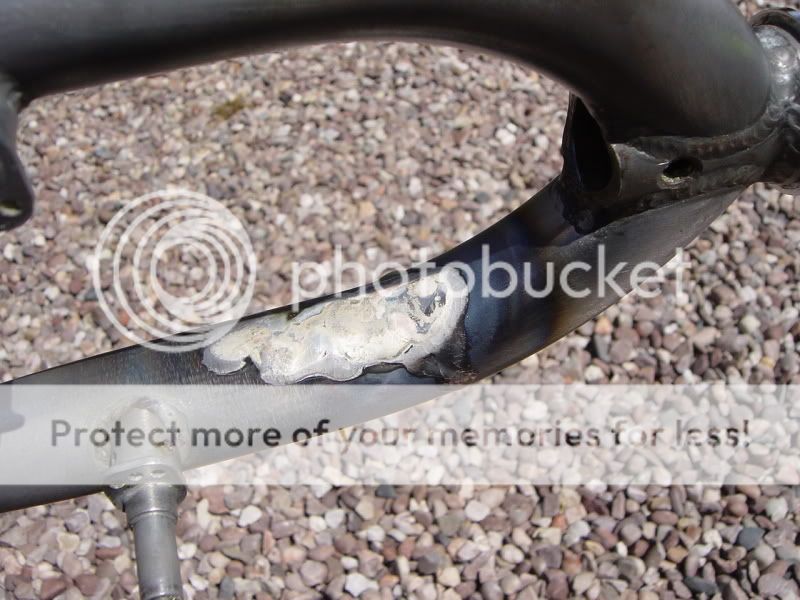
DSC05094.jpg


DSC05098.jpg


And then :

DSC05085.jpg


DSC05088.jpg


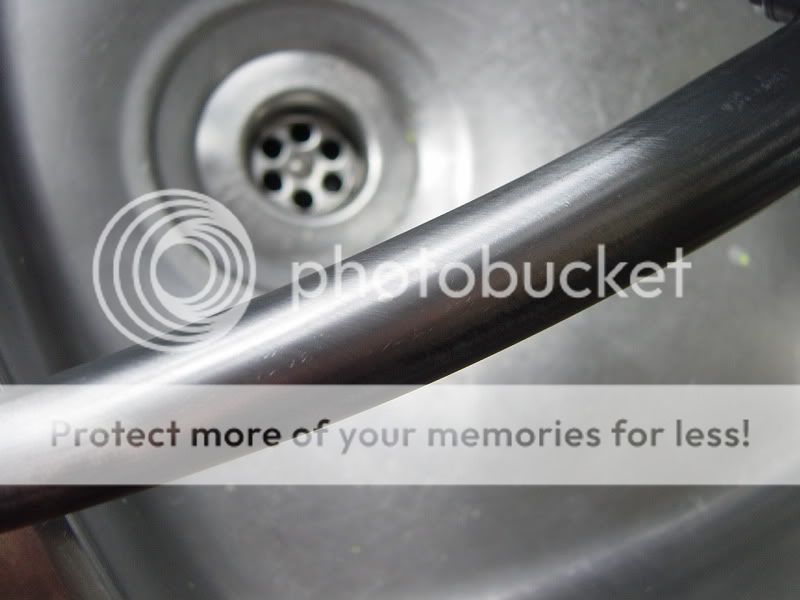
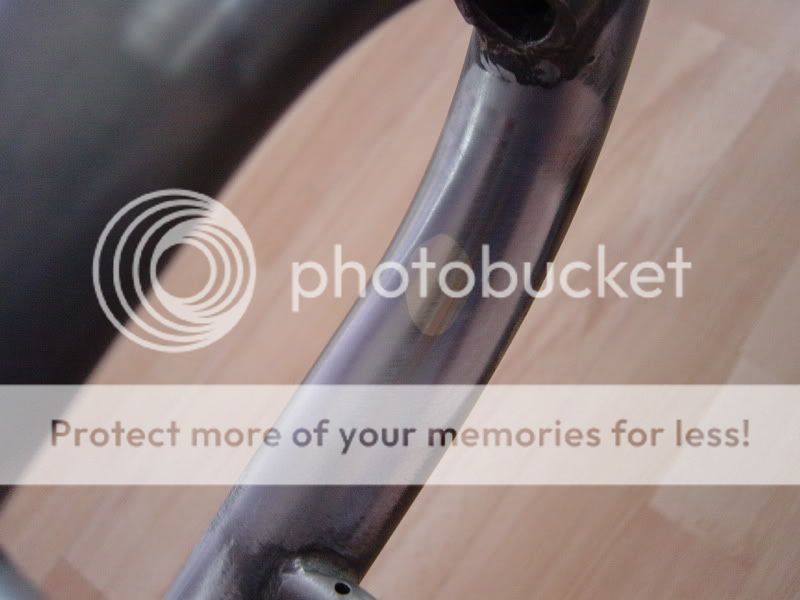
And then the big one, the braze area is long as there was a few tiny dints close by and the braze areas run into each other :

DSC05092.jpg


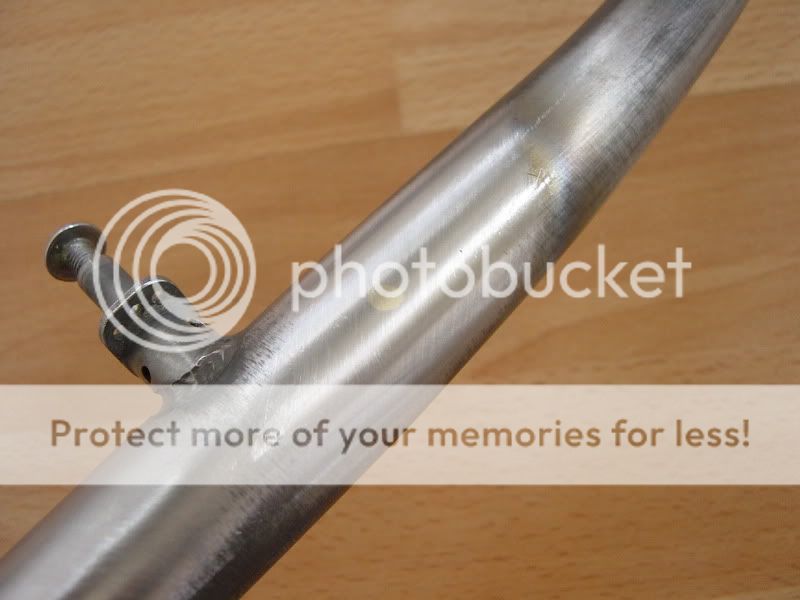
This photo was taken to show the reflection is true (the black line is the upper fork blade) – as the forks are going gloss black they need to be perfect as the colour is very unforgiving to imperfections :

DSC05101.jpg


I was very happy with how they turned out, just need to finish dressing up the welds / dropouts etc and remove the crown race now :D

WD :D
 
Fantastic work there,

I, for one, am breathing a huge sigh of relief that the brazing went well for you today ;) ;) :LOL:
 
This post is better than watching TV :!:
I think there should be some kind of WD Pro merchandising. :LOL:
Start selling T-shirts :idea:
 
Swaped all the thumbie bits over to make the the best set I could. Some bits from Canada, some from Austria, a bit of polish, the modified clamps, stainless bolts and re-zinced springs and adjusters :

DSC05135.jpg


DSC05147.jpg


DSC05152.jpg


Also found a few other pics on my camera / in my album that I hadn't posted.

Some black bling for the cables :

DSC04429.jpg


Found these to go on the back of the canti studs, stainless steel so they polish up nicely :

DSC04550.jpg


Polished quite a few Ti bolts to, these are for the bar ends, more in the stem etc :

DSC04547.jpg


The forks are fully dressed up now and ready for powder, If I can get to the couriers they will be going early next week :D

WD :D
 
Back
Top