Project No. 6: Alpinestars Cro-Mega SS

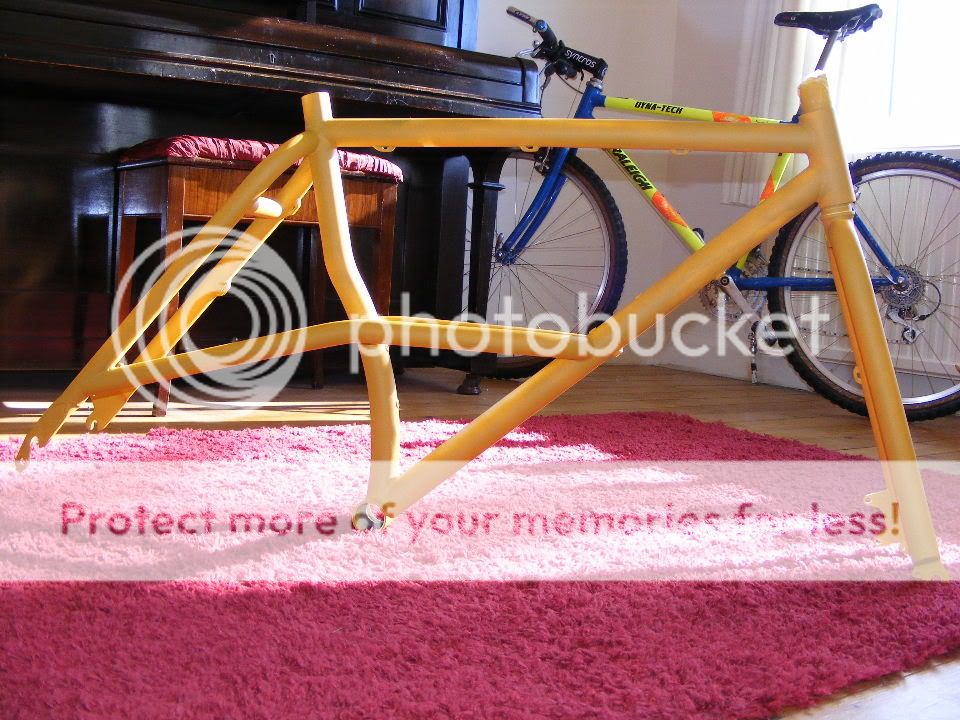
Been busy once again and these efforts are really starting to pay off.

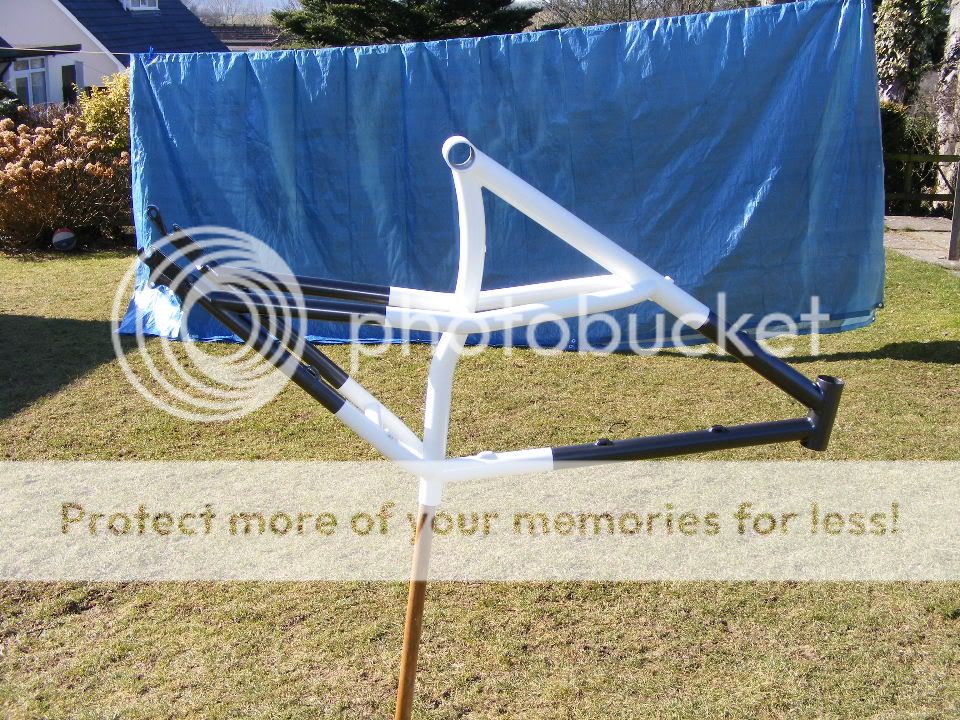
Yesterday I gave the frame and forks a coat of filler primer. This is a primer thats pretty thick and thus fills small scratches and such. I left it 24 hours to dry and then rubbed it back using 600 grade paper.

2010_0301parts0004.jpg


2010_0301parts0002.jpg


2010_0301parts0006.jpg


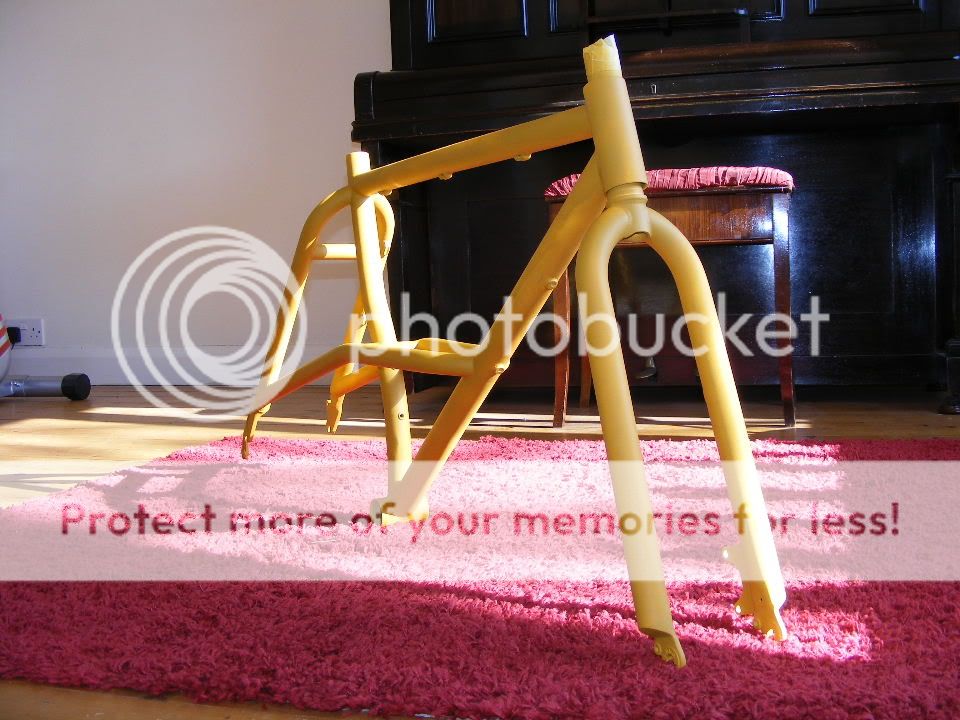
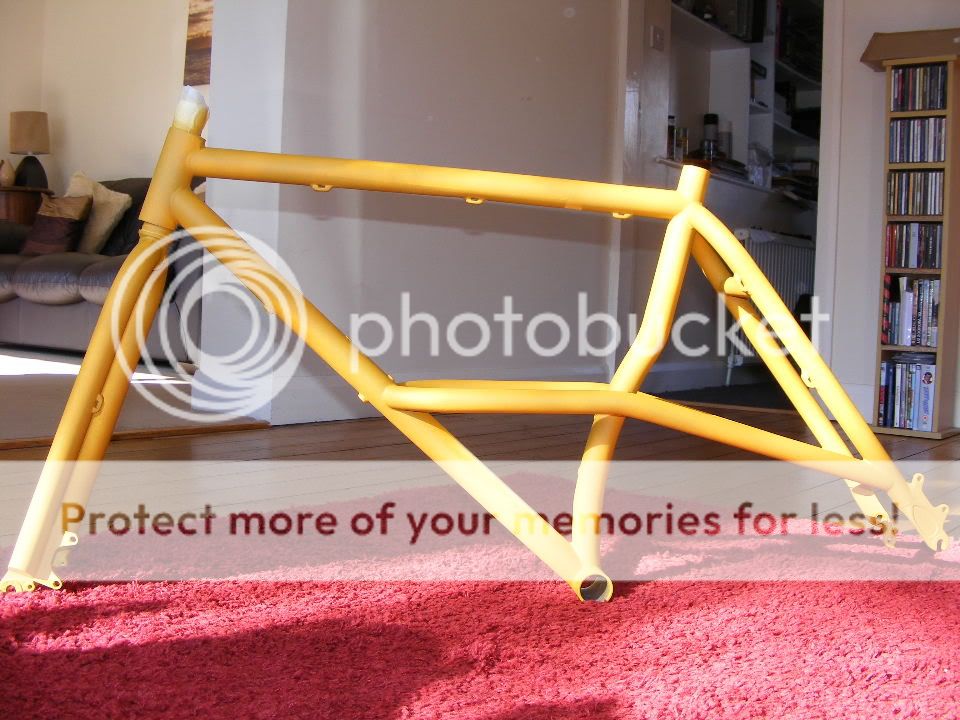
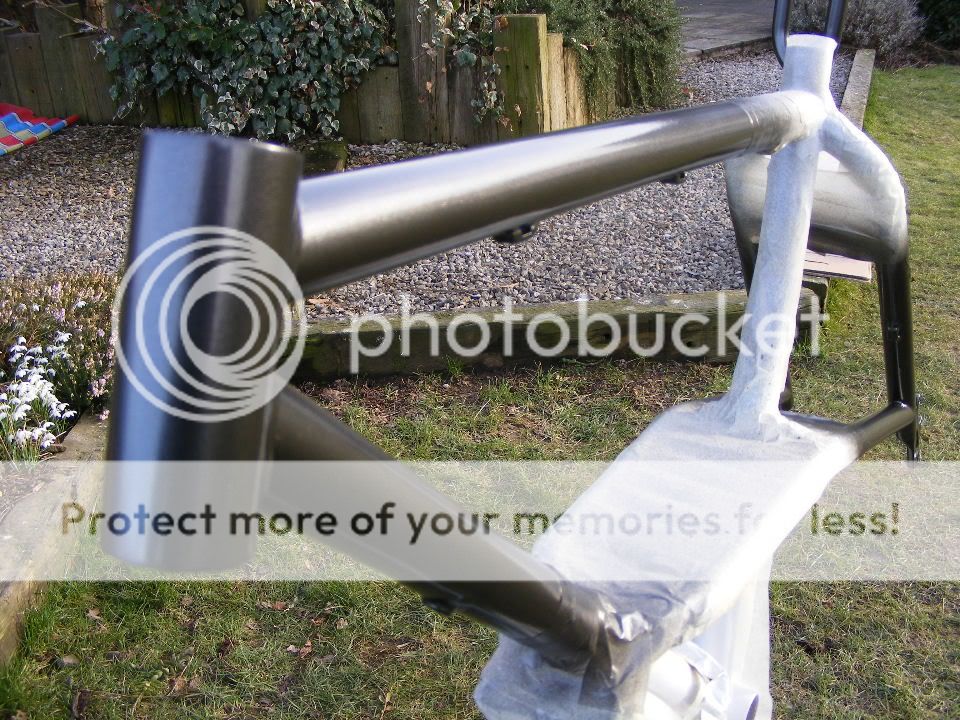
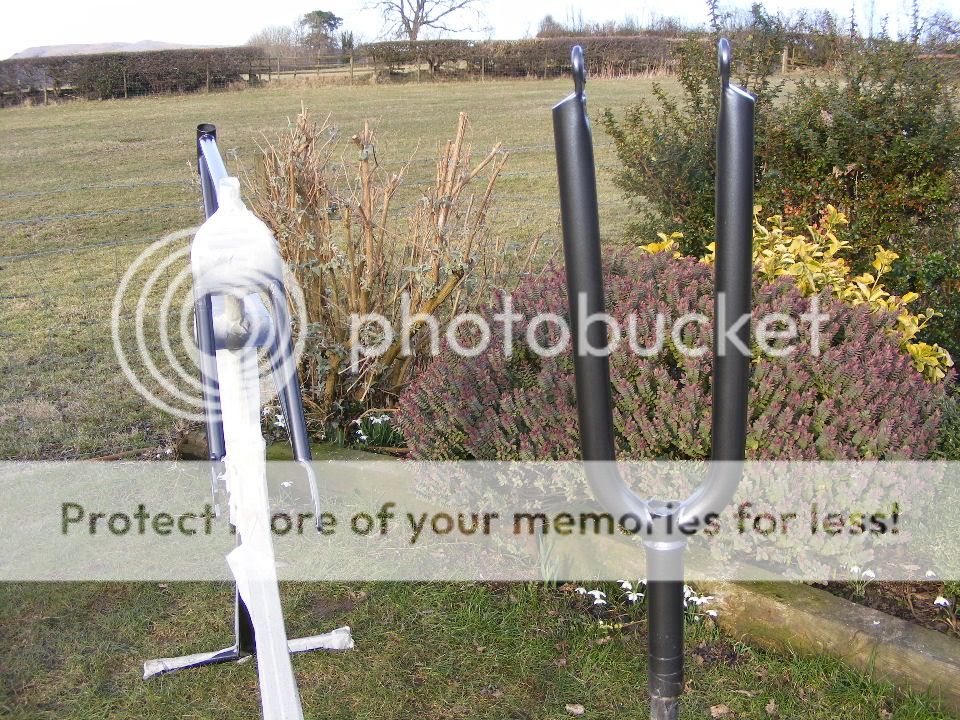
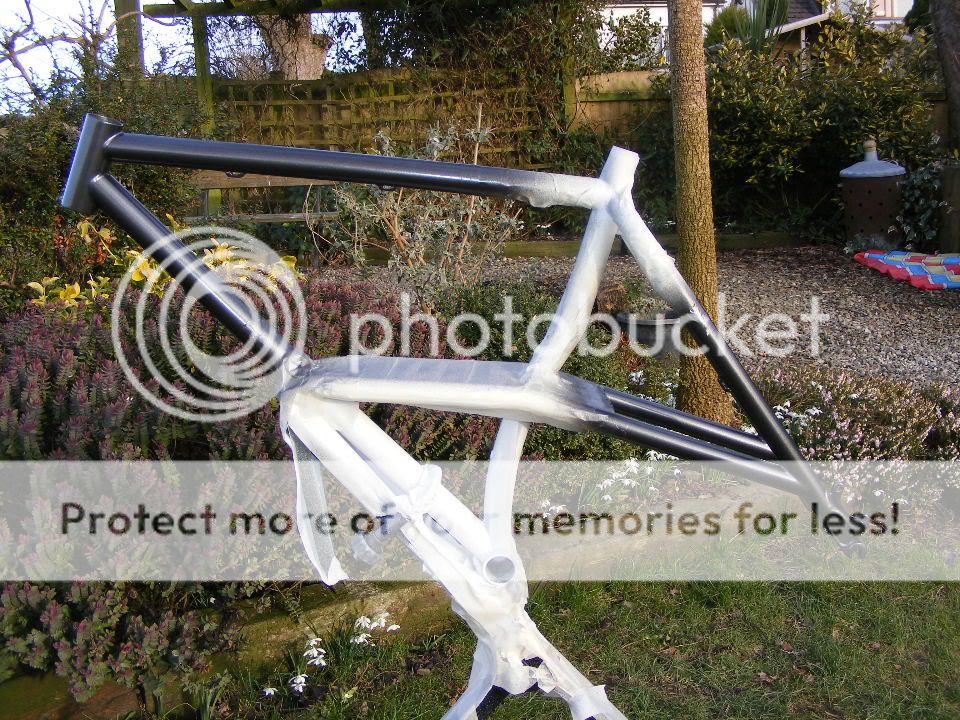
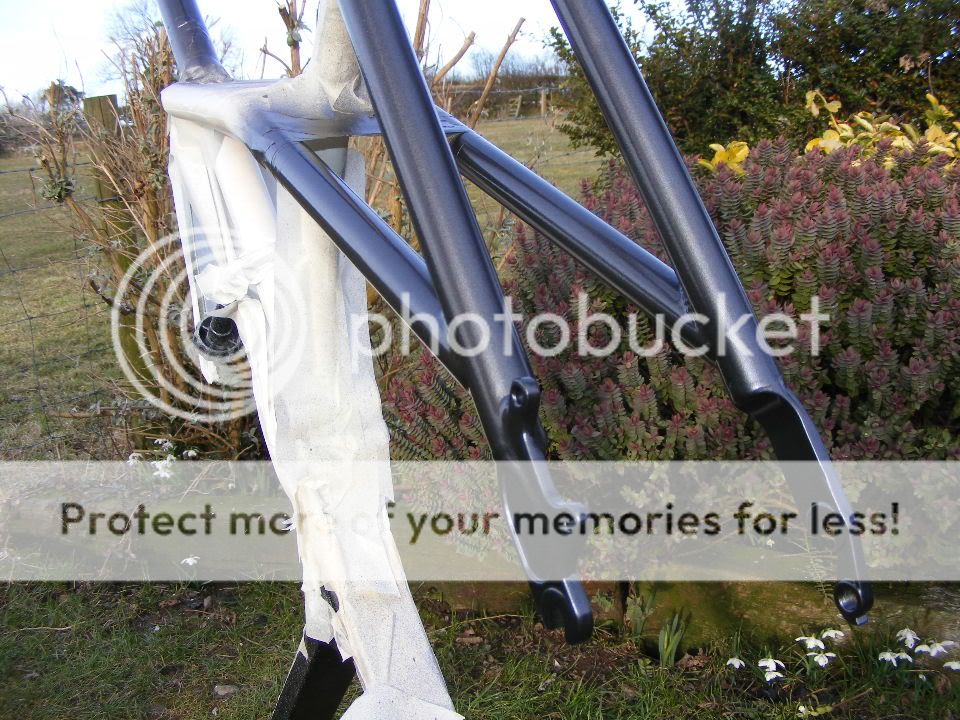
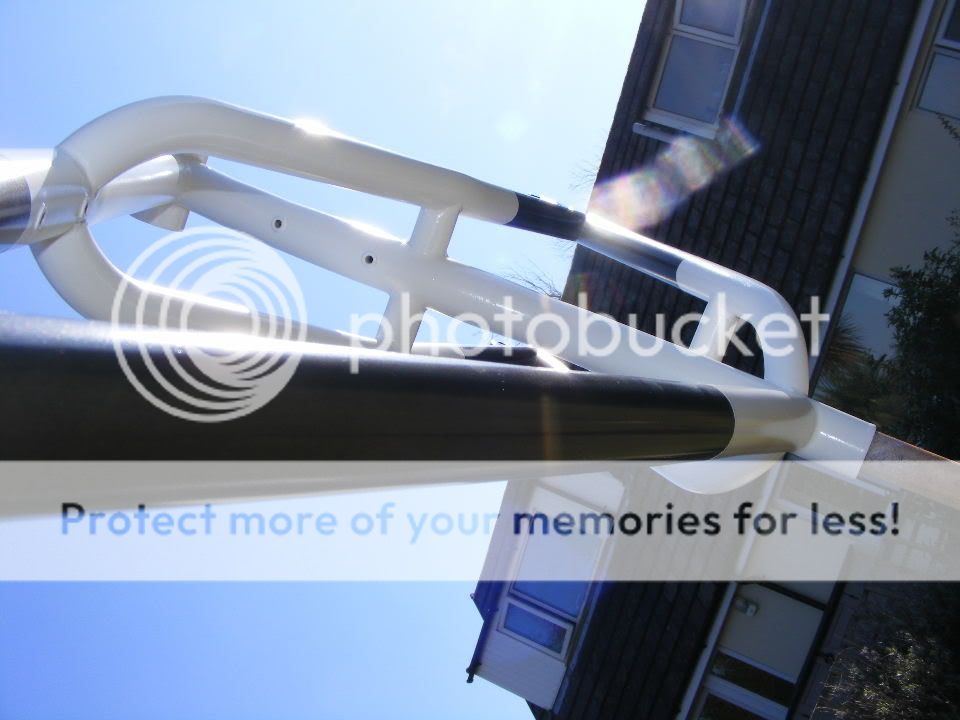
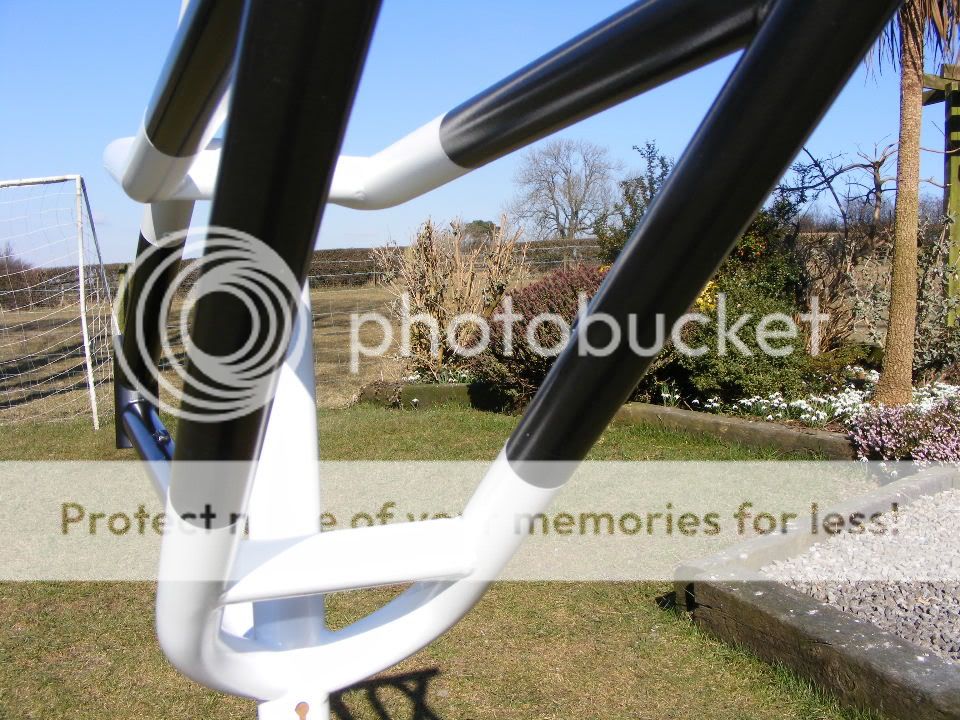
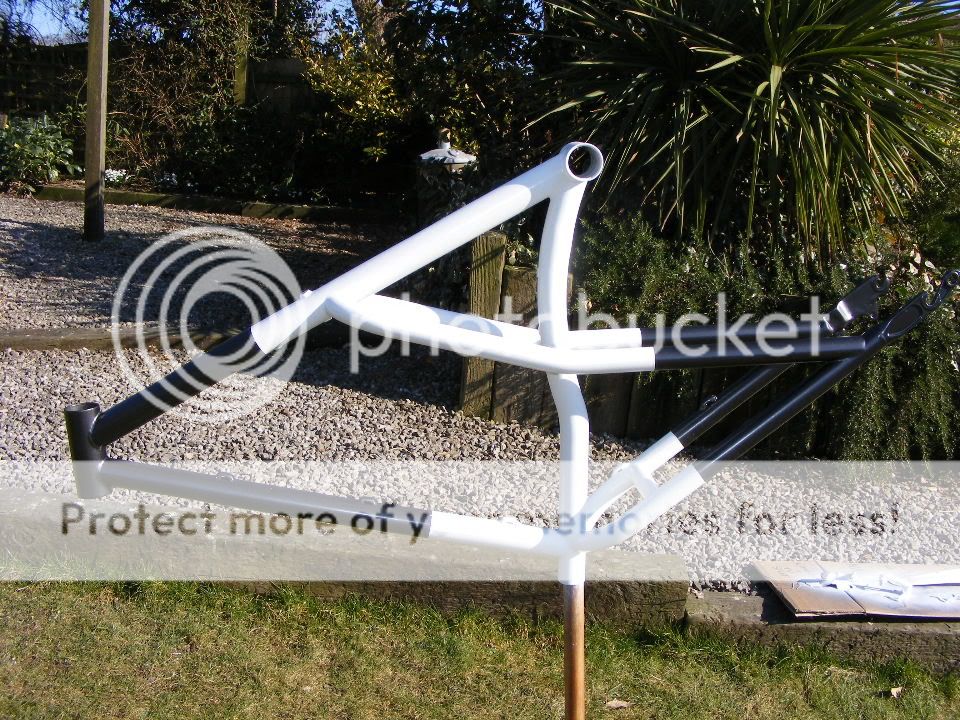
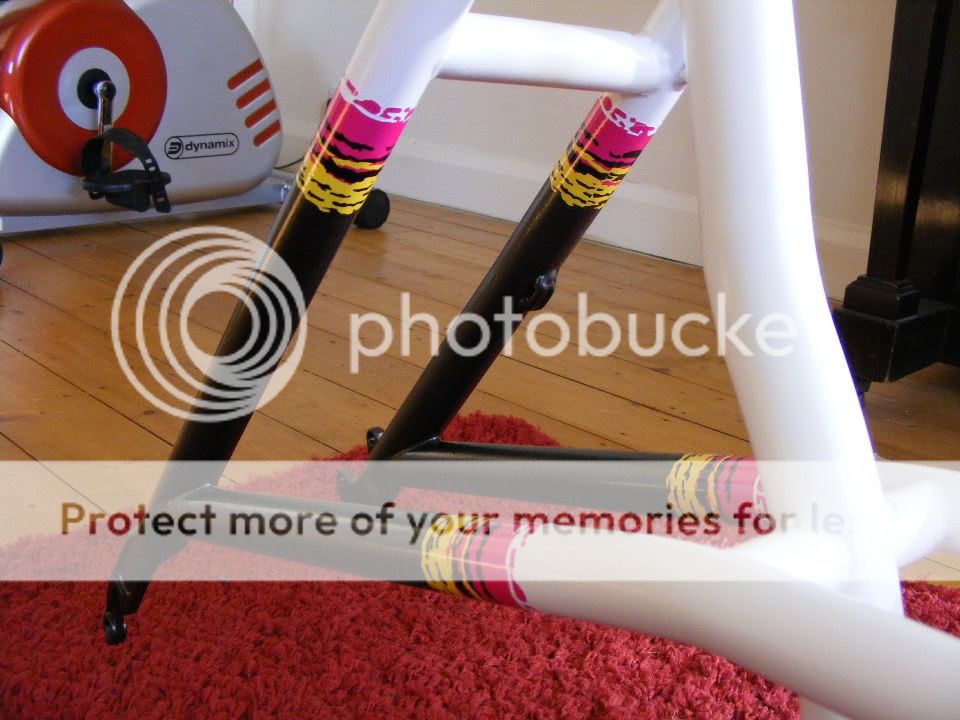
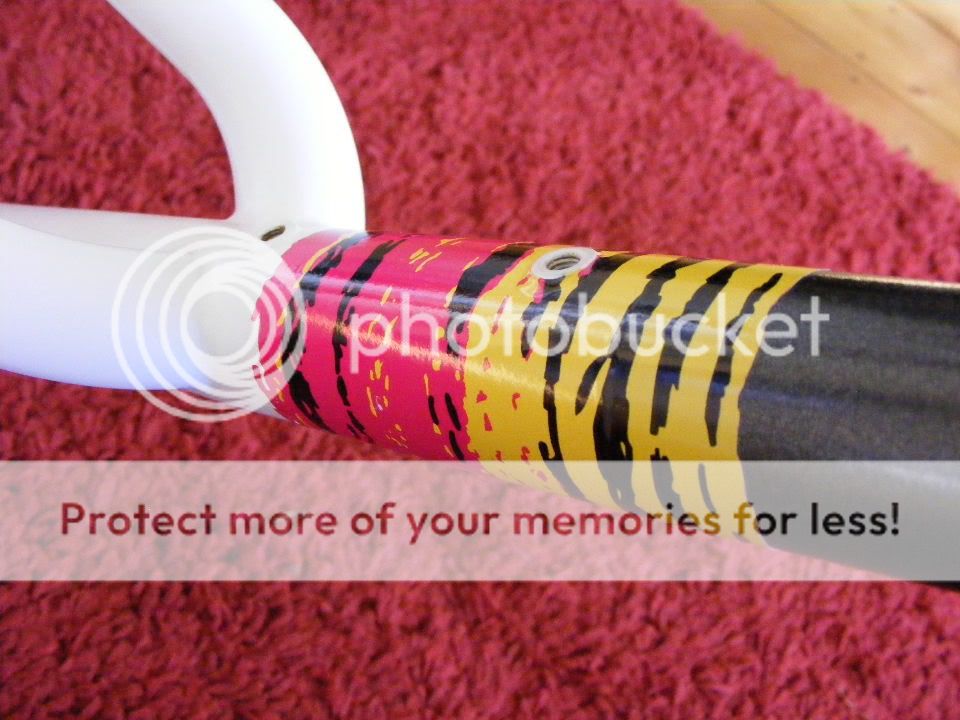
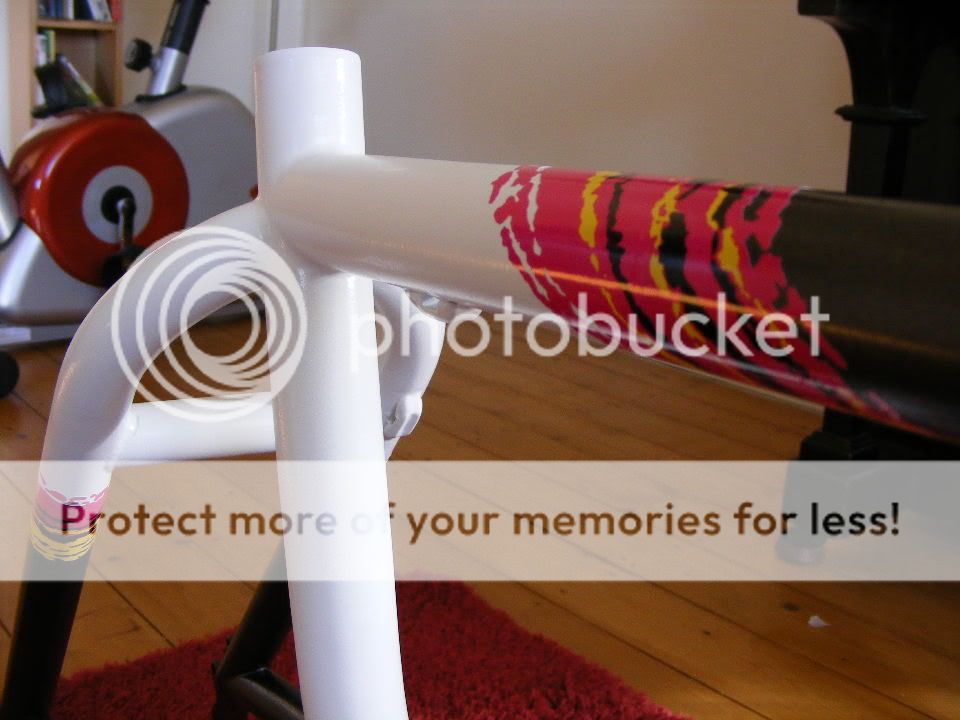
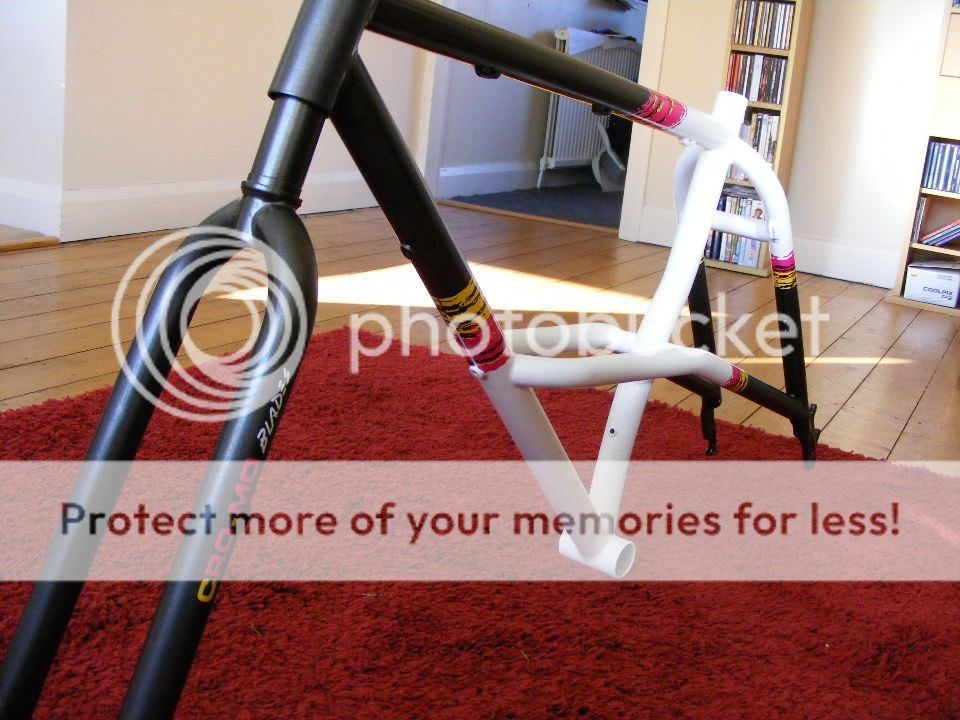
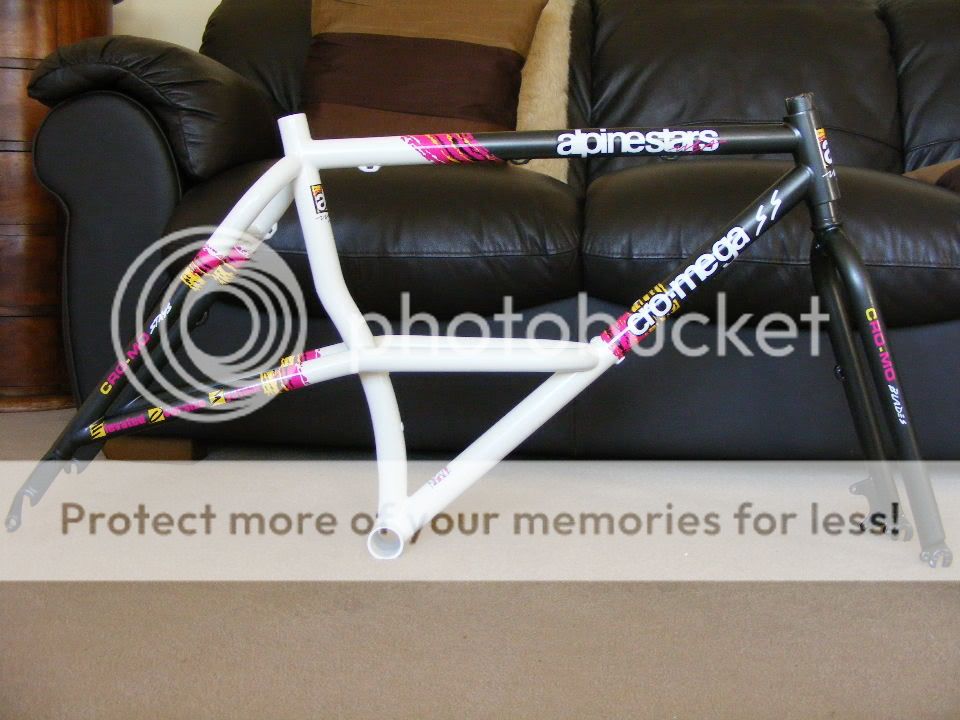
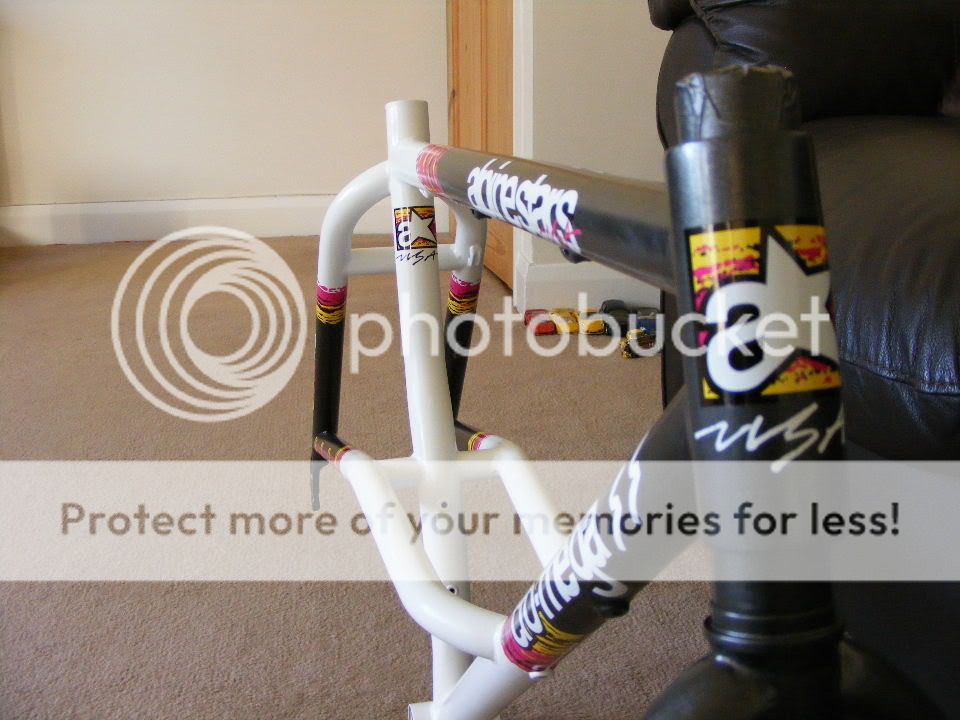
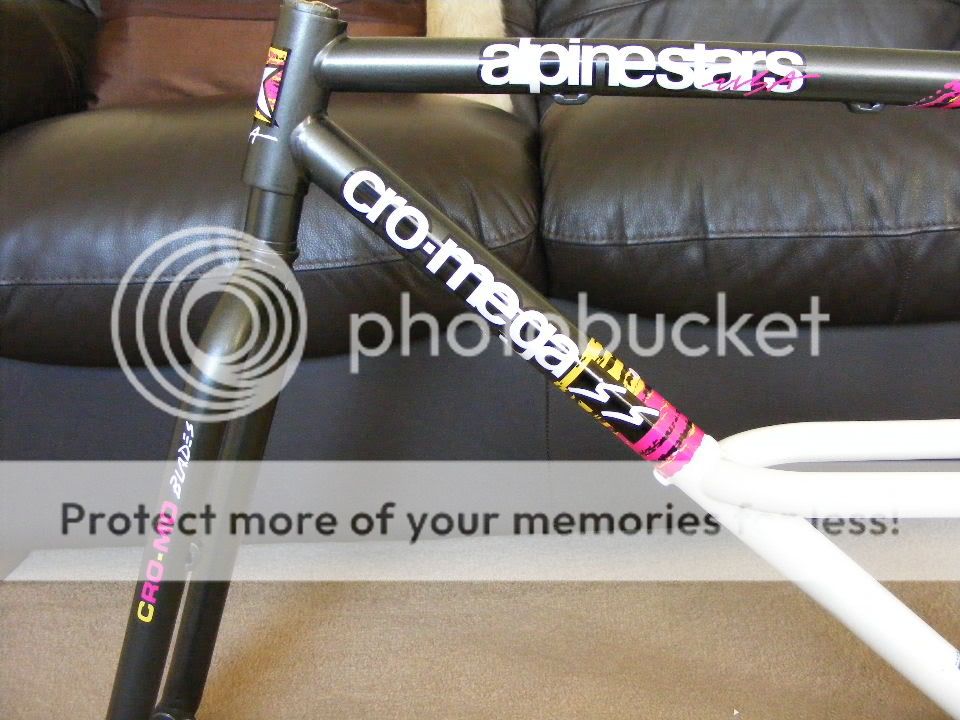
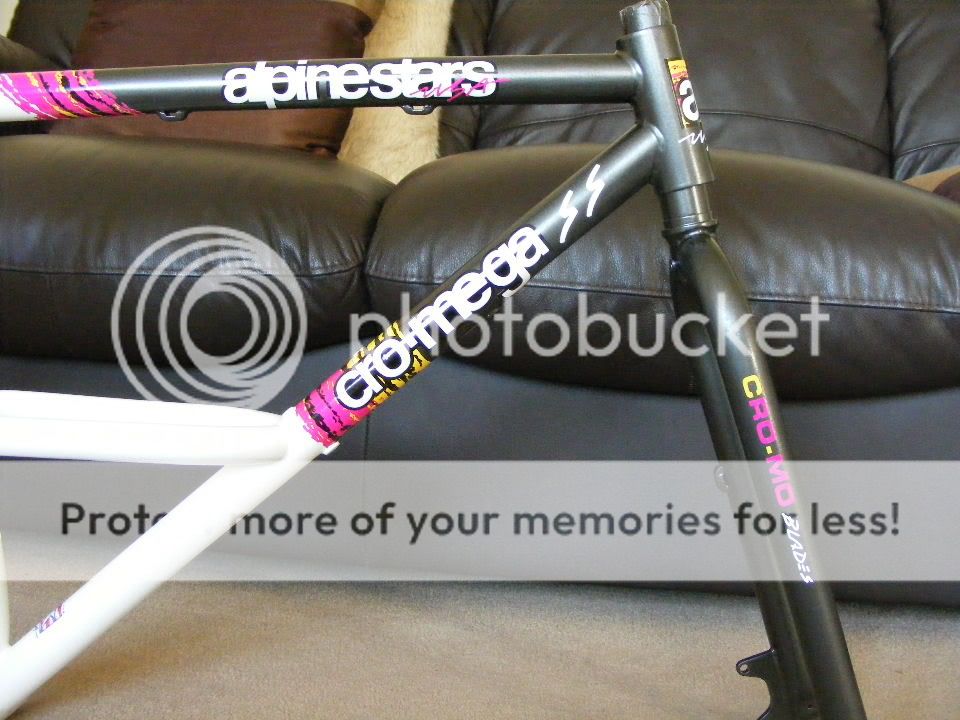
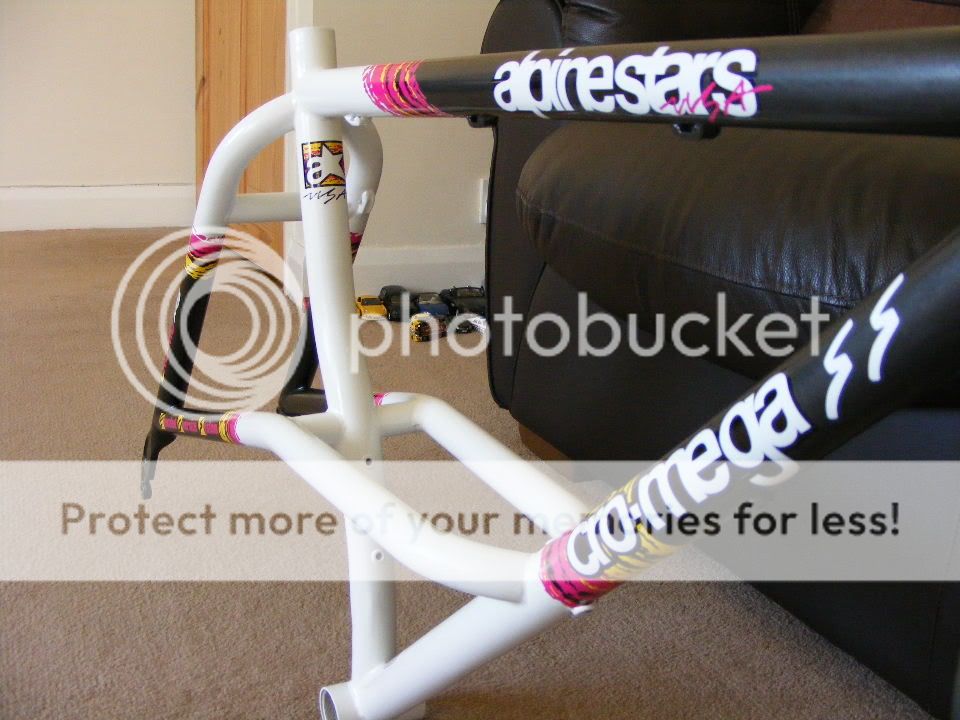
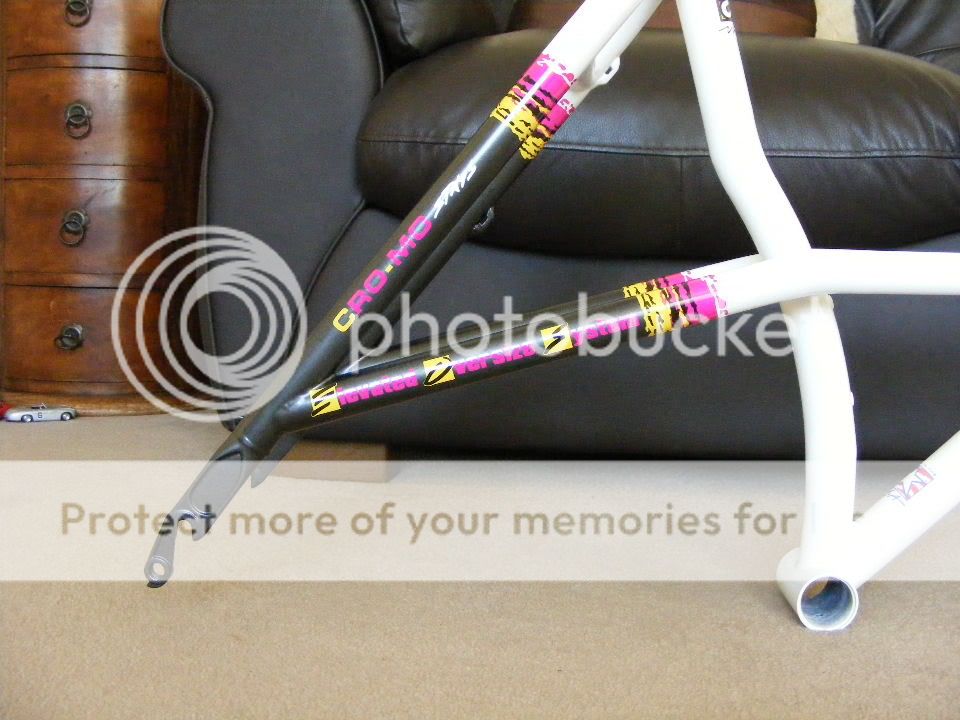
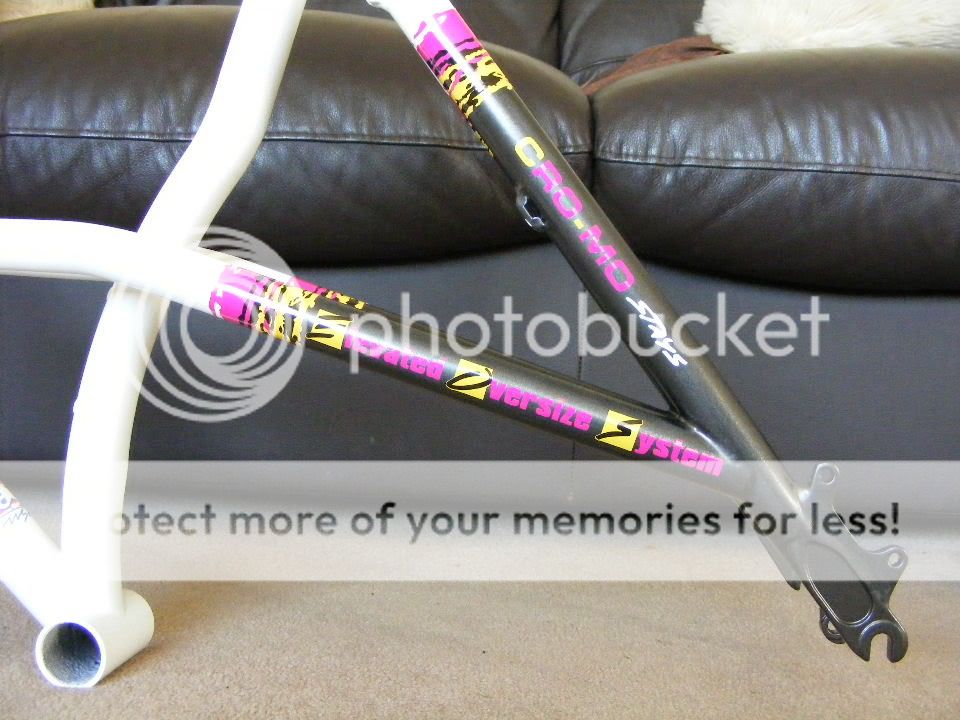
I then gave it a coat of standard primer this morning. Its been a perfect day for painting so this afternoon once i was completely happy the primer had dried I rubbed it flat with 800 grade paper and masked up ready for painting the front and rear sections in graphite grey. I've given it the first coat and i'm very exicted by the finish so far, this will be one good looking bike when finished :D

2010_0302parts0011.jpg


2010_0302parts0002.jpg


2010_0302parts0004.jpg


2010_0302parts0010.jpg
 
Painting yourself. Brave! You not concerned by it's durability over powdercoating?

Does look good by the way, not being negative :D
 
coomber":26pip2ke said:
Painting yourself. Brave! You not concerned by it's durability over powdercoating?

Does look good by the way, not being negative :D
I'm a little worried that it might not look quite so pretty in a year or two, but with it having powder coat underneath the frame should be well protected. But i'm fairly handy with the rattle cans and i'm really pleased with the results so far. Can't wait to get the white areas done, then I decal it up :D
 
Fair play mate, it does look fantastic so far. You've been busy on your two projects that's for sure!
 
Problem with disc rear mount

Hi Sinnett

I have sent you an email, take a look at the pictures below:


the picture shows a 160mm disc, even a 140mm disc wont fit into the frame, any ideas what to do?

Happy trails
 
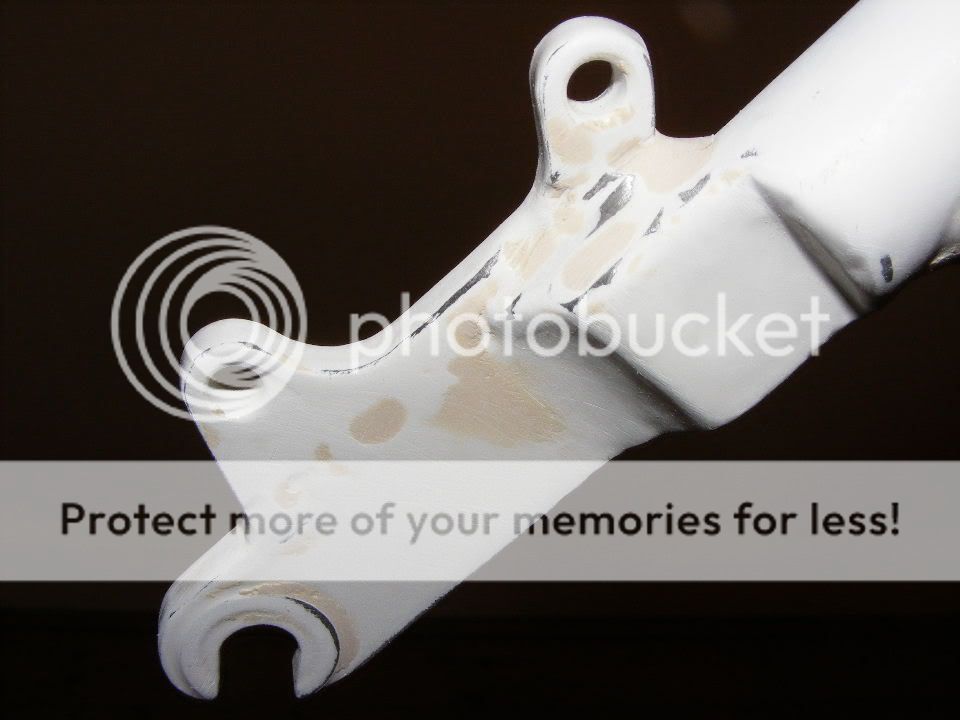
I see the problem, you need to cut away part of the dropout as shown in the picture below. Then reinforce the dropout with new steel. I know it sounds bad chopping the dropout about, but its plenty strong enough

2010_0228frame0098.jpg


Hope this help, best of luck with it.
 
White in the Middle

The middle has had two coats of gloss white, thus I could remove the masking and admire the results (upside down that is :D ).

2010_0308parts0008.jpg


2010_0308parts0006.jpg


2010_0308parts0004.jpg


2010_0308parts0002.jpg


Once the paint was dry I flatted the paint back with 800 grade paper, at last it was then ready to decal!


Decals
The 'ripped' effect dividers went on first.

2010_0308parts0053.jpg


2010_0308parts0055.jpg


2010_0308parts0057.jpg


2010_0308parts0049.jpg


2010_0308parts0061.jpg

Really impressed by the 'ripped' decals, the efforts Gil and I put in have really paid off with those.

Next up was the logos and lettering.

2010_0308parts0063.jpg


2010_0308parts0073.jpg


2010_0308parts0071.jpg


2010_0308parts0079.jpg


2010_0308parts0067.jpg


2010_0308parts0069.jpg


2010_0308parts0065.jpg


2010_0308parts0077.jpg


The frame will be now be lacquered. Hope your liking it. I'm blown away by it :shock: really impressed with way its turning out.
 
Back
Top