- Feedback
- View
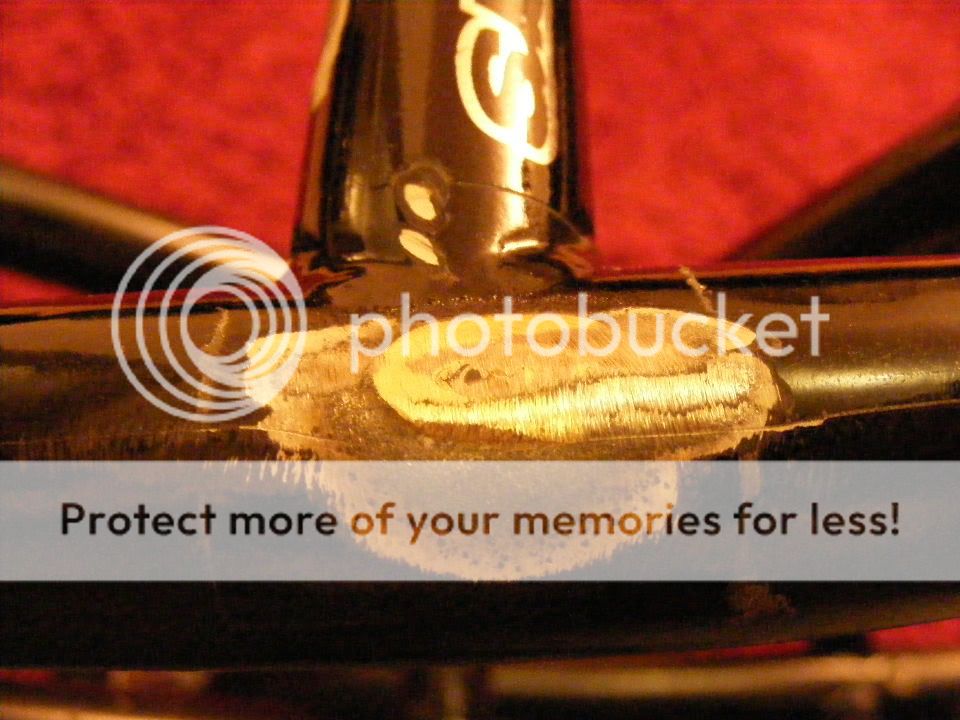
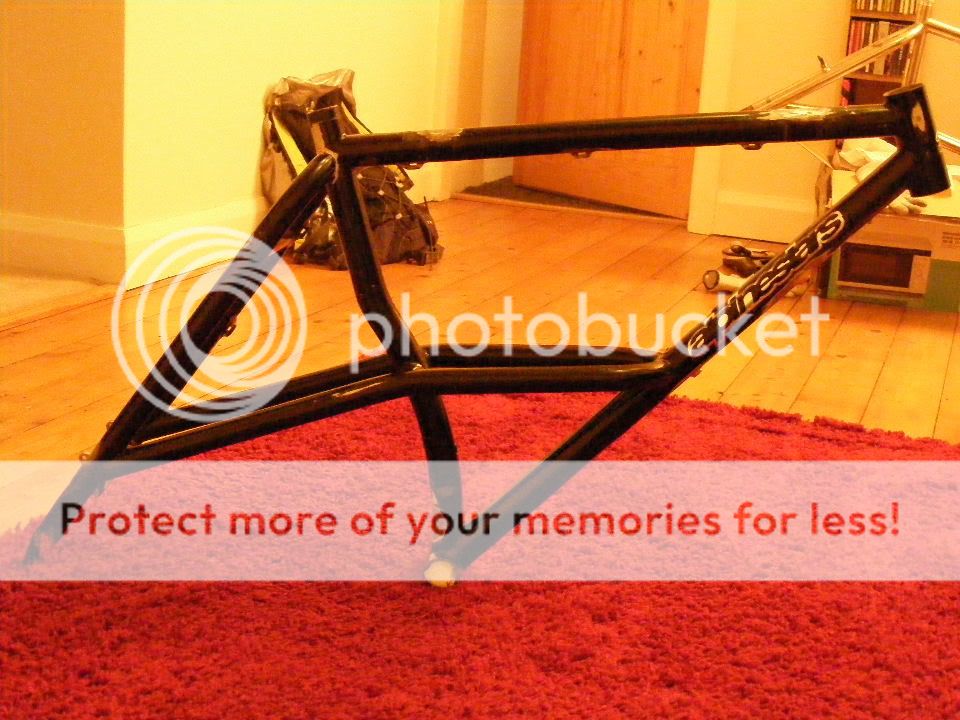
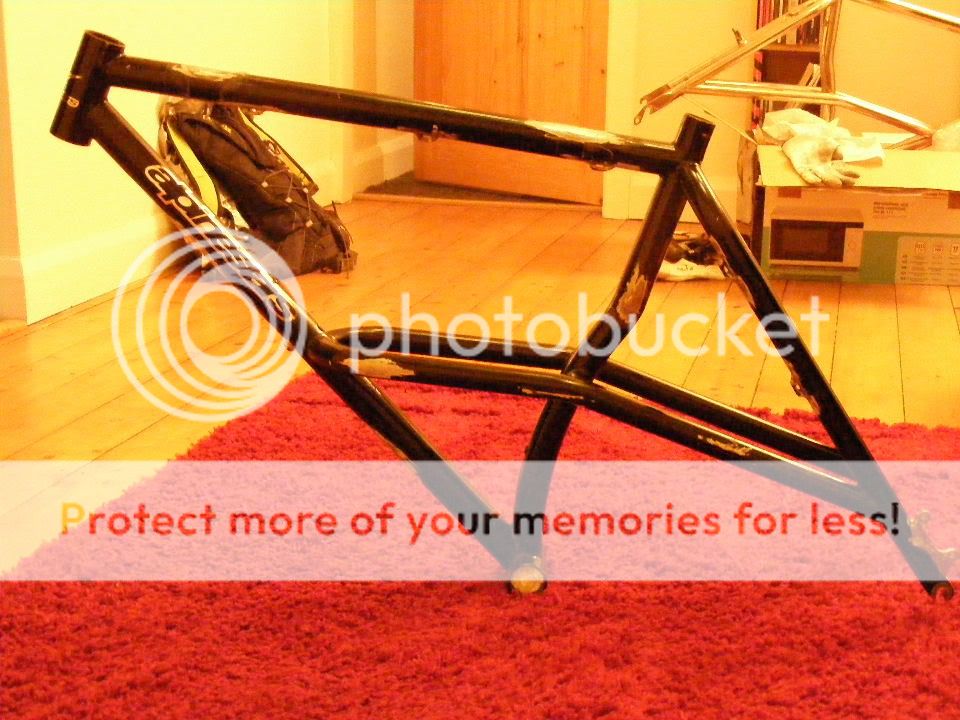
Cheers Steve, think you'll struggle to fit discs to an al-mega because the tubing is heat treated and therefore won't like being welded.GT-Steve":3iki1vc6 said:Very nice indeed, Mark. I'm loving all those 'little' touches to this bike, been thinking about fitting discs to my old AL-Mega project, but can't fully decide?? just how much of a pain-in-the-ass job was it on yours?
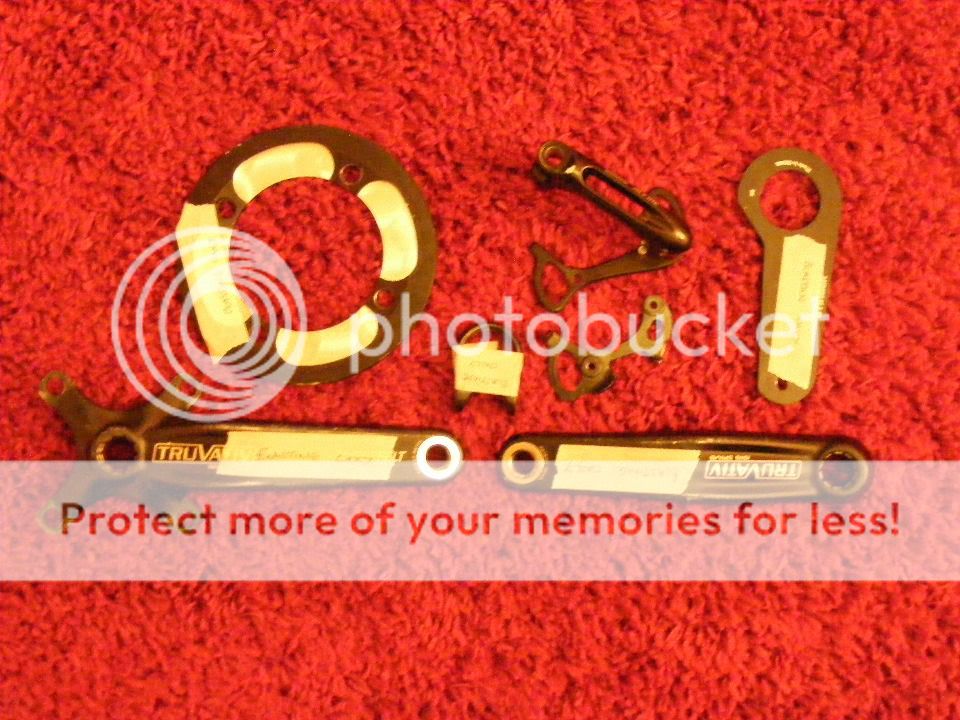
Also, one silly question, but what's the point of a rear mech of a fixie?
Steve")
The rear mech isn't a mech as such, it's just a tensioner. Having a tensioner like this one gives the ability to remove the rear wheel without the faff. Tbh I could get rid of the bottom bracket tensioner/guide but i'm liking the aestetics of the two together.