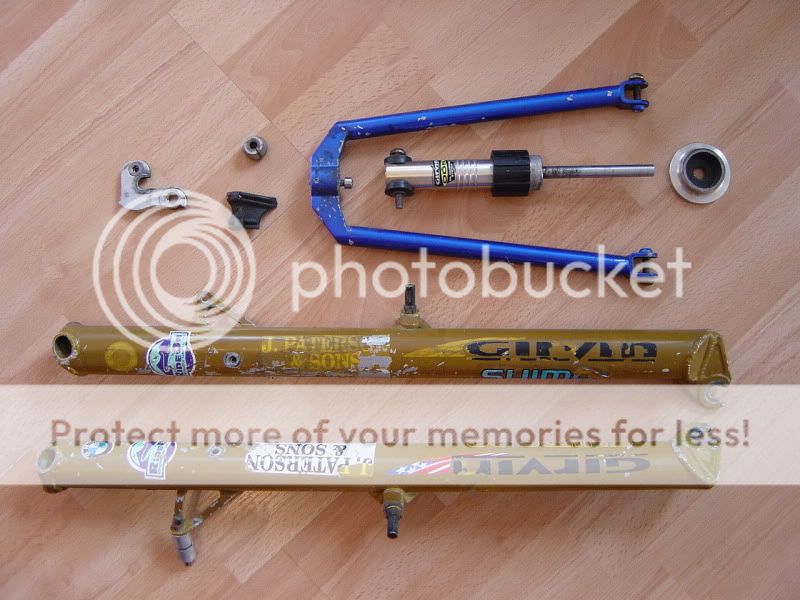
Here are the pictures of the frame prepped for powder coating :
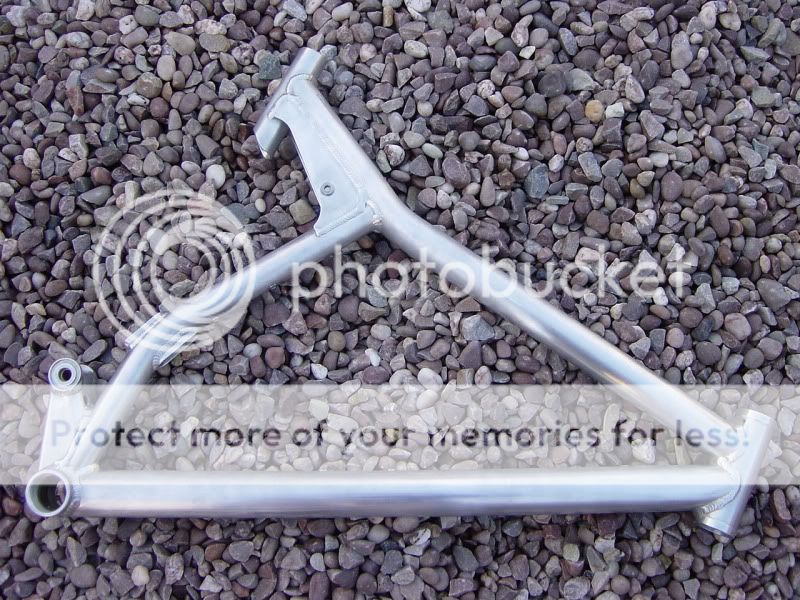
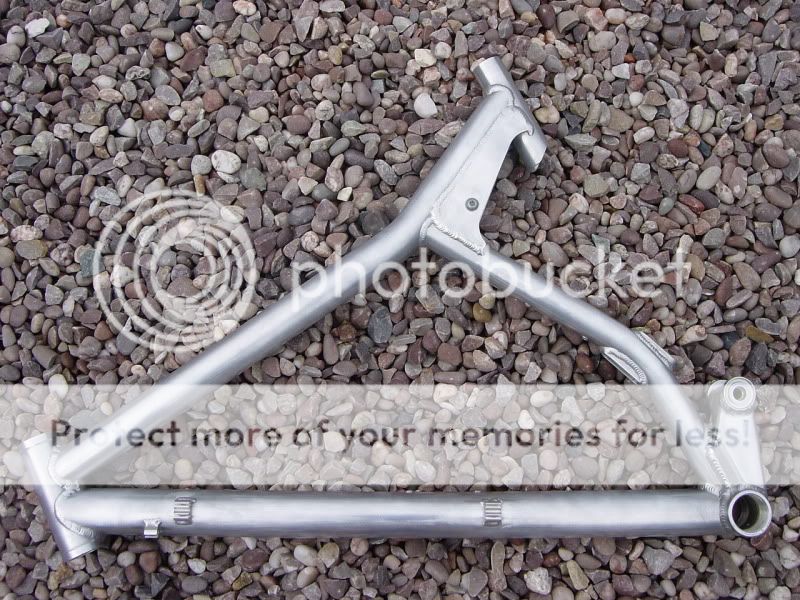

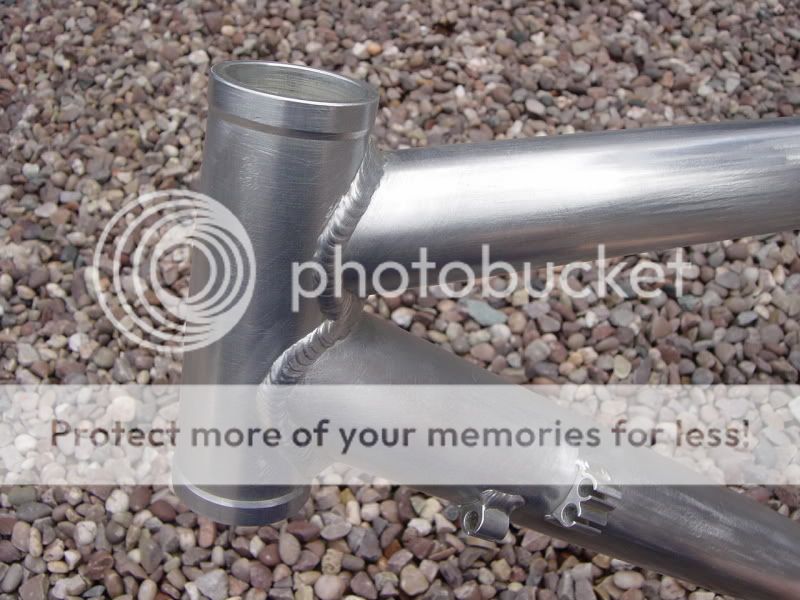
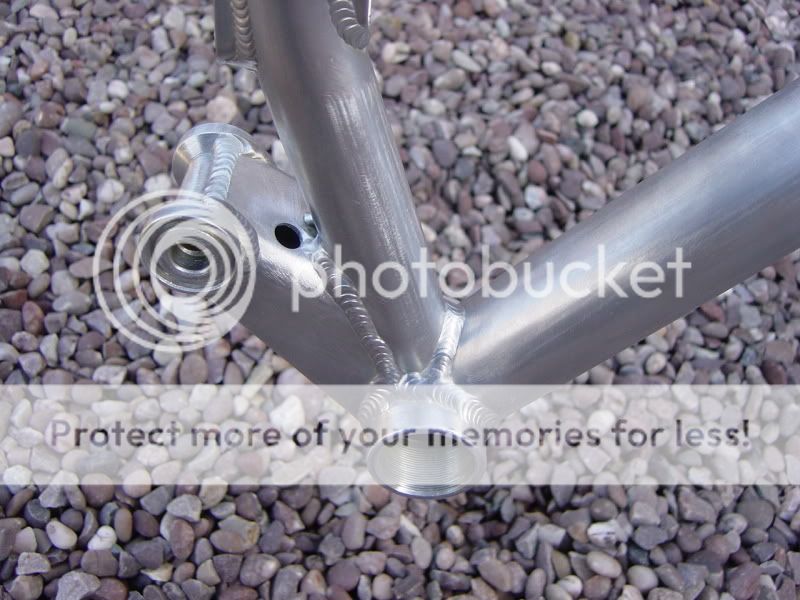
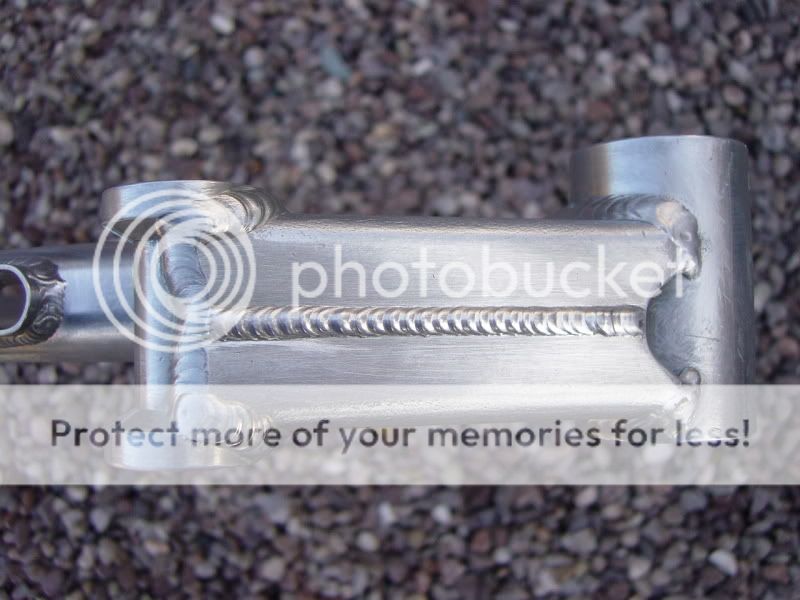
Other than cleaning this frame up and flatting out scratches etc the only little mod was to round of all the sharp edges, particularly to the bottom of the seat tube :
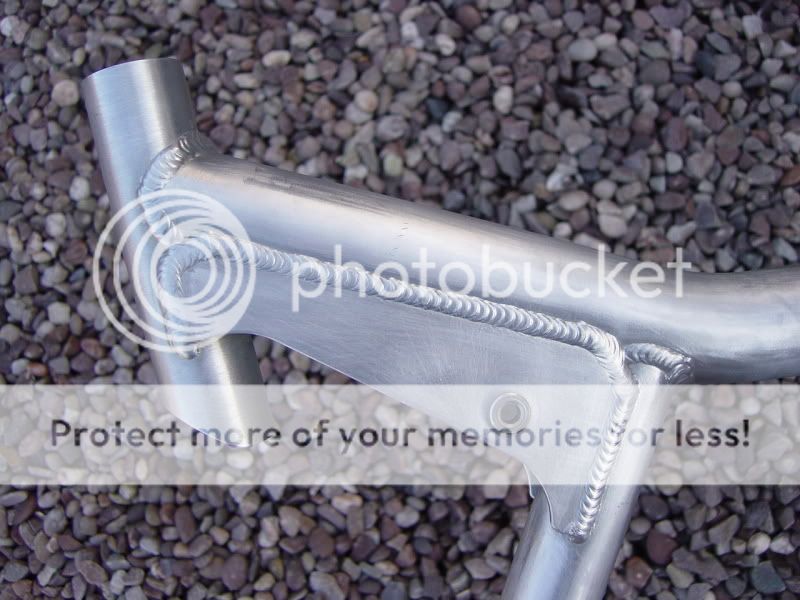
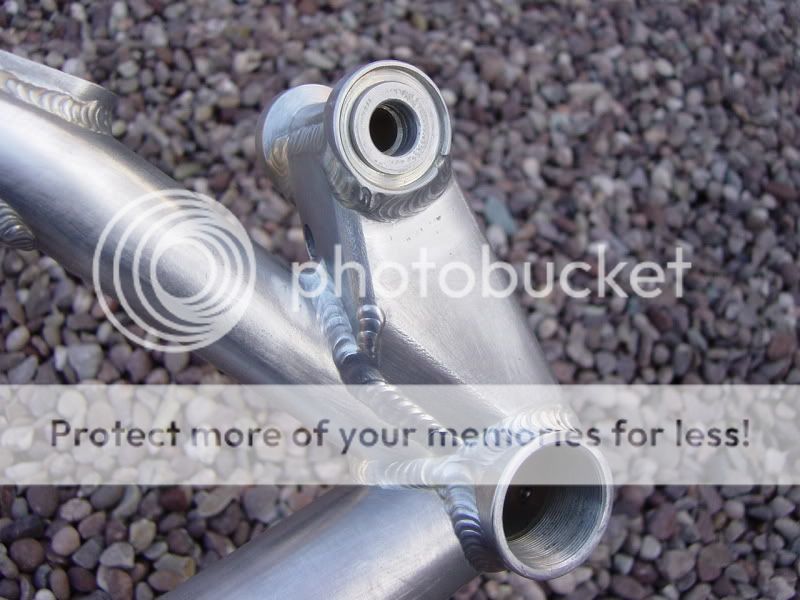
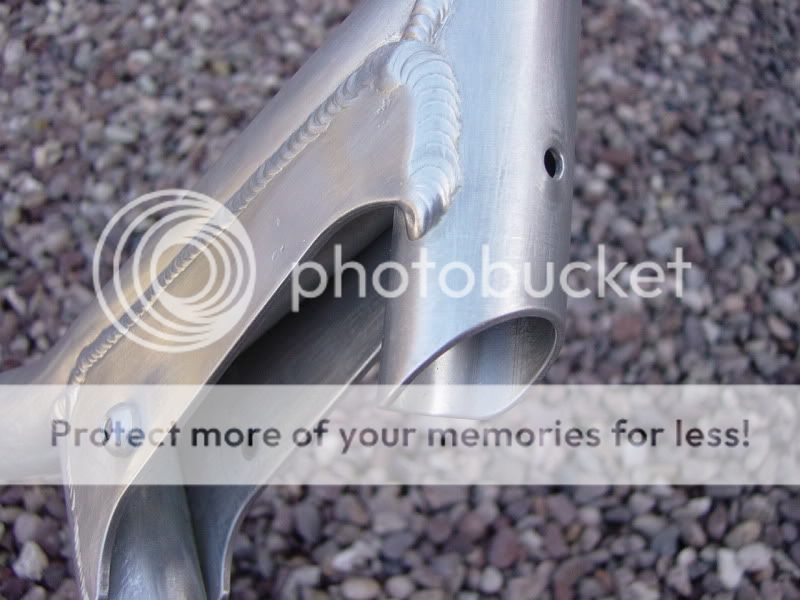
And to de burr the seat gussets. The lump of weld in the seat tube has now gone. Also note that like the rear strut, all the inserts in the frame are stainless steel :
:
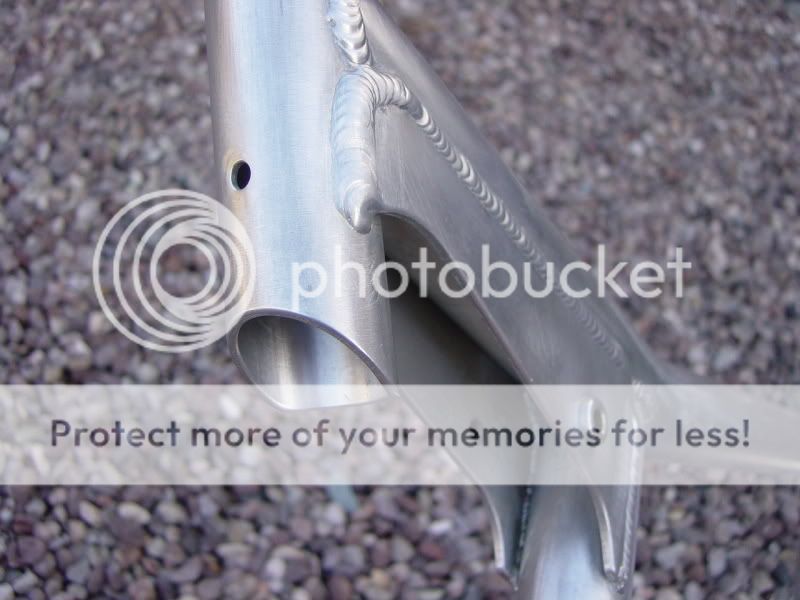
(On the above pic you can just see the weld penetration on the inside of the left gusset)
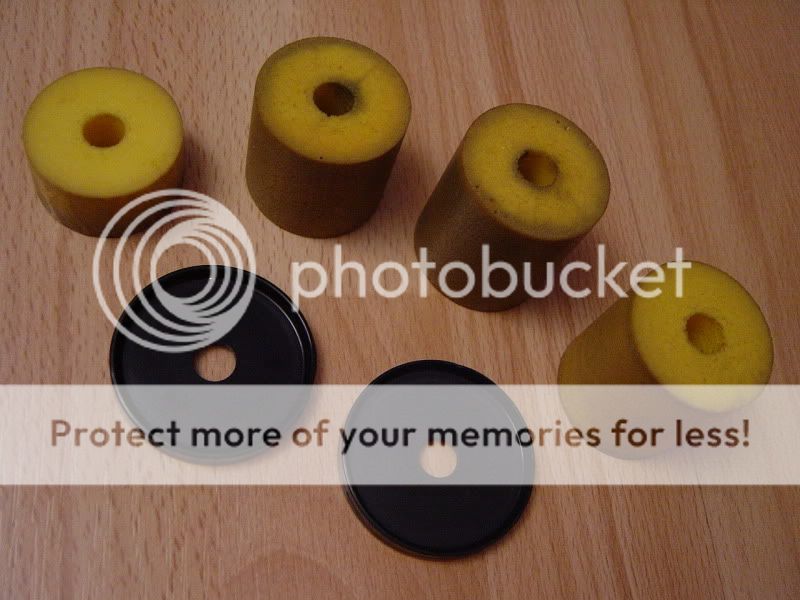
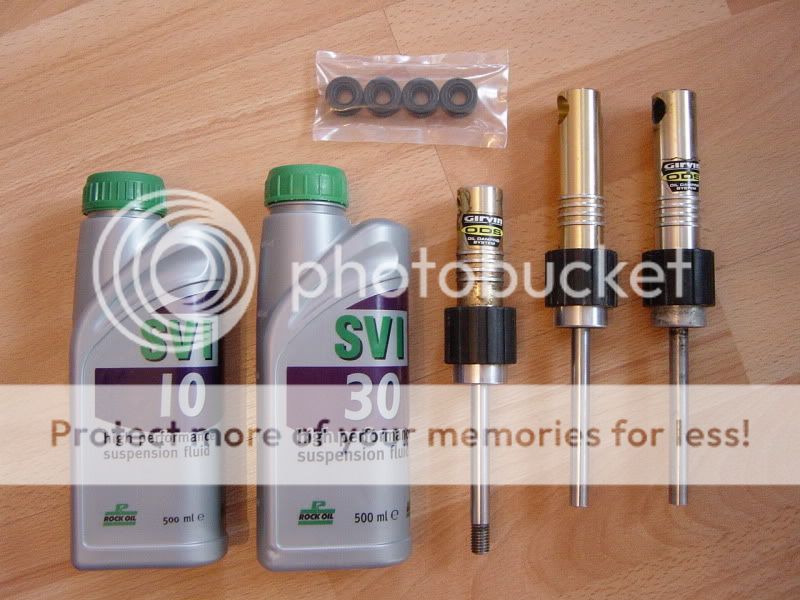
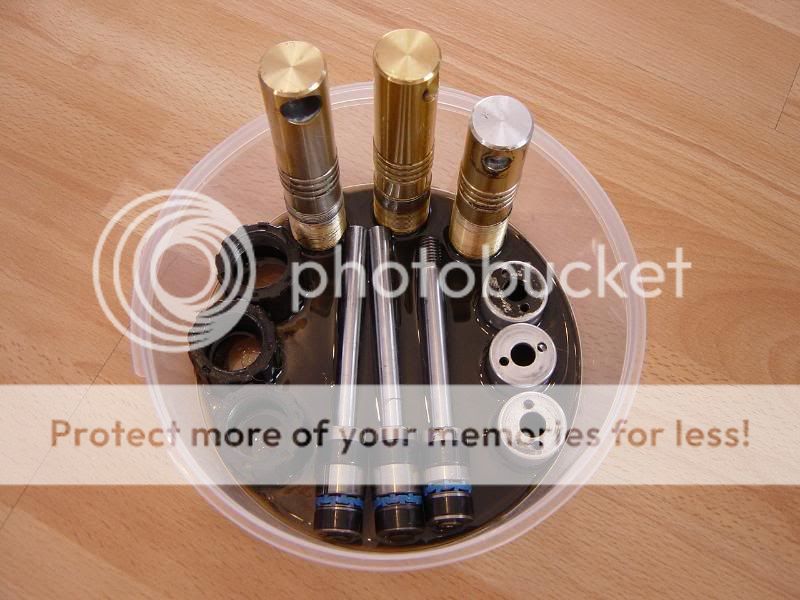
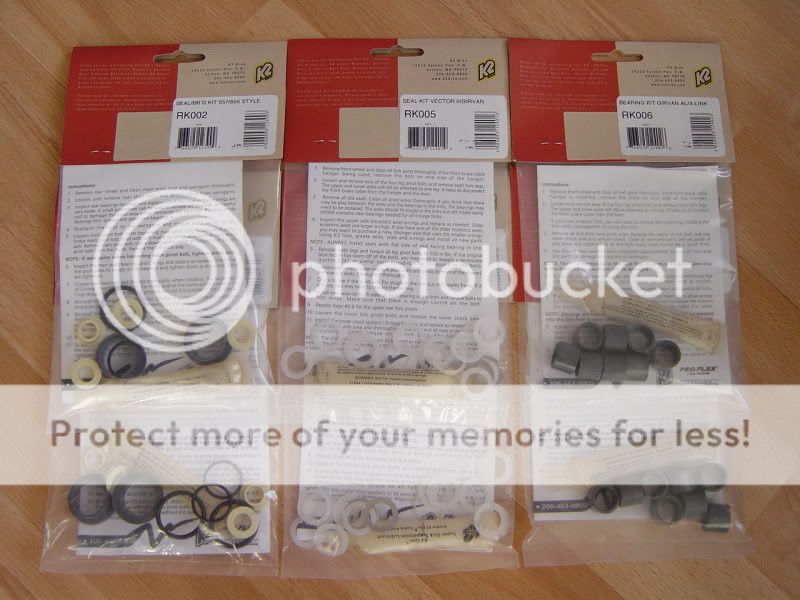
The rebuild kits have turned up from the states (fork seals / bushes and swing arm seals / bushes). There are two bikes worth here :
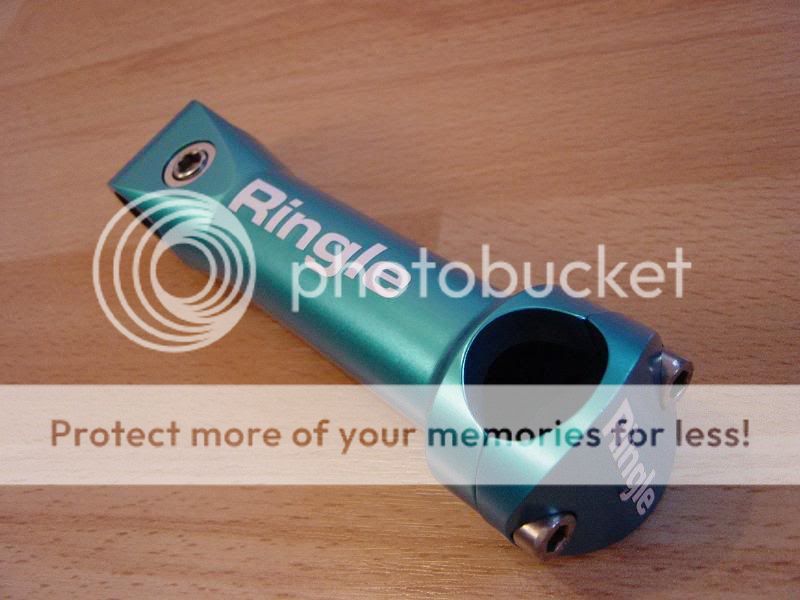
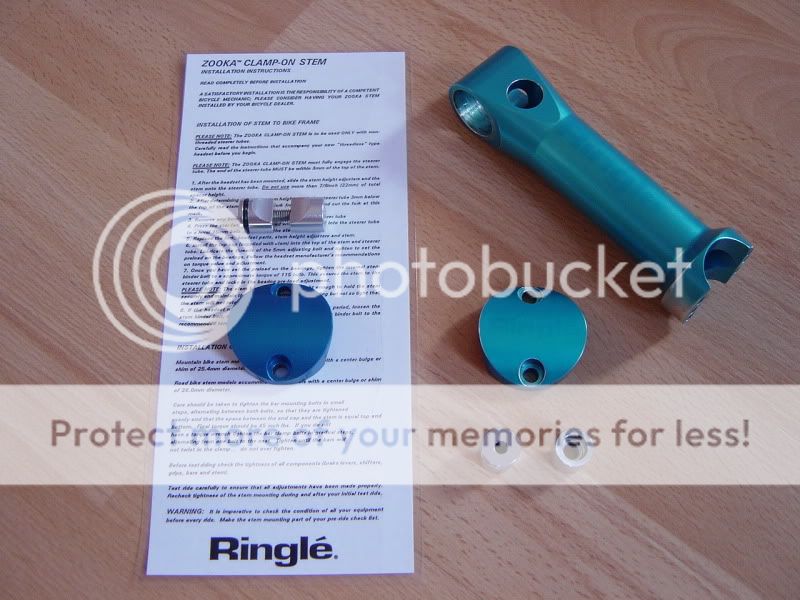
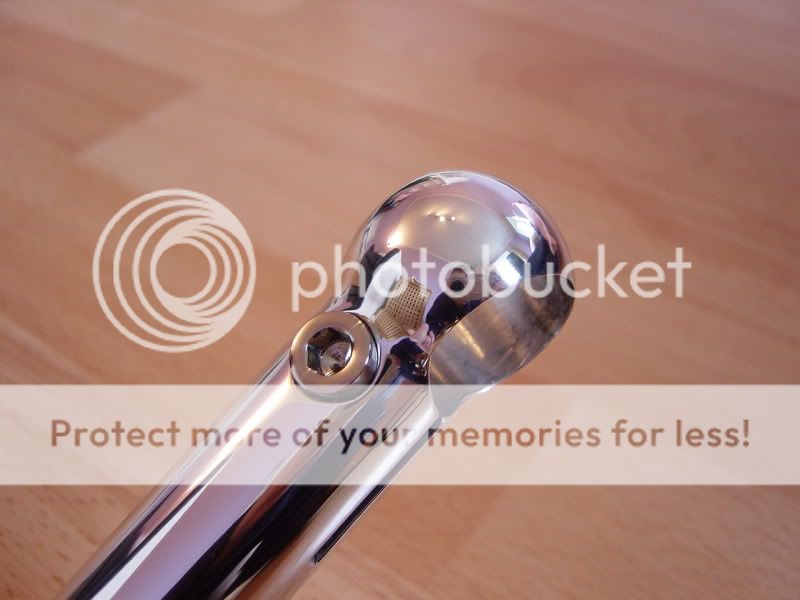
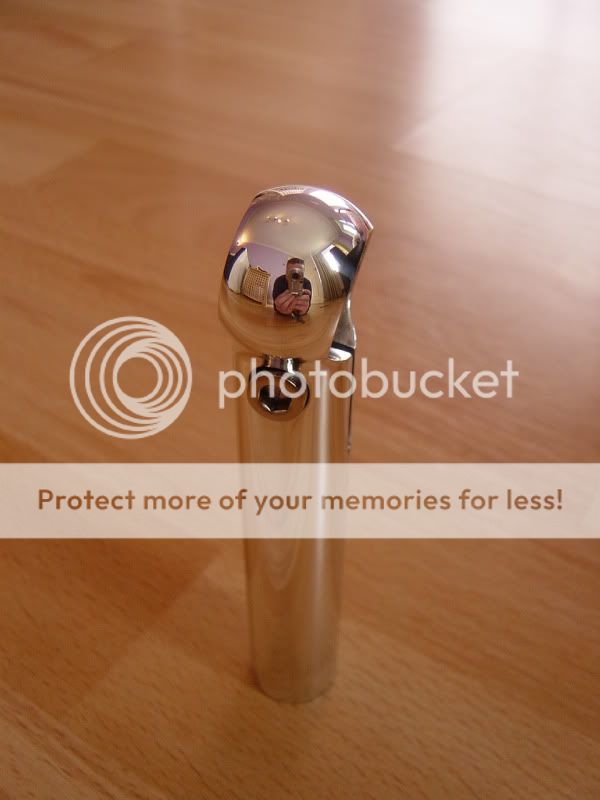
I have bought a 1” 135mm zero rise Ringle stem (still waiting for it to arrive), but it didn’t come with a top cap :-( As I think I am going with carbon bars and post I thought a carbon top cap would look nice and found the following on eBay :
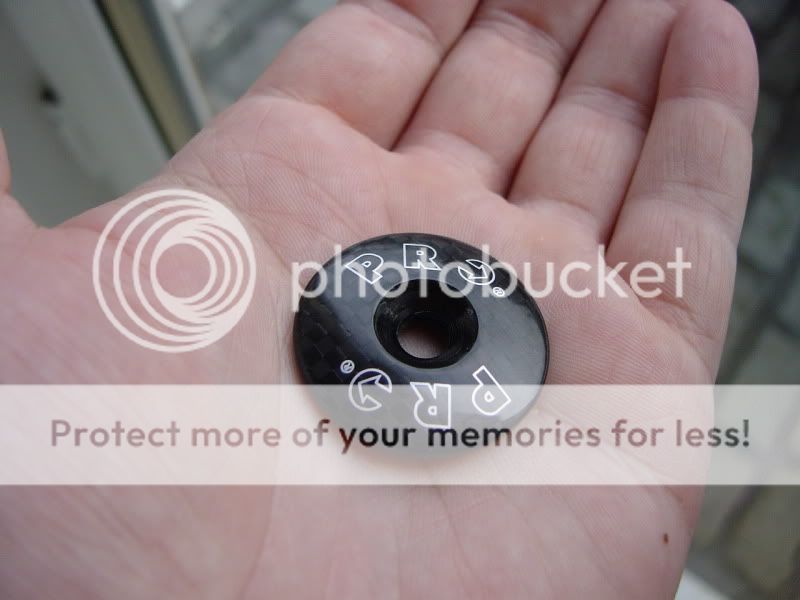
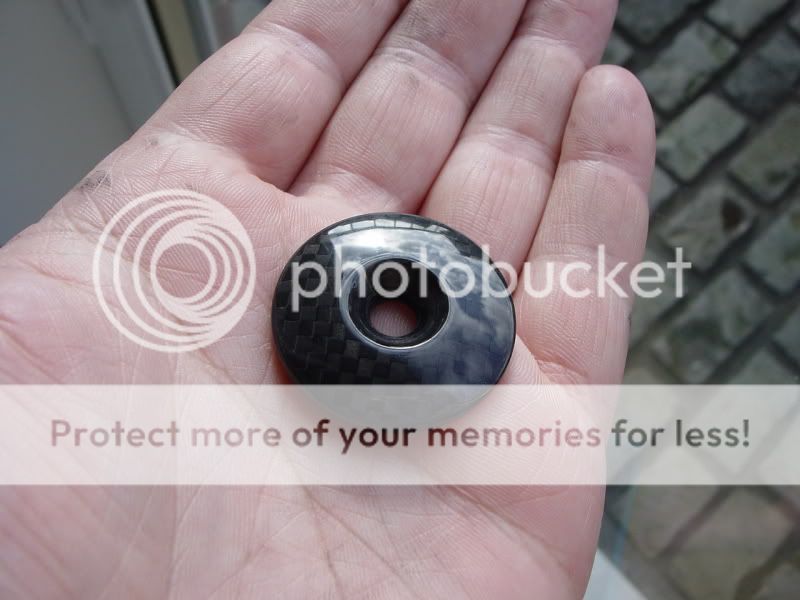
I took a bit of a gamble as the quality was unknown and I didn’t like the logo – I was hoping that it was on top of the lacquer and not under it. As it turned out the carbon was OK, the lacquer a bit lumpy but the logo was on top A quick flat down and buff up gave the results I was looking for :
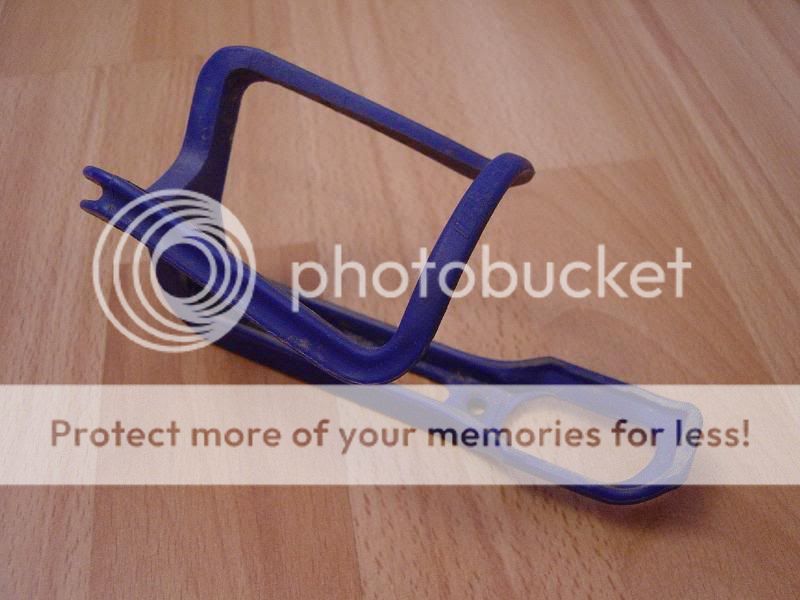
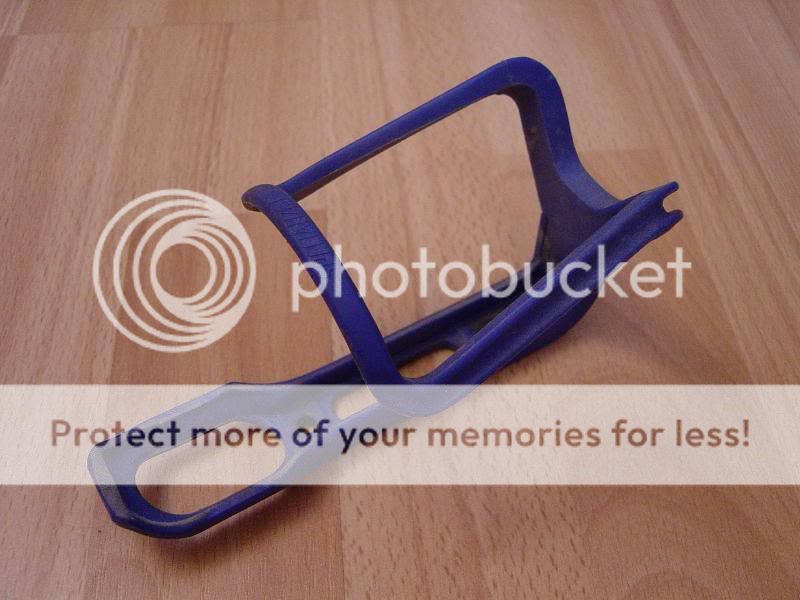
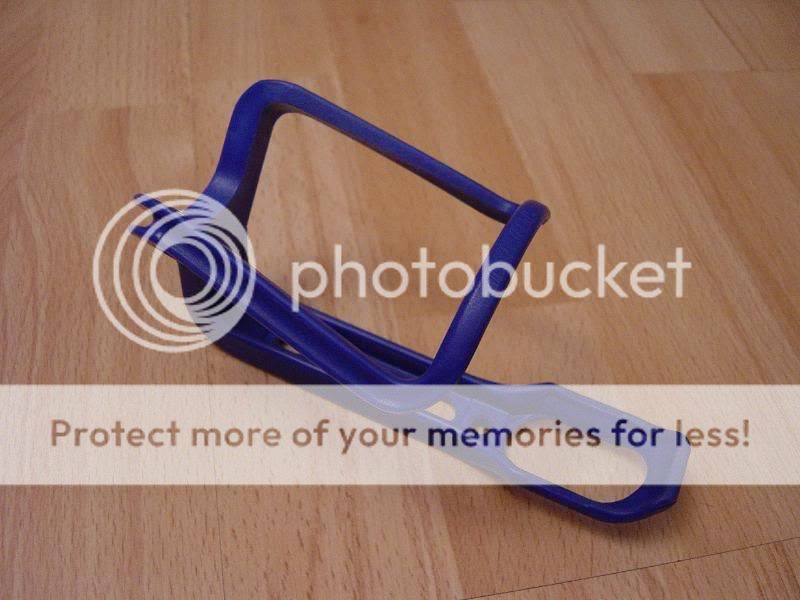
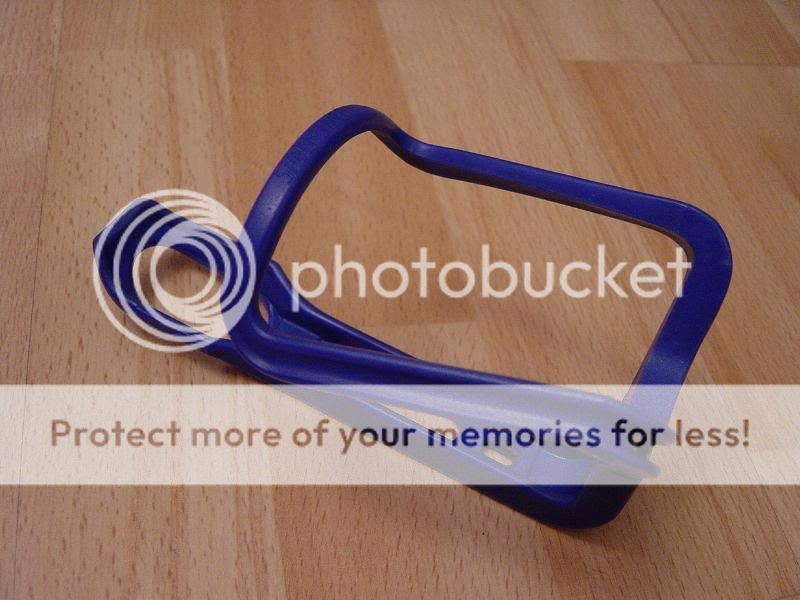
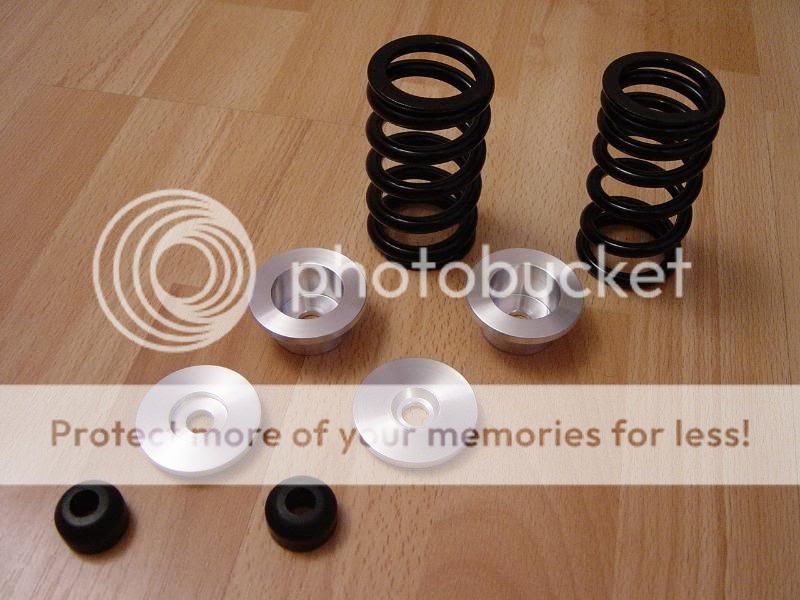
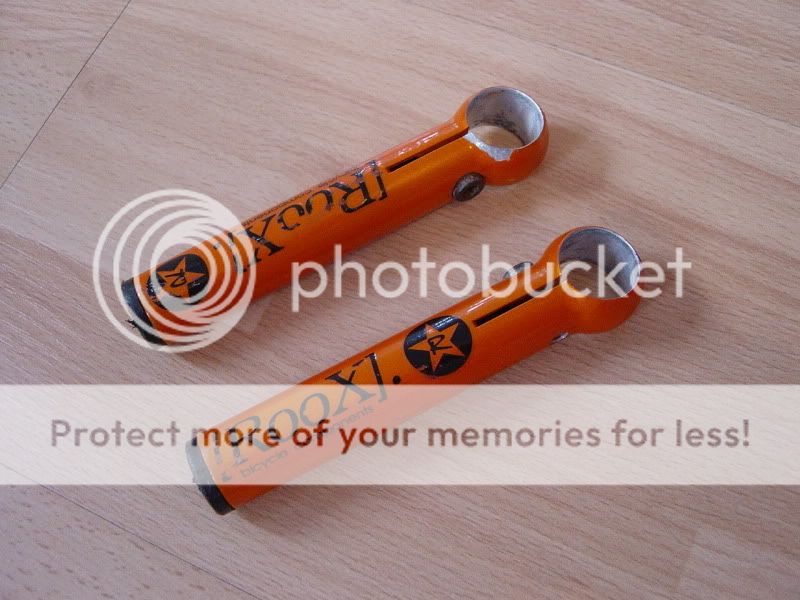
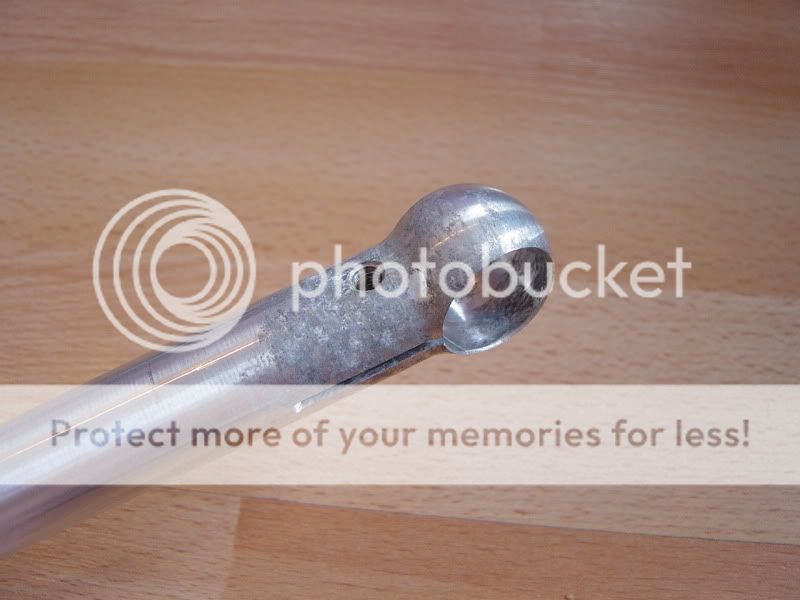
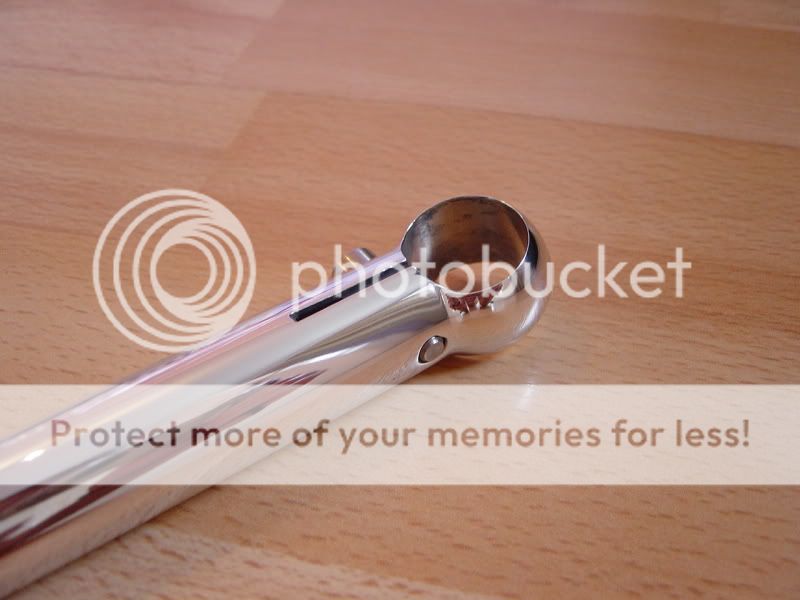
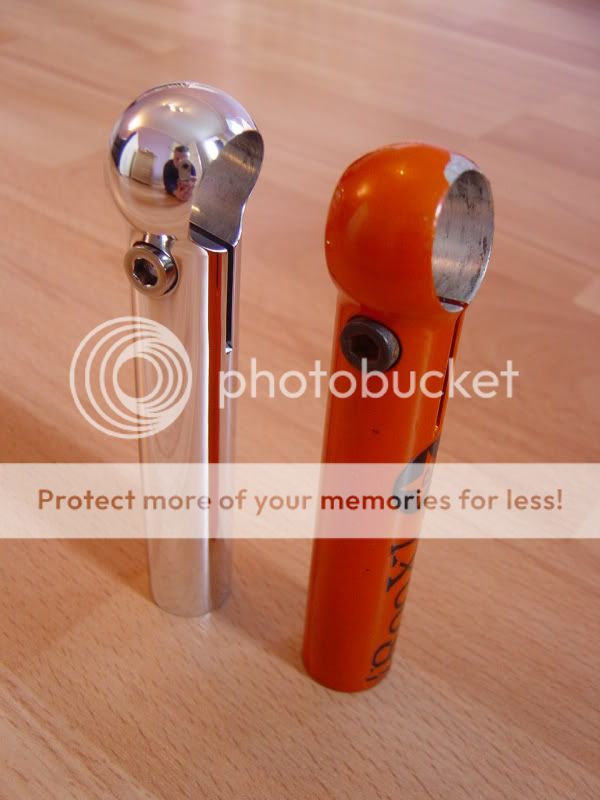
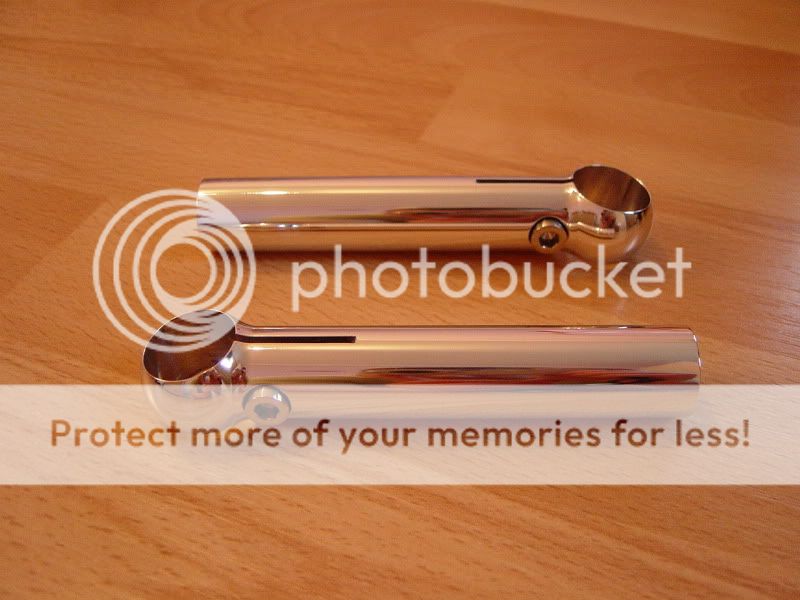
I also found a bit more bling on the bay :
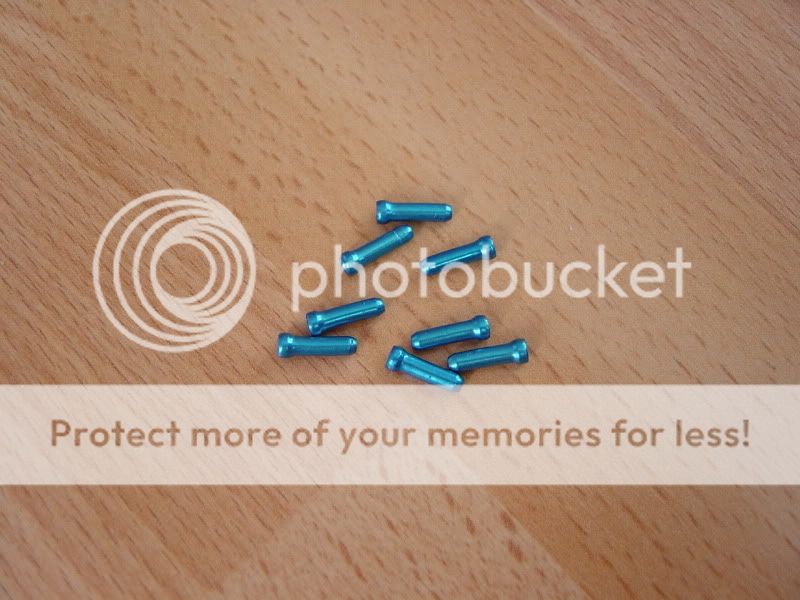
They are the wrong shade of blue but I will get them re-anodized with the other stuff. I know I could have sent plain silver ones to be done but as not all grades of ally ano up nicely at least I know these are made from a grade that will
WD
Other than cleaning this frame up and flatting out scratches etc the only little mod was to round of all the sharp edges, particularly to the bottom of the seat tube :
And to de burr the seat gussets. The lump of weld in the seat tube has now gone. Also note that like the rear strut, all the inserts in the frame are stainless steel
:
(On the above pic you can just see the weld penetration on the inside of the left gusset)
The rebuild kits have turned up from the states (fork seals / bushes and swing arm seals / bushes). There are two bikes worth here :
I have bought a 1” 135mm zero rise Ringle stem (still waiting for it to arrive), but it didn’t come with a top cap :-( As I think I am going with carbon bars and post I thought a carbon top cap would look nice and found the following on eBay :
I took a bit of a gamble as the quality was unknown and I didn’t like the logo – I was hoping that it was on top of the lacquer and not under it. As it turned out the carbon was OK, the lacquer a bit lumpy but the logo was on top
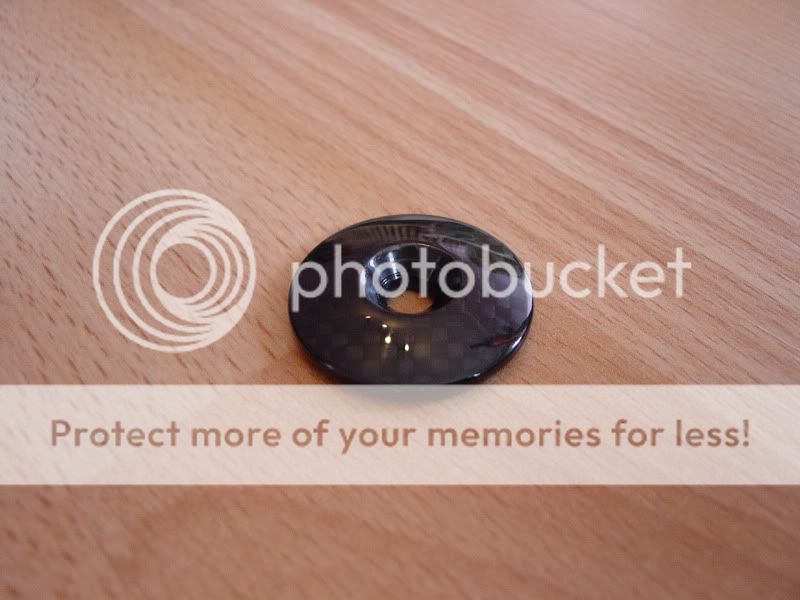
A quick flat down and buff up gave the results I was looking for :
I also found a bit more bling on the bay :
They are the wrong shade of blue but I will get them re-anodized with the other stuff. I know I could have sent plain silver ones to be done but as not all grades of ally ano up nicely at least I know these are made from a grade that will
WD