Pace RC200 F3

Raymond_mole

Retro Guru
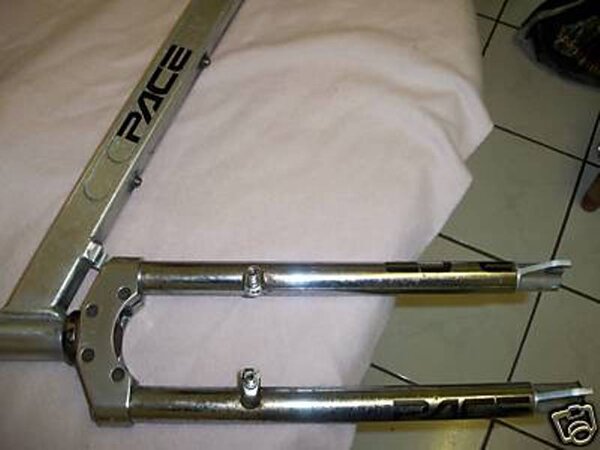
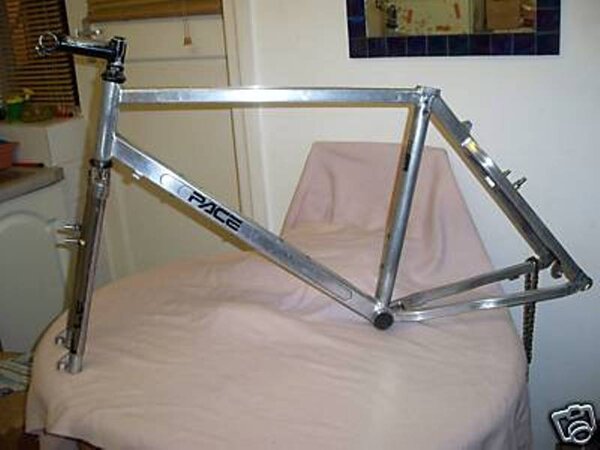
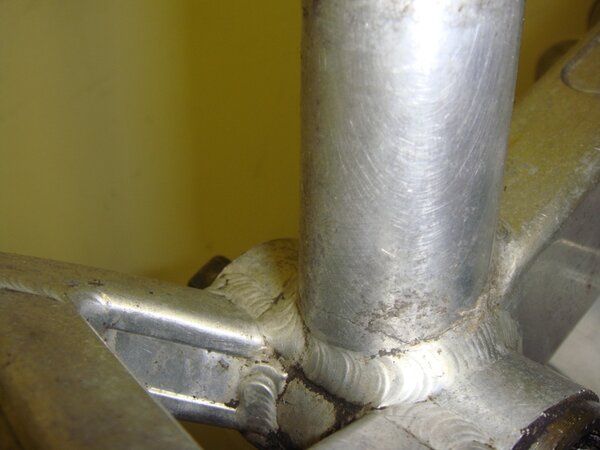
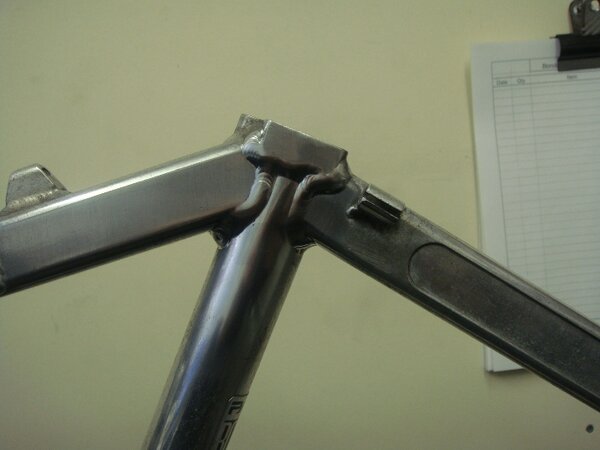
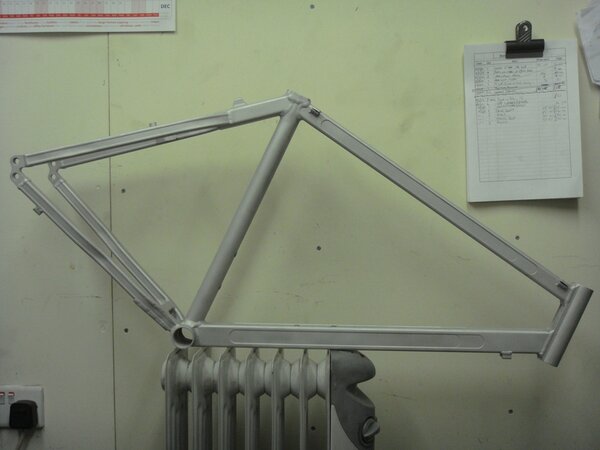
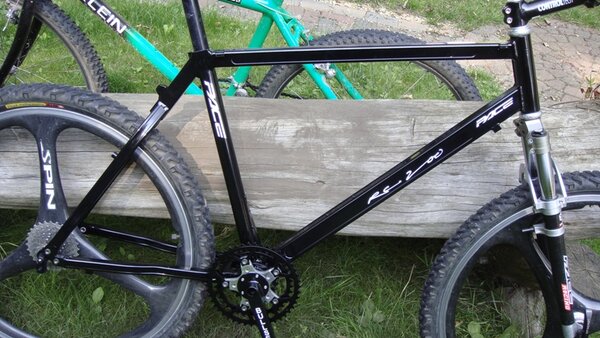
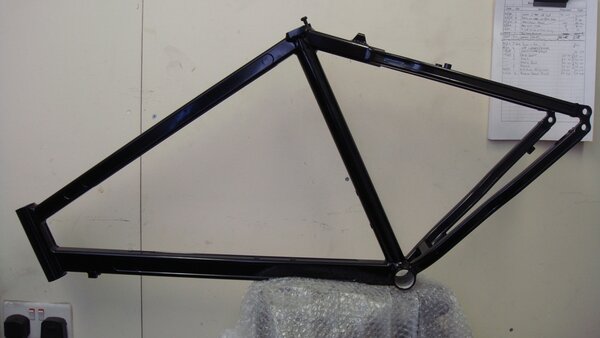
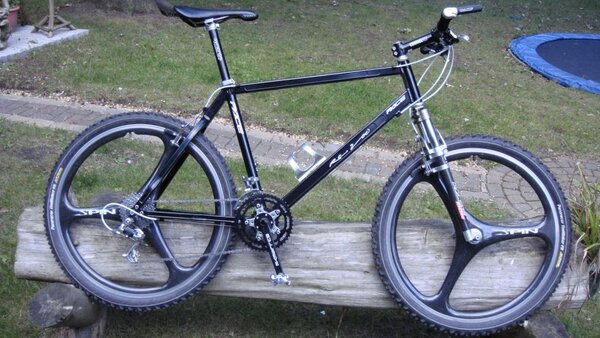
Just a quick picture trail of how I took pity on a knackered RC200 and brought it back to life.

I Won (never sounds right, more like "was prepared to pay the most for") it on Ebay. ;)
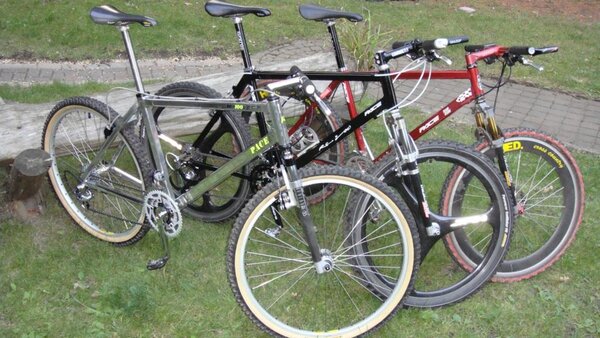
As it was local to me it seemed right that it should come and join my collection of old bikes.

I knew it was in bad shape but thought it would make a great bike for the girlfriend.
 

Attachments

  • ebay rc200 3a.jpg
    ebay rc200 3a.jpg
    35.1 KB · Views: 1,987
  • ebay rc200 2a.jpg
    ebay rc200 2a.jpg
    32.4 KB · Views: 1,987
  • ebay rc200 1a.jpg
    ebay rc200 1a.jpg
    37.6 KB · Views: 1,987
Firstly I had to fix the obvious holes.

Someone had the good idea to drill and then bolt the seatpost in place. Which at the time must have seemed genius :oops:

However on further inspection it kinda made sense as the dammed frame was cracked at the bottom bracket.
So spending money on a seat clamp would have been wasted.
 

Attachments

  • DSC00313b.JPG
    DSC00313b.JPG
    62.1 KB · Views: 1,982
  • DSC00293b.JPG
    DSC00293b.JPG
    62.9 KB · Views: 1,982
  • DSC00292b.JPG
    DSC00292b.JPG
    46.4 KB · Views: 1,982
  • DSC00291b.JPG
    DSC00291b.JPG
    40.4 KB · Views: 1,982
Up next was making good of all of the welds.

this is the part I enjoy the most :LOL:
 

Attachments

  • DSC00327b.JPG
    DSC00327b.JPG
    24.8 KB · Views: 1,981
  • DSC00326b.JPG
    DSC00326b.JPG
    36 KB · Views: 1,981
  • DSC00325b.JPG
    DSC00325b.JPG
    30.2 KB · Views: 1,981
  • DSC00324b.JPG
    DSC00324b.JPG
    35.1 KB · Views: 1,981
It became apparent that it would never be reanodised silver as it left the showroom. :cry:
The welds would stand out like a sore thumb as the different grades of ally would shade differently.

So powder coating was the next option.

Frame into the bead blaster for a quick clean up in preperation for her new look. :LOL:
 

Attachments

  • DSC00713b.JPG
    DSC00713b.JPG
    45.5 KB · Views: 1,979
  • DSC00712b.JPG
    DSC00712b.JPG
    42.5 KB · Views: 1,979
  • DSC00710b.JPG
    DSC00710b.JPG
    50.4 KB · Views: 1,979
  • DSC00709b.JPG
    DSC00709b.JPG
    55 KB · Views: 1,979
I remember seeing that frame on the bay some time ago and thought it was beyond repair, sometimes its nice to be proven wrong, good job!
 
Cranks were looking a little sory for themselves.
so they might aswell be powder coated at the same time.

so a quick session through the bead blaster and off for a new look.

Decals with thanks to Gil_M. they finish it of nicely.

Cheers
 

Attachments

  • DSC00841b.JPG
    DSC00841b.JPG
    74.3 KB · Views: 1,966
  • DSC00714b.JPG
    DSC00714b.JPG
    44.8 KB · Views: 1,966
  • DSC00705b.JPG
    DSC00705b.JPG
    61.5 KB · Views: 1,966
JeRkY":cbctixfb said:
I remember seeing that frame on the bay some time ago and thought it was beyond repair, sometimes its nice to be proven wrong, good job!

Cheers.

This build has been nothing but a pleasure. When I saw the cracked BB shell I thought it was all over. But my good friend Steve the welder assured me he could make his welds sweet and strong.
I trusted him :LOL:
 
Frame back from the powder coaters

Decaled up and looking good.

Quick assembly to see how she looks. ;)

Just had to hunt for the remaining components and it will soon be sorted.
 

Attachments

  • DSC00802b.JPG
    DSC00802b.JPG
    97.1 KB · Views: 1,960
  • DSC00786b.JPG
    DSC00786b.JPG
    51.9 KB · Views: 1,960
All finished off and looking great along side the others in the stable.

A little bit rushed but I hope it made good viewing.

Any comments greatly welcomed.
 

Attachments

  • DSC00862a.JPG
    DSC00862a.JPG
    134.2 KB · Views: 1,957
  • DSC00855b.JPG
    DSC00855b.JPG
    74.4 KB · Views: 1,957
  • DSC00854a.JPG
    DSC00854a.JPG
    128.9 KB · Views: 1,957
Back
Top