Marin 1990 Bear Valley Rebuild - FINISHED !!! PAGE 38 !!!

Thanks for all the encouraging comments :D

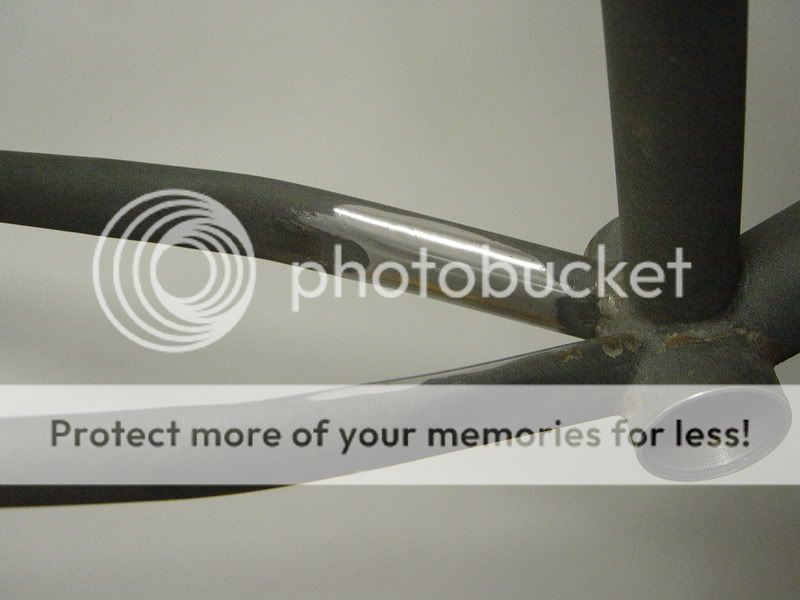
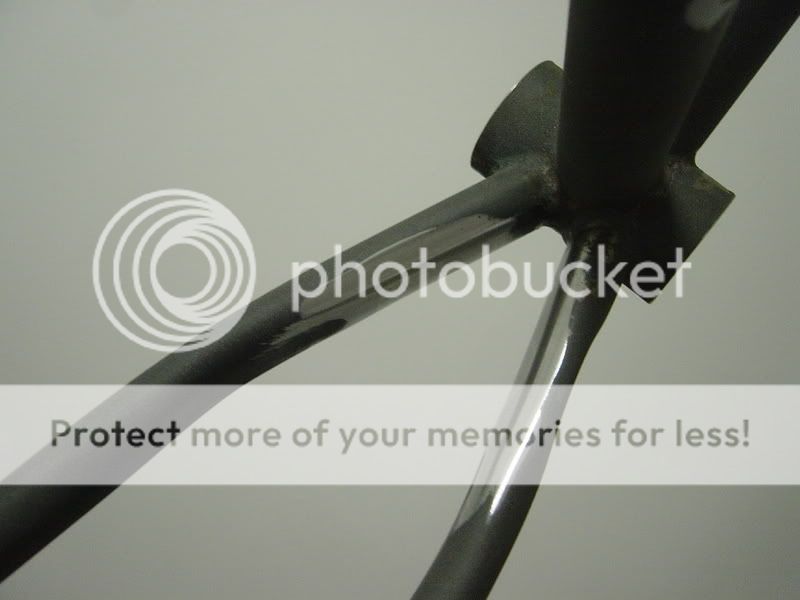
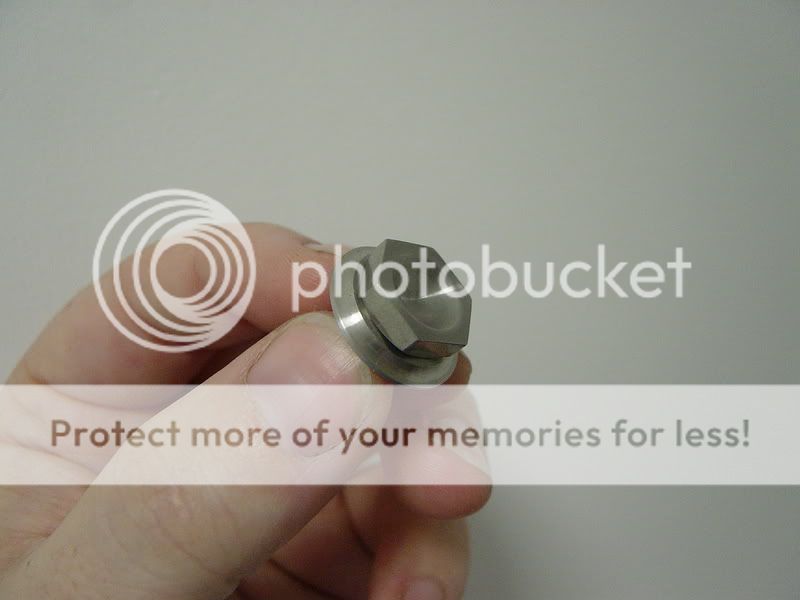
Ref the contacts – 15 years of engineering and messing around with cars tends to help :D Luckily I have managed to find most of what I need (i.e. cant do myself) locally and at reasonable cost / good quality. Through my job I also have access to a basic engineering workshop (lathe, miller, press, guillotine, folder etc) so I tend to stay on a lot after work (and living local to my workplace) I can nip in at strange hours / weekends etc but unfortunately I don’t get paid for overtime :LOL: I would have really struggled with my hobbies without that access - or they would have cost me a lot more :(

I was hoping to have the frame coated by now so I could build it up over the crimbo period but the girl friends company has just closed her facility :( (announcement on the 3rd – production finishes on the 19th :shock: ) so I will have to watch the pennies for while. The plan will be to get Christmas out of the way and then send it early January – I guess ‘photo’ updates will be a bit scarce until then …

WD :D
 
Hi everyone,

Happy new year to you all :D

Well the wallet survived Christmas without to much of a battering so the project is back on the move :cool:

I managed to pick up some pedals (X-pedo’s) and shoes (MT40’s) quite cheaply so I now have everything required with the exception of :

• A powder coated frame.
• Re-Anodizing (should be sent next week)
• Re-Plating (should be sent next week)

I had been looking around for a powder coaters that specialized / had experience of bike frames and ended up talking to Dale Windridge of Windridge coatings ( http://www.windridge.co.uk/content.php/410 ). They seem a very helpful / professional / experienced setup so I have made the decision to send the frame to them.

Hopefully this should be sent by the end of the week but that depends on me getting it packed and to the couriers – watch this space (but don’t hold your breath) … :oops: :LOL:

The color scheme will be :

• Frame : RAL7016 – Anthracite Grey – Satin
• Fork : RAL9005 – Jet Black – Full gloss

So it should be in-keeping with my ‘stealth’ build color scheme whilst retaining similar colors to what Marin intended. I am also going to get them to do the wax coating on the inside to protect it from internal corrosion.

WD :D
 
Having a last look over the frame before I pack it, my obsession with the Dremel got the better of me (again :oops: :LOL: ) and the chain stay bridge just had to go :

DSC03519.jpg


DSC03521.jpg


I had been thinking of getting rid of it for a while as they are only really useful for mud guards (which won’t be being fitted) and I thought it would help with the ‘clean’ deluged image and without it will be easier to powder coat and provide one less dirt / water trap.

I also made some load bearing washers for the crank bolts but the combination of these, the x-lite caps, SRP bolts and the shallow holes on the Ritchey crank made the dust covers slightly proud :? The washers and bolts got modified to solve the issue :

DSC03514.jpg


WD :D
 
This build needs an award category to itself.. Project Of The Year!

Good idea on the chainstay bridge - very Orange Clockwork :cool:
 
REtrouble":aoak7bpe said:
You don't think the chain stay bridge does anything for rigidity then?

I hope not … :LOL: :LOL:

My completely uneducated opinion (Guess :oops: :LOL: ) is that it will do absolutely nowt for a vertical loading on the frame (with no wheel resistance both chain stays will be in even tension and both seat stays in even compression) and due to its closeness to the bb shell nowt / virtually nowt in a horizontal loading (how much twist would the frame have to see before there was appreciable amount of movement in the bridge area ?). Open for comments on the above and I am quite prepared to be corrected / shot down in flames … :LOL:

What planted the seed was my mums orange from the same era – steel frame and no bridge. The final decision was made when looking at my friends steel Cotic – that has half a bridge to allow the fitment of a mud guard but it doesn’t connect the stays providing zero bracing.

Bear in mind that this bike wont be seeing the top of any mountains again (its going on slicks) so it should have quite an easy life – I have my eye on my brothers 92ish 15.5” U braked Rock Hopper if I get that urge (perhaps the next project ? ;) …)

Anyhow, it’s to late to worry about it now as A) the bridge has gone and B) the frame has gone :

DSC03530.jpg


Sent via courier last night to Windridge :D (Hopefully a :cool: on it's return ...)

WD :D
 
Just a quick update as I stayed on at work last night and managed to sort the front derailleur. Like the brake levers it had had been ‘drilled’ (see photo further up this thread) so it has now been ‘slotted’ so it looks a bit nicer :

DSC03542.jpg


DSC03541.jpg


De-burred and polished up :

DSC03556.jpg


I have also shortened and drilled (1.5mm) a SS M5 button head to use as the bottom bracket cable guide securing bolt - hopefully to provide some ventilation / drainage for condensation / water :

DSC03565.jpg


Do you think this is a good (or crap :LOL: ) idea ?

Cant wait to get the frame back from the coaters :D

Cheers,

WD :D
 
Drain plug is a great idea and will now copy you and do it myself :LOL:
Keep up the good work. This is my favorite thread on here. totally cool man
 
Back
Top